Installation & Prerequisites
To begin using the WooCommerce POS Avalara Tax Integration extension, ensure your WordPress environment meets all system requirements and that you have installed all core dependencies.
Prerequisites
Before installing this integration, the following plugins must be installed and activated on your WooCommerce store:
| Plugin | Source / Developer | Purpose |
|---|---|---|
| WooCommerce | WooCommerce / Automattic | Core e-commerce platform. |
| WooCommerce Point of Sale (POS) | Webkul | Provides the digital physical store registers and cashier interface. |
| WooCommerce AvaTax | WooCommerce | Establishes the connection to your Avalara backend services. |
[!IMPORTANT] The WooCommerce AvaTax plugin must be fully configured with a valid Avalara Account ID, License Key, and Company Code before activating the POS integration. Check your connection to the Avalara sandbox/production environment from the WooCommerce AvaTax admin panel.
Step-by-Step Installation
Method 1: WordPress Admin Panel (Recommended)
Step 1: Access Plugin Installation
- Log in to your WordPress Admin Dashboard.
- Navigate to Plugins → Add New.
- Click the Upload Plugin button at the top of the page.

Step 2: Upload the Plugin ZIP
- Click the Choose File button.
- Select the downloaded plugin zip file (
avalara-tax-integration-for-pos.zip) from your local system. - Click Install Now.

Step 3: Activate the Plugin
- Once the installation is complete, click the Activate Plugin button.

Method 2: Installation via FTP/SFTP
If you prefer uploading files directly to your web server:
- Extract the contents of the
avalara-tax-integration-for-pos.zipfile on your computer. This creates a folder namedavalara-tax-integration-for-pos. - Connect to your web server using an FTP/SFTP client (e.g., FileZilla).
- Navigate to your WordPress directory, specifically
wp-content/plugins/. - Upload the extracted
avalara-tax-integration-for-posfolder to this directory. - Log in to your WordPress Admin Panel, go to Plugins, locate WooCommerce POS Avalara Tax Integration, and click Activate.
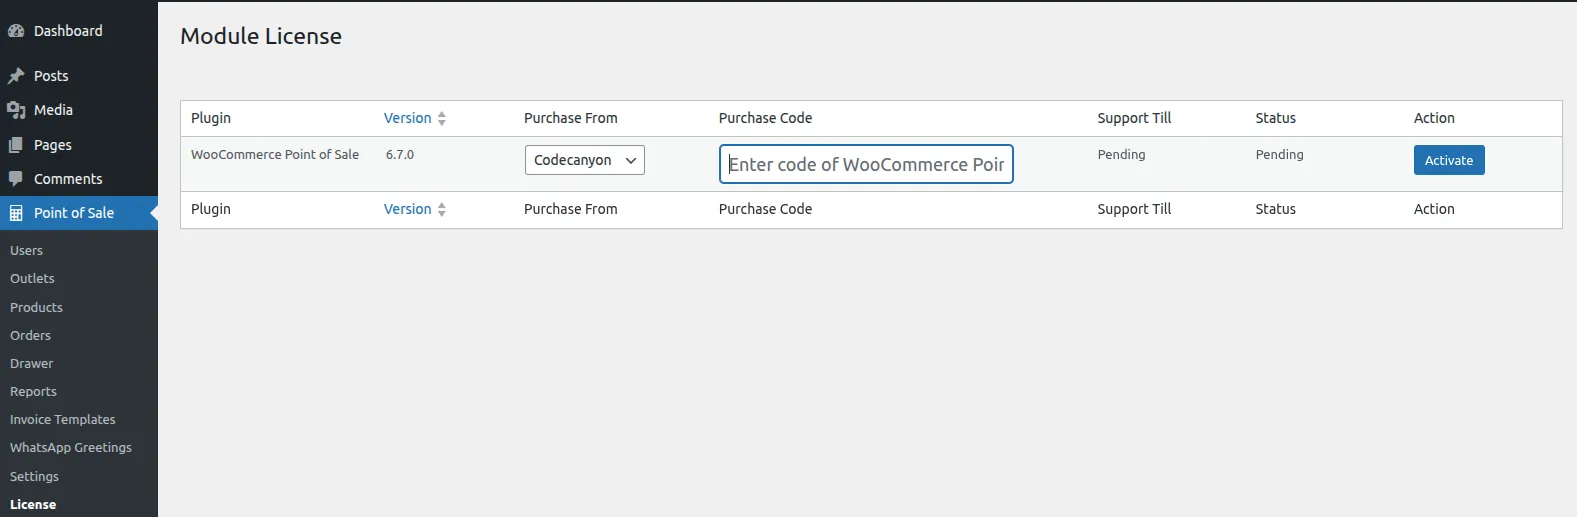
License Key Activation
After installing the extension, you must activate your product license to receive updates:
- Navigate to: Point of Sale → Settings → License from the admin dashboard.
- Enter your Purchase Code and Registered Email.
- Click the Activate License button.
Post-Activation Checklist
To verify that the installation has succeeded and is ready for use, perform the following verification steps:
- [x] Plugin Listing: Confirm that the plugin appears as Active under Plugins → Installed Plugins.
- [x] License Key Setup: Navigate to Point of Sale → Settings → License to activate the license as shown above.
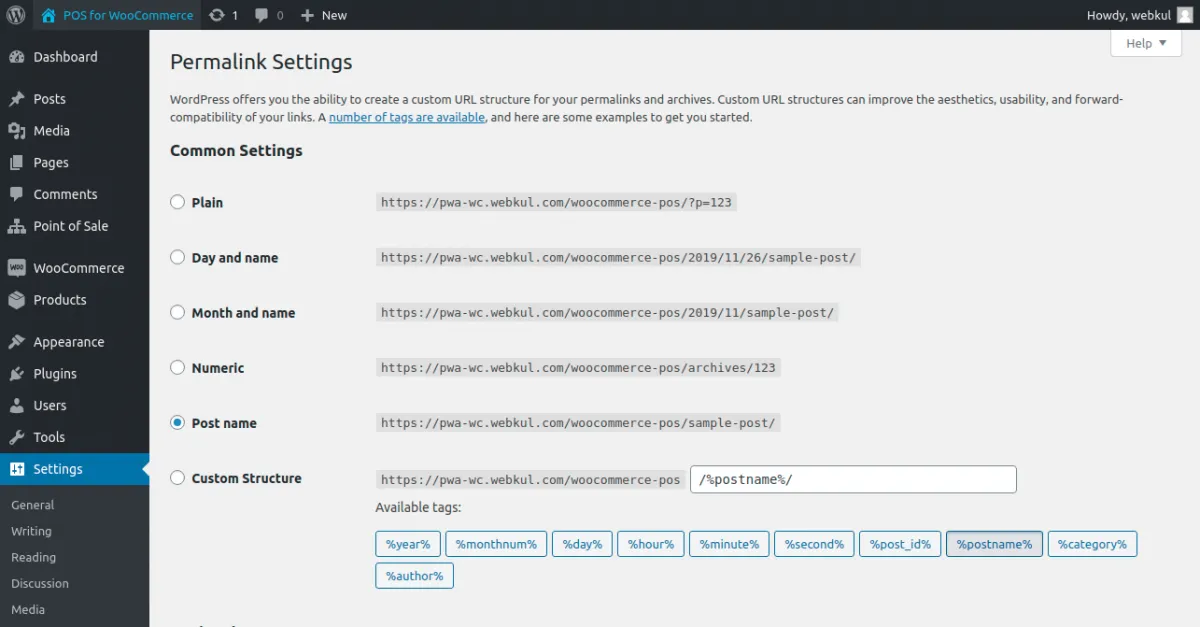
- [x] Endpoint Flush: Go to Settings → Permalinks and click Save Changes once. This flushes the WordPress rewrite rules, ensuring the POS Ajax routes are accessible.