How the Integration Works
The WooCommerce POS Avalara Tax Integration handles tax automation behind the scenes. This page details the step-by-step transaction workflow, custom product processing, discount adjustments, and receipt display.
1. Core Tax Calculation Flow
When a sales agent interacts with the POS register, tax calculations are triggered automatically on every cart modification (e.g., adding an item, changing quantities, or removing products):
sequenceDiagram
    participant POS as POS Cashier Screen
    participant DB as IndexedDB (pos_cart)
    participant AJAX as WordPress Admin AJAX
    participant AvaTax as Avalara API

    POS->>POS: Cart updated (item added/quantity changed)
    Note over POS: Debounce delay of 600ms
    POS->>AJAX: POST to action=calculate_avalara_tax
    Note over AJAX: Maps physical outlet address as origin & destination
    AJAX->>AvaTax: Requests tax estimation
    AvaTax-->>AJAX: Returns tax amount and split tax lines
    AJAX-->>POS: Returns tax JSON response
    POS->>DB: Stores calculated tax in local store
    POS->>POS: Refreshes checkout panel with new tax lines
The Debounce Mechanism
To prevent overloading the Avalara API servers and hitting API rate limits during quick typing or multiple barcode scans, the frontend javascript implements a 600ms debounce before calling calculate_avalara_tax.
2. Custom and Virtual Products
In a standard retail checkout, cashiers occasionally sell custom products that are not saved in the WooCommerce product catalog. Avalara requires a valid catalog item with a physical/digital classification to determine the correct tax rate.
Temporary Product Creation Flow:
- When a cashier adds a custom product to the cart, the integration detects that the product is a custom item (lacking a registered WooCommerce ID).
- Before querying the AvaTax API, the backend creates a temporary virtual product in the database.
- This temporary product is populated with the custom price, name, and default tax class configured for POS.
- The integration queries Avalara with the temporary product ID.
- Once the calculation is complete, the integration automatically deletes the temporary product record from the WooCommerce catalog to prevent cluttering the database.
3. Discounts, Coupons, and Payment Fees
Taxes must be computed on the net payable amount rather than the gross subtotal. The integration factors in promotions and transactional fees:
Coupons & Cart Discounts
- When WooCommerce POS coupons or cart-wide discounts are applied, the integration subtracts these from the taxable line items before querying Avalara.
- This ensures tax is calculated solely on the net price, protecting your business from over-remitting sales tax.
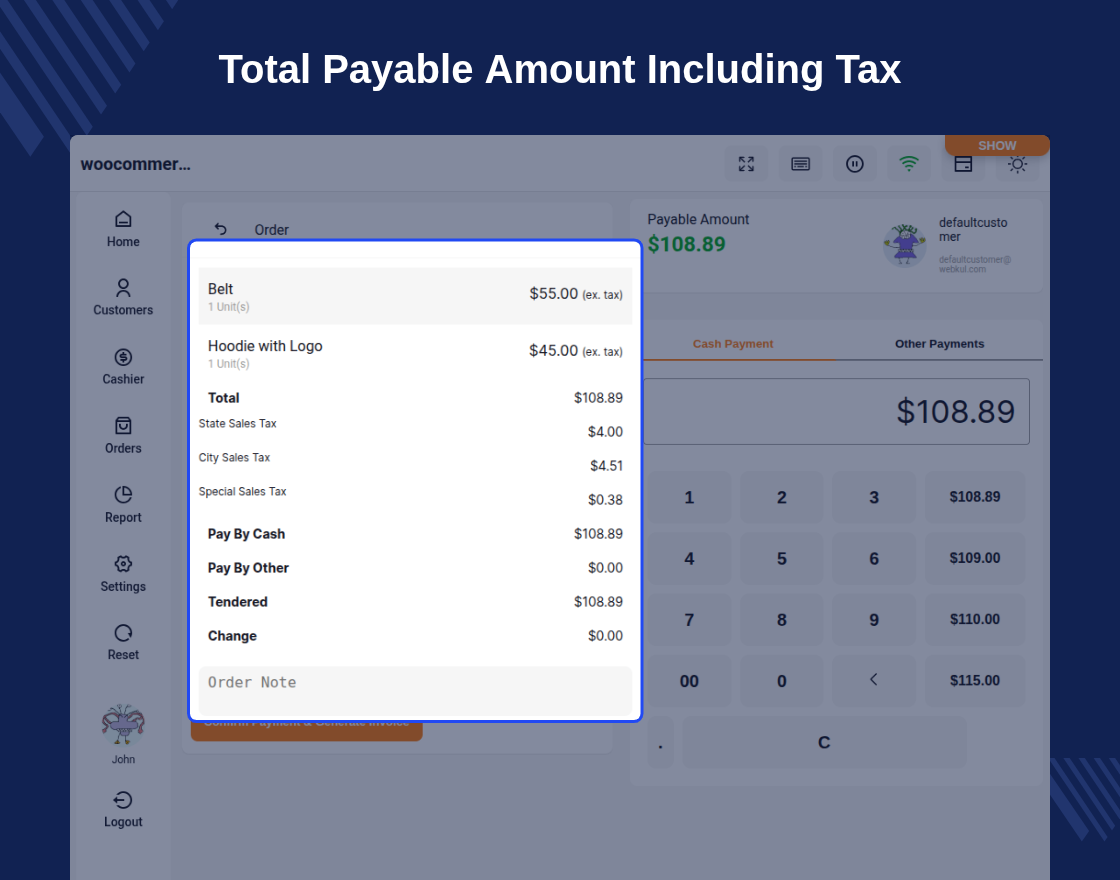
Stripe Fee Injection
- If your POS configuration includes cash register Stripe terminal fees or processing adjustments, these fees are added to the transaction value.
- The tax engine automatically adjusts the calculation rules to account for these service fees.
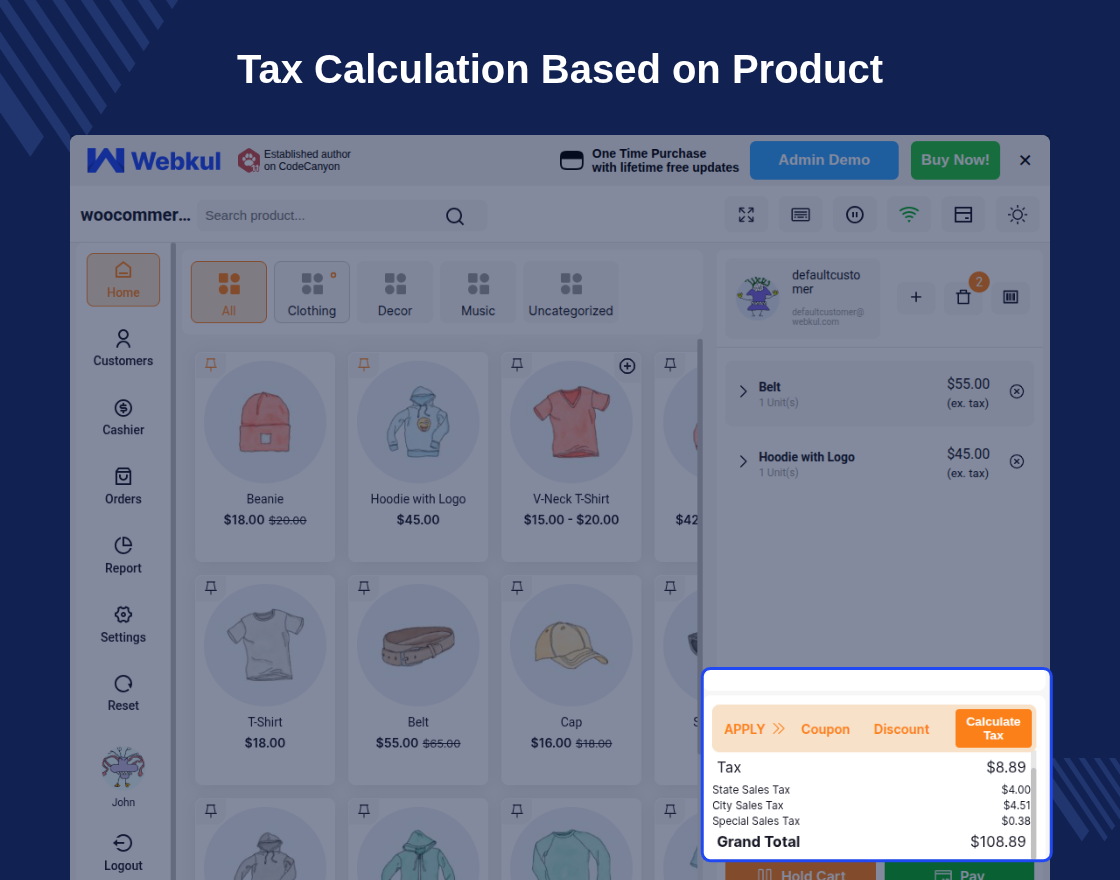
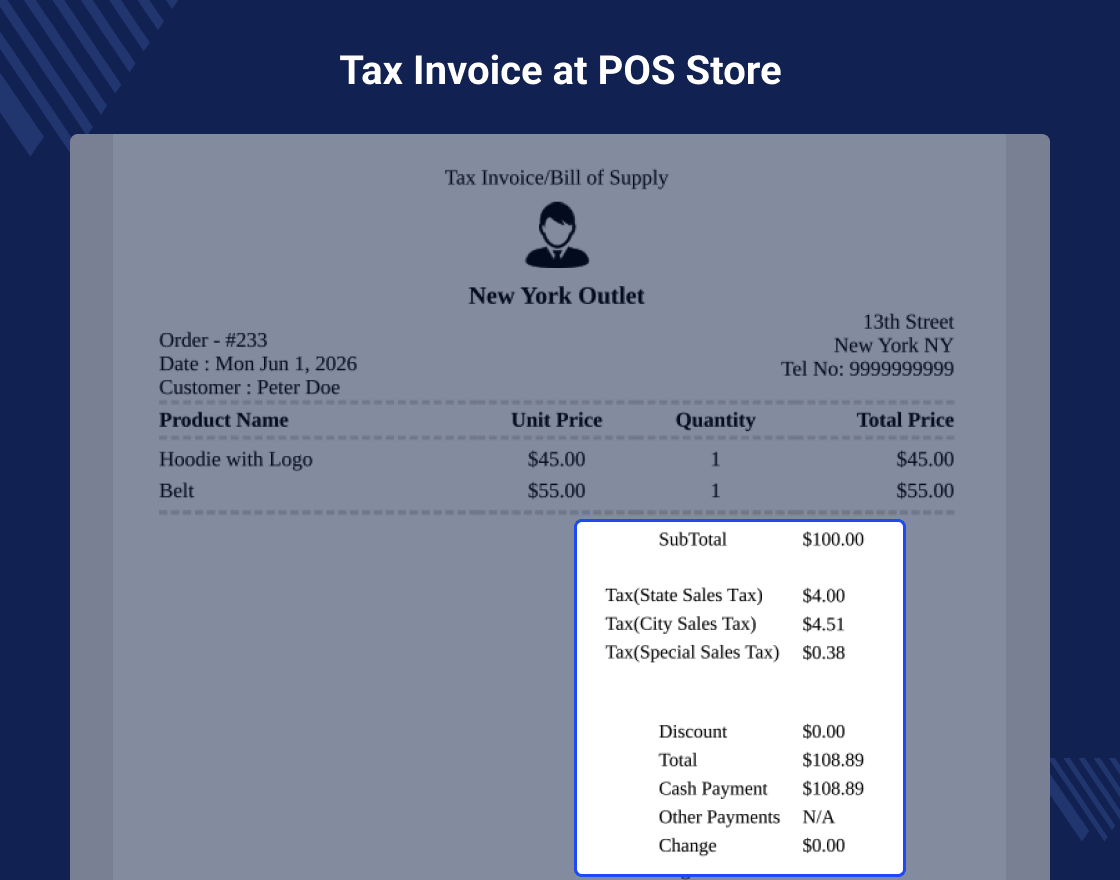
4. Invoicing and Detailed Tax Line Display
Standard WooCommerce settings typically show a single summarized tax line. However, brick-and-mortar customers require detailed tax summaries on printed receipts.
Split Tax Rendering:
The plugin hooks into the POS checkout view using the wkwcpos_cart_tax_display filter. When a response is received from Avalara, it parses and prints separate tax lines for:
- State Sales Tax
- County Sales Tax
- City Sales Tax
- Special District Taxes (e.g., transit authority or municipal improvements)
----------------------------------------
RECEIPT SUMMARY
----------------------------------------
Subtotal:                    $100.00
Discount:                    $10.00
State Tax (4.25%):           $3.83
County Tax (1.00%):          $0.90
City Tax (1.50%):            $1.35
----------------------------------------
Total:                       $96.08
----------------------------------------
Invoice Receipt Print Layout
When cashiers select standard POS thermal printing, the invoice displays a breakdown of the separate local tax jurisdictions as returned by Avalara AvaTax:
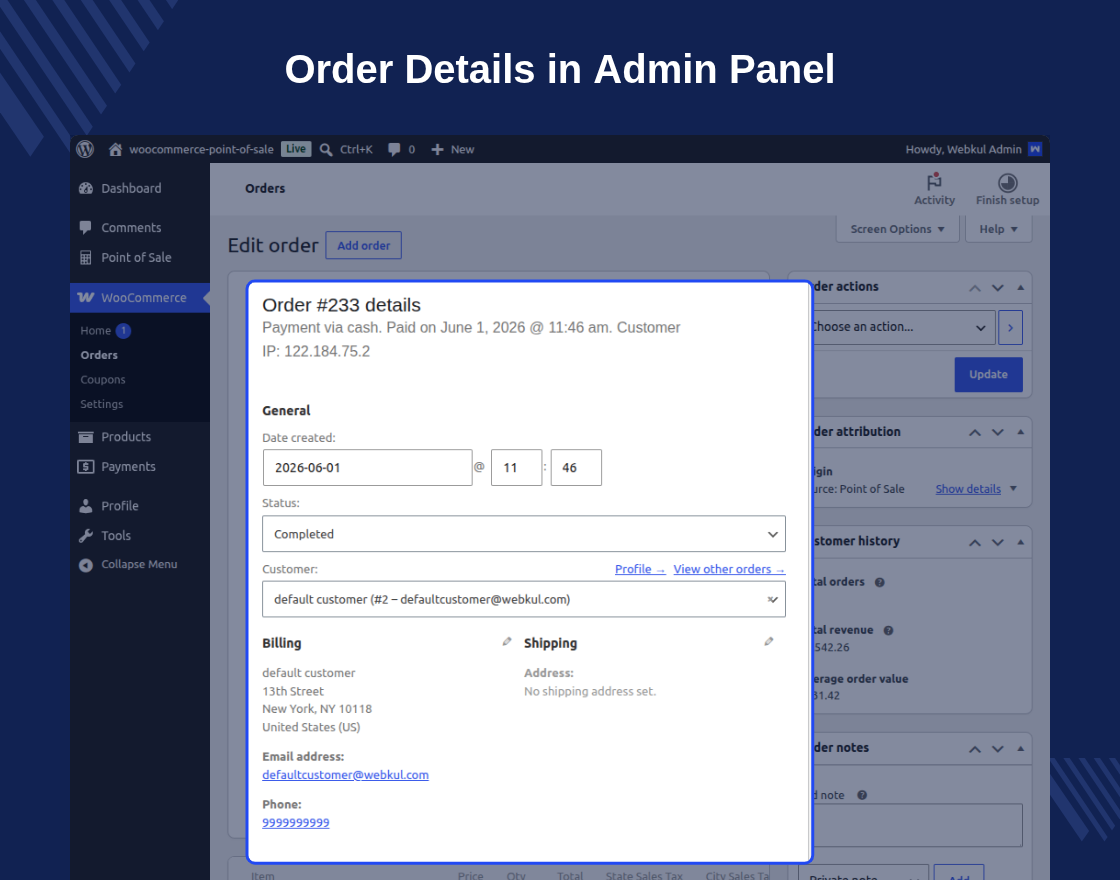
5. Backend Transaction Recording
Once the checkout is complete and the cashier accepts payment, the tax data is logged directly within the standard WooCommerce order record on the WordPress admin panel: