How to Get API Credential From Your Shopify Account
Note: If you are using the previous setup, click here to view the old process.
To get the API credentials the admin needs to generate the Shopify API credential first using the Shopify account.
The admin can visit the Shopify store for which the admin wants to connect and sync the WooCommerce store.
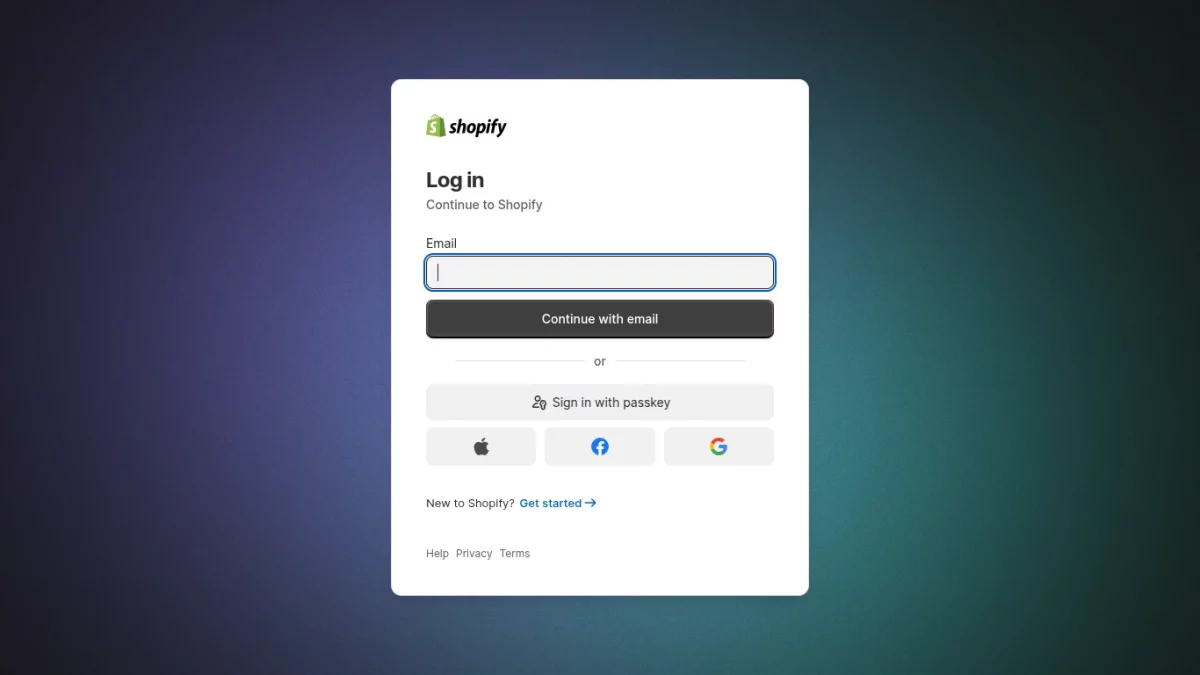
Step 1 – Log in to your Shopify Admin
First, log in to your Shopify store using:
- Your store URL
- Your admin username and password
Make sure you are logged in as a store owner or have app developer permissions.
Step 2 – Navigate to “Apps ”
From the Shopify left sidebar menu:
- Click Settings, then select Apps
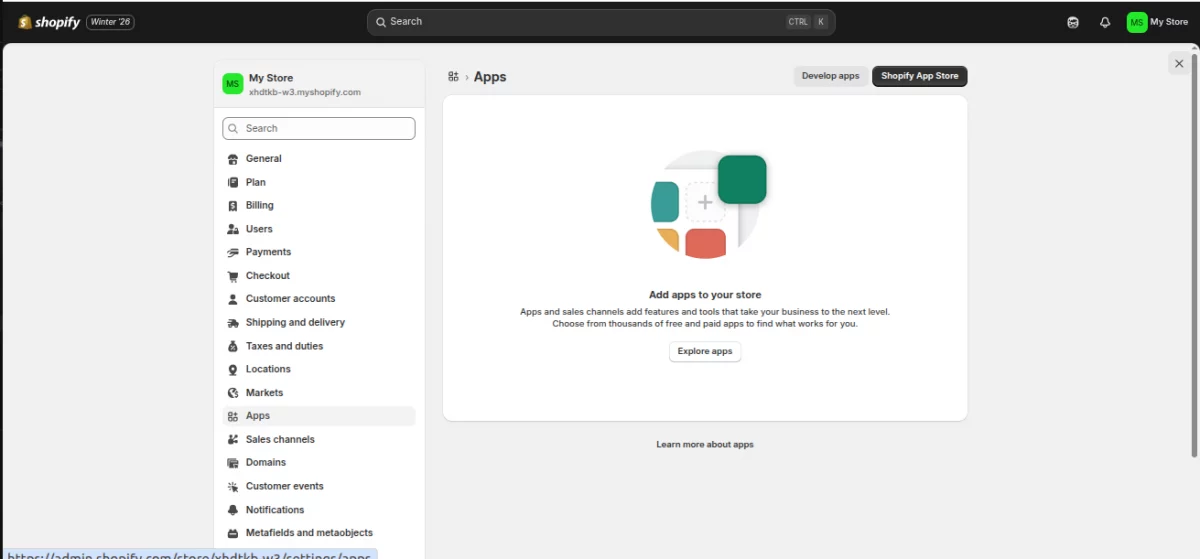
This is where all integrations and custom apps are managed.
Step 3 – Open the “Develop Apps” Section
On the top-right corner of the Apps page, click:
- Develop apps
This option allows you to create custom/private apps for API integrations.
Step 4 – Click on the “Build apps in the developer dashboard” option.
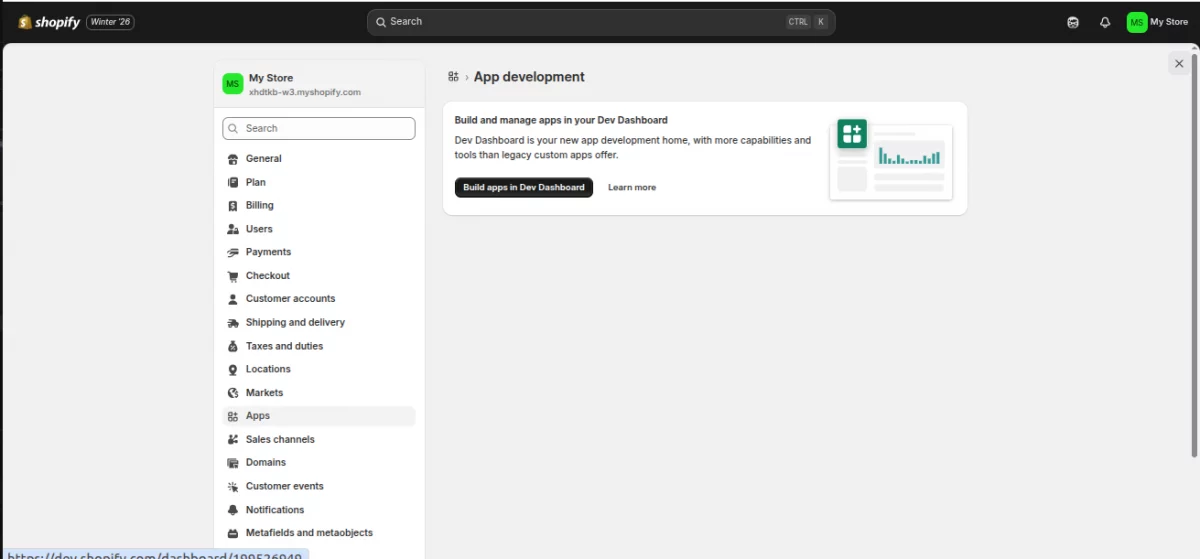
The dev dashboard opens as shown in the image below:
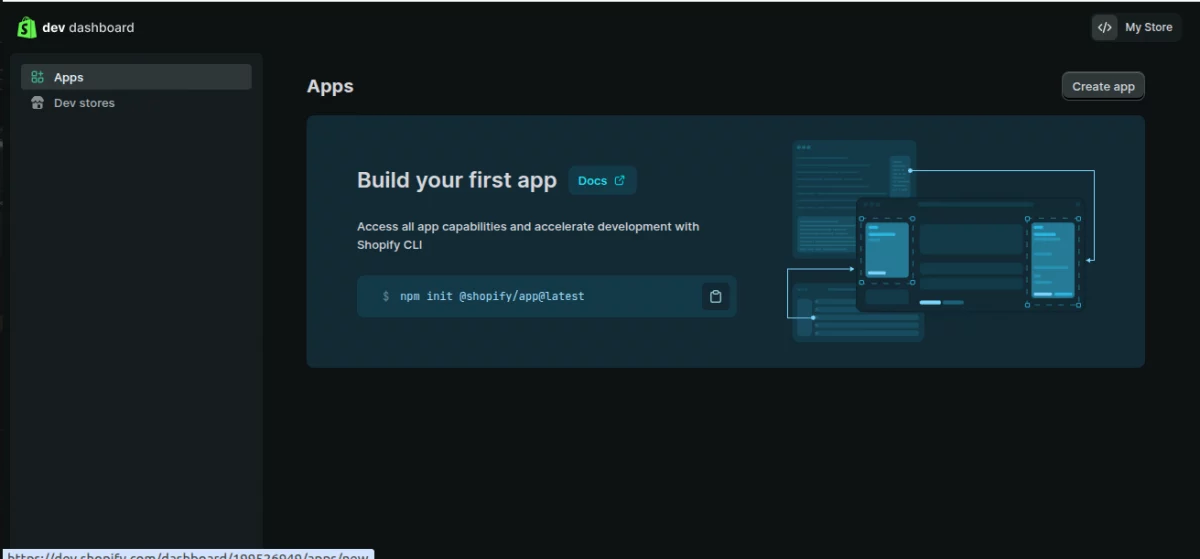
Step 5 – Create a New App
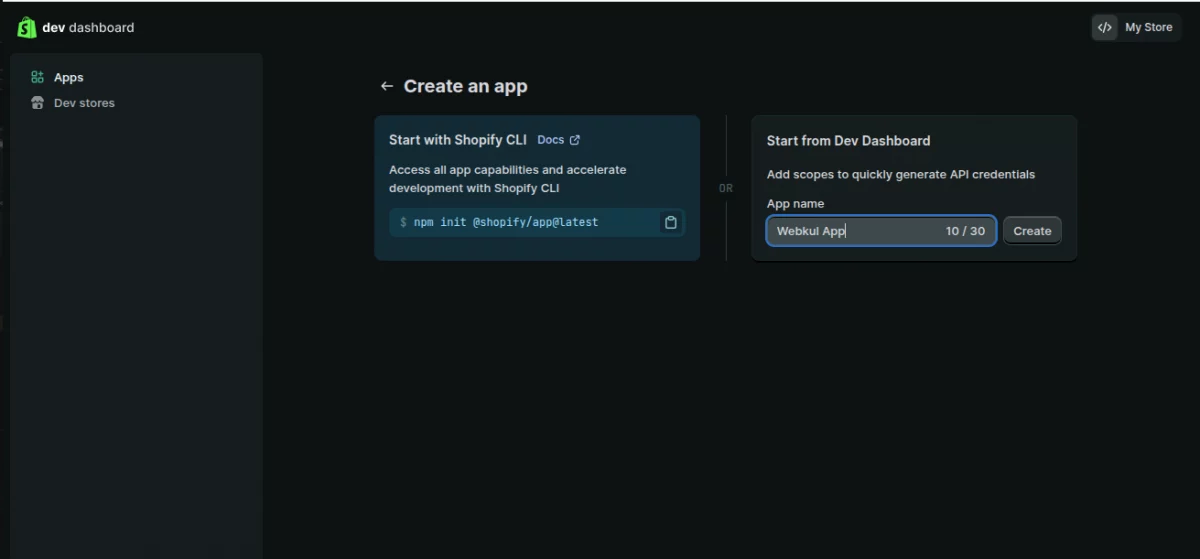
Next, click the button “Create app”. This will open the app creation pop-up.
- Fill in the app name – Any name of your choice (In my case, I choose, “Webkul App”)
- Then click Create
Now the App Integration and Configuration dashboard opens, where you can assign the required permissions to your app as shown in the image below.
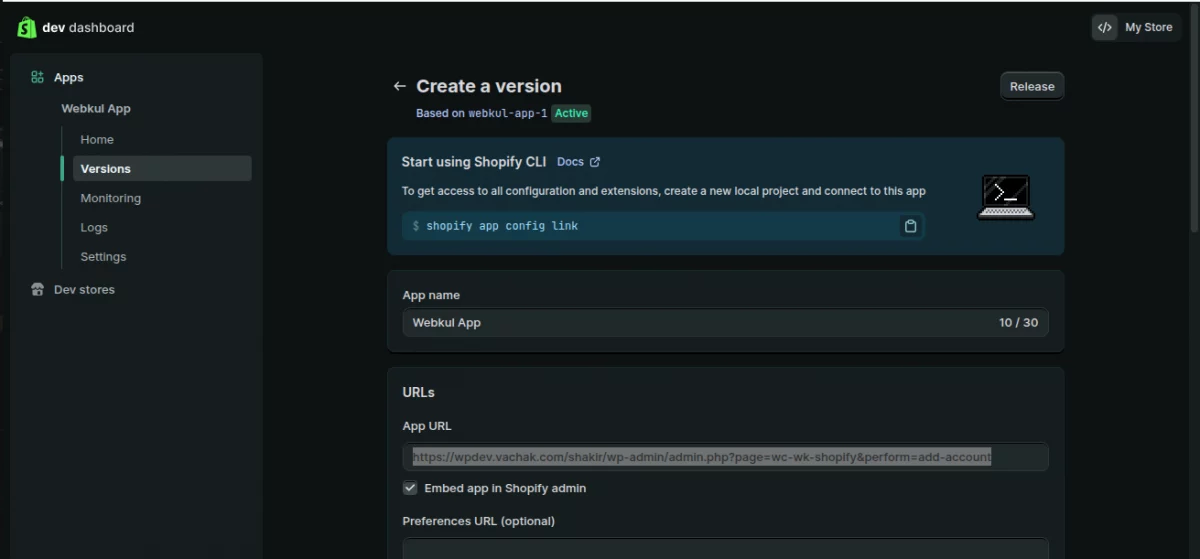
Step 6 – Configure Admin API Scopes
Fill the following details:
- App URL – This is the URL where your app is hosted or where Shopify should send users after installing or opening the app.
Now you need to assign permissions to your app.
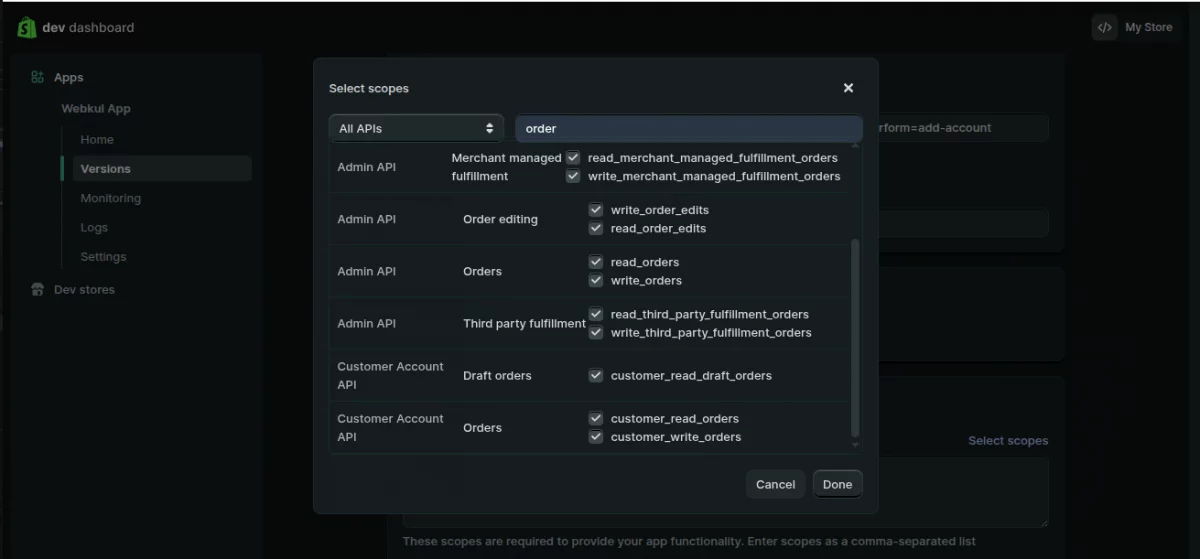
- Then go to the Access section
- From here, select the required API scopes/permissions (for example: Products, Orders, Inventory, Customers etc.), depending on your module requirements.
Also, it should have Read and Write API permission for the following:
- Customer details and customer groups; inventory; orders, transactions, and fulfillment.
- Product information including products, variants, and collections.
- Locations
- Shipping rates
- Discounts
- Online Store Pages access via the GraphQL API.
Note: While making the Webhook Subscription, please make sure to select the latest Event Version.
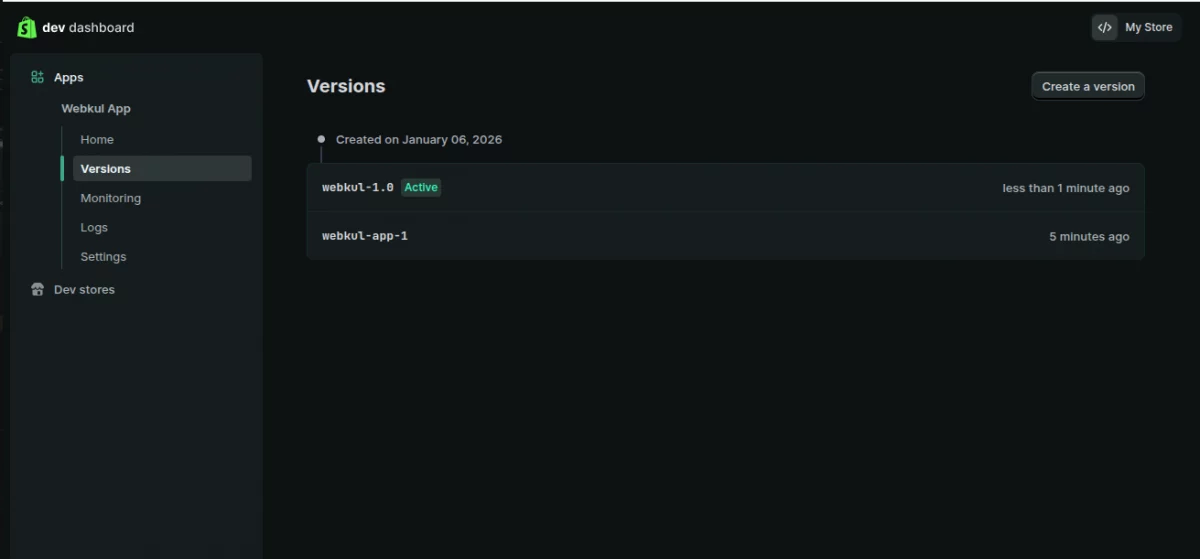
After selecting the scopes and Event version, click Release.
After successfully selecting all the required permissions, click the Release button again. A new version of the app will be created as shown in the image below.
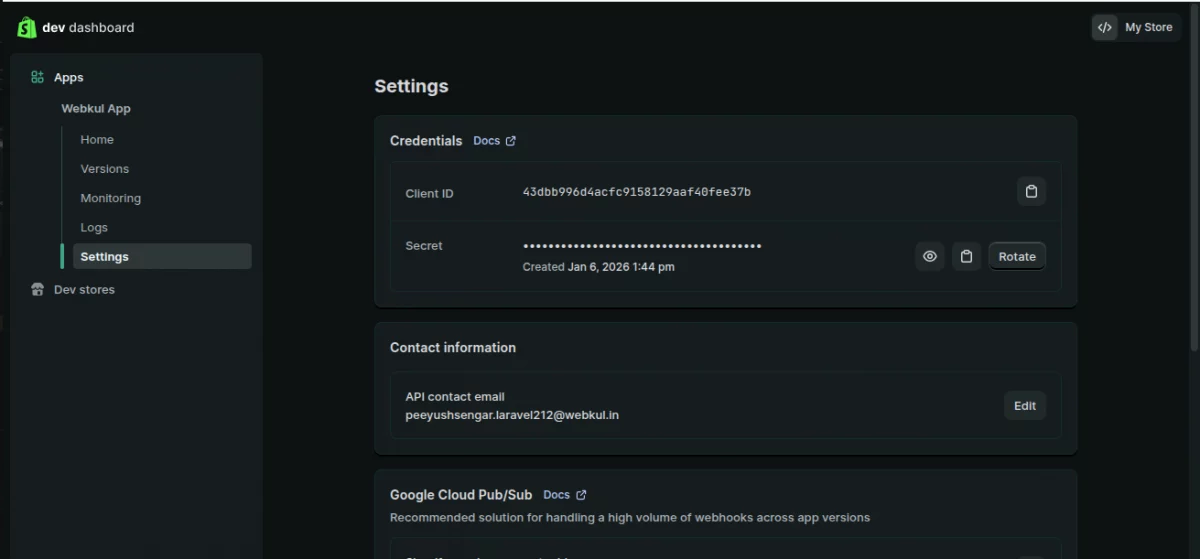
Step 7 – Retrieve Your API Credentials
After that, go to the API Credentials section in the app settings, where you can view your generated keys.
You will be able to see:
- Client ID (API Key)
- Client Secret Key
Click Reveal to display the secret key. Copy both values carefully and keep them stored in a secure location.
Step 8 – Install the App
Once scopes are configured, install the app to activate API access. Click on Install app and confirm the installation in the pop-up. This generates your OAuth application credentials.

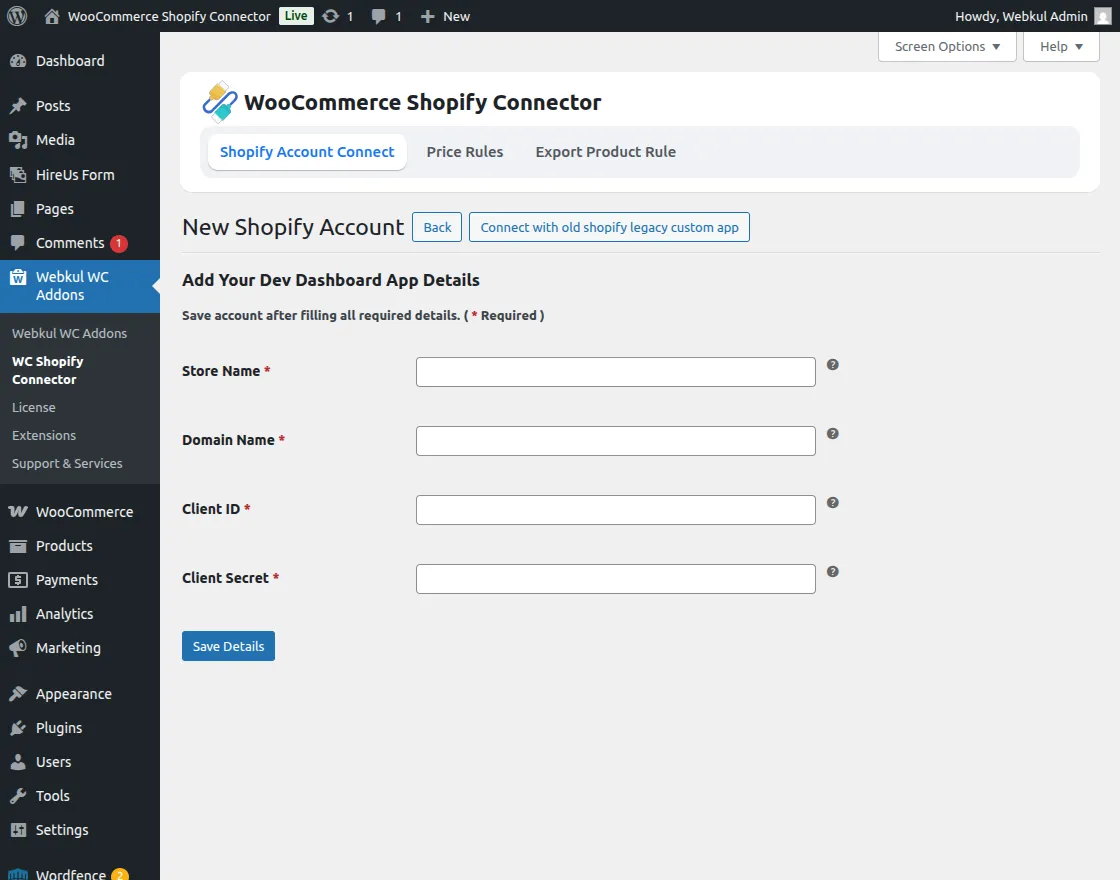
How To Integrate Shopify Credential With Your WooCommerce Store
The admin can copy the generated store name, domain name, Client ID (API Key) & Client Secret Key and then paste these credentials to the WooCommerce store.