
Installation
This guide explains how to properly install and activate the WooCommerce Multi Vendor Marketplace plugin on your WordPress website.
Follow each step carefully to ensure a smooth setup.
System Requirements
Before installation, make sure:
| Requirement | Minimum / Recommended Version |
|---|---|
| WordPress Version | 6.7 or higher |
| WooCommerce Version | 10.0 or higher |
| PHP Version | 7.4+ (recommended) |
| Memory Limit | 256MB or higher |
| SSL | Enabled (recommended) |
Step 1 – Download Plugin
After purchase, you will receive a ZIP file of the plugin.
Do NOT unzip the file before uploading.
Step 2 – Upload Plugin
Login to your WordPress Admin Panel
Navigate to: Plugins > Add New
Click Upload Plugin (top of page)
Click Choose File
Select the downloaded ZIP file

Step 3 – Install Plugin
Click the Install Now button.
WordPress will upload and install the plugin automatically.

Step 4 – Activate Plugin
Once installed:
- You will see Plugin installed successfully
- Click Activate Plugin

Step 5 – Activate License
- To activate the license, go to Marketplace > Settings
- The wizard will be show to activate the license.
- Enter the License Key and click Activate License

- License Activation Guide – Step-by-step instructions on activating your plugin license.
Step 6 – Marketplace Menu
After activation:
- A new Marketplace menu appears in the admin sidebar

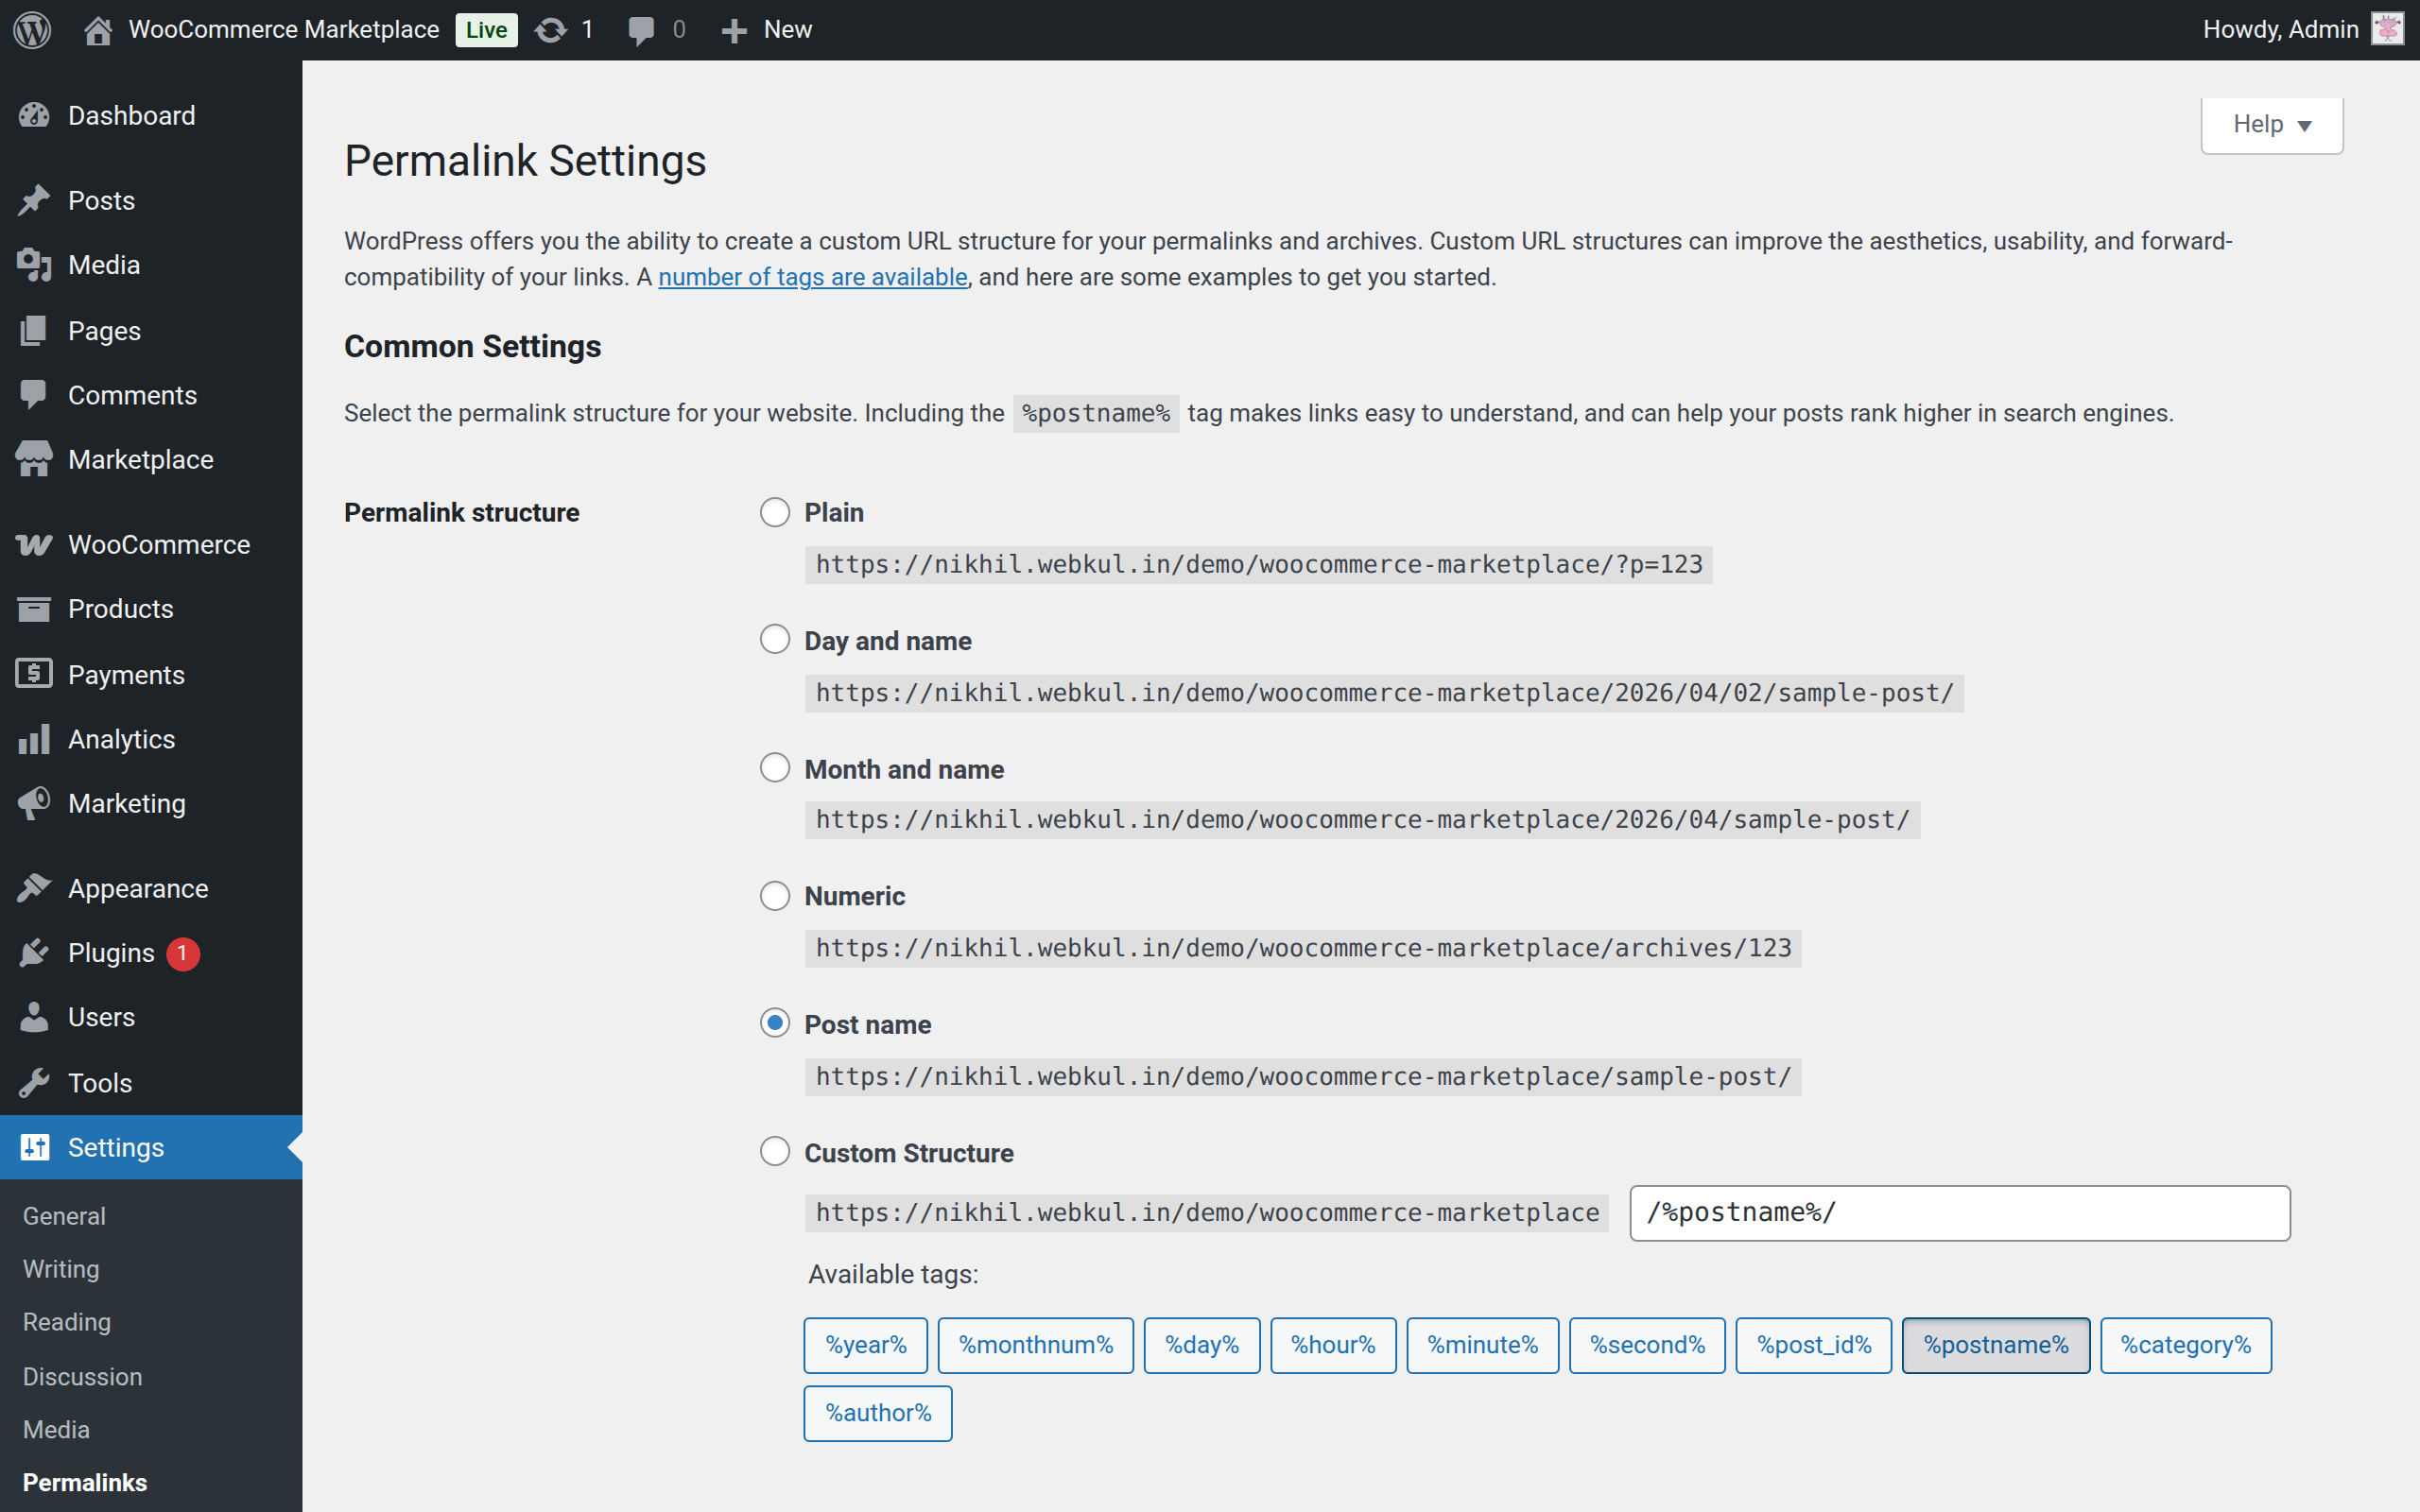
Step 7 – Update Permalinks
This step is mandatory.
- Go to Settings > Permalinks.
- Set Post Name as the permalink structure.

Notes
- Always ensure the plugin zip is compatible with your WooCommerce version.
- Update permalinks after installation to avoid 404 errors.