
Vendor Registration Process

Vendors can register on the marketplace using multiple methods provided by the WooCommerce Marketplace plugin.
Method 1: Registration via Vendor Menu
Vendor clicks on the Vendor menu item.
The page displays two options:
- Login Here
- Register
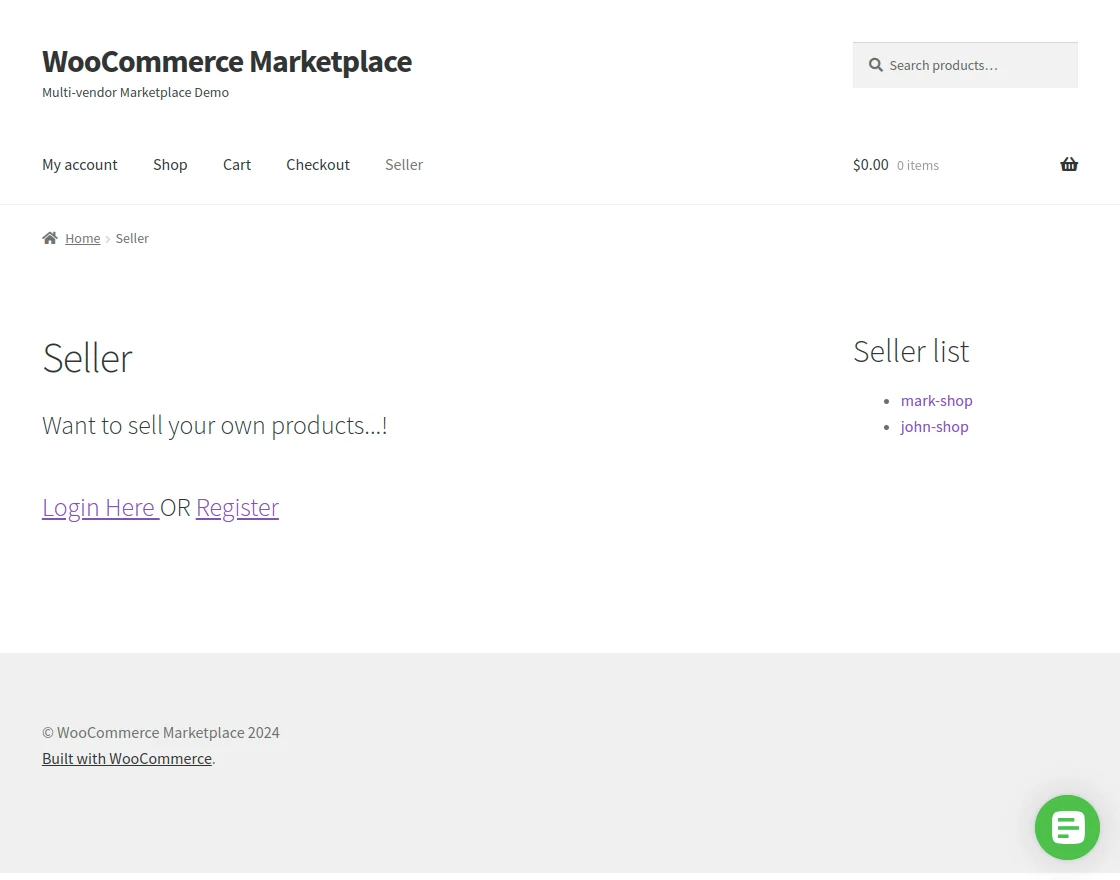
Clicking Login Here redirects to the vendor login page.
Clicking Register redirects to the vendor registration page.


Method 2: Registration via Seller Central Page
- Vendor visits the Seller Central page.
- Clicks on the Become a Seller button.

- The vendor registration form opens.
- Vendor completes and submits the registration form.

Method 3: Registration via My Account Page
If the admin enables Allow Vendor Registration on My Account:
- A vendor registration option is available on the My Account sign-up page.
- The user selects the “I am a Vendor” radio button during registration.
- Additional vendor-specific registration fields are displayed automatically.

Vendor Registration Form Fields
The vendor must enter the following details:
- Email Address
- Password
- First Name
- Last Name
- Shop Name
- Shop URL
- Phone Number
- Accept Terms & Conditions
After entering the details, click the Register button.

Shop URL Availability Check
- The Shop URL field uses an AJAX-based availability check.
- Displays “Available” if the URL is unused.
- Displays “Already Exists” if the URL already exists.
Registration Using Email & Password
- Vendor registration is completed using email and password.
- Vendor access is granted based on admin approval settings.

Become a Vendor from Customer Account
- Existing customers can upgrade to a vendor account.
- A Become a Vendor option is available in the My Account panel.
- Clicking it initiates the vendor registration process.
