
Globalpay Android Terminal App Setup
Physical Android smart terminals (such as Poynt, Sunmi, PAX, or Globalpay dedicated POS terminals) connect to WooCommerce POS running the official Globalpay Terminal Application.
1. App Authentication & Login
Launch the Globalpay Terminal app on your Android terminal device.
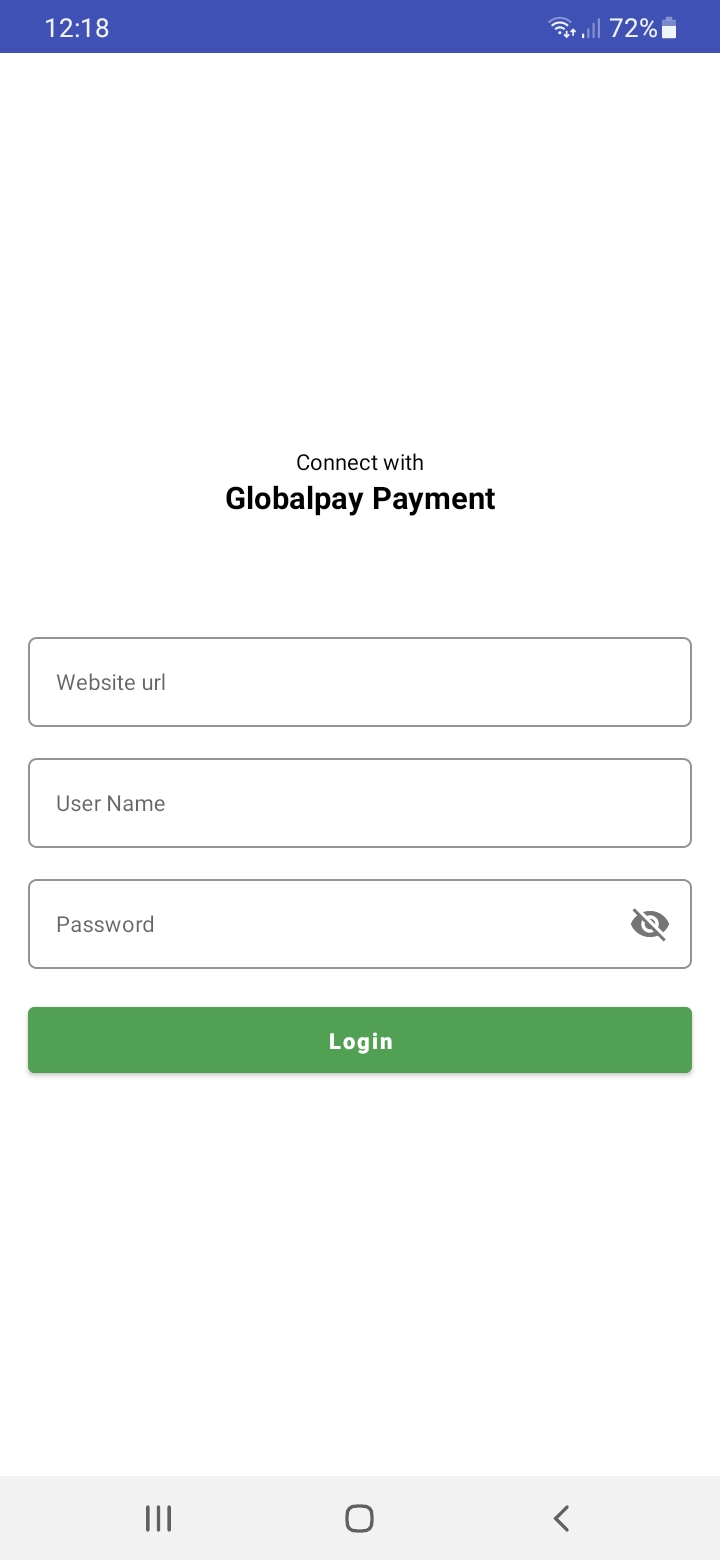
Input store authentication details:
- Website url: Store POS URL (e.g.
https://192.168.15.127/posorhttps://yourstore.com/pos). - User Name: Assigned POS Cashier Username.
- Password: Assigned POS Cashier Password.
- Tap Login.
2. Terminal Socket Connection Configuration
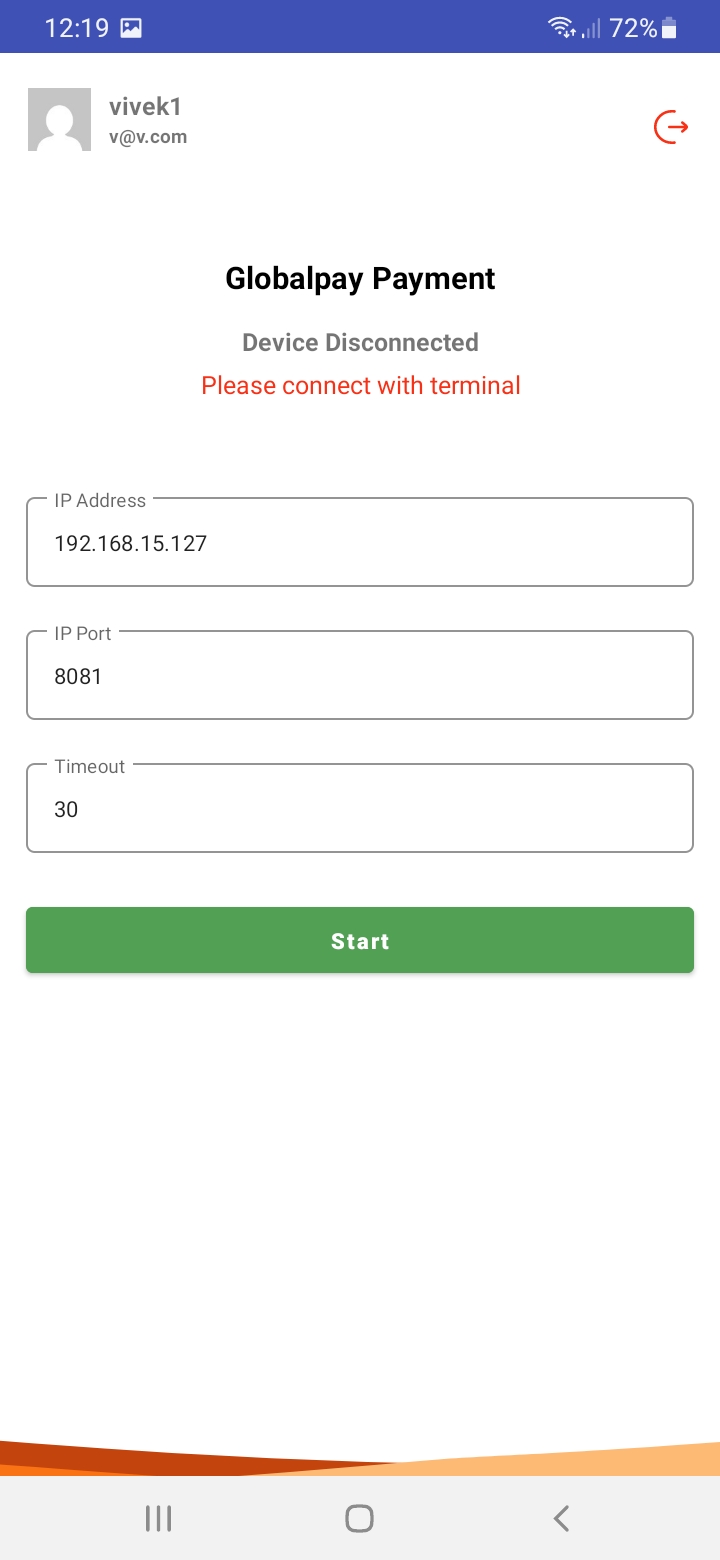
Once logged in, configure the local socket bridge connection parameters:
- IP Address: IP address of the server running the Node socket bridge (e.g.
192.168.15.127). - IP Port: Port allocated for socket traffic (e.g.
8081or5055). - Timeout: Connection retry timeout in seconds (e.g.
30). - Tap Start to connect to the POS server.
Connection States
| Disconnected State | Connected State |
|---|---|
 | 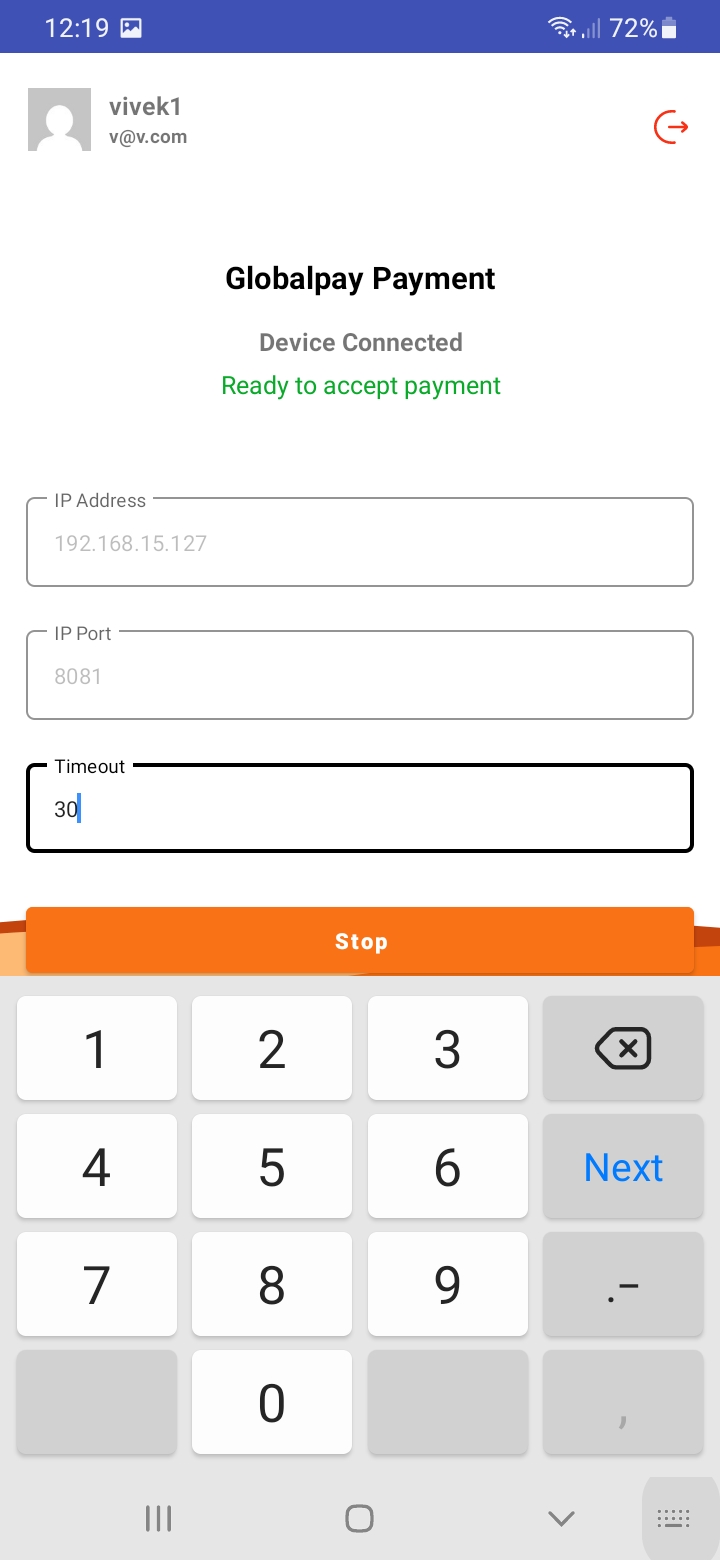 |
When connected, the status updates to Device Connected - Ready to accept payment in green text.
3. Transaction Reception & Approval Screen Sequence
When a cashier initiates checkout in WooCommerce POS:
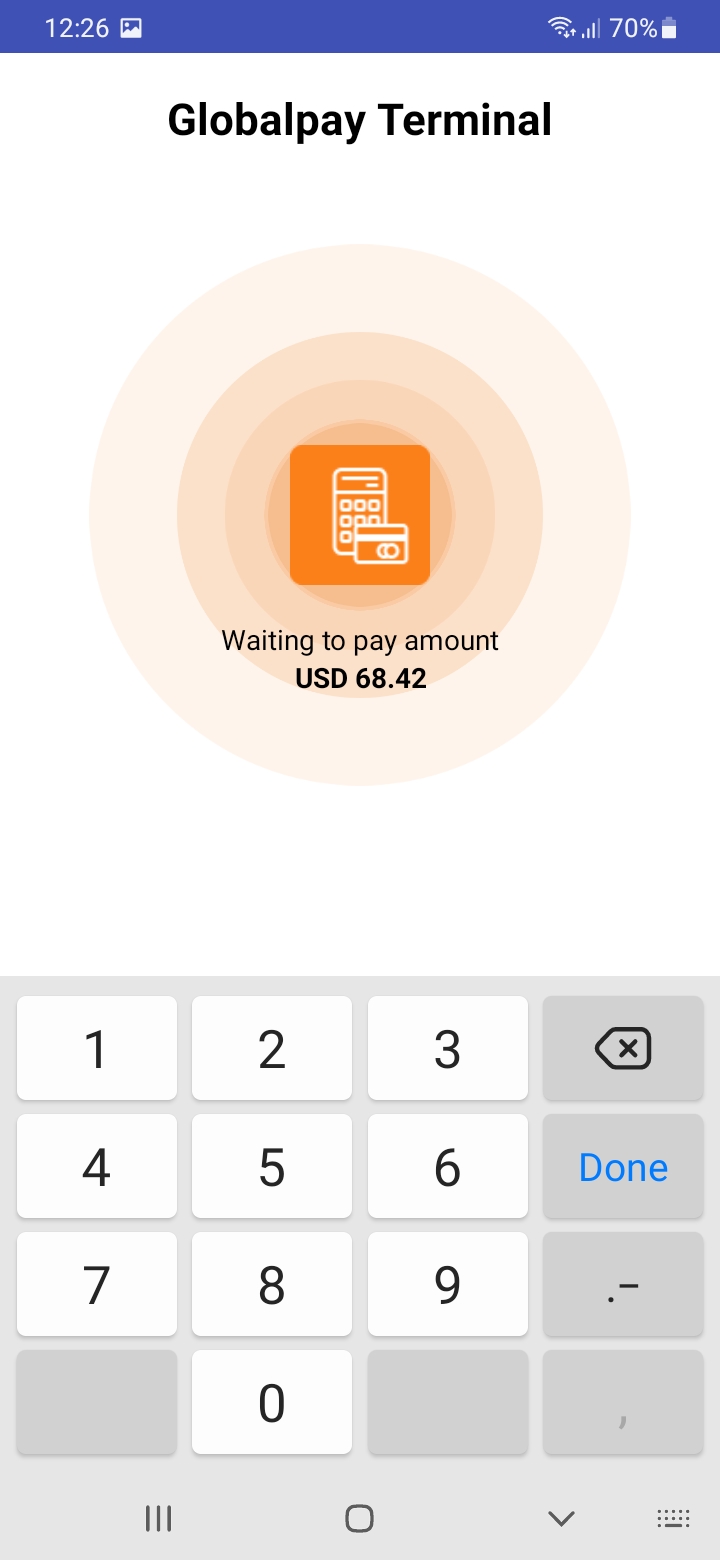
- Waiting to Pay Amount: The terminal screen displays
Waiting to pay amount USD 68.42. - Card Swipe/Insert & PIN: The customer inserts their card and enters their secret PIN.
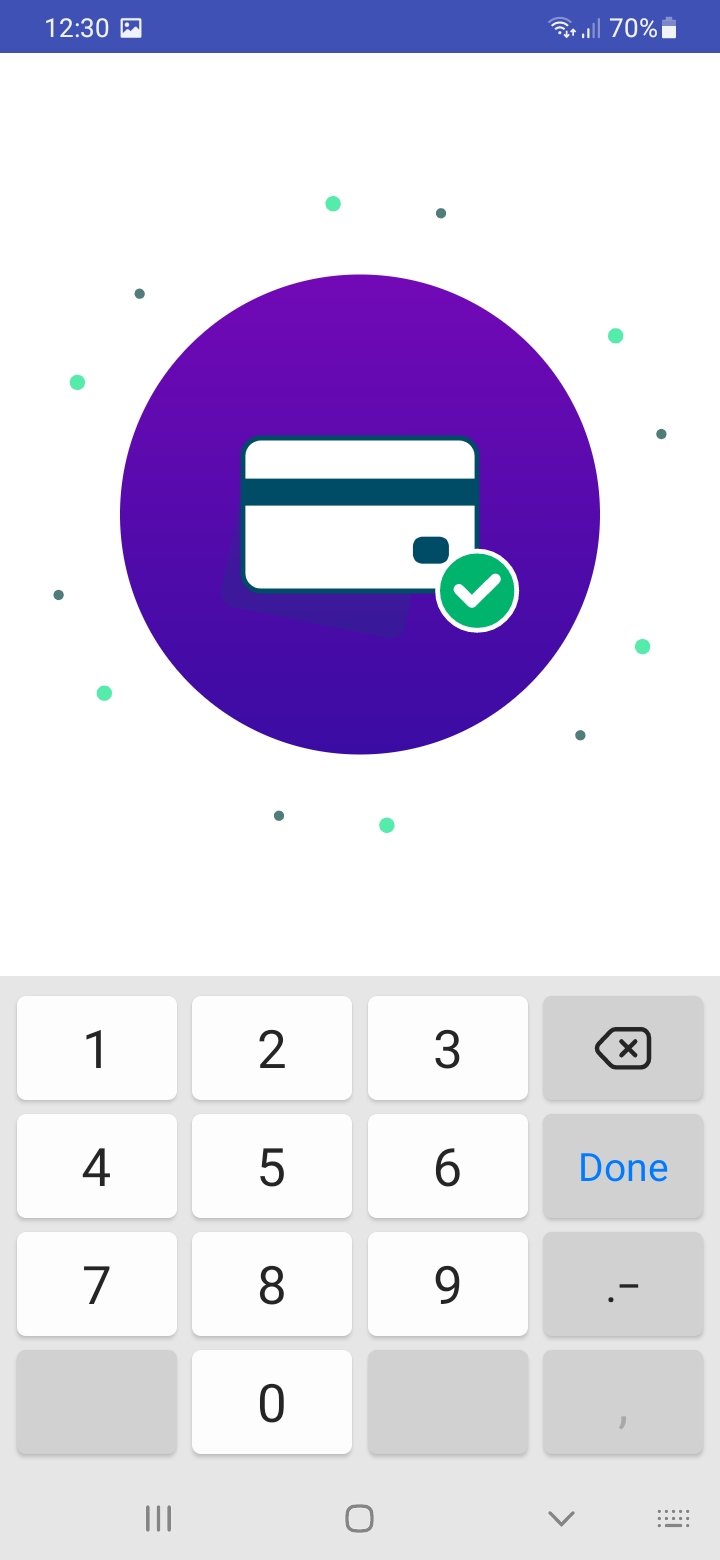
- Transaction Approved: The terminal displays a green checkmark icon confirming payment completion.
| Waiting for Payment | Payment Approved |
|---|---|
 |  |