
Installation
This guide walks through installing and activating Virtual Try On for WooCommerce on your WordPress and WooCommerce environment.
Prerequisites
Before installing the extension, confirm that your hosting environment meets the following requirements:
- WordPress: Version 6.5 or higher.
- WooCommerce: Version 9.0 or higher installed and activated.
- PHP: Version 7.4 to 8.4 with standard
cURL,json, andfileinfoextensions enabled. - HTTPS: An active SSL certificate on your store domain (required for browser security and AI API communication).
WooCommerce Dependency
Virtual Try On requires WooCommerce to function. If the extension is activated while WooCommerce is inactive, WordPress will display an administrative notice: "Virtual Try On For WooCommerce is enabled but not effective. It requires WooCommerce Plugin in order to work."
Installation Steps
Step 1: Upload the Plugin Archive
- Log into your WordPress Admin Dashboard with administrator privileges.
- In the left navigation menu, navigate to Plugins → Add New Plugin.
- At the top of the Add Plugins screen, click the Upload Plugin button.
- Click Choose File and browse to select the downloaded plugin zip archive (
virtual-tryon-for-woocommerce.zip). - Click Install Now.
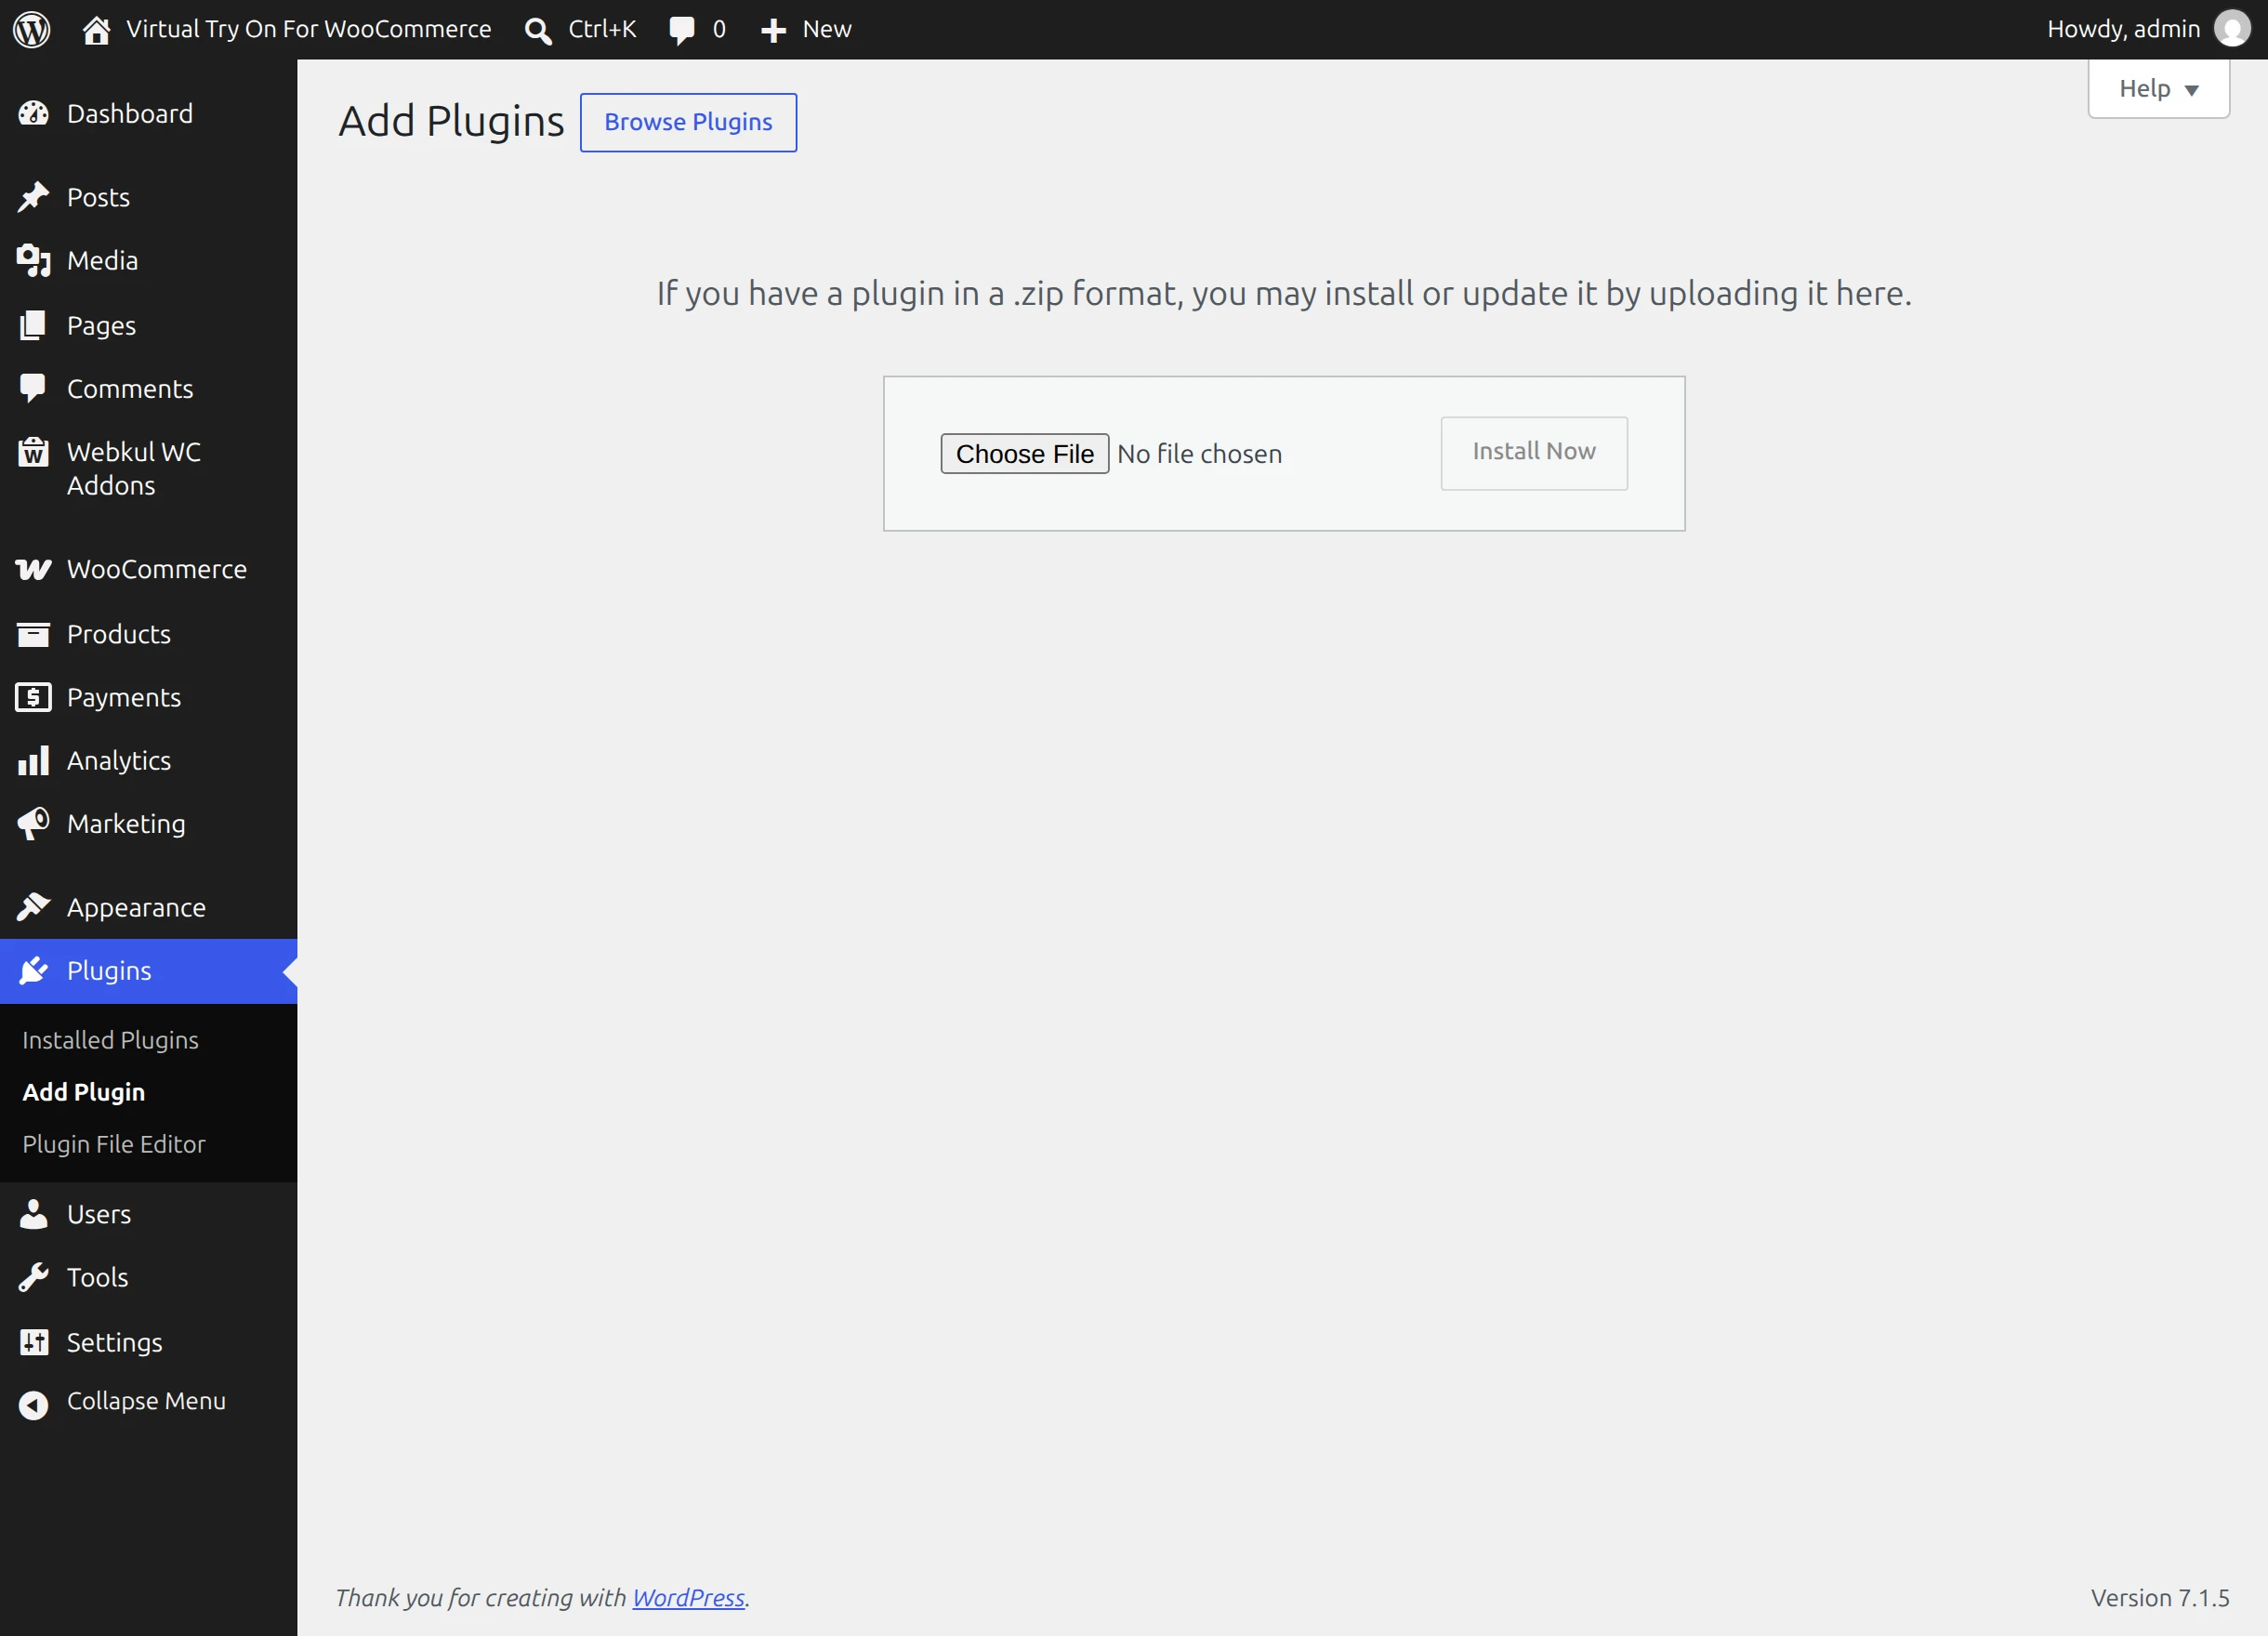
Step 2: Activate the Plugin
- Once WordPress completes unpacking and installing the archive, you will see a confirmation screen:
Unpacking the package... Installing the plugin... Plugin installed successfully. - Click the blue Activate Plugin button.
Step 3: Verify Activation
After successful activation, verify the following indicators in your WordPress dashboard:
- Navigate to Plugins → Installed Plugins and verify that Virtual Try On For WooCommerce is listed as active.
- Verify that a new menu item titled Virtual Try On appears under the Webkul WC Addons menu in the admin sidebar.
- Confirm that the Virtual Try On tab is visible when editing any simple or variable product under Products → All Products → Edit Product → Product Data.
Alternative Installation via FTP / SSH
For developers or server administrators deploying via SFTP, SSH, or automated deployment pipelines:
- Unzip the
virtual-tryon-for-woocommerce.ziparchive locally. - Upload the extracted
virtual-tryon-for-woocommercedirectory into your server's WordPress plugins path:/path/to/wordpress/wp-content/plugins/virtual-tryon-for-woocommerce/ - Set appropriate directory and file permissions:
find /path/to/wordpress/wp-content/plugins/virtual-tryon-for-woocommerce/ -type d -exec chmod 755 {} \; find /path/to/wordpress/wp-content/plugins/virtual-tryon-for-woocommerce/ -type f -exec chmod 644 {} \; - Activate the plugin using WP-CLI:
wp plugin activate virtual-tryon-for-woocommerce
Now that installation is complete, proceed to Admin Configuration to configure your AI provider and storewide settings.