Kitchen Screen
This page is for the kitchen. Everything happens on one address, usually https://yourstore.com/kitchen, and nothing else on the site is reachable from it.
Signing in
Open the kitchen address. Enter the username and password of the Kitchen User account the store owner created for you, and select Log In.
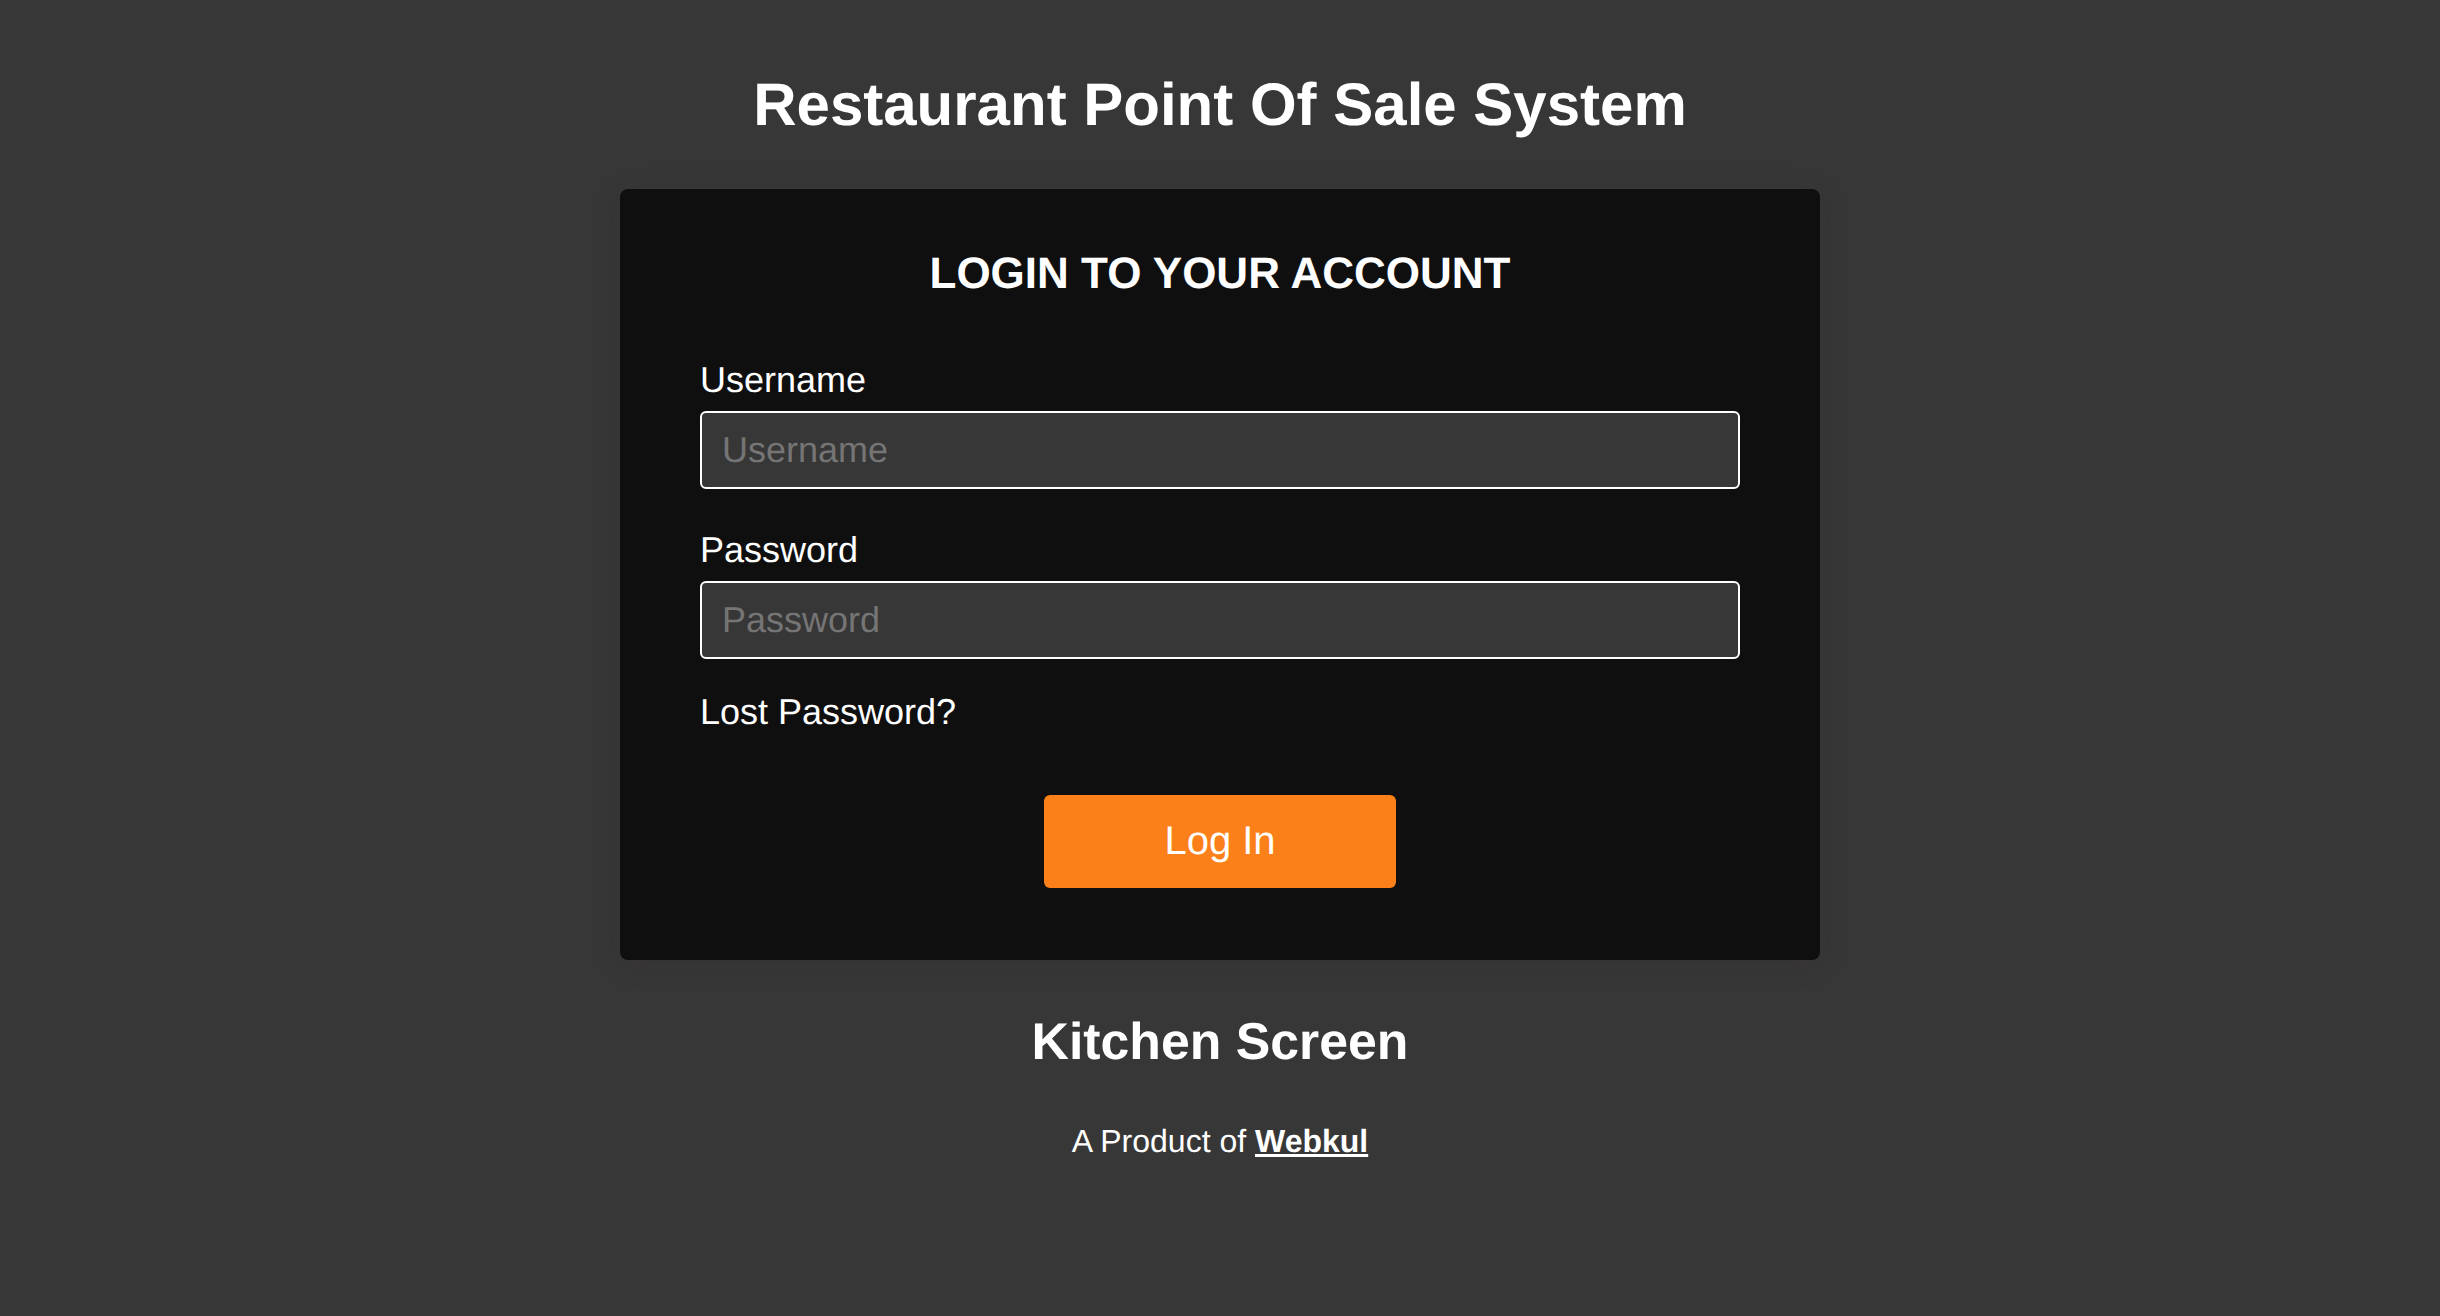
The board opens immediately and stays open. There is no need to refresh it during service — tickets arrive on their own.
The board
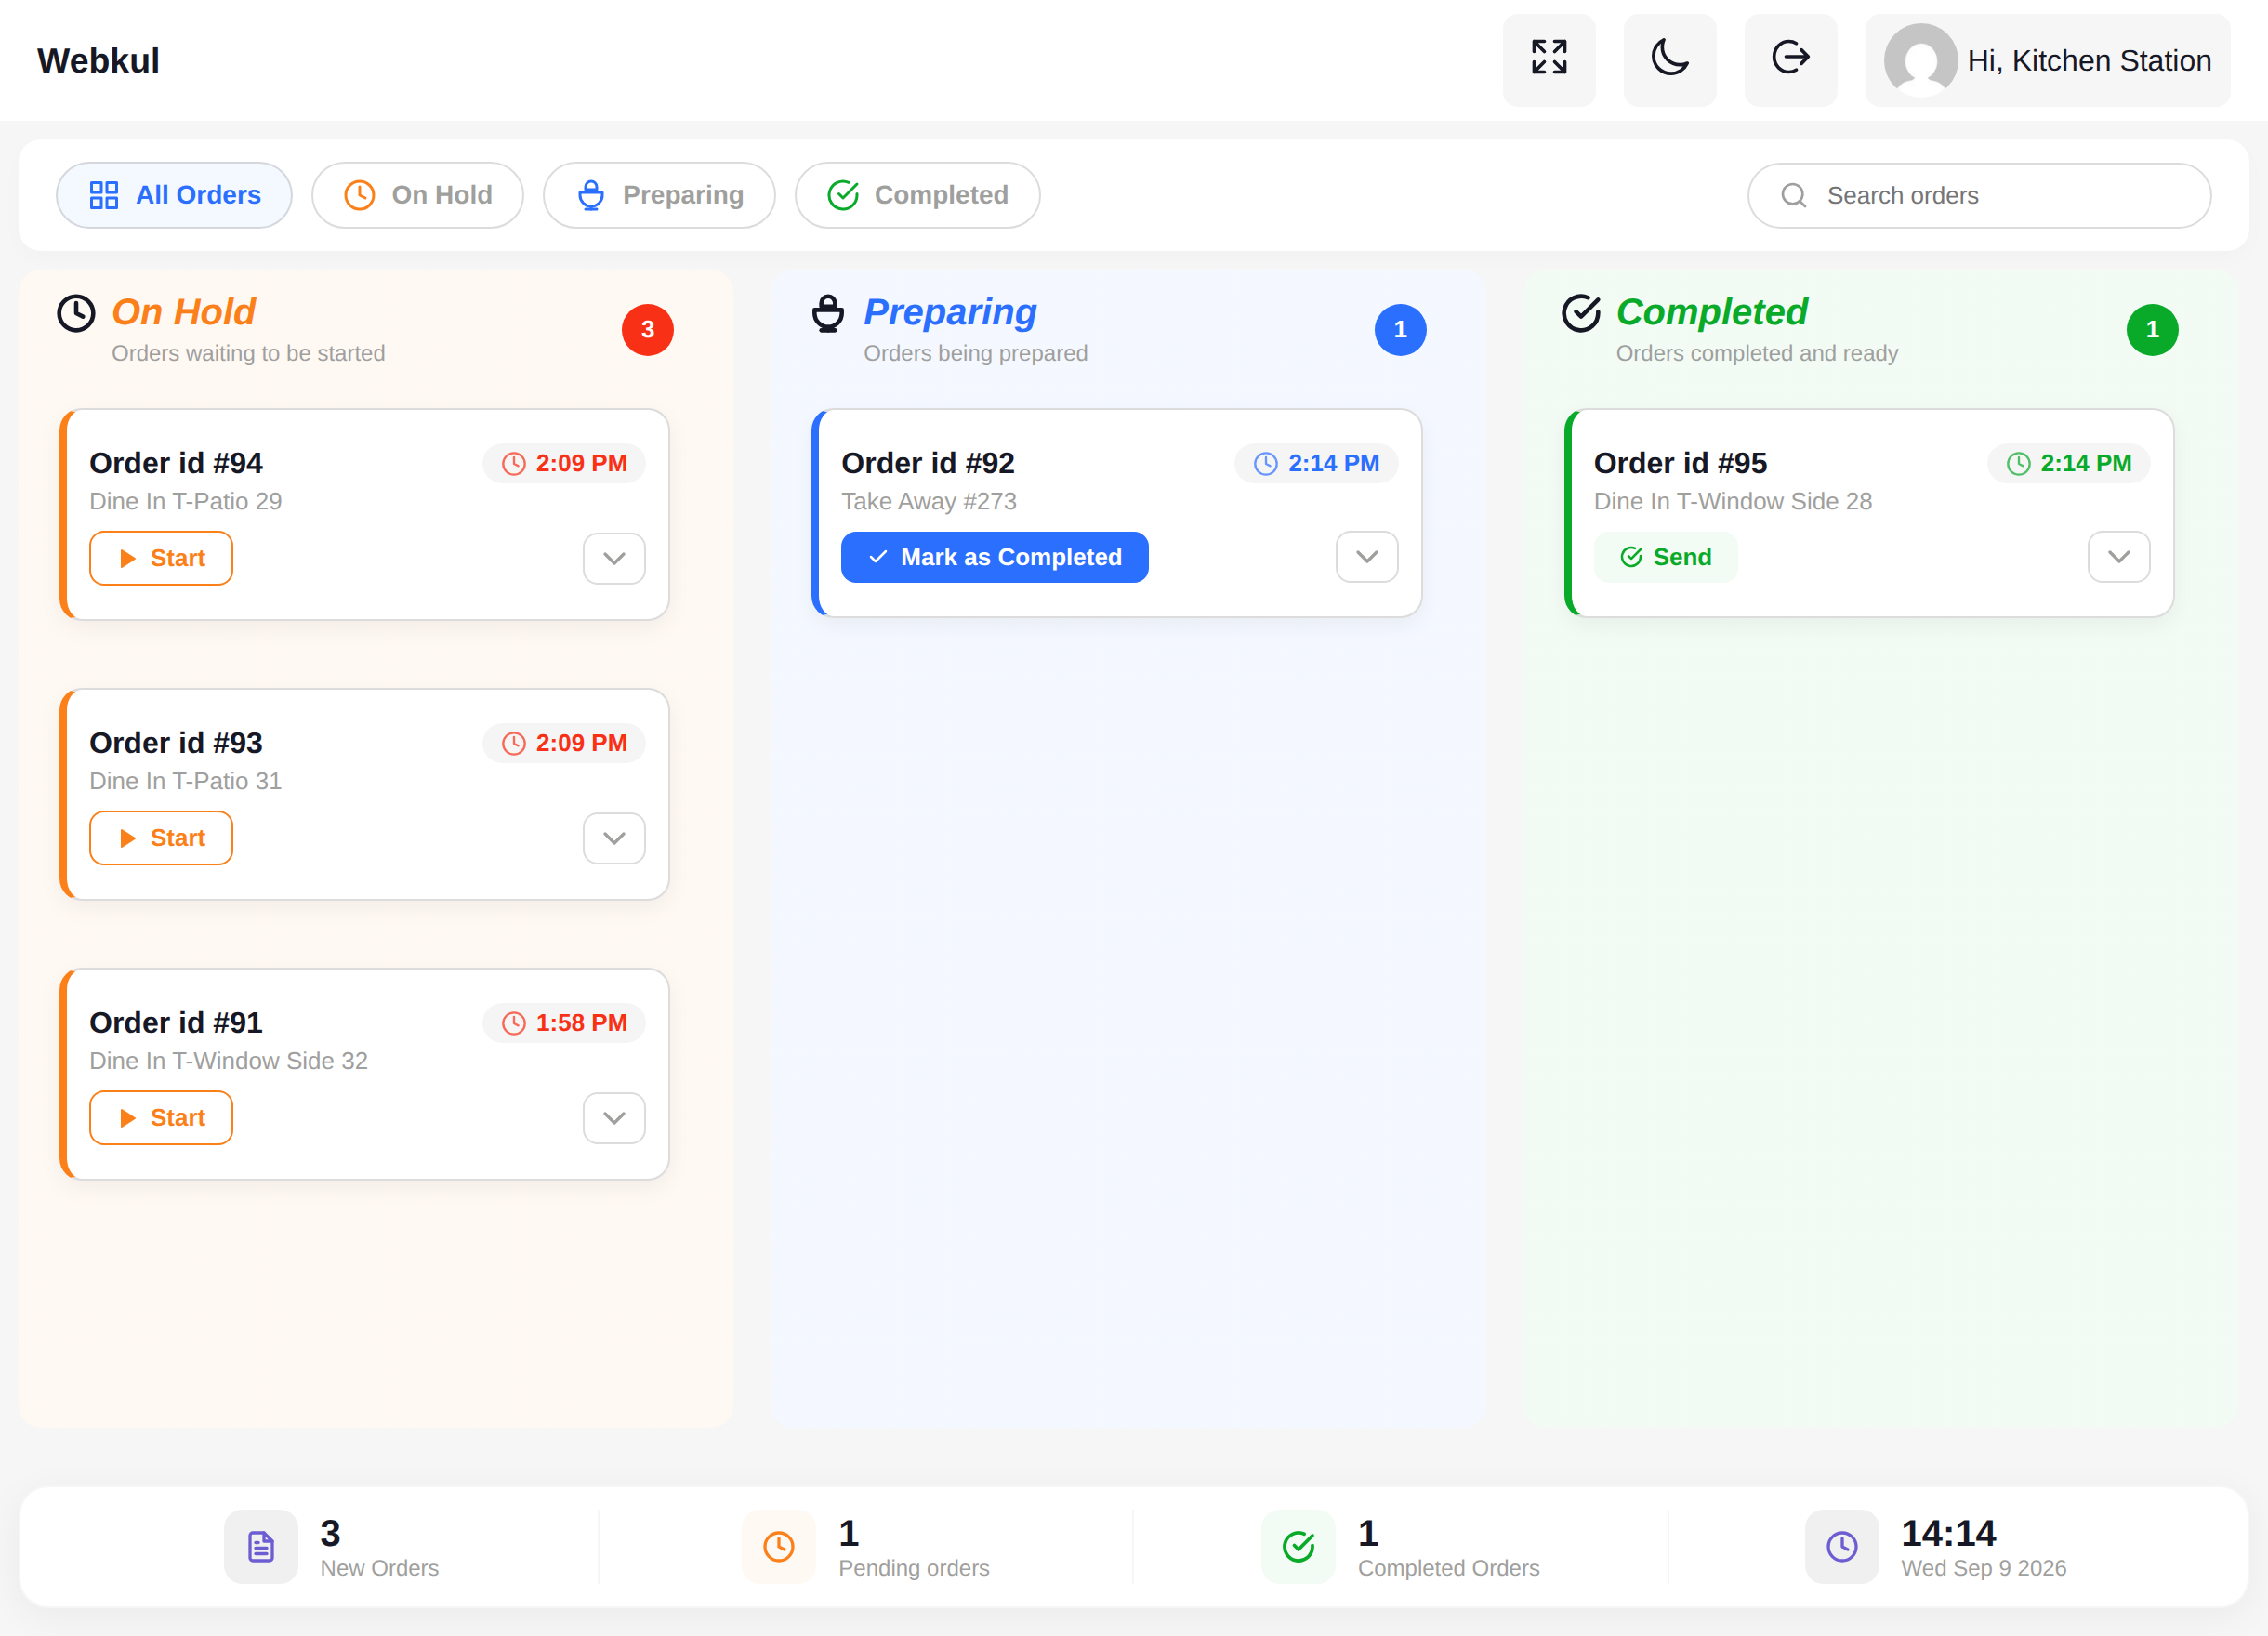
Four views sit along the top.
| View | Shows |
|---|---|
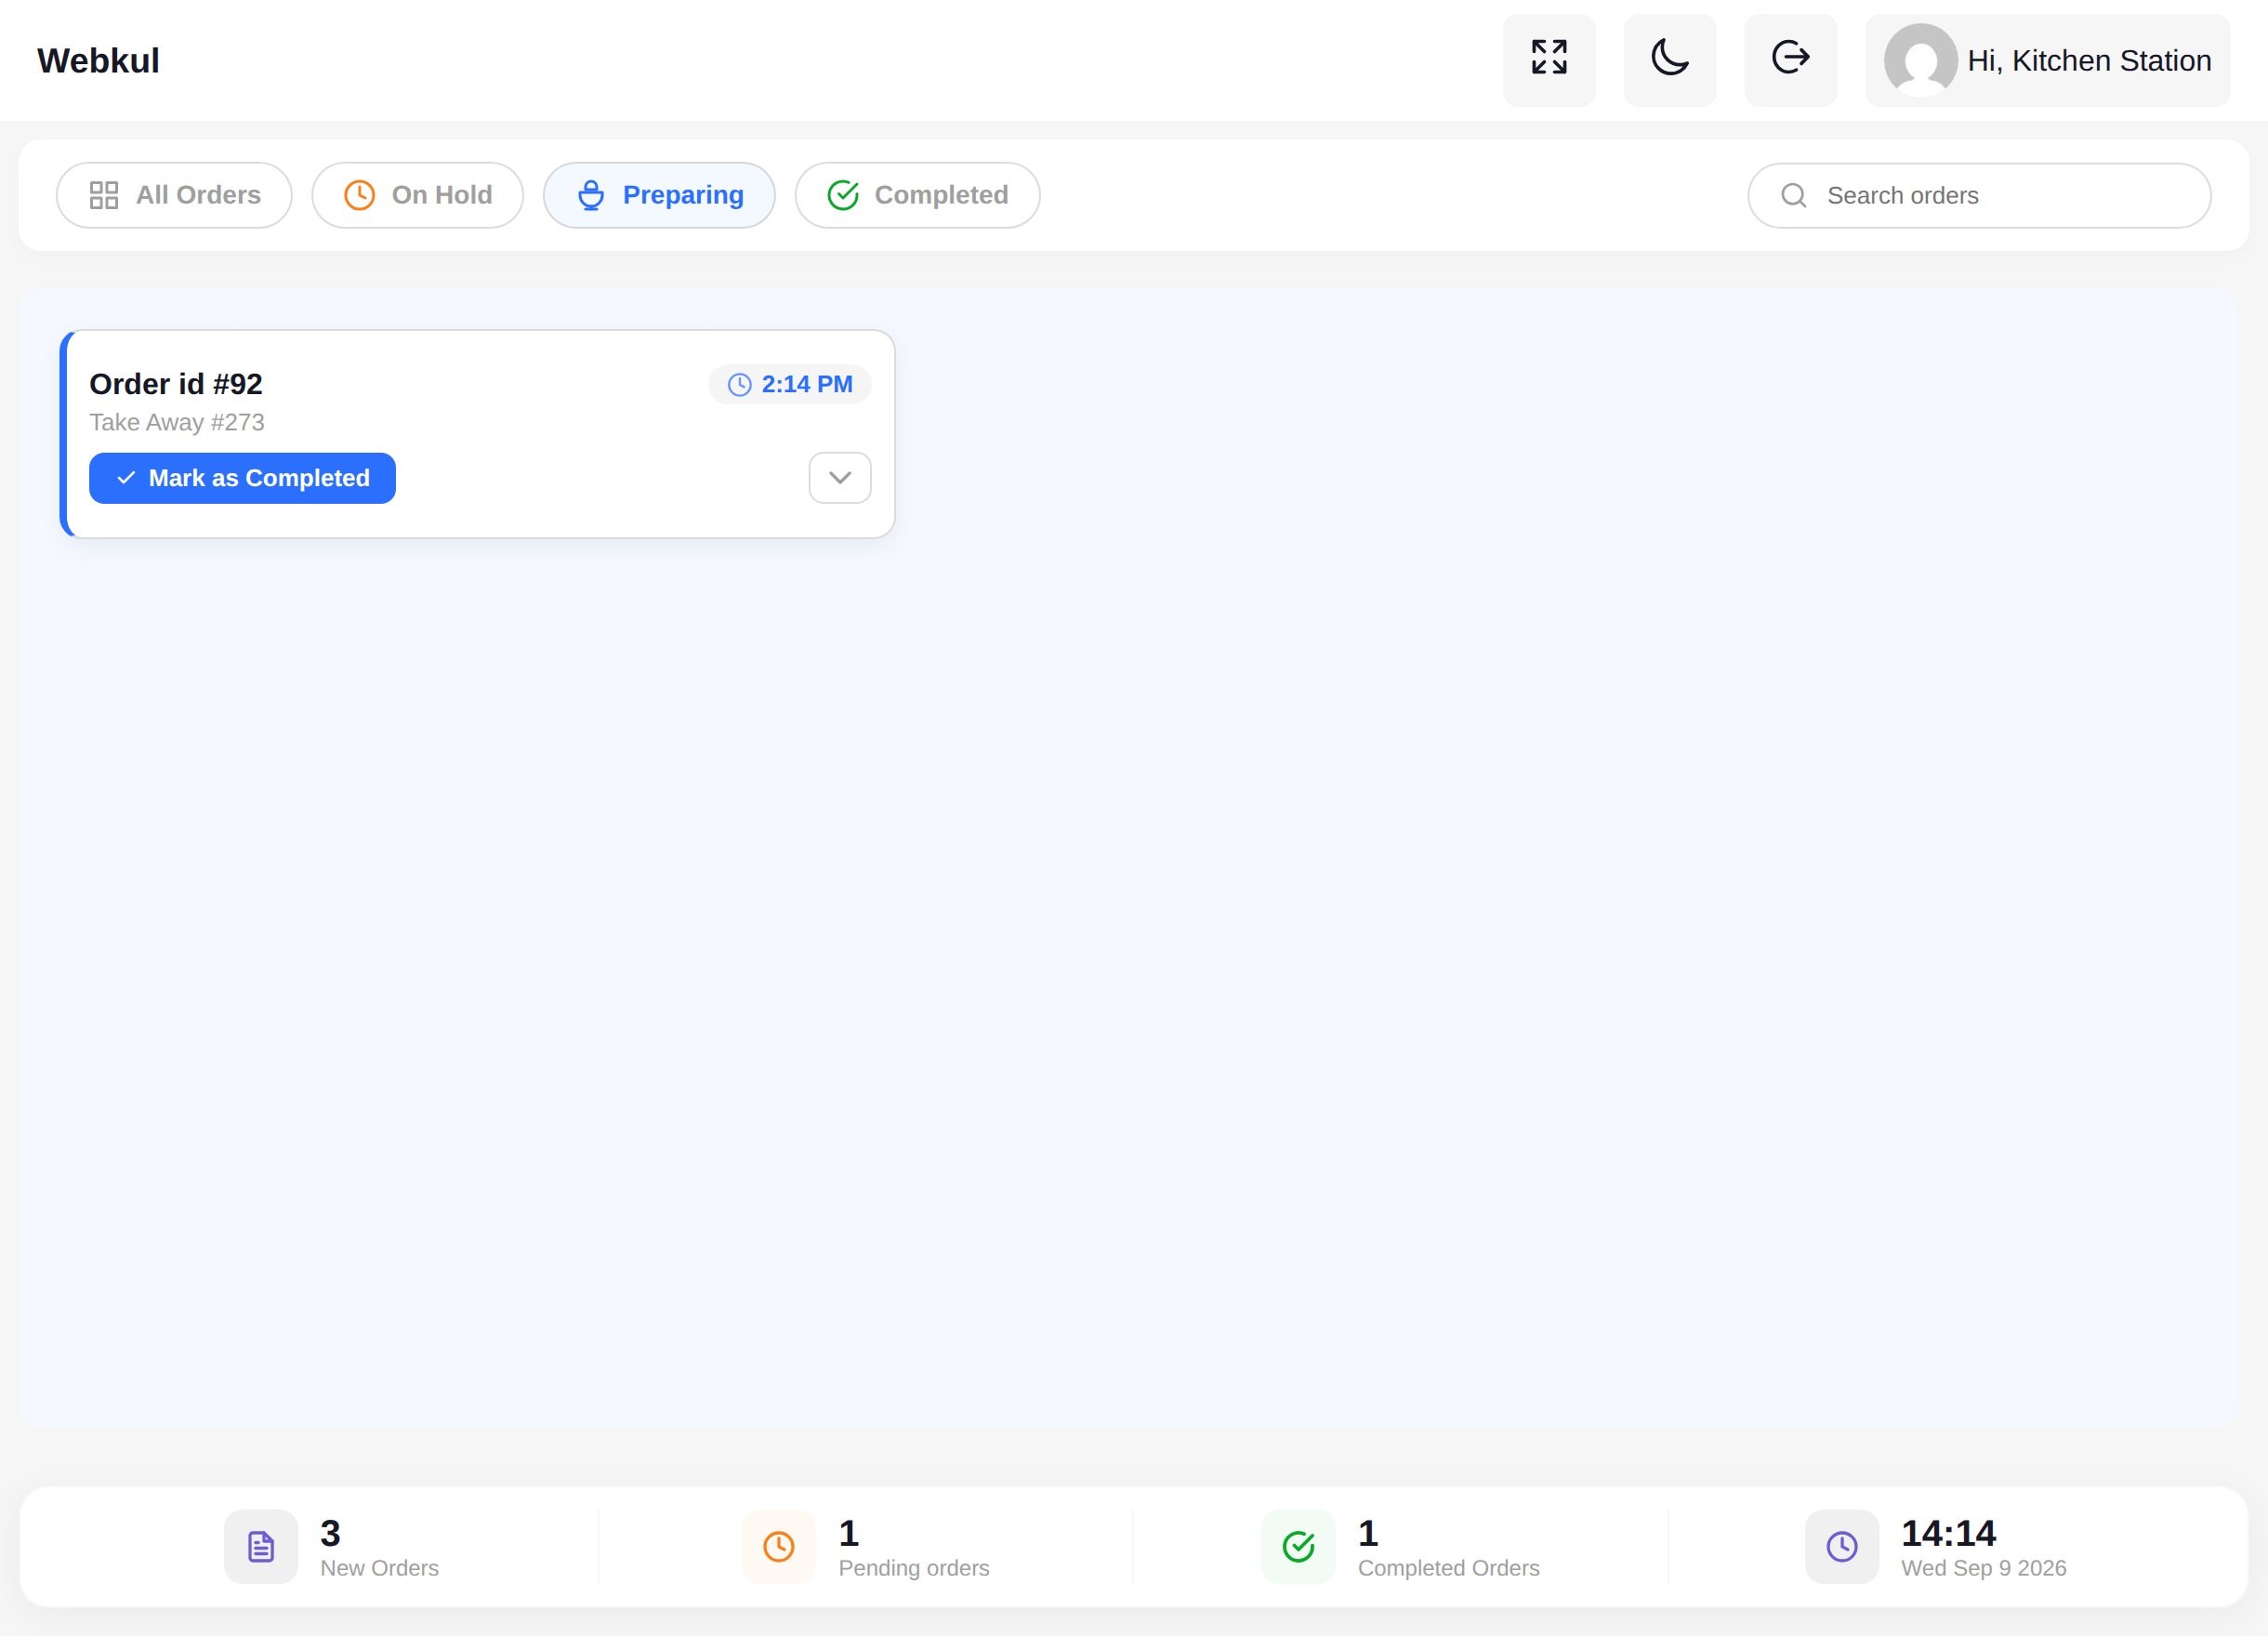
| All Orders | The three working columns side by side. This is the view to leave open during service. |
| On Hold | Only the tickets waiting to be started. |
| Preparing | Only the tickets being cooked. |
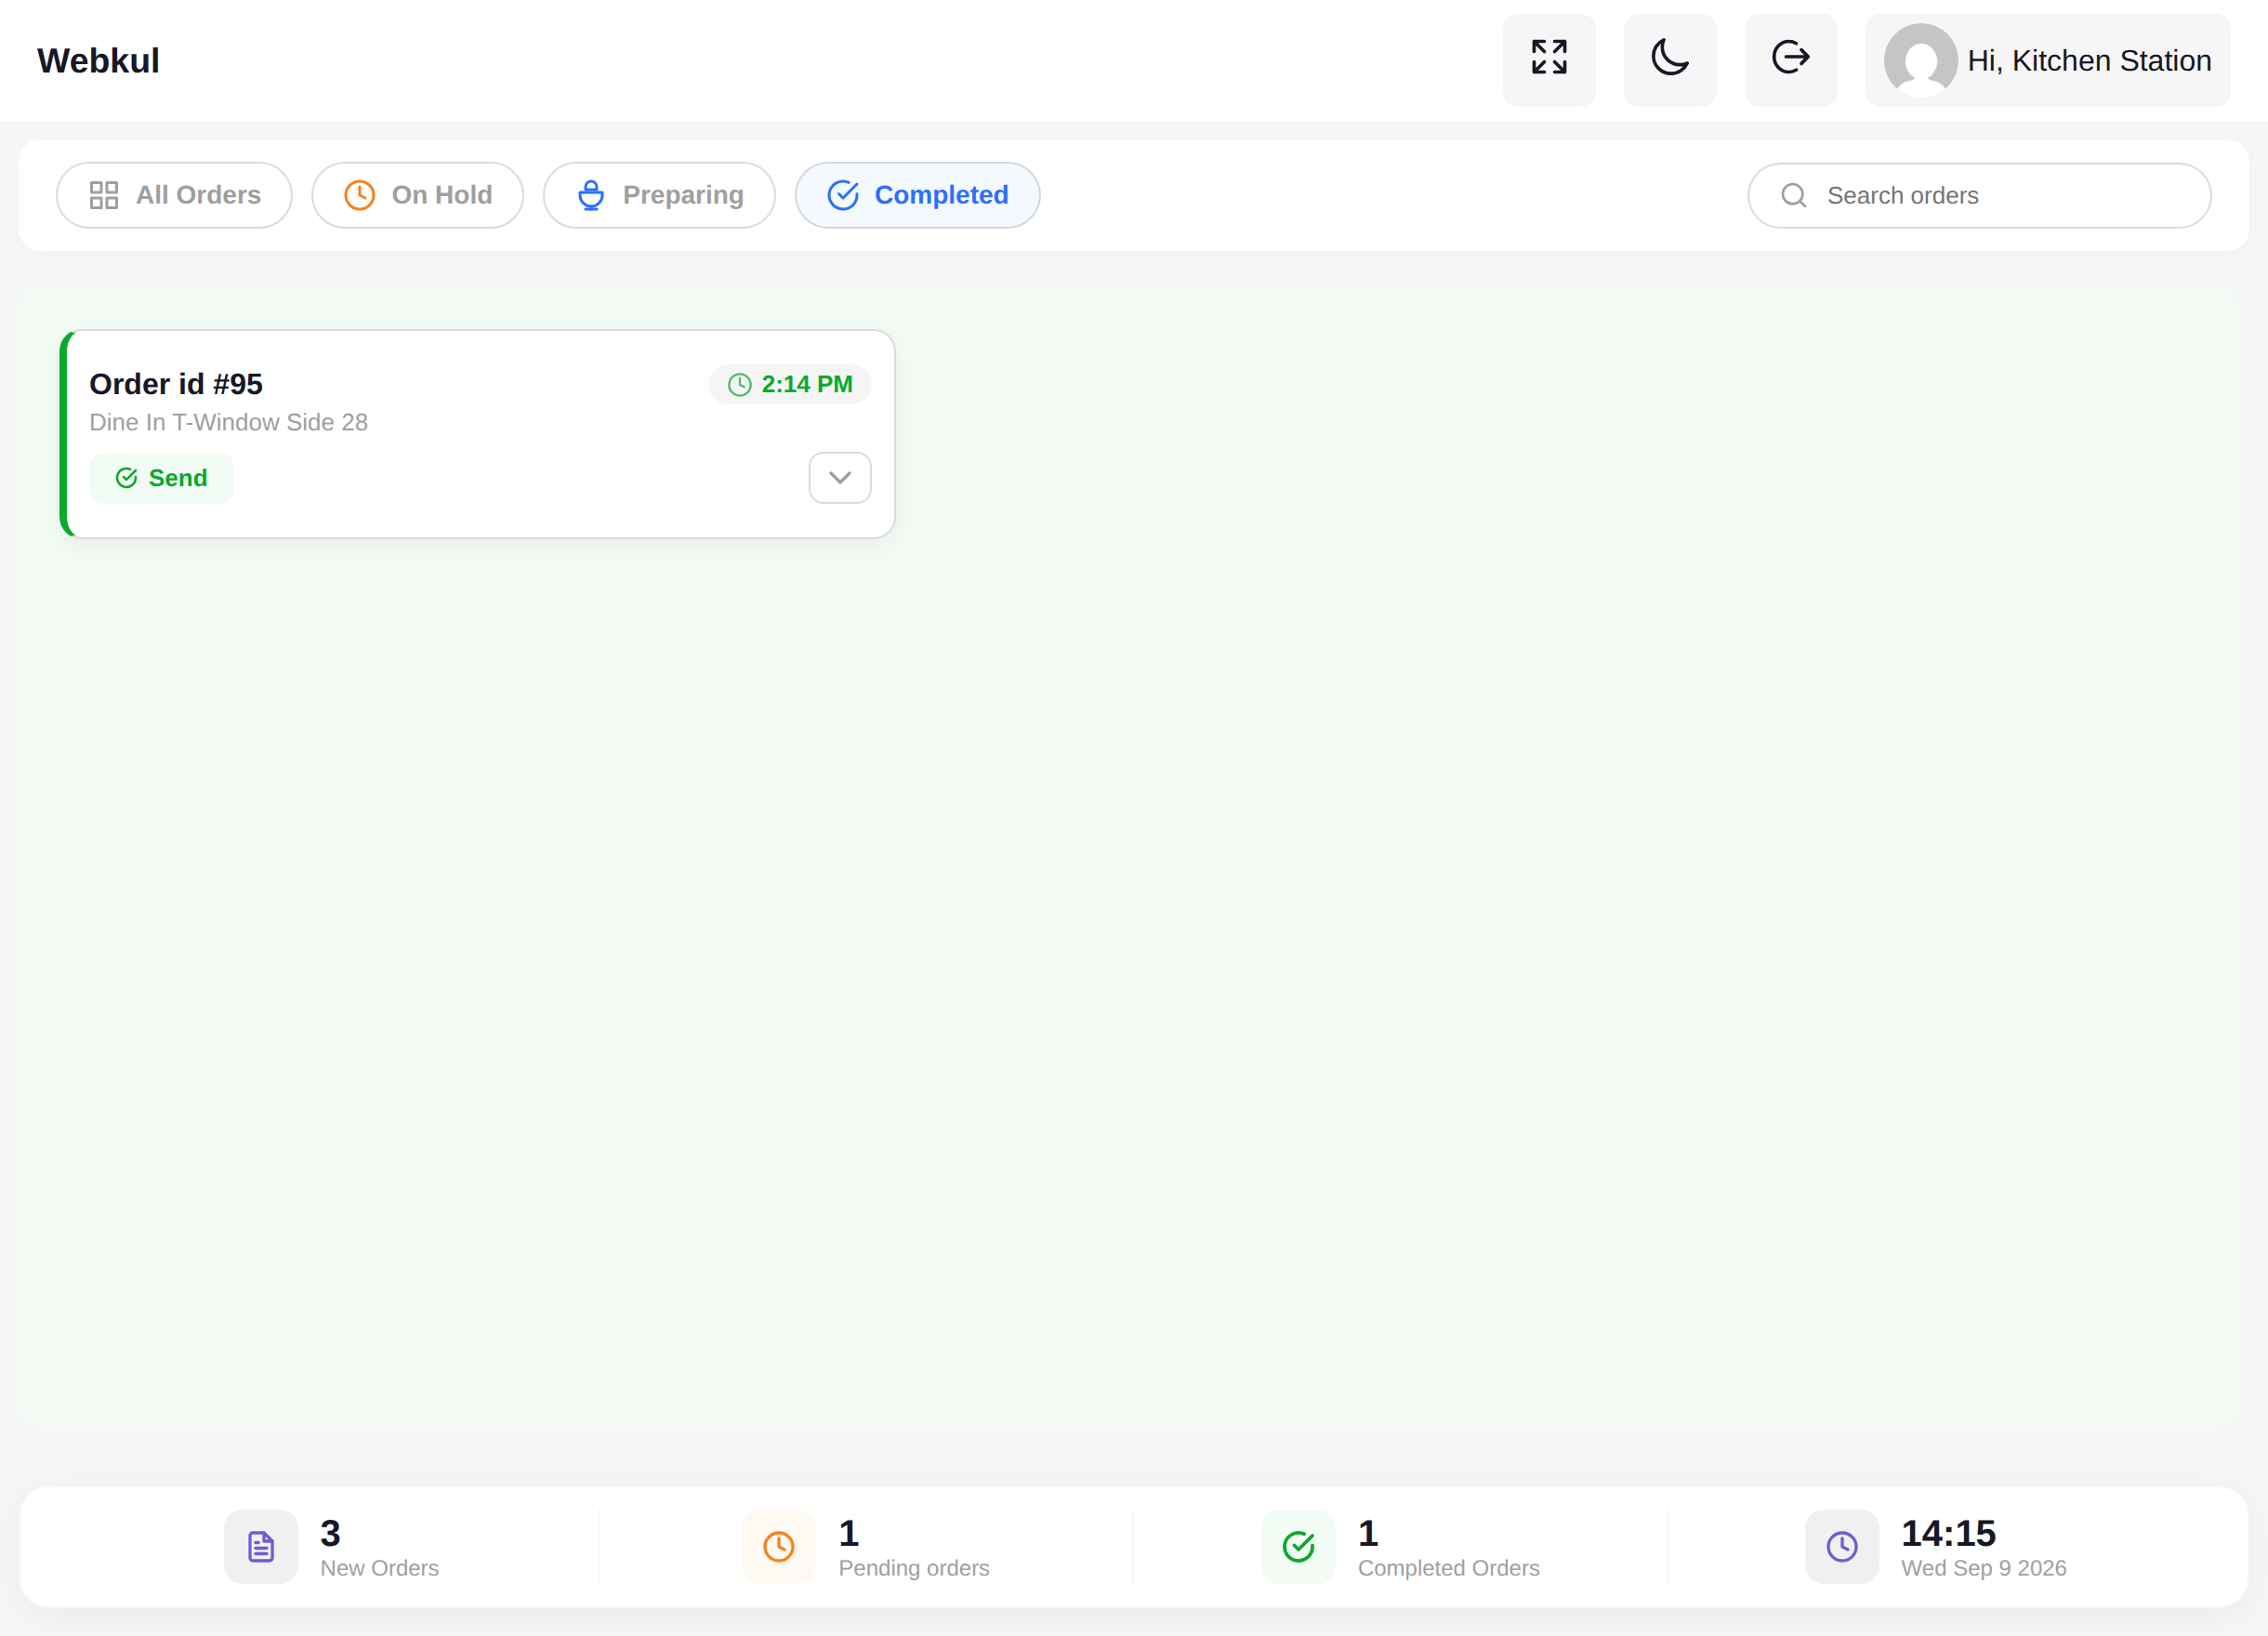
| Completed | Only the tickets that are ready to go out. |
Along the bottom, a strip counts New Orders, Pending orders and Completed Orders, next to the current time and date.
Reading a ticket
Each card shows, at a glance:
- the kitchen ticket number, for example Order id #76;
- the time it reached the kitchen;
- whether it is Take Away, with the WooCommerce order number, or Dine In, with the table name and booking number.
Select the chevron on the right of the card to expand it.
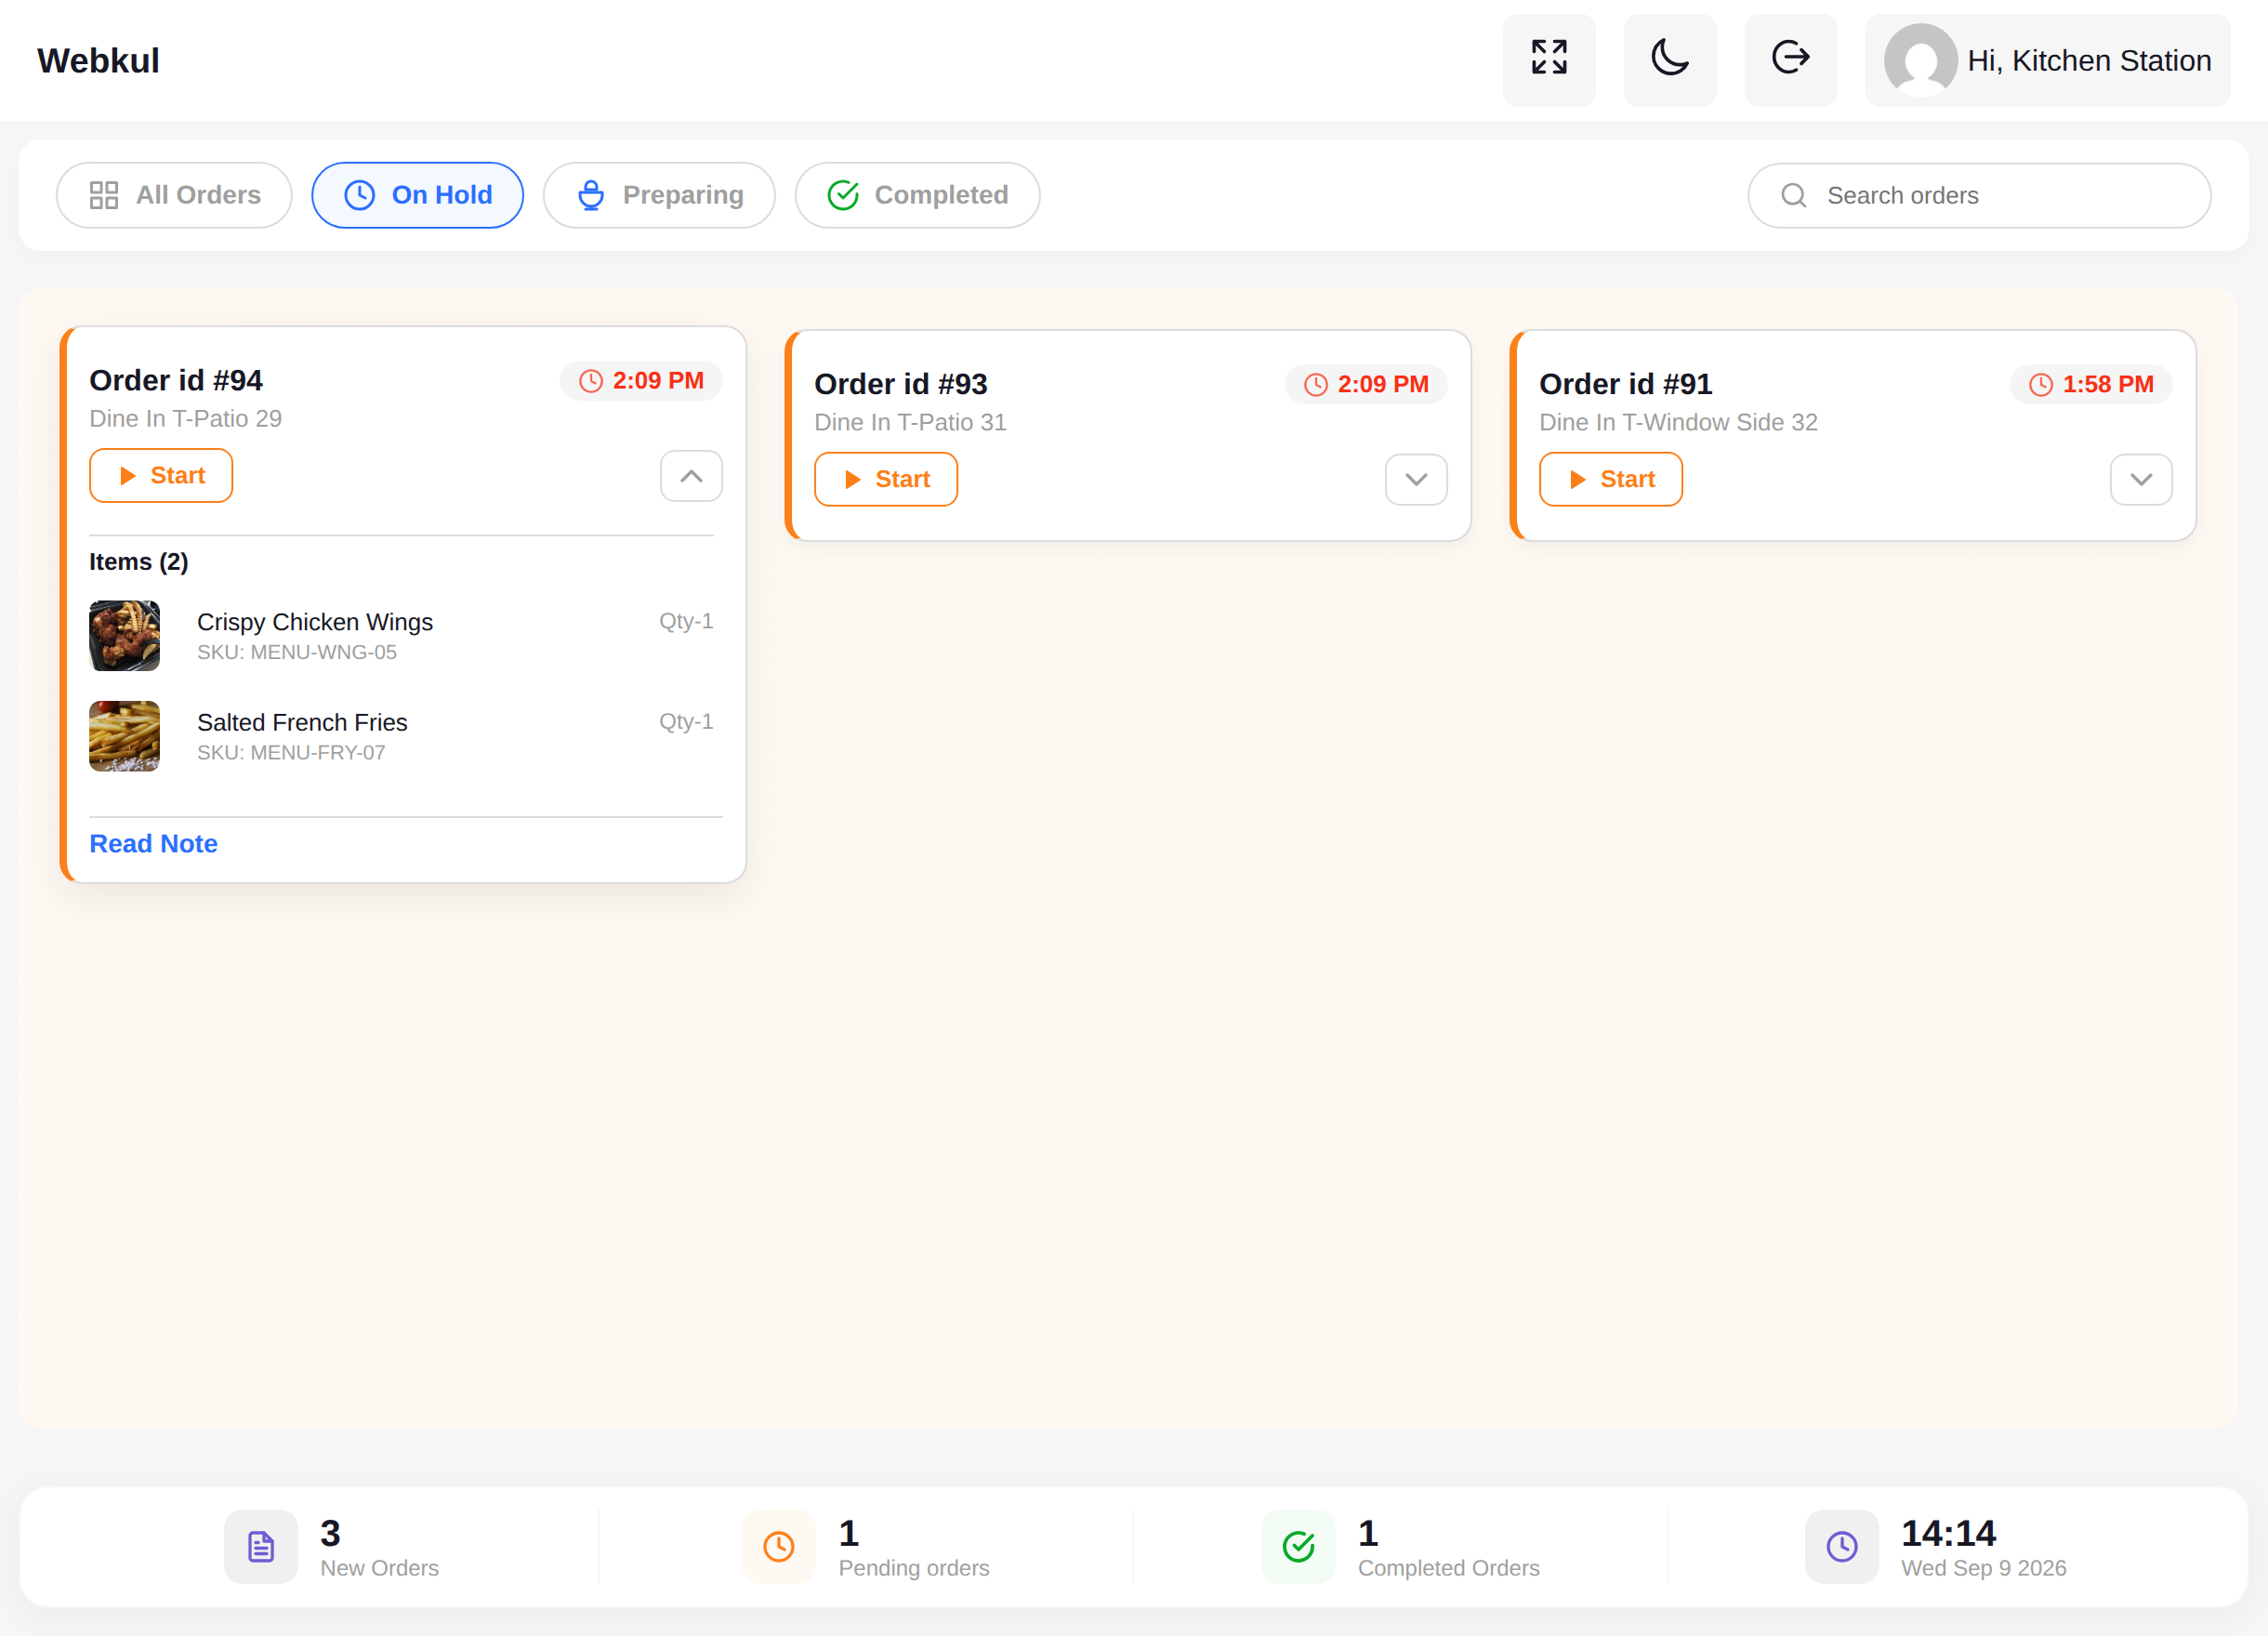
The expanded card lists every item with its picture, name, SKU and quantity, and shows a Read Note link when the cashier attached a preparation note. Select Read Note to open the note and the cross to close it again.
Moving a ticket forward
Each column offers exactly one forward action.
| Column | Button | Moves the ticket to |
|---|---|---|
| On Hold | Start | Preparing |
| Preparing | Mark as Completed | Completed |
| Completed | Send | Out of the kitchen — the ticket leaves the board |
Once a ticket is sent it disappears from the kitchen board and appears in the POS under Dining Tables → Sent Orders, ready for the counter to raise the bill.
The counter gets a browser alert the moment you send a plate, so nobody has to shout across the pass.
Moving a ticket back
Mistakes happen, and every step can be undone.
| From | Link | Goes back to |
|---|---|---|
| Preparing | Back to Hold | On Hold |
| Completed | Back to Prepare | Preparing |
The links sit at the bottom of the expanded card.
Dragging instead of tapping
On a touch screen or with a mouse, a card can simply be dragged into another column on the All Orders view. The column highlights as you drag over it, and dropping the card performs exactly the same status change as the button would. Dragging works in both directions, so a card can be dragged back as well as forward.
Finding a ticket
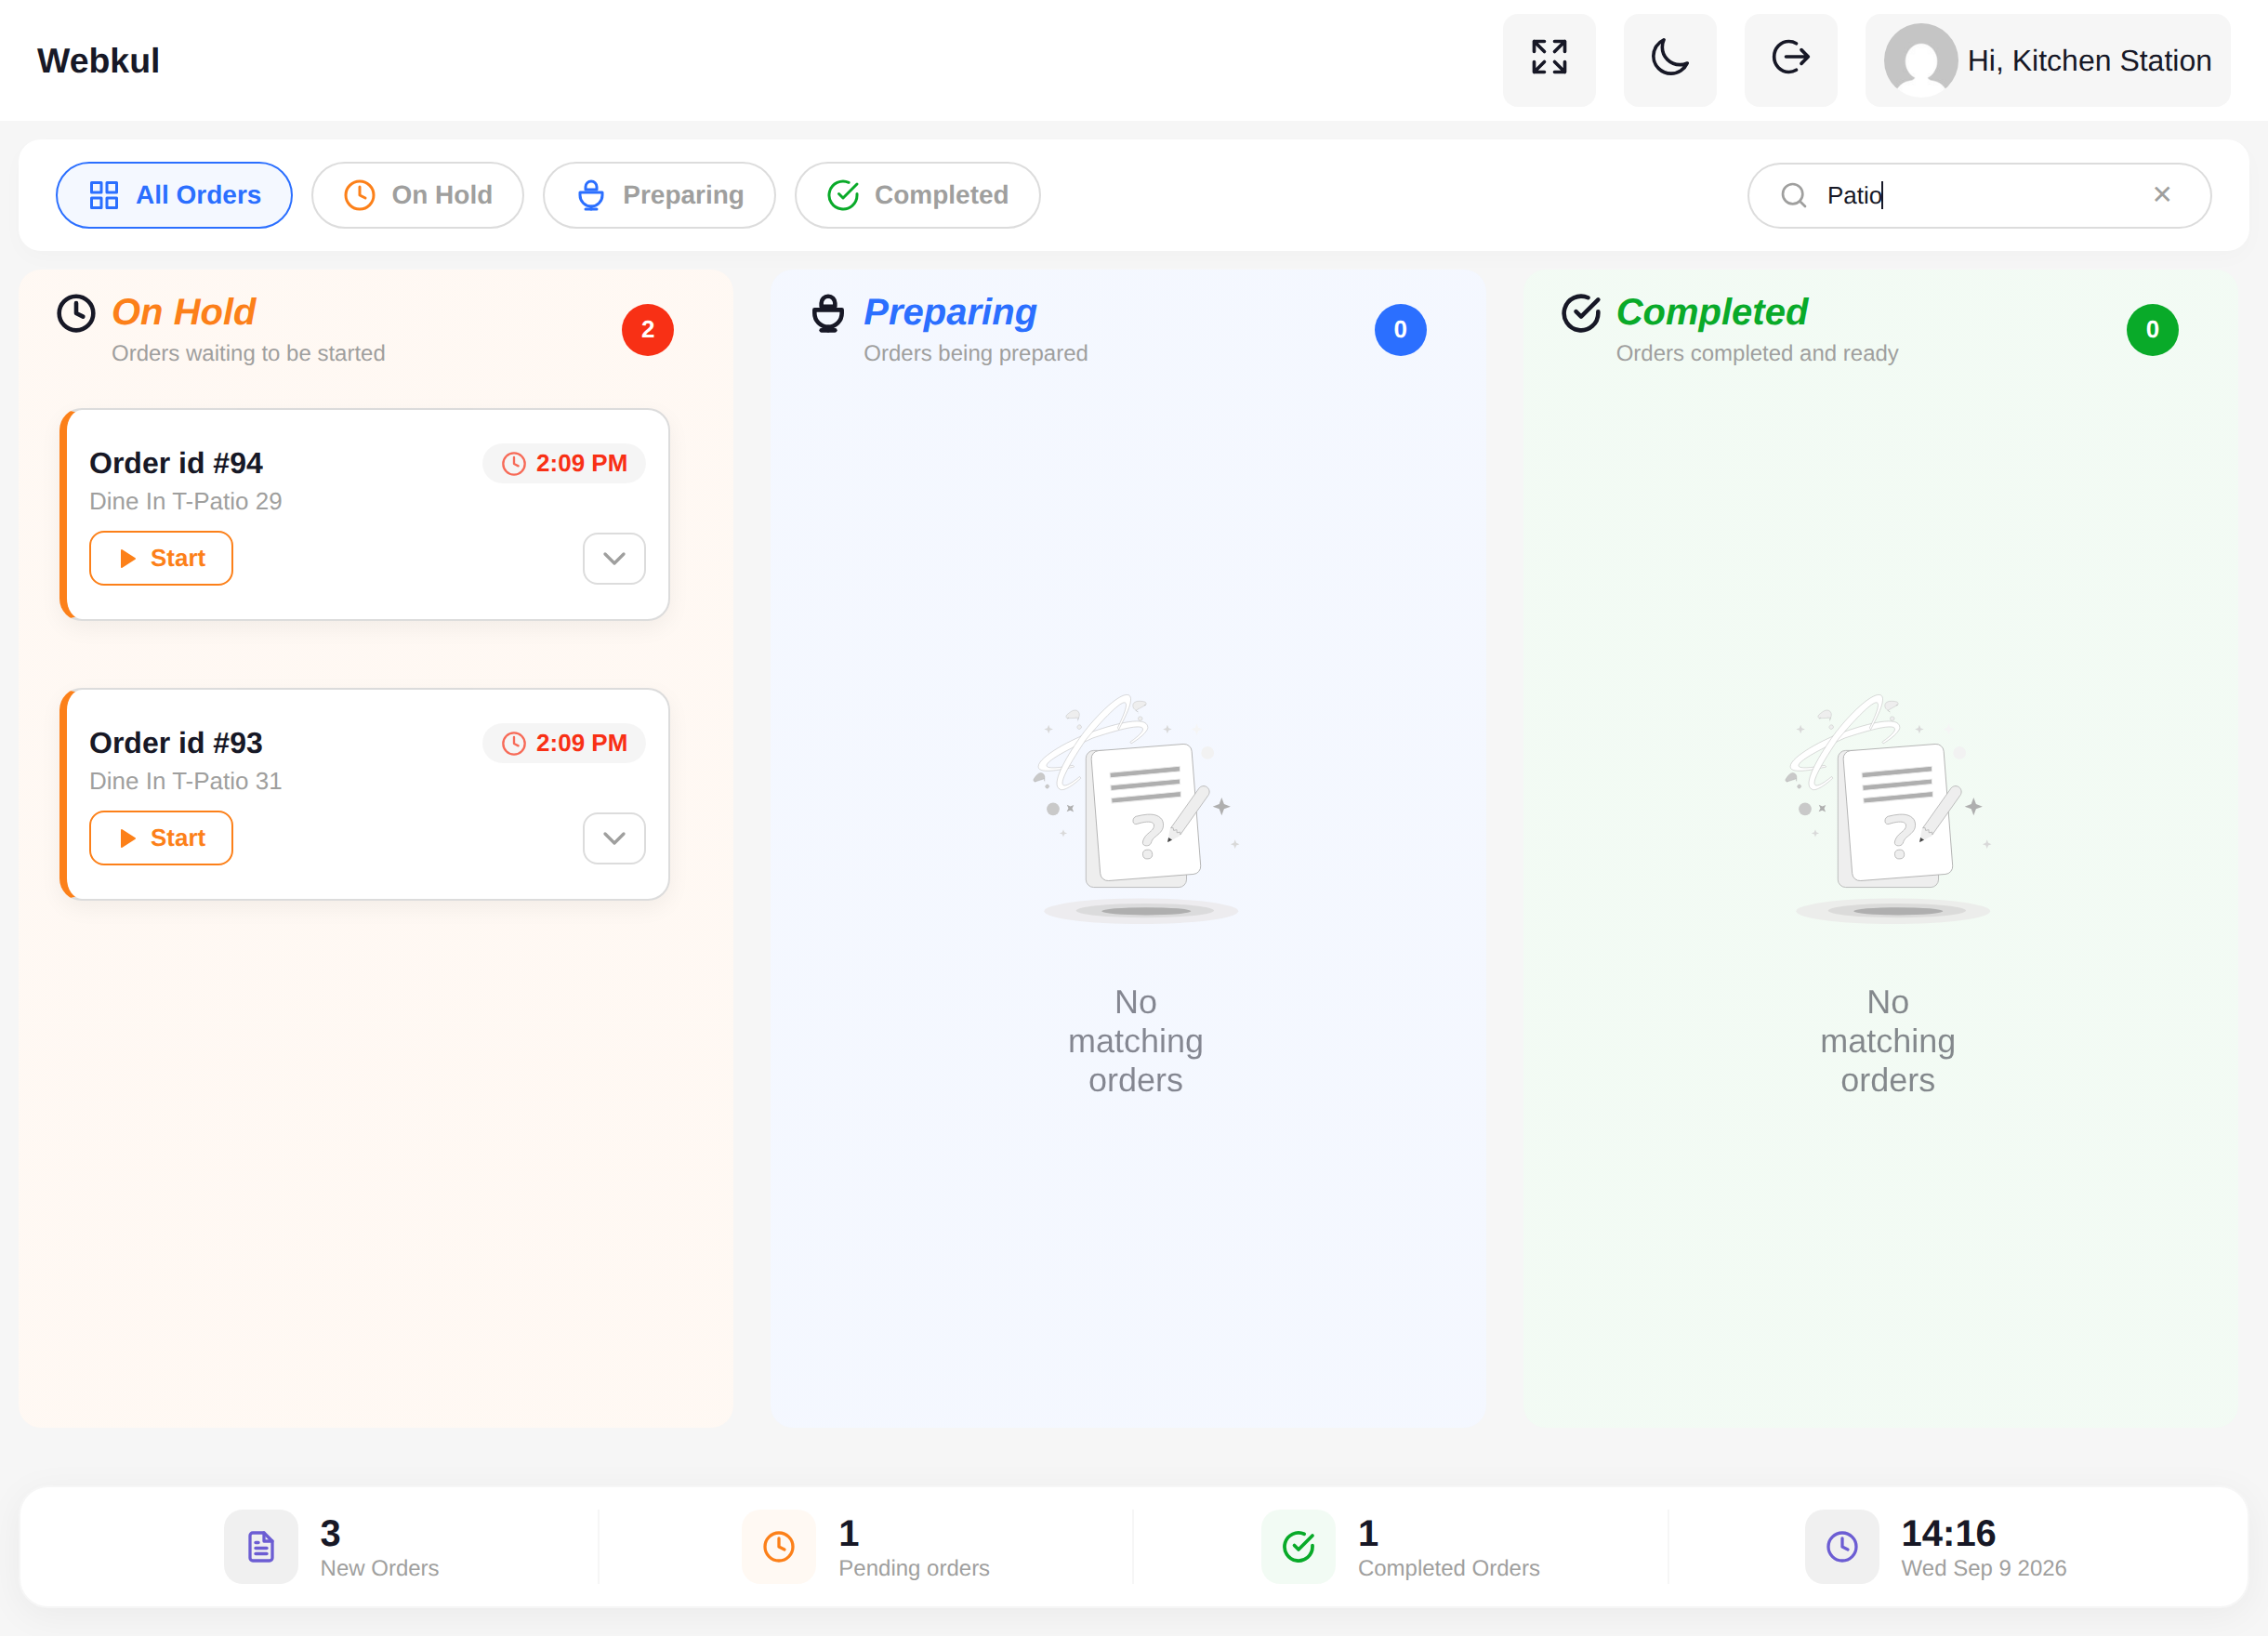
The Search orders box at the top right filters the board as you type. It matches four things, so whichever number is to hand will find the ticket:
- the kitchen ticket number;
- the WooCommerce order number on a take away ticket;
- the booking number on a dine in ticket;
- the table name.
A leading # is ignored, so #78 and 78 behave the same. The cross inside the box clears it, and when nothing matches the column reports No matching orders.
Note
The search looks at the ticket, not at what is on it. Typing a dish name will not find the tickets that contain it.
Dark mode and full screen
Two buttons sit in the header beside your name.
- The moon switches the board to a dark theme, which is easier on the eyes in a low light kitchen and gentler on an always on display. The choice is remembered on that device.
- The arrows put the board into full screen, hiding the browser toolbar. Press it again, or the Esc key, to leave full screen.
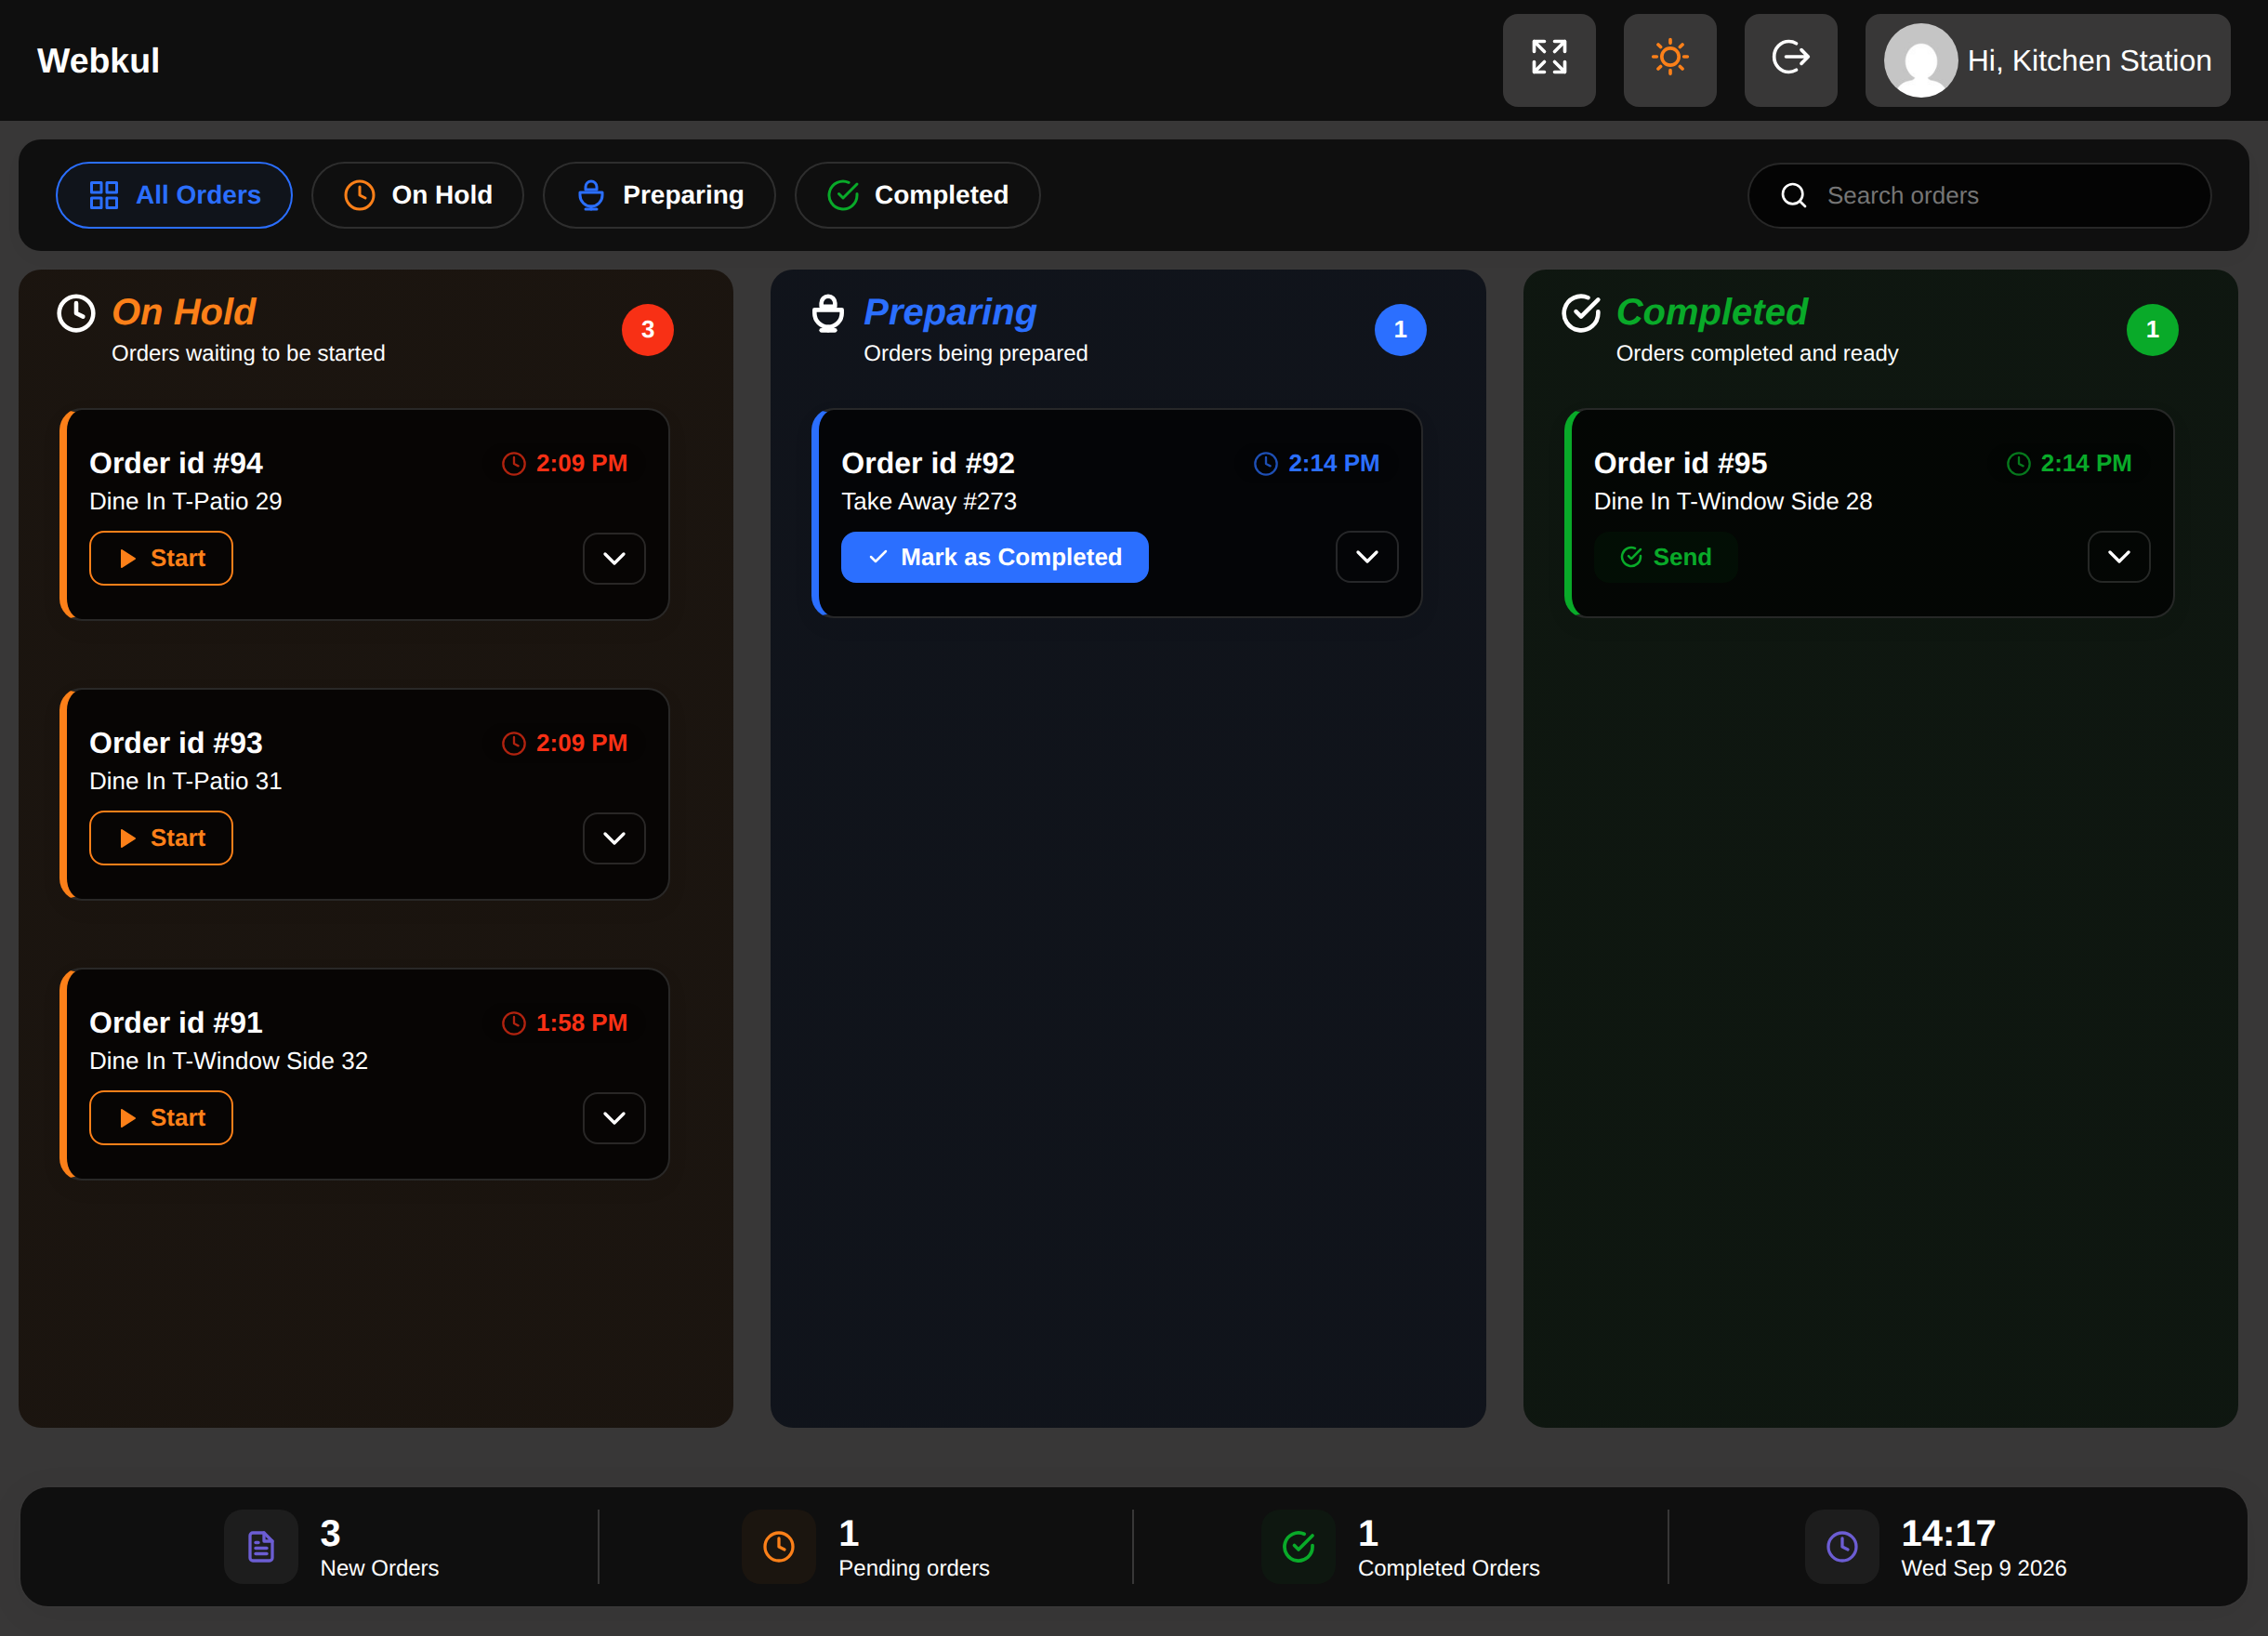
The third button signs you out.
The name or logo in the header, and the accent colours the board is drawn in, come from the Point of Sale's own General and Appearance settings rather than from this module — see General Settings.
New order alerts
The first time the board is opened, the browser asks whether the site may show notifications. Allow it. From then on, every new ticket raises a small desktop notification titled with the order number, so the kitchen is told about an order even when the board is behind another window.
If the alerts never appear, the permission was refused. Clear it in the browser's site settings for your store address and reload the board.
Install the board as an app
The kitchen display can be installed like an app, so a tablet on the pass opens it full screen in landscape with your own icon on the home screen.
- Open the kitchen address in Chrome or Edge on the tablet.
- Open the browser menu and choose Install app or Add to Home screen.
- Confirm.
The name, short name, colours and icon come from Restaurant POS → Settings → Kitchen & Customer Screen; see General Settings. If you change them later, the store owner has to deactivate and reactivate the plugin before the new files are published, and the app must be reinstalled on the tablet.
If the board is empty
- Check that a ticket has actually been sent from the POS.
- Check with the store owner that your account is mapped to the outlet you are working at — the board only ever shows one outlet's tickets.
- If a red connection message appears, the live channel is not configured. That is a job for the store owner: see Troubleshooting.
Next step
See what the diners are shown in Customer Screen.