Connection
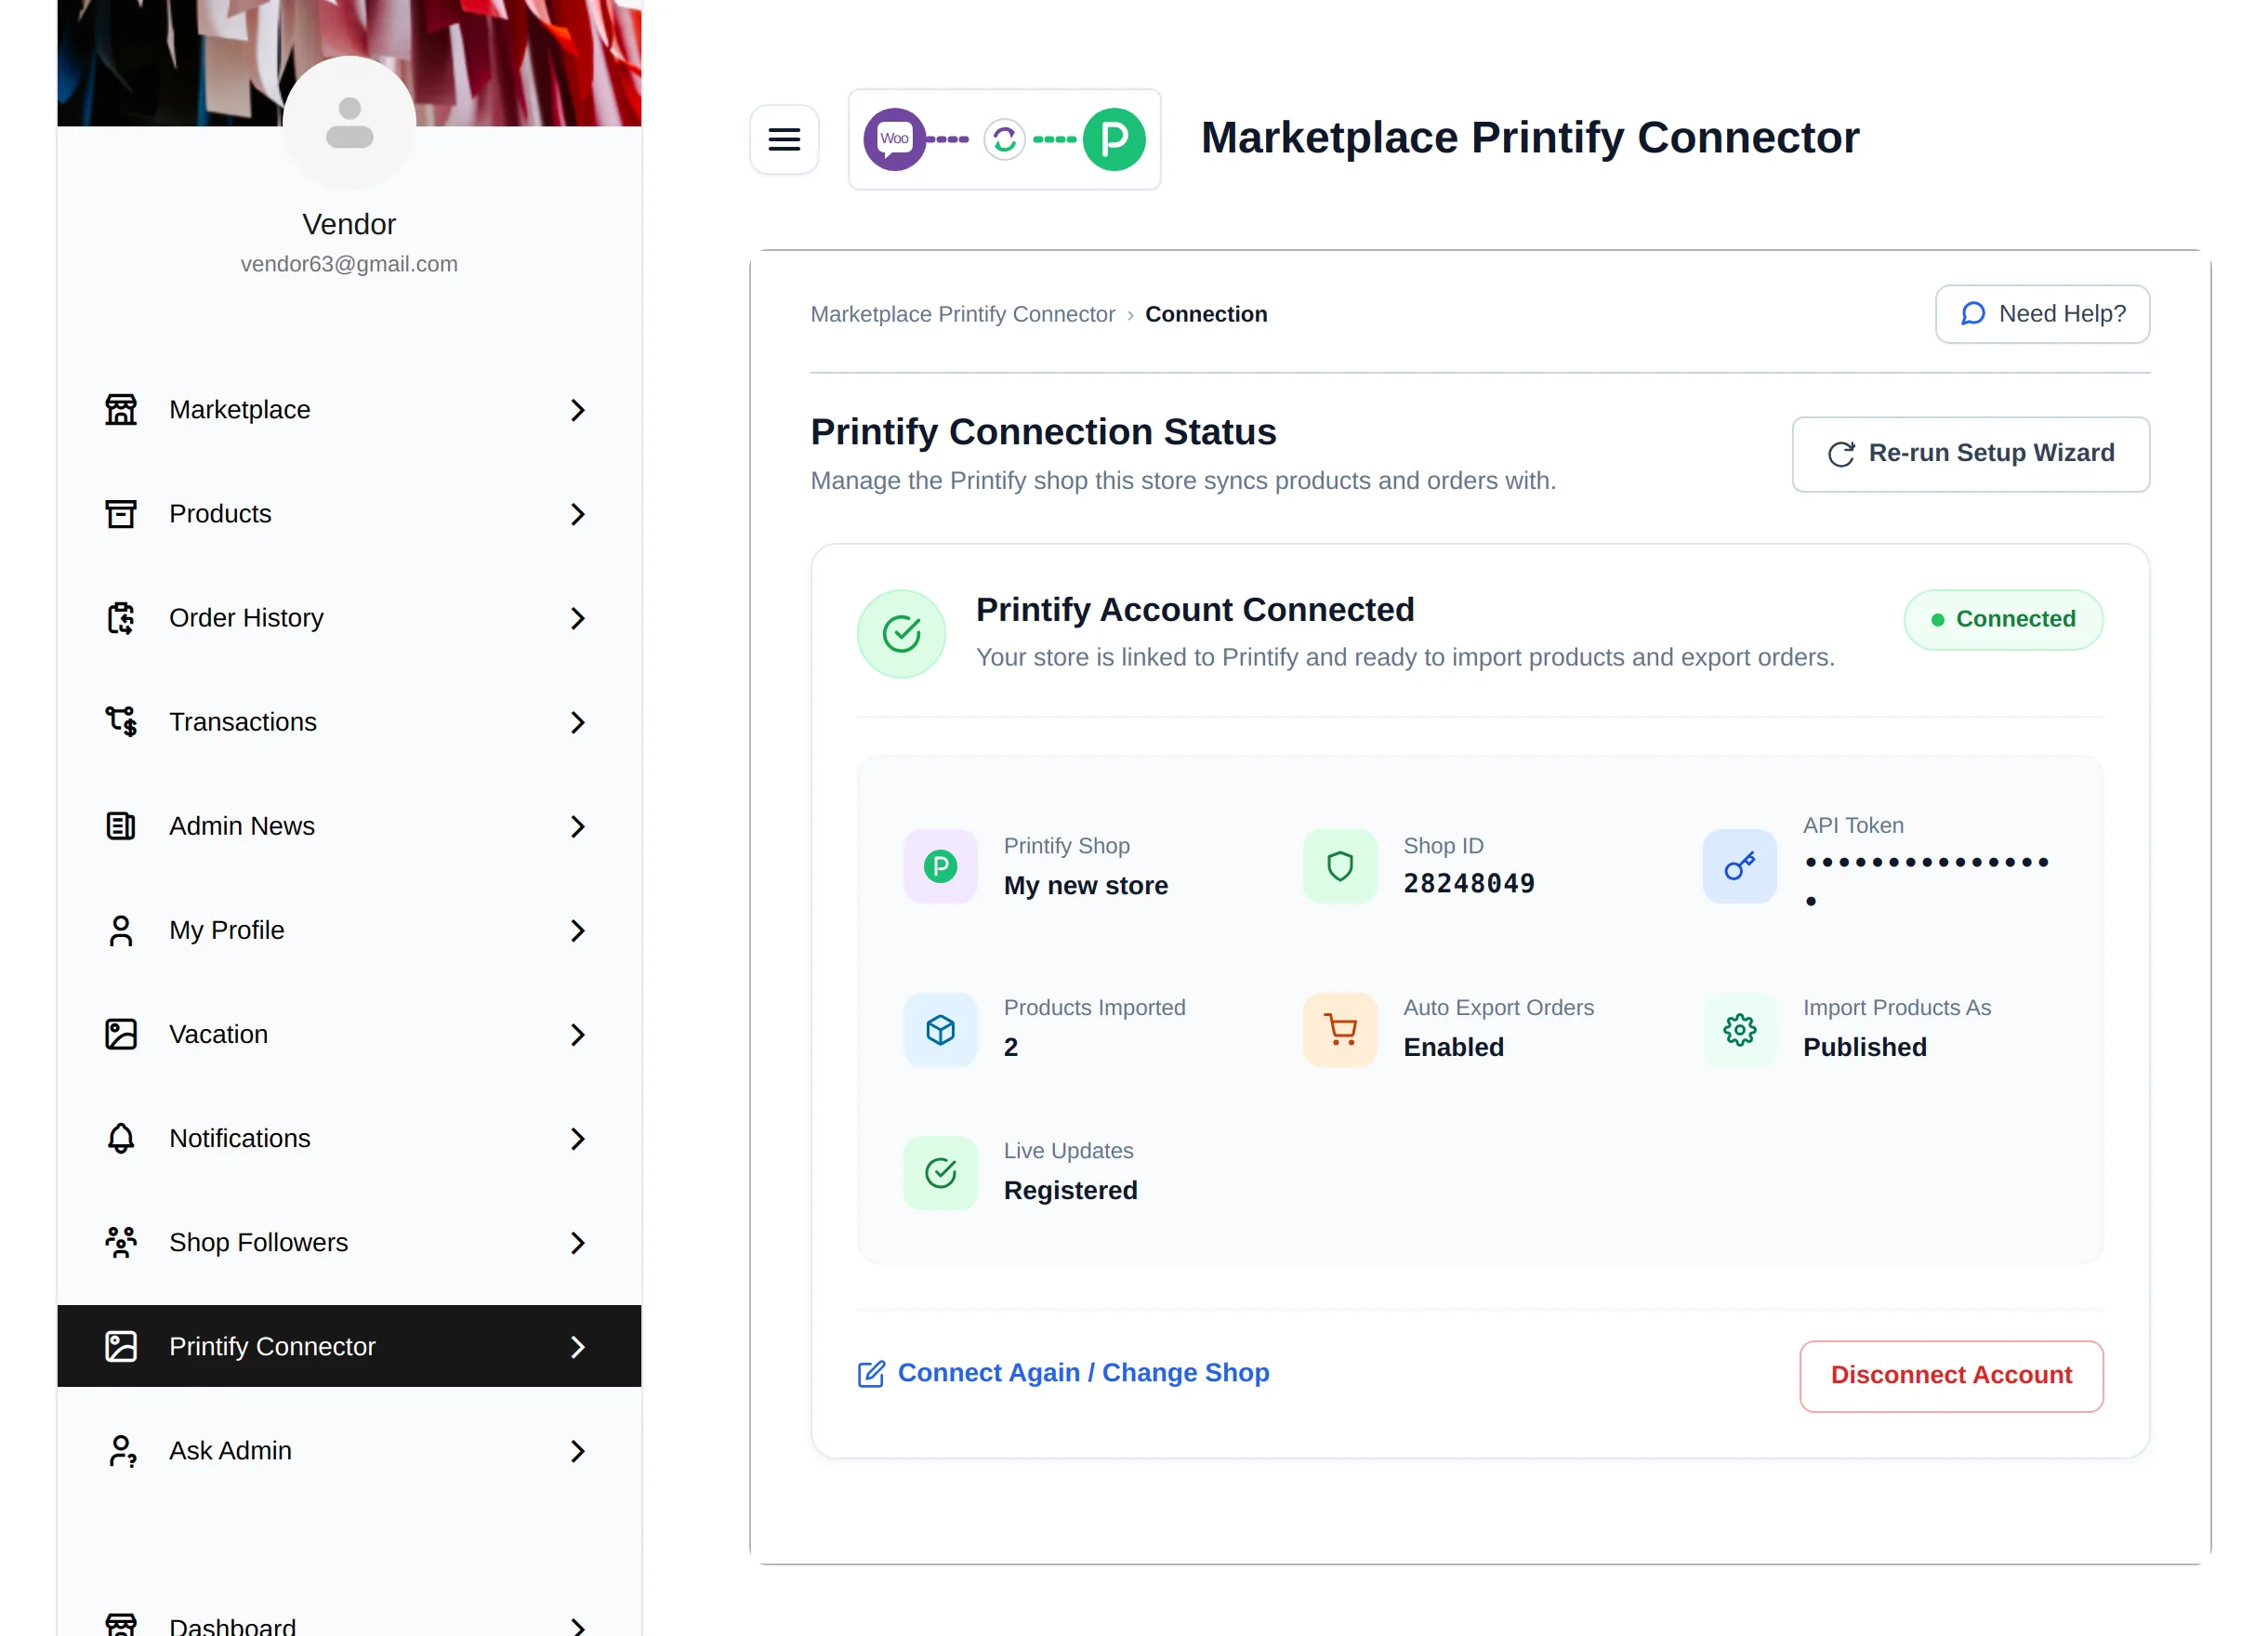
The Connection screen shows whether your Printify shop is connected and lets you change the shop, replace the token or disconnect. It is the first screen in the connector for both the admin and vendors.
- Admin: Marketplace → Printify Connect → Connection
- Vendor: My Account → Printify Connector → Connection
Until a shop is connected, Connection is the only screen in the menu. The other screens appear once the connection is saved.
Connection status
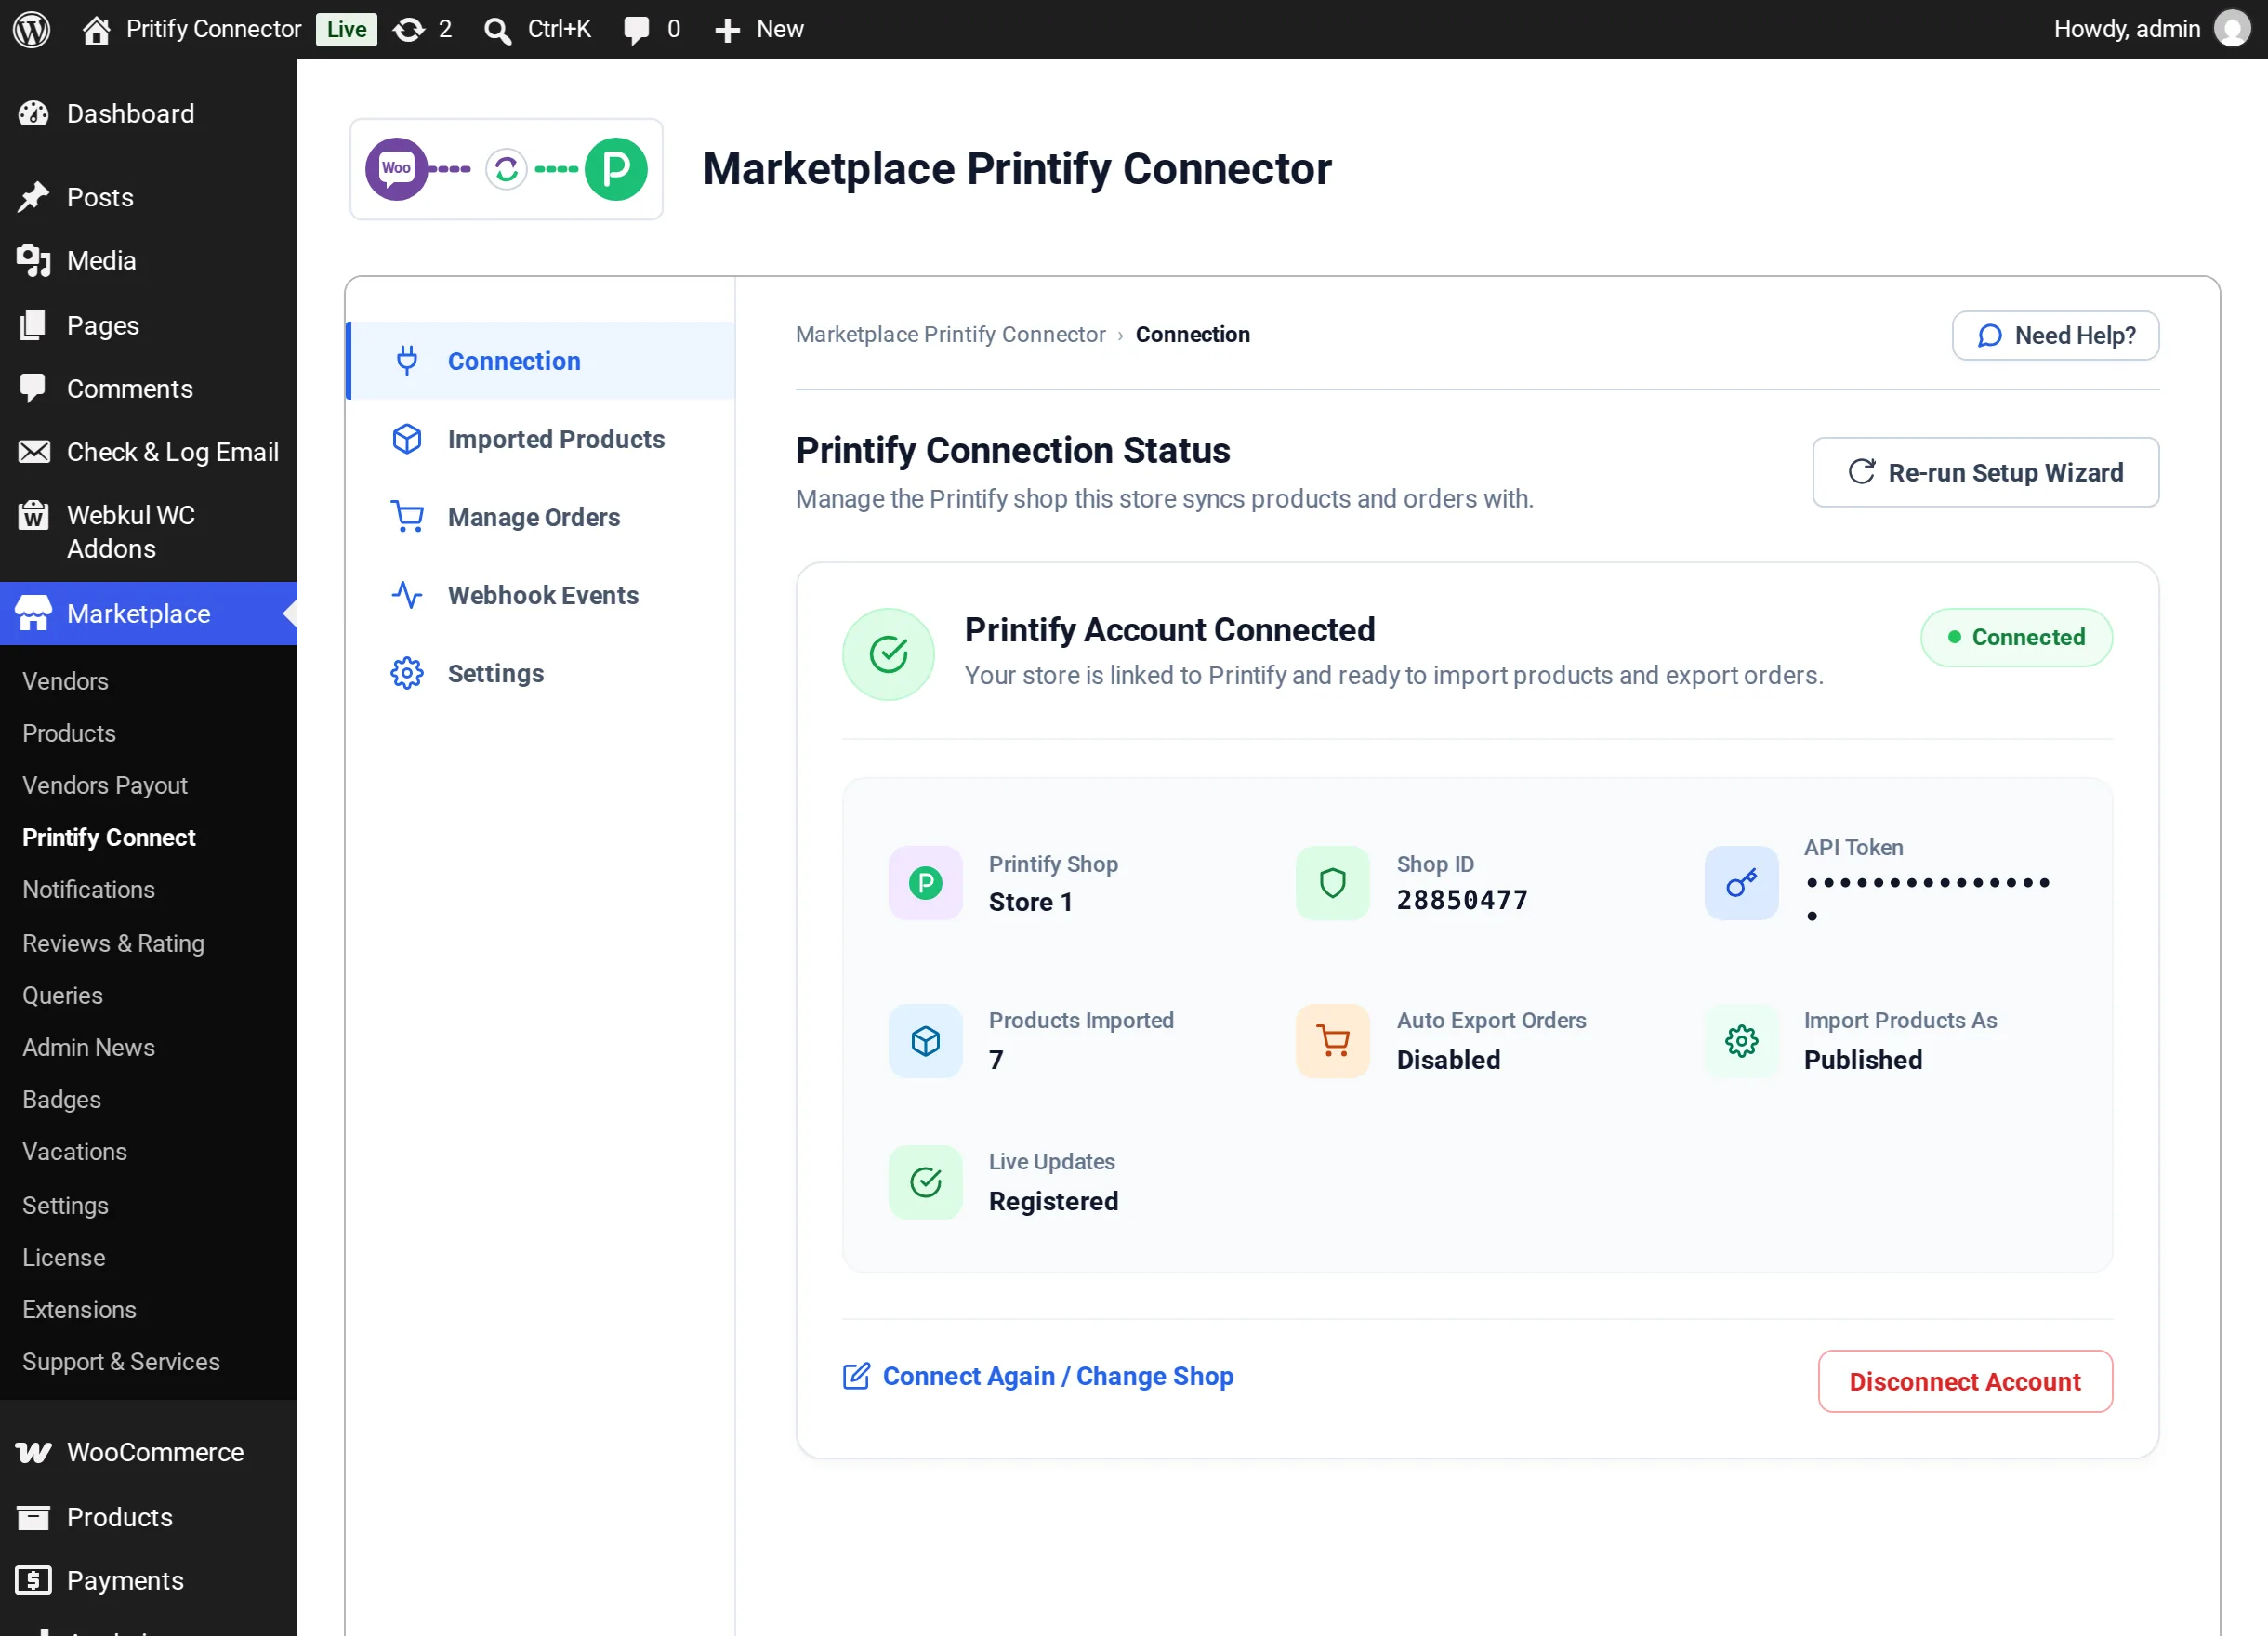
When everything works, the card reads Printify Account Connected with a green Connected badge. Below it you see:
| Detail | Meaning |
|---|---|
| Printify Shop | The name of the connected Printify shop |
| Shop ID | Printify's ID for that shop |
| API Token | The saved token, masked for safety |
| Products Imported | How many Printify products are linked to store products |
| Auto Export Orders | Whether new orders are sent to Printify automatically |
| Import Products As | Whether imported products are Published or Draft |
| Live Updates | Registered when Printify's webhooks are in place for this shop |
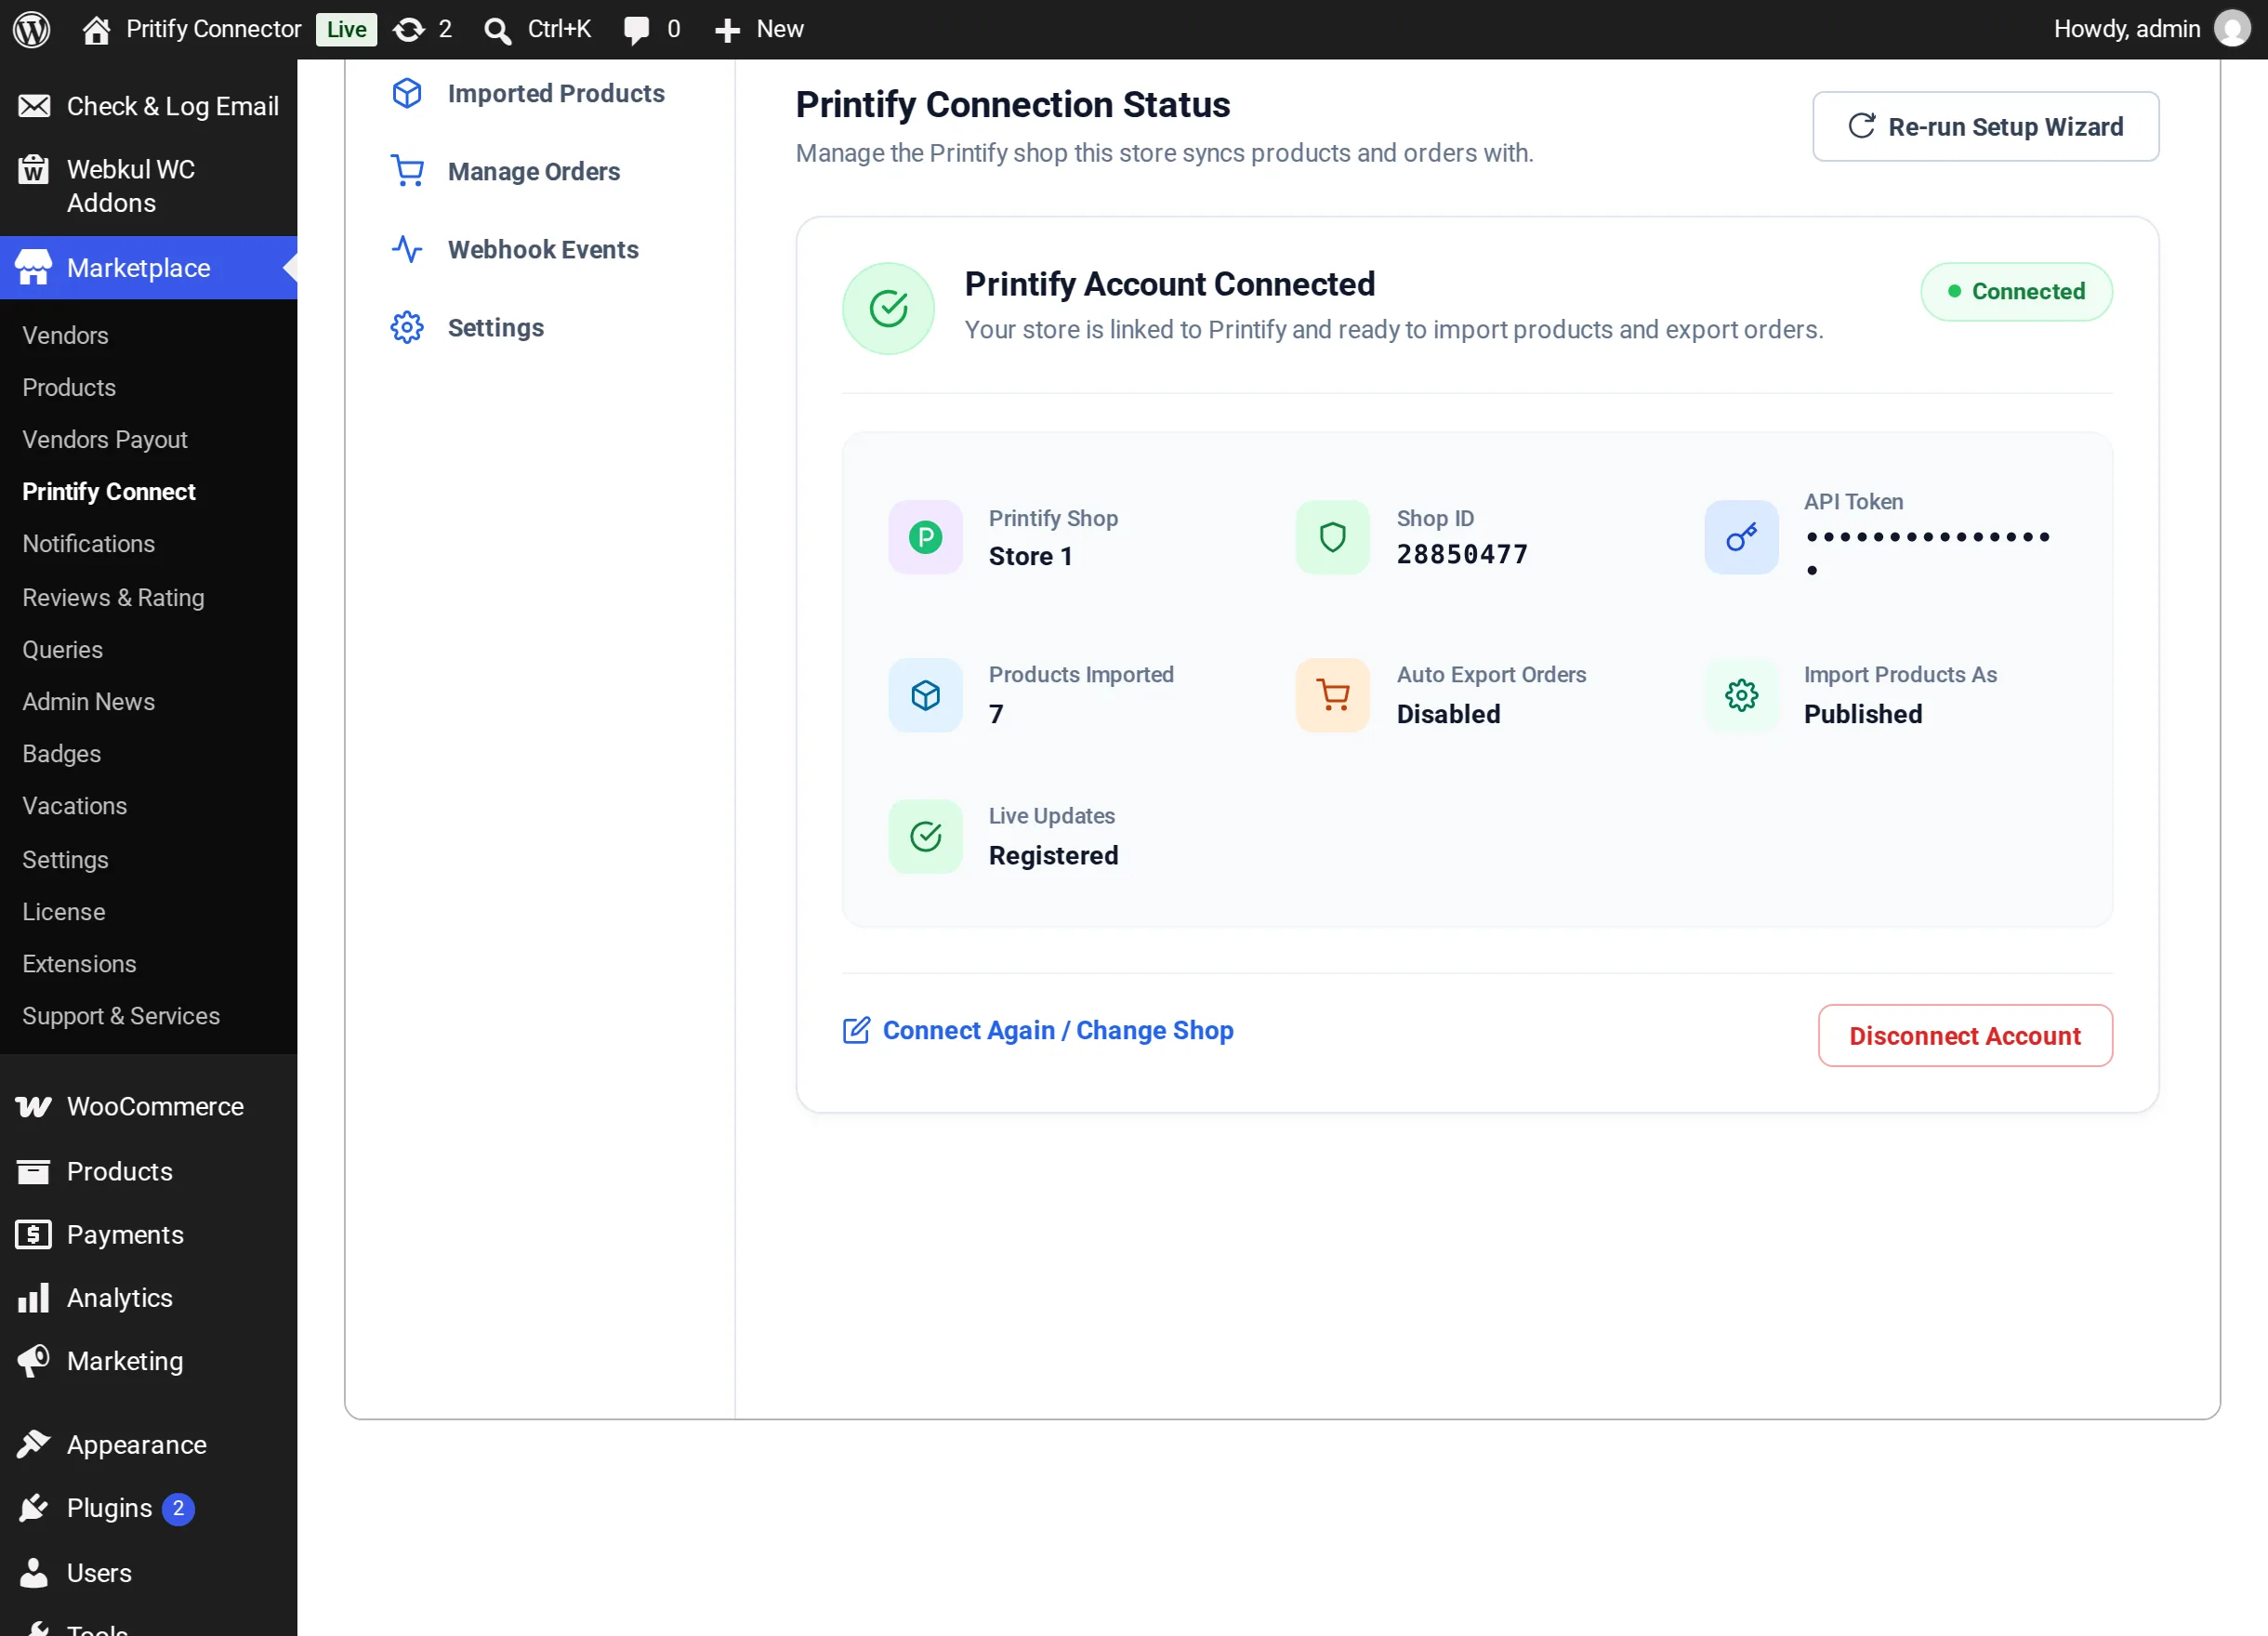
The status is checked with Printify each time the screen opens. If Printify no longer accepts the saved token, for example because it was regenerated or revoked, the card changes to Printify Is Not Responding To This Token with a Token Rejected badge. Use Connect Again / Change Shop to paste a new token.
Change the shop or token
- Select Connect Again / Change Shop.
- Keep the API Token field blank to use the current token, or paste a new token to switch to another Printify account.
- Select Connect. The shops available to the token are loaded.
- Choose the Printify Shop and select Connect Shop.
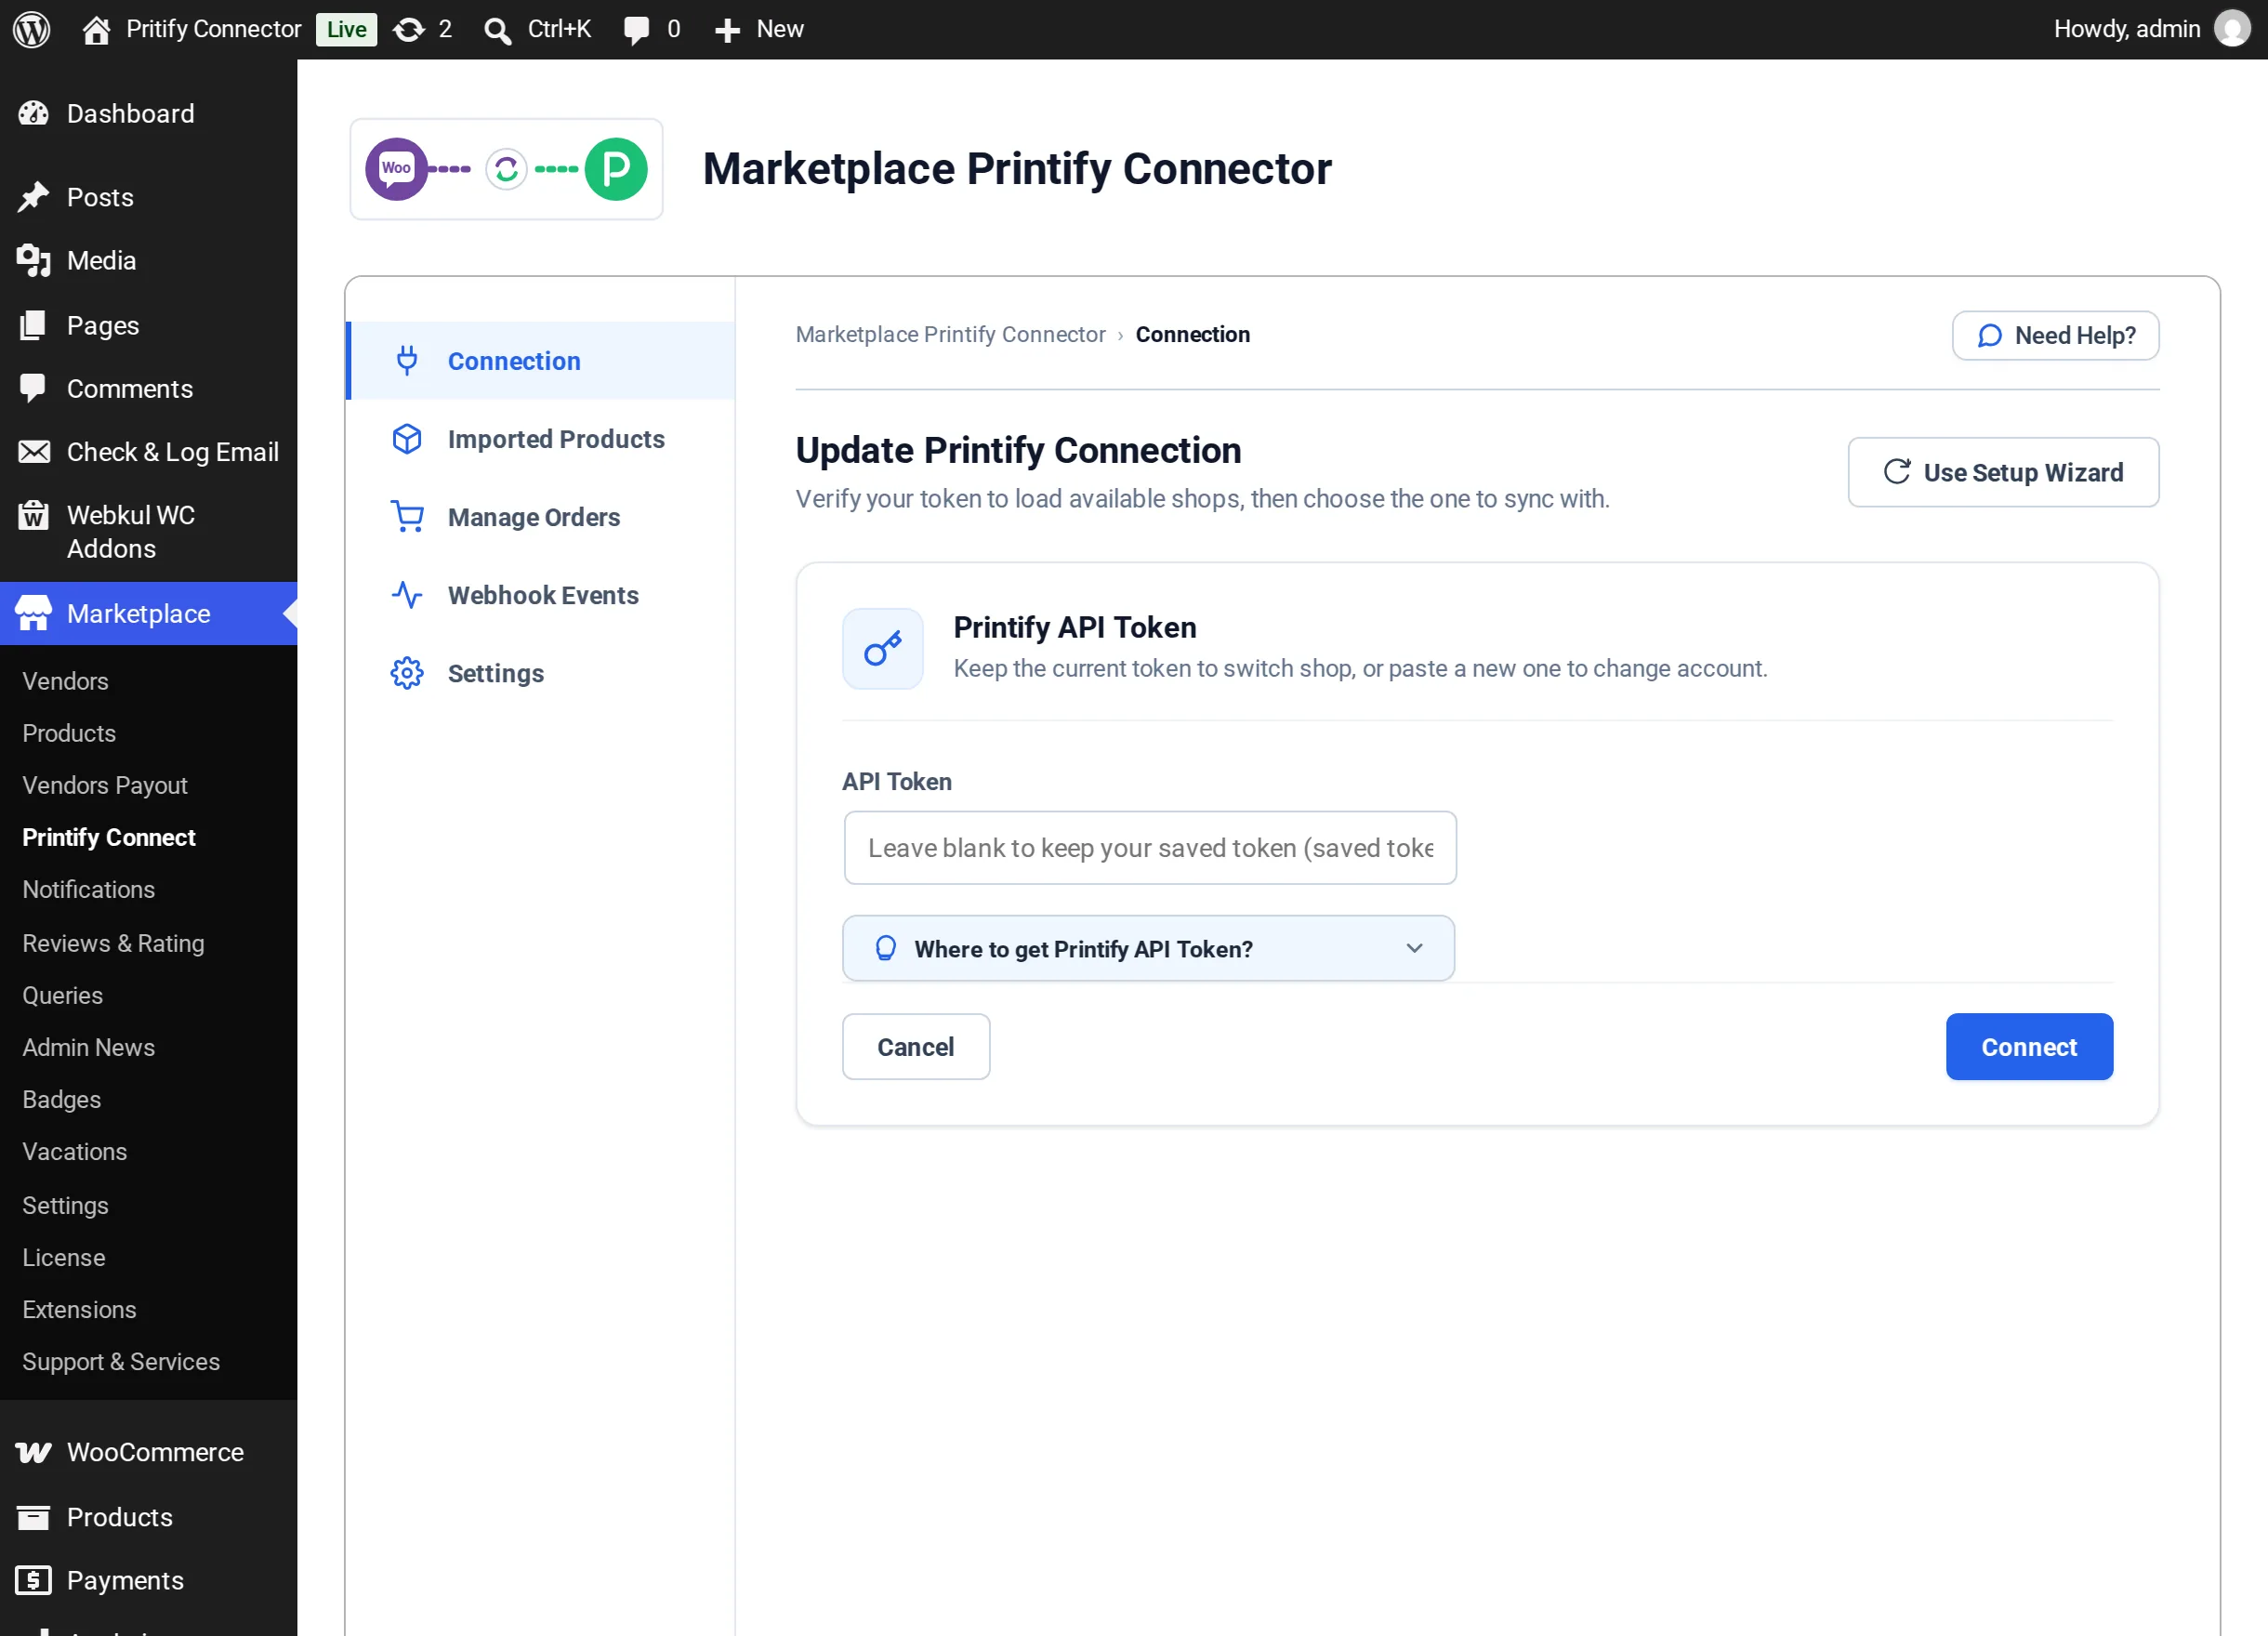
Select Cancel to go back without changing anything. When you switch to another shop, the webhooks on the old shop are removed and new ones are registered on the new shop.
Re-run the setup wizard
Select Re-run Setup Wizard to go through the Admin Setup Wizard or Vendor Setup Wizard again. When no shop is connected, the button reads Use Setup Wizard.
Disconnect the account
Select Disconnect Account and confirm with Yes, disconnect.
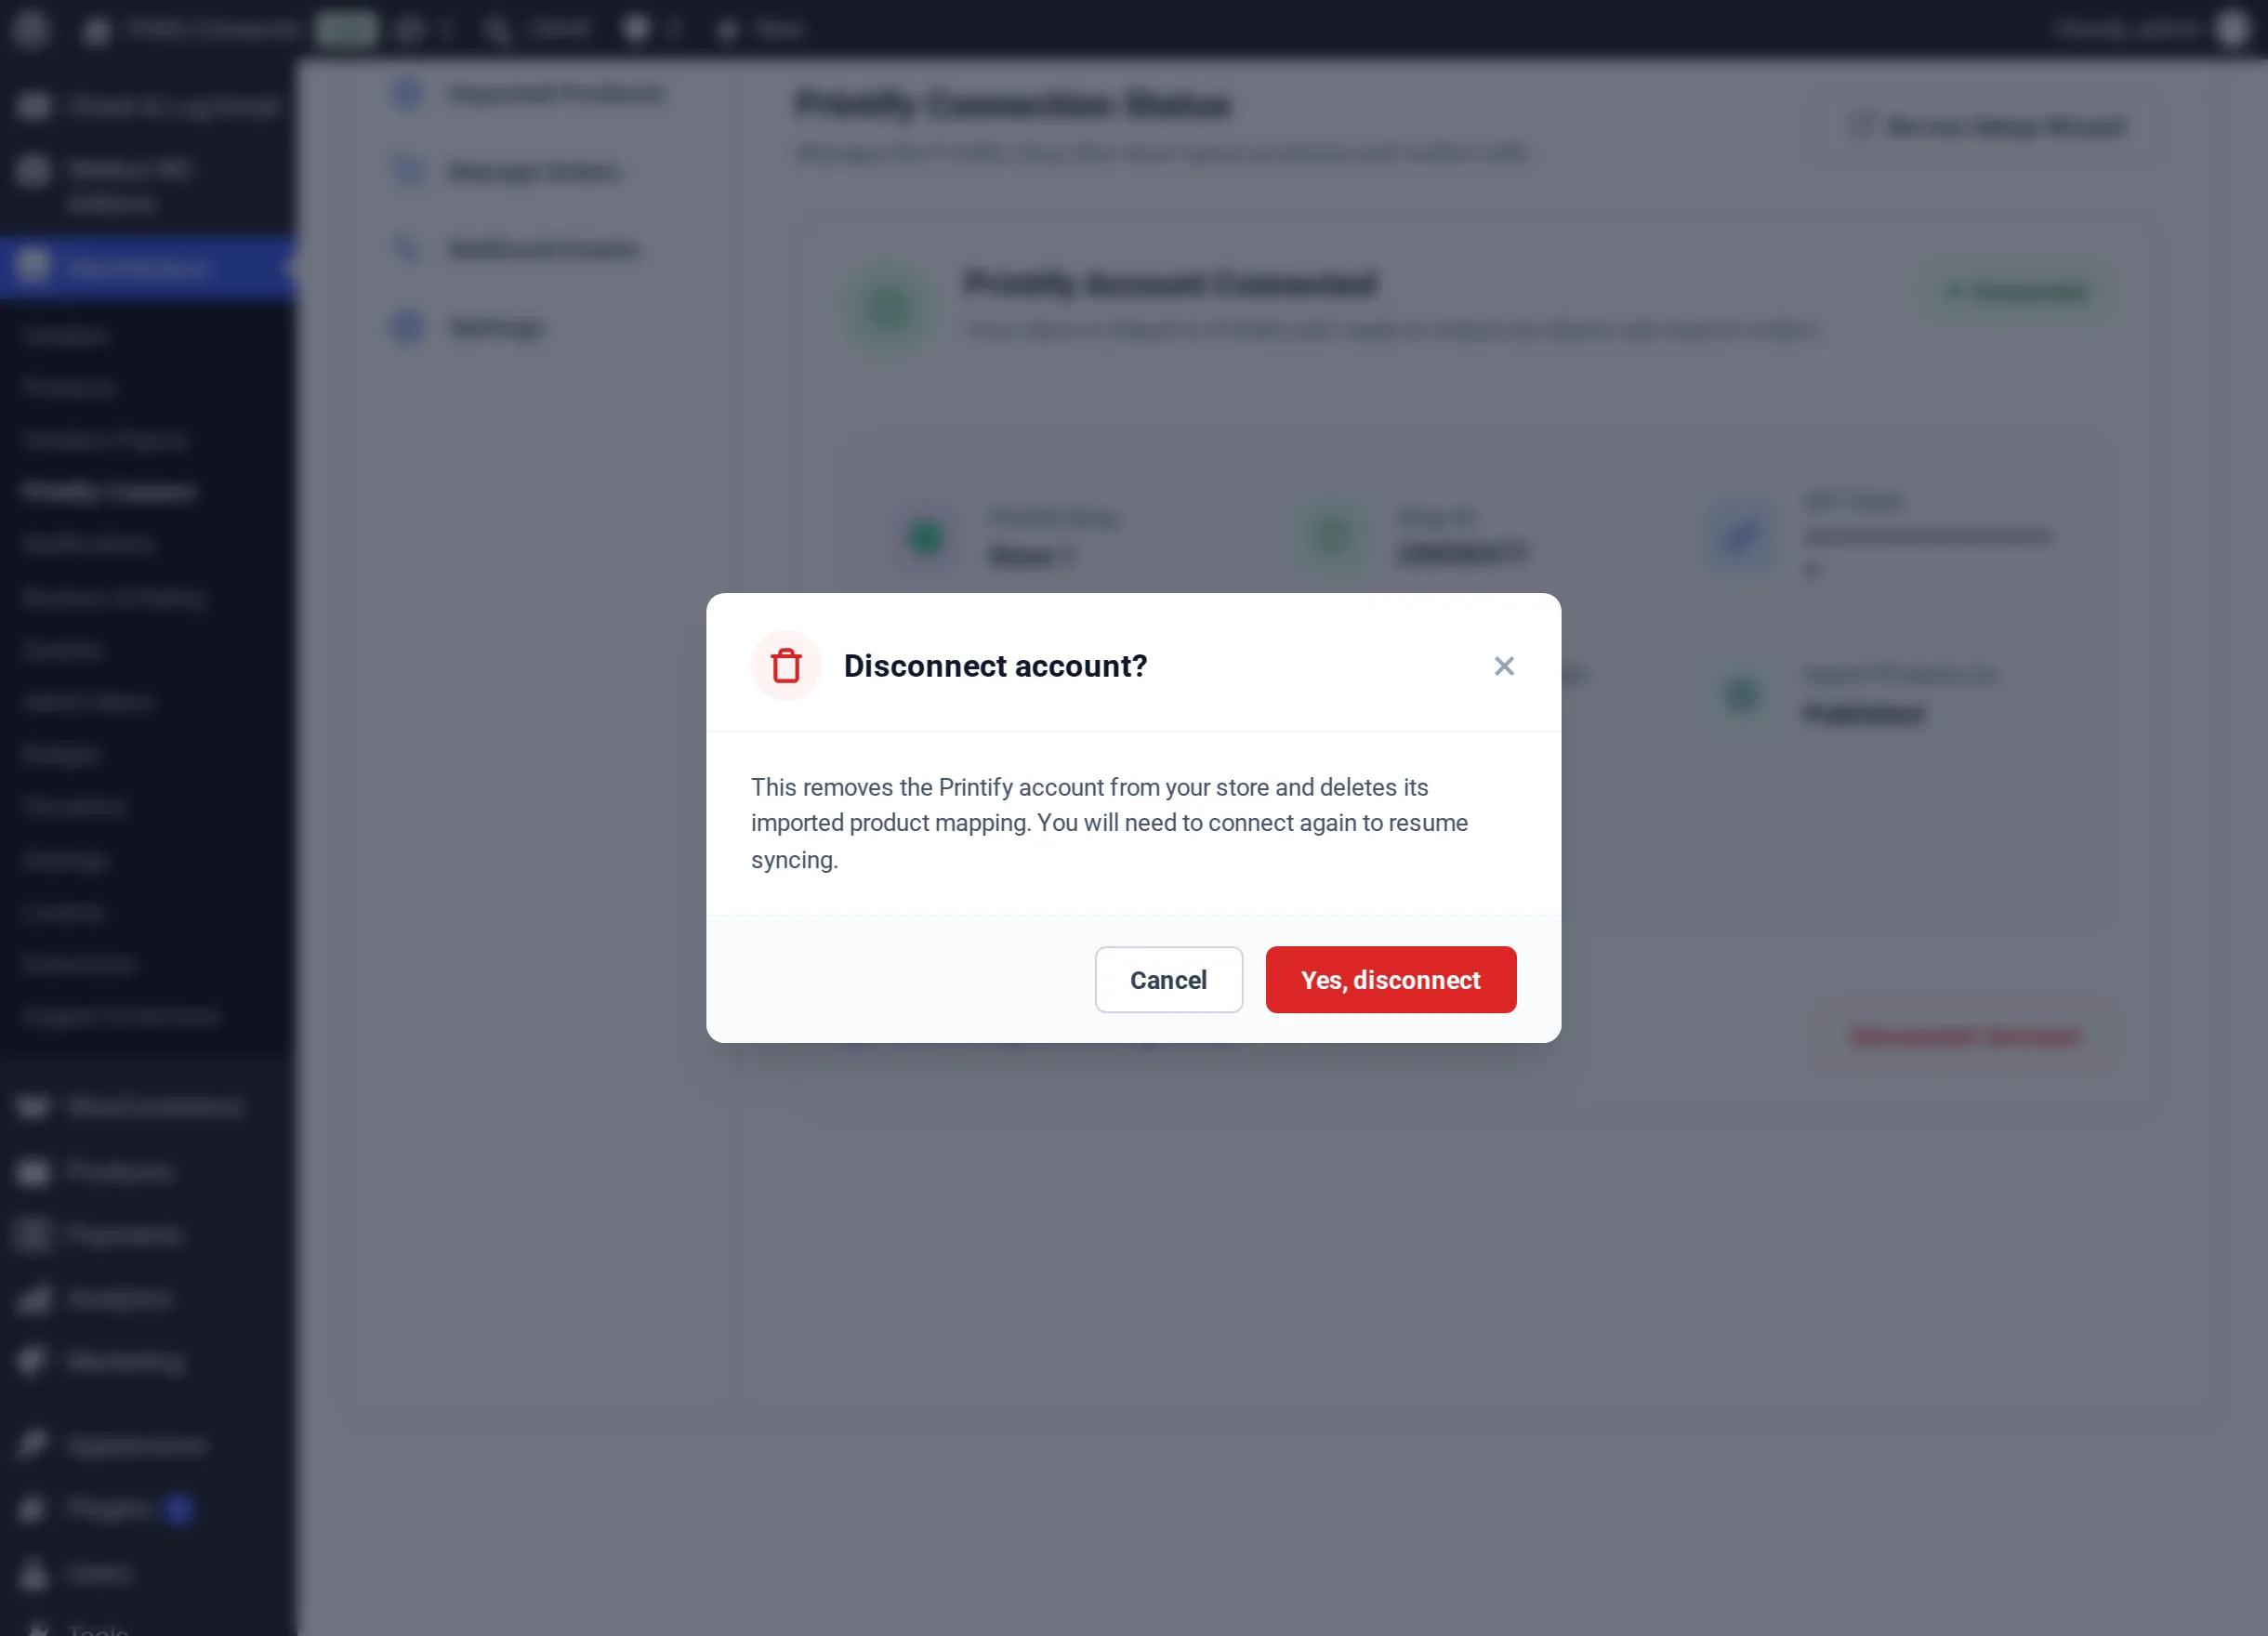
Disconnecting:
- removes the Printify account from the store and this site's webhooks from Printify
- deletes the link between store products and Printify products, and the products waiting to be created
- deletes your sync settings and exclusion lists
It does not delete the WooCommerce products already created. They stay in your store, but are no longer linked to Printify. To sync again you need to connect and import once more.
Vendors
Vendors see the same screen in their dashboard with their own shop details.