
Vendor Dashboard
Vendors use the connector from the Webkul Marketplace vendor dashboard on the storefront. They never need access to the WordPress admin.
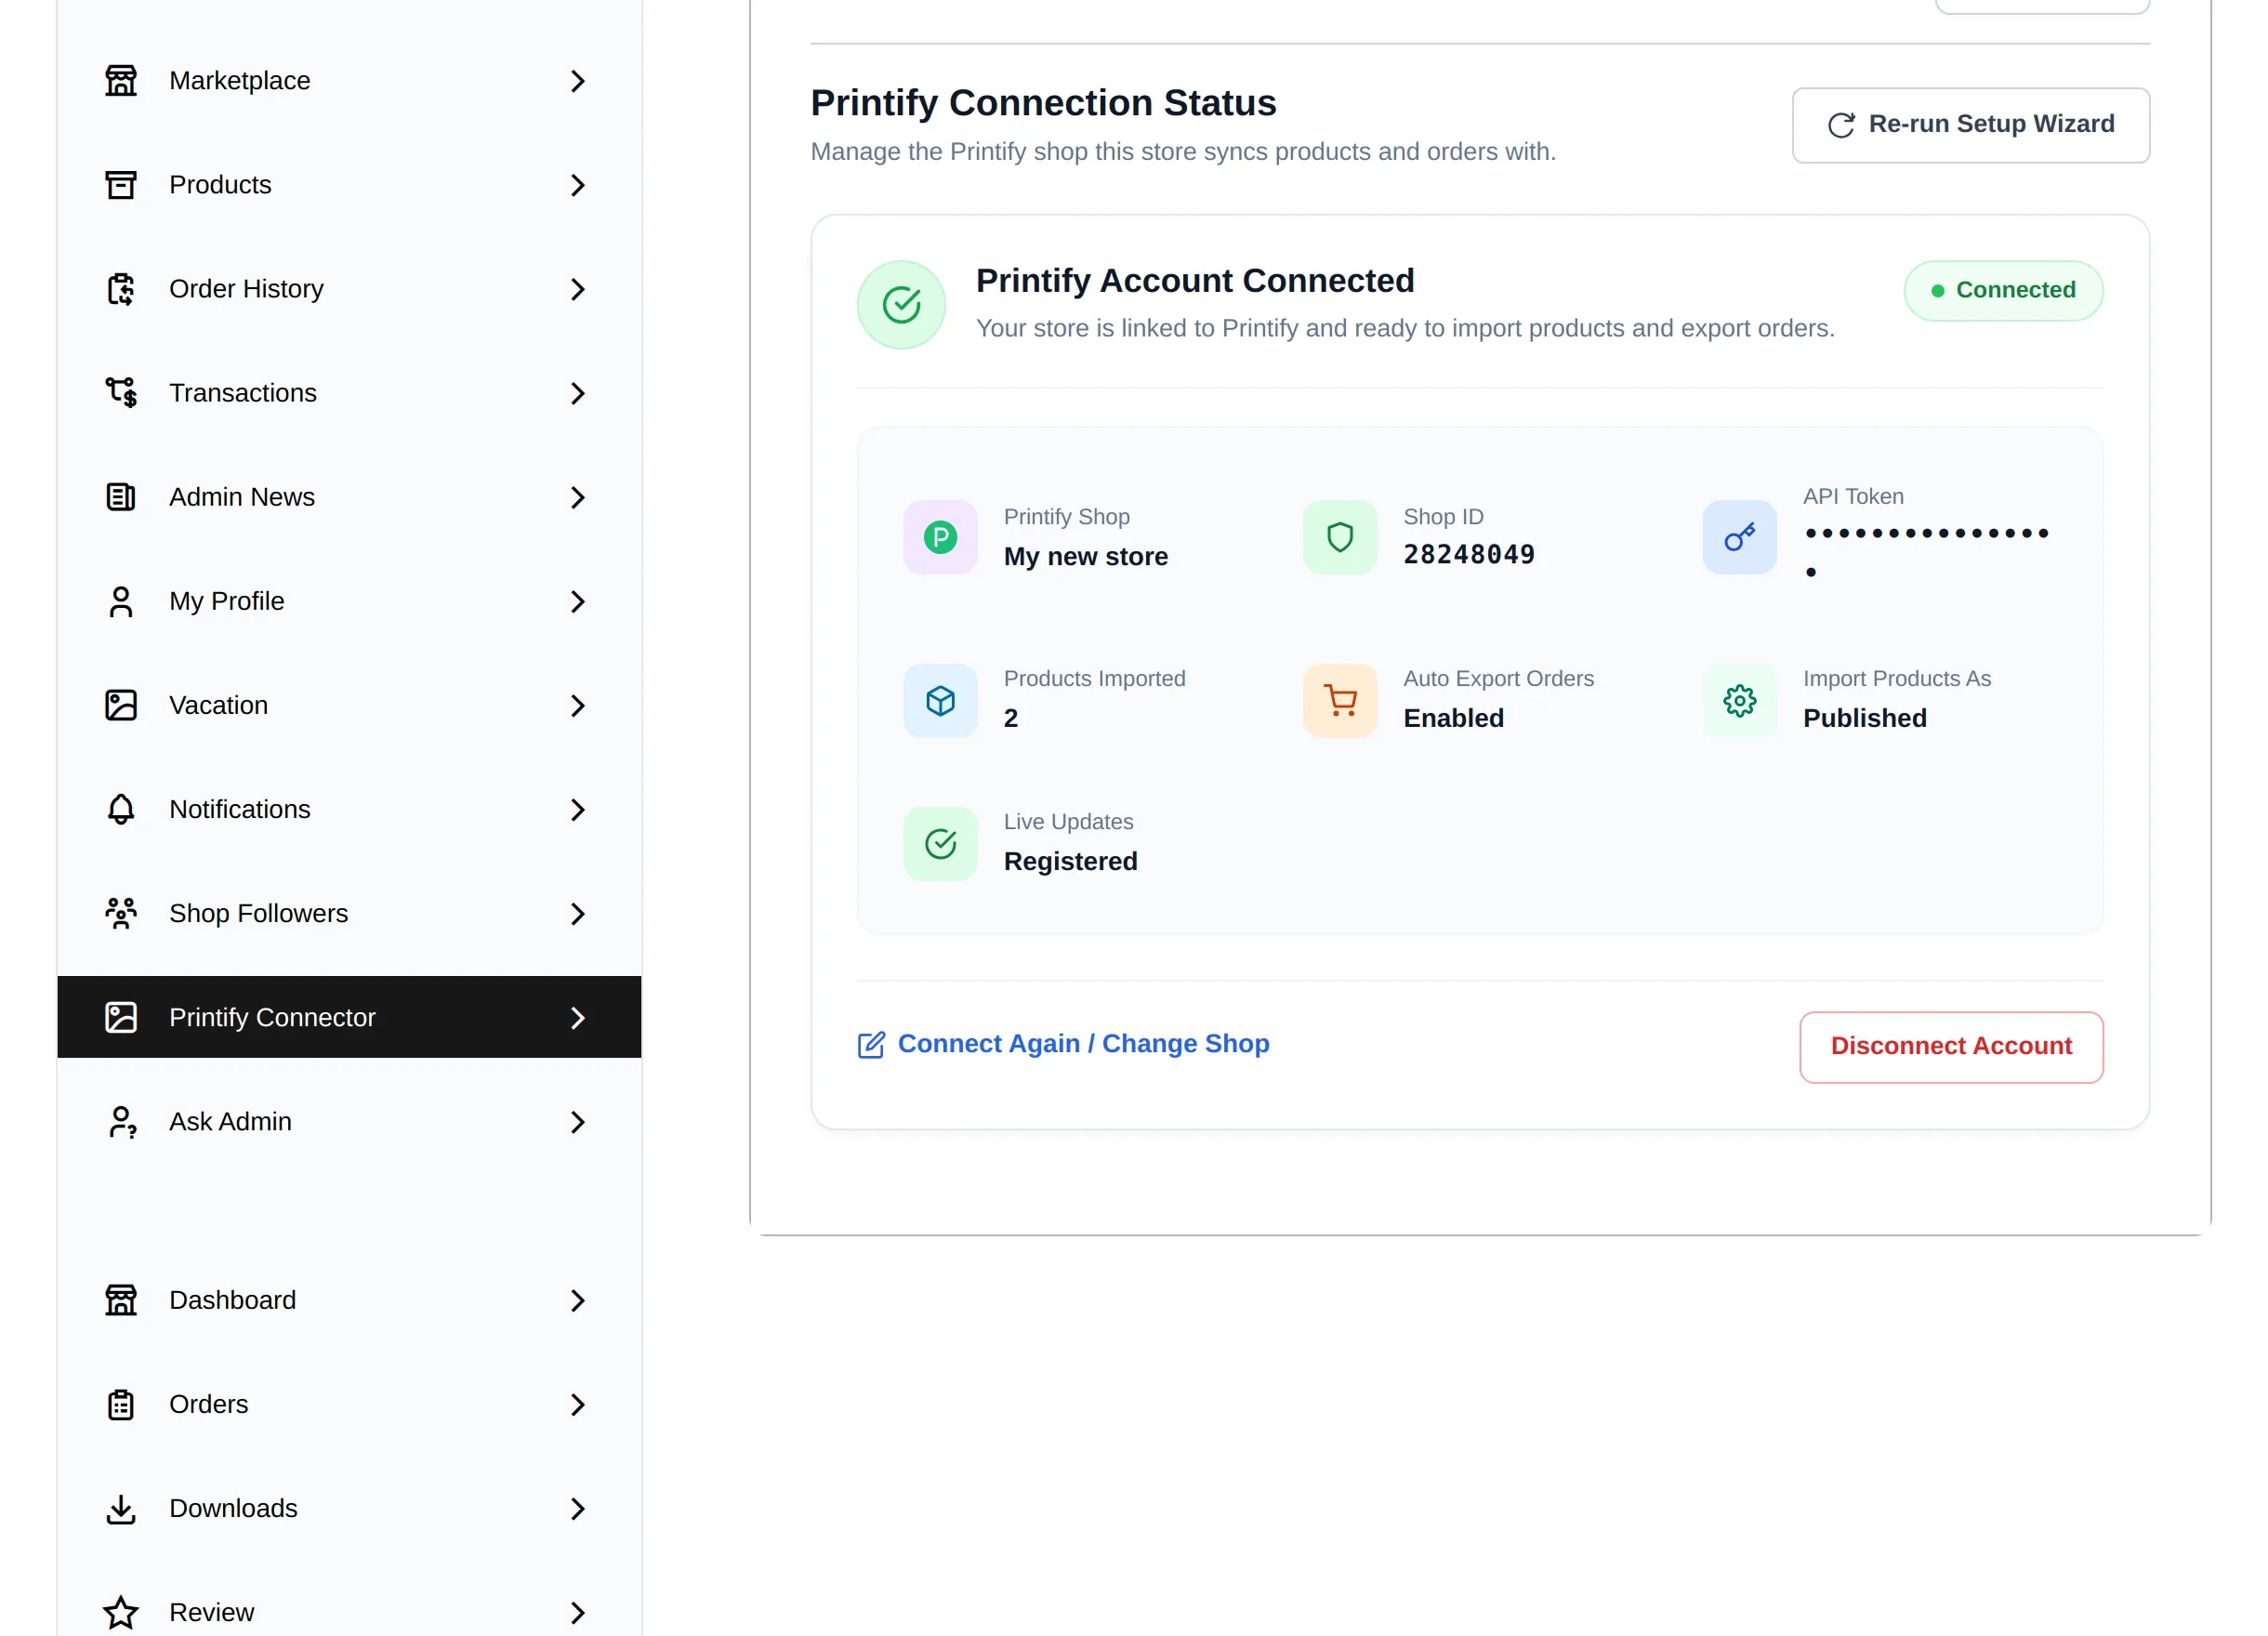
Open the Printify Connector
- Log in to the marketplace as a vendor.
- Open My Account.
- Select Printify Connector in the vendor menu.
The first visit opens the Vendor Setup Wizard. After that the link opens the vendor's Connection screen.
Move between screens
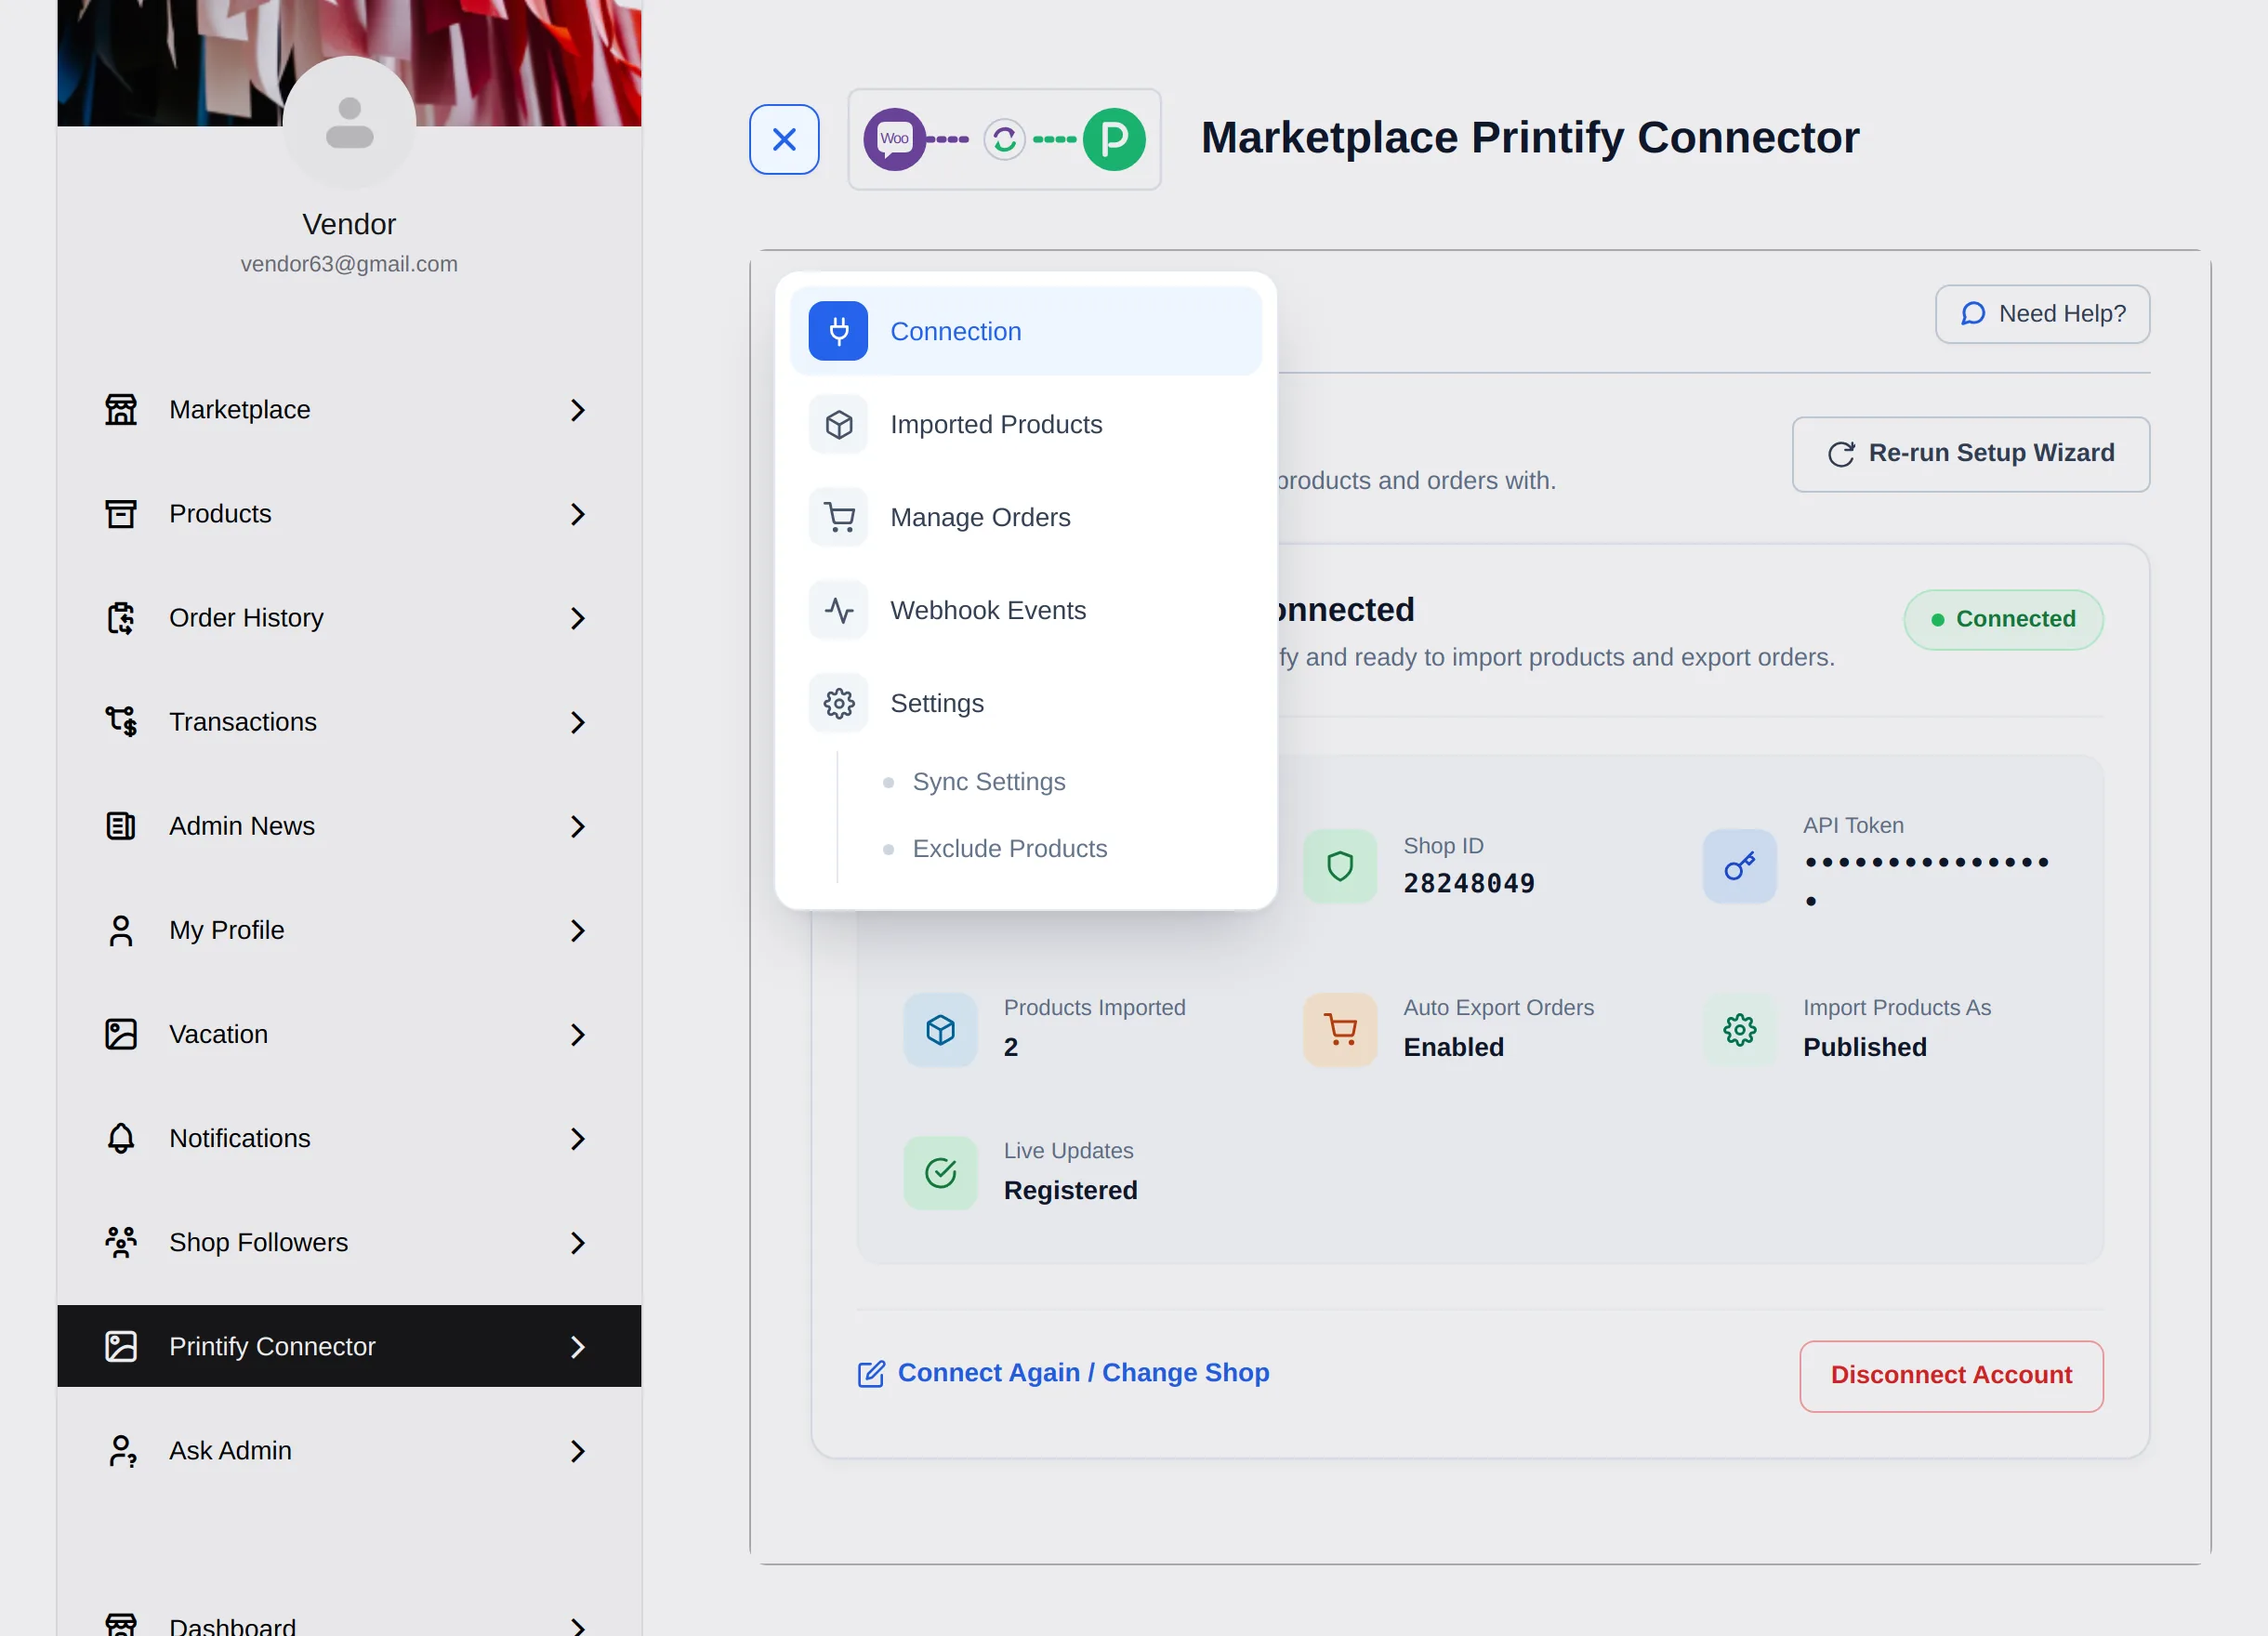
On the vendor dashboard the connector's own menu is folded behind the menu button (☰) next to the Printify Connector heading. Select it to reach every screen:
- Connection
- Imported Products
- Manage Orders
- Webhook Events
- Settings, with Sync Settings and Exclude Products
Select Need Help? on any screen for the user guide, a video and support.
What each screen does for a vendor
| Screen | Vendor use |
|---|---|
| Connection | Check the vendor's Printify shop, change shop or token, disconnect |
| Imported Products | Import and create Printify products in the vendor's store, update, exclude or delete them |
| Manage Orders | Send the vendor's Printify items from customer orders to Printify, import Printify orders |
| Webhook Events | See product and order updates received from the vendor's Printify shop |
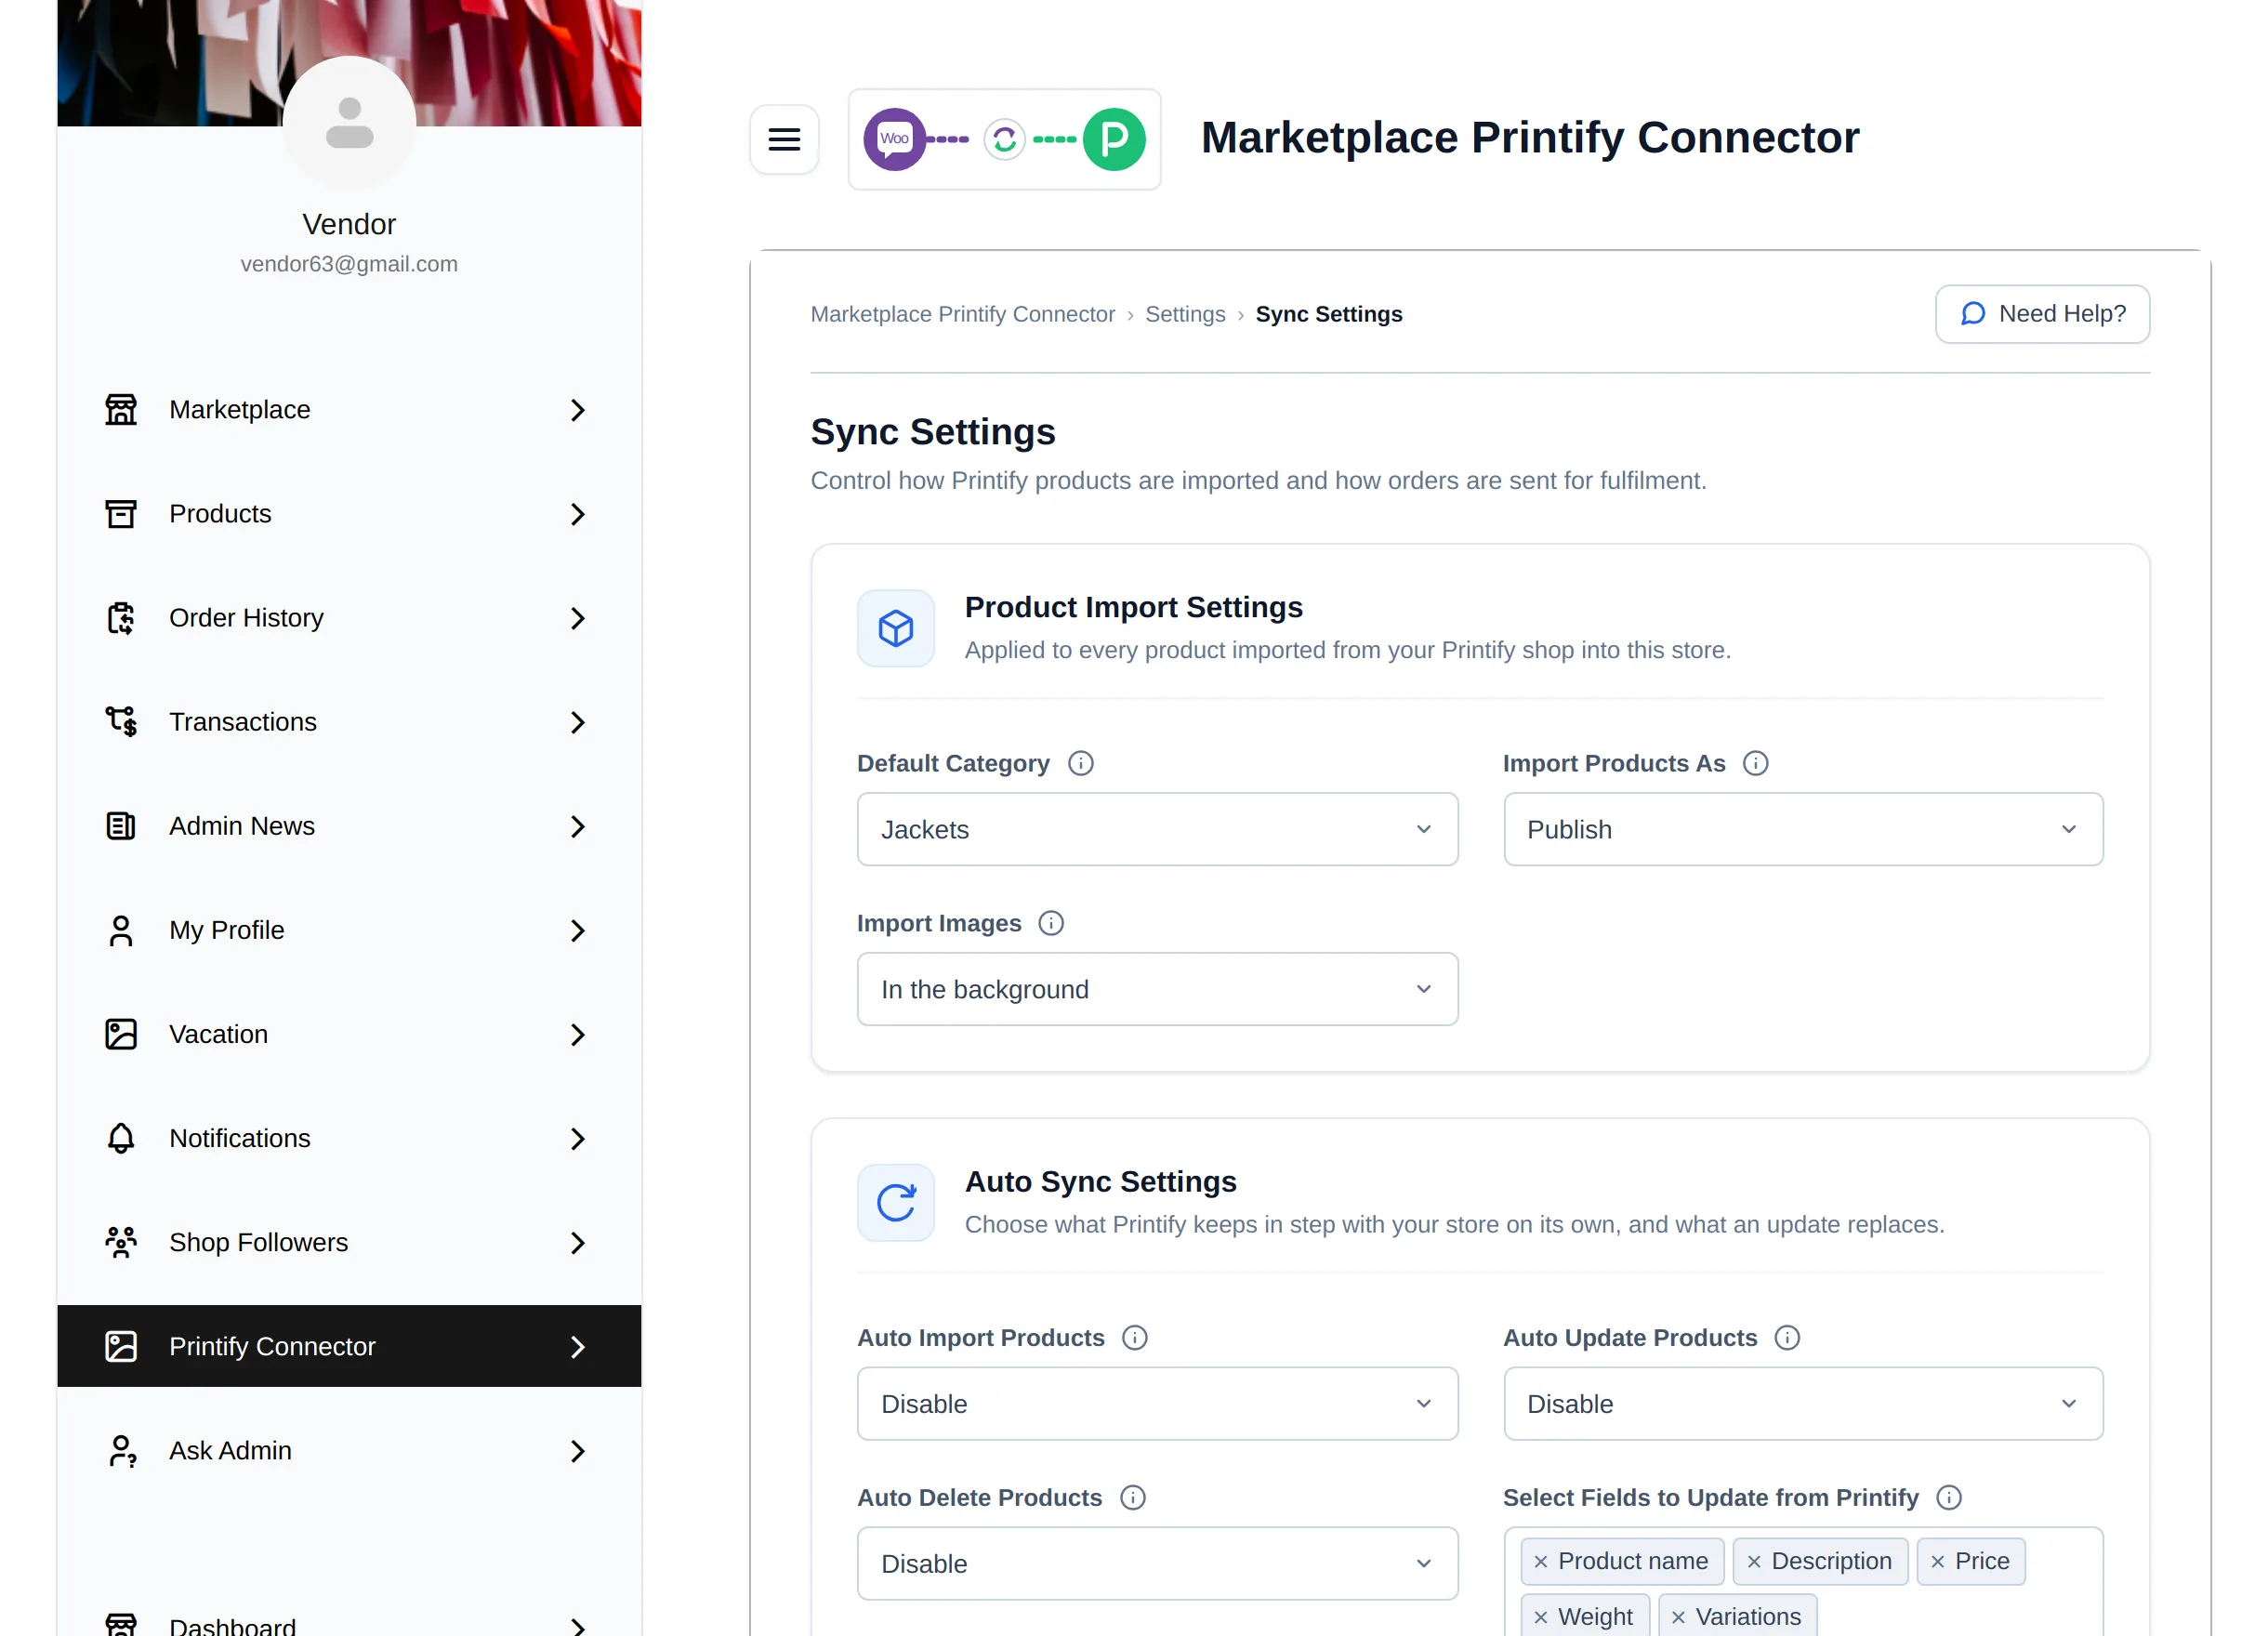
| Sync Settings | Choose the vendor's category, publish status, image, auto sync and order settings |
| Exclude Products | Keep the vendor's chosen products out of the sync |
Products and orders in the rest of the dashboard
- Products a vendor creates from Printify appear in their Products list and in their marketplace store, like any other product they sell.
- Order links on Manage Orders open the order in the vendor's Order History.
- When an order holds items from several vendors, each vendor exports only their own Printify items, and a Printify status update on such an order only adds a note.
Privacy between vendors
Each vendor's Printify token, shop, products, orders, settings, exclusions and webhook events are private to that vendor. The admin's Printify connection is separate as well. The admin does not see vendors' Printify connections on the admin screens.