
Vendor Setup Wizard
Every vendor connects their own Printify shop, so the products they import belong to their vendor store and their orders go to their own Printify account. The Vendor Setup Wizard walks a vendor through that connection in four steps.
When it opens
The wizard opens automatically the first time a vendor selects Printify Connector in their vendor dashboard menu. To run it again, select Re-run Setup Wizard on the vendor's Connection screen.
The vendor needs their own Printify API token before starting.
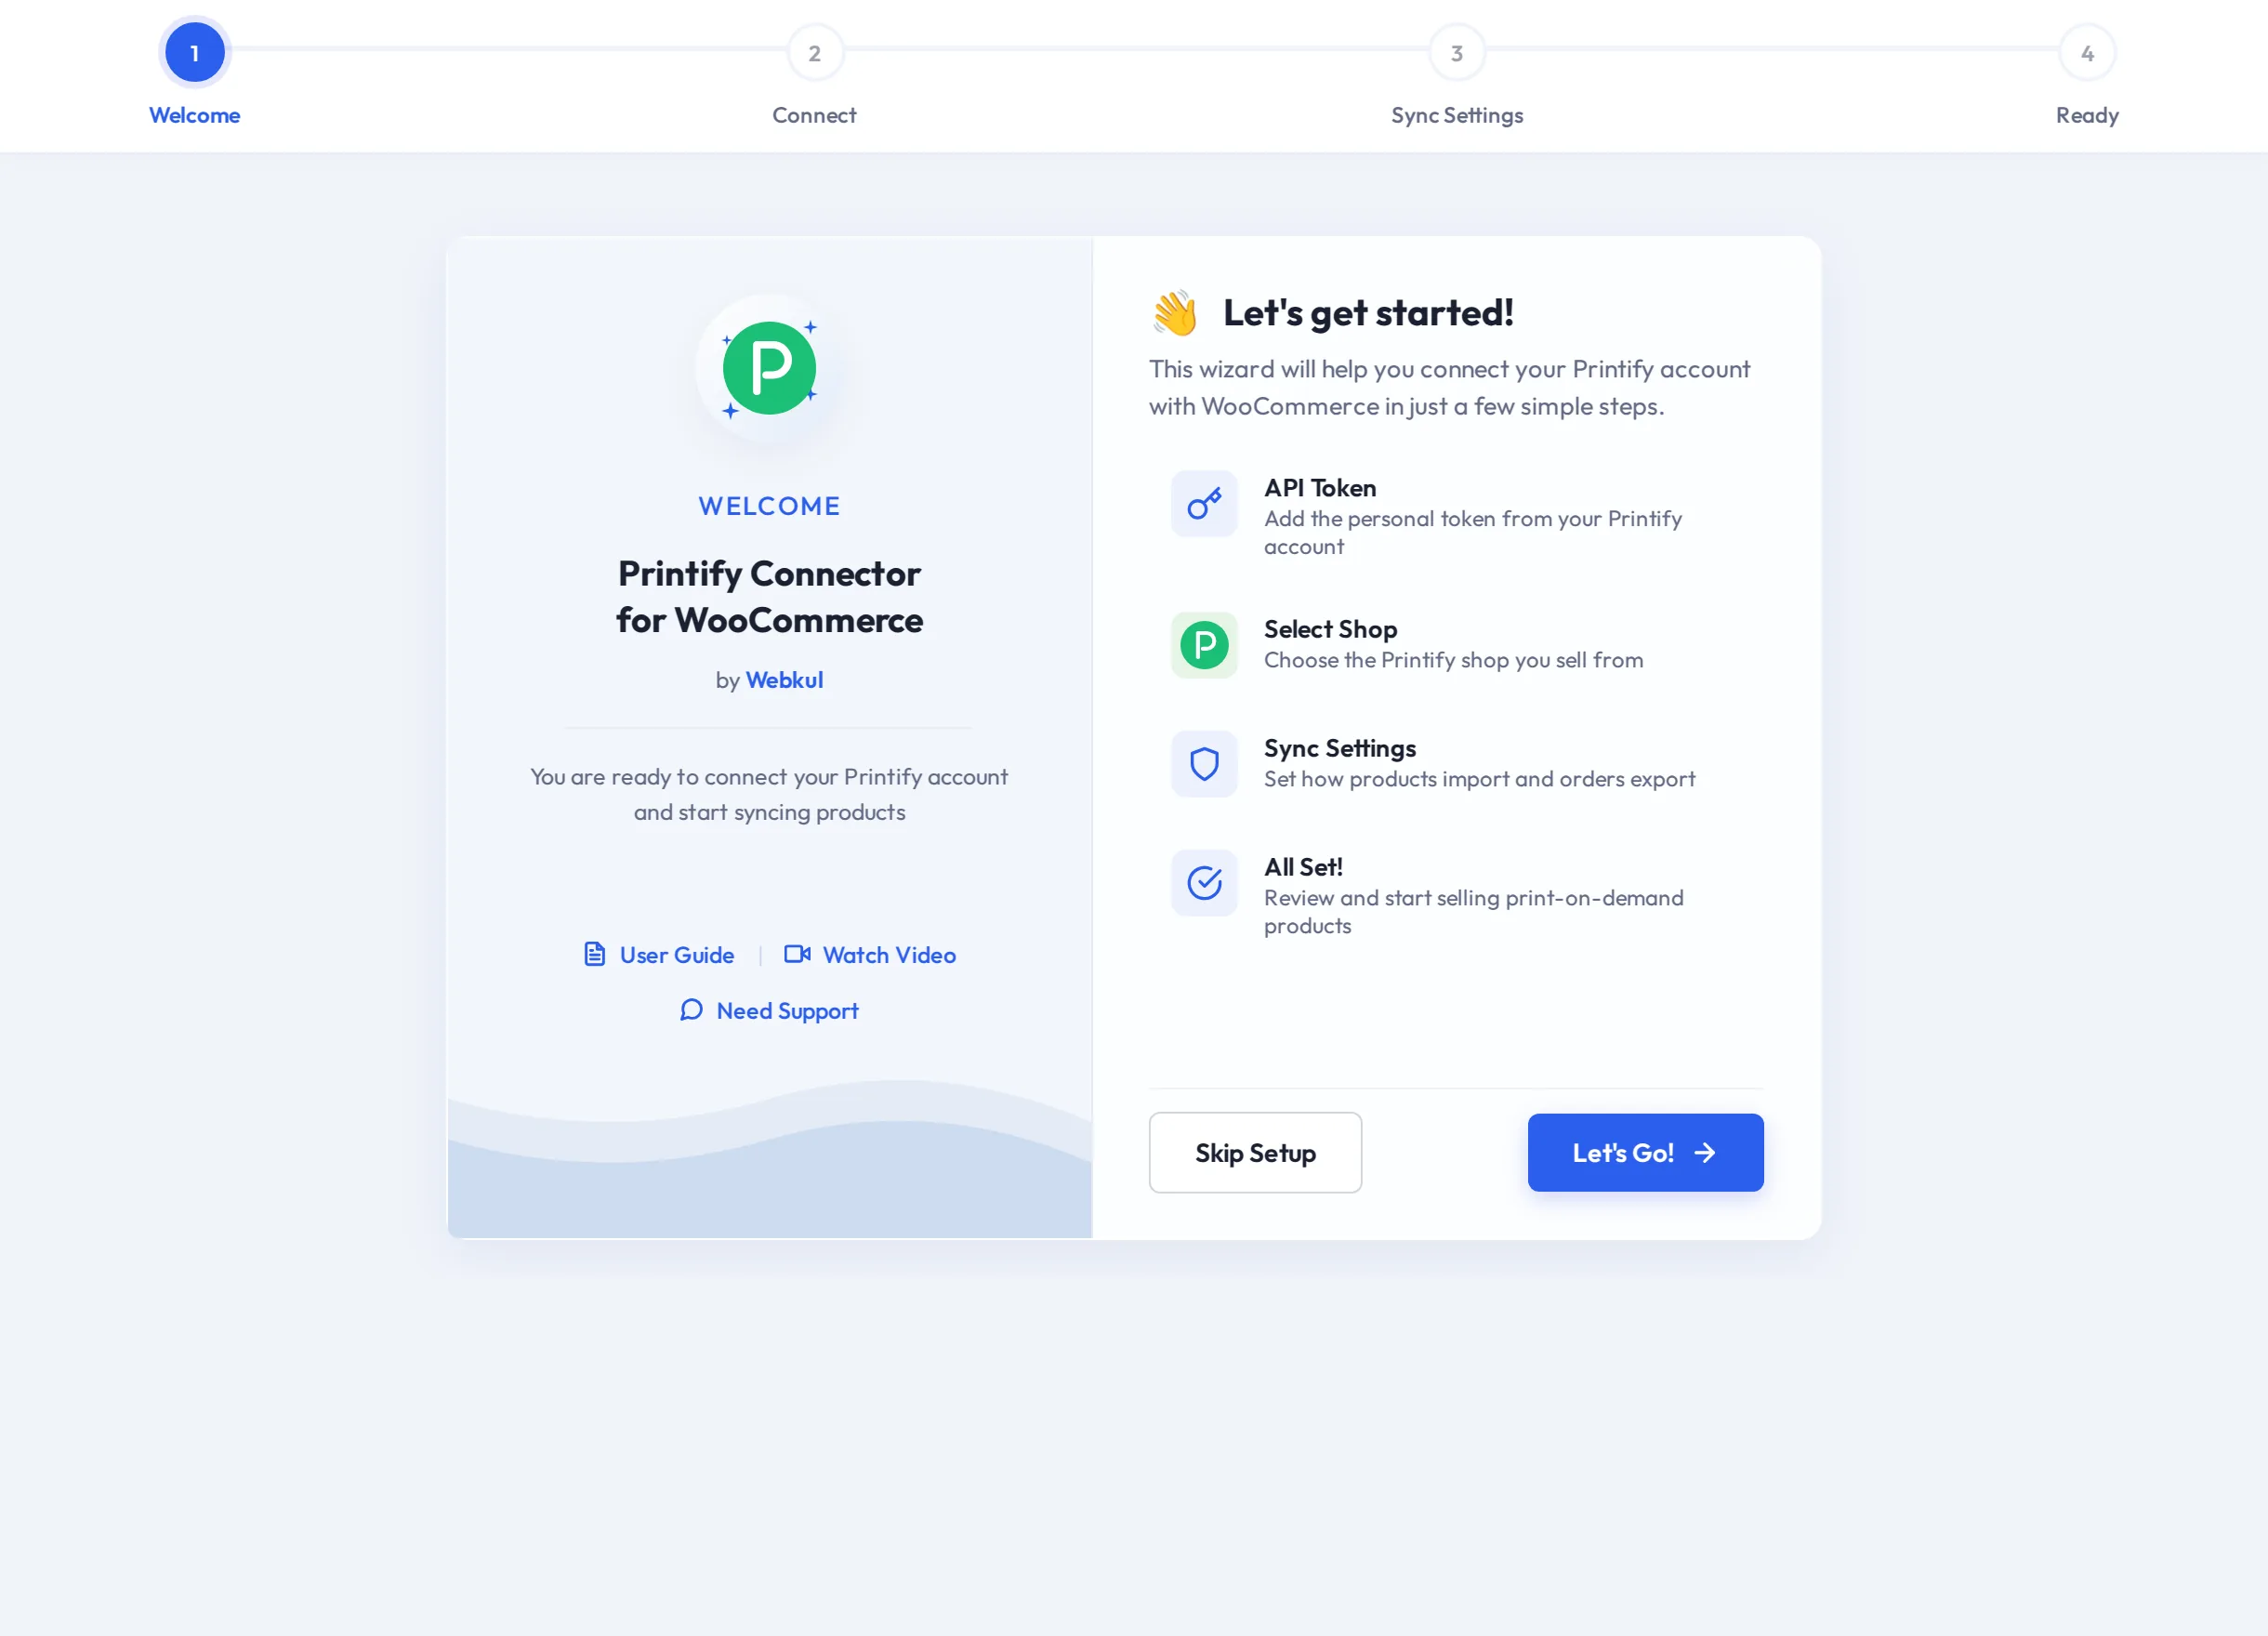
Step 1 — Welcome
The welcome screen lists the four steps. Select Let's Go! to start, or Skip Setup to go to the Printify Connector page and connect later.
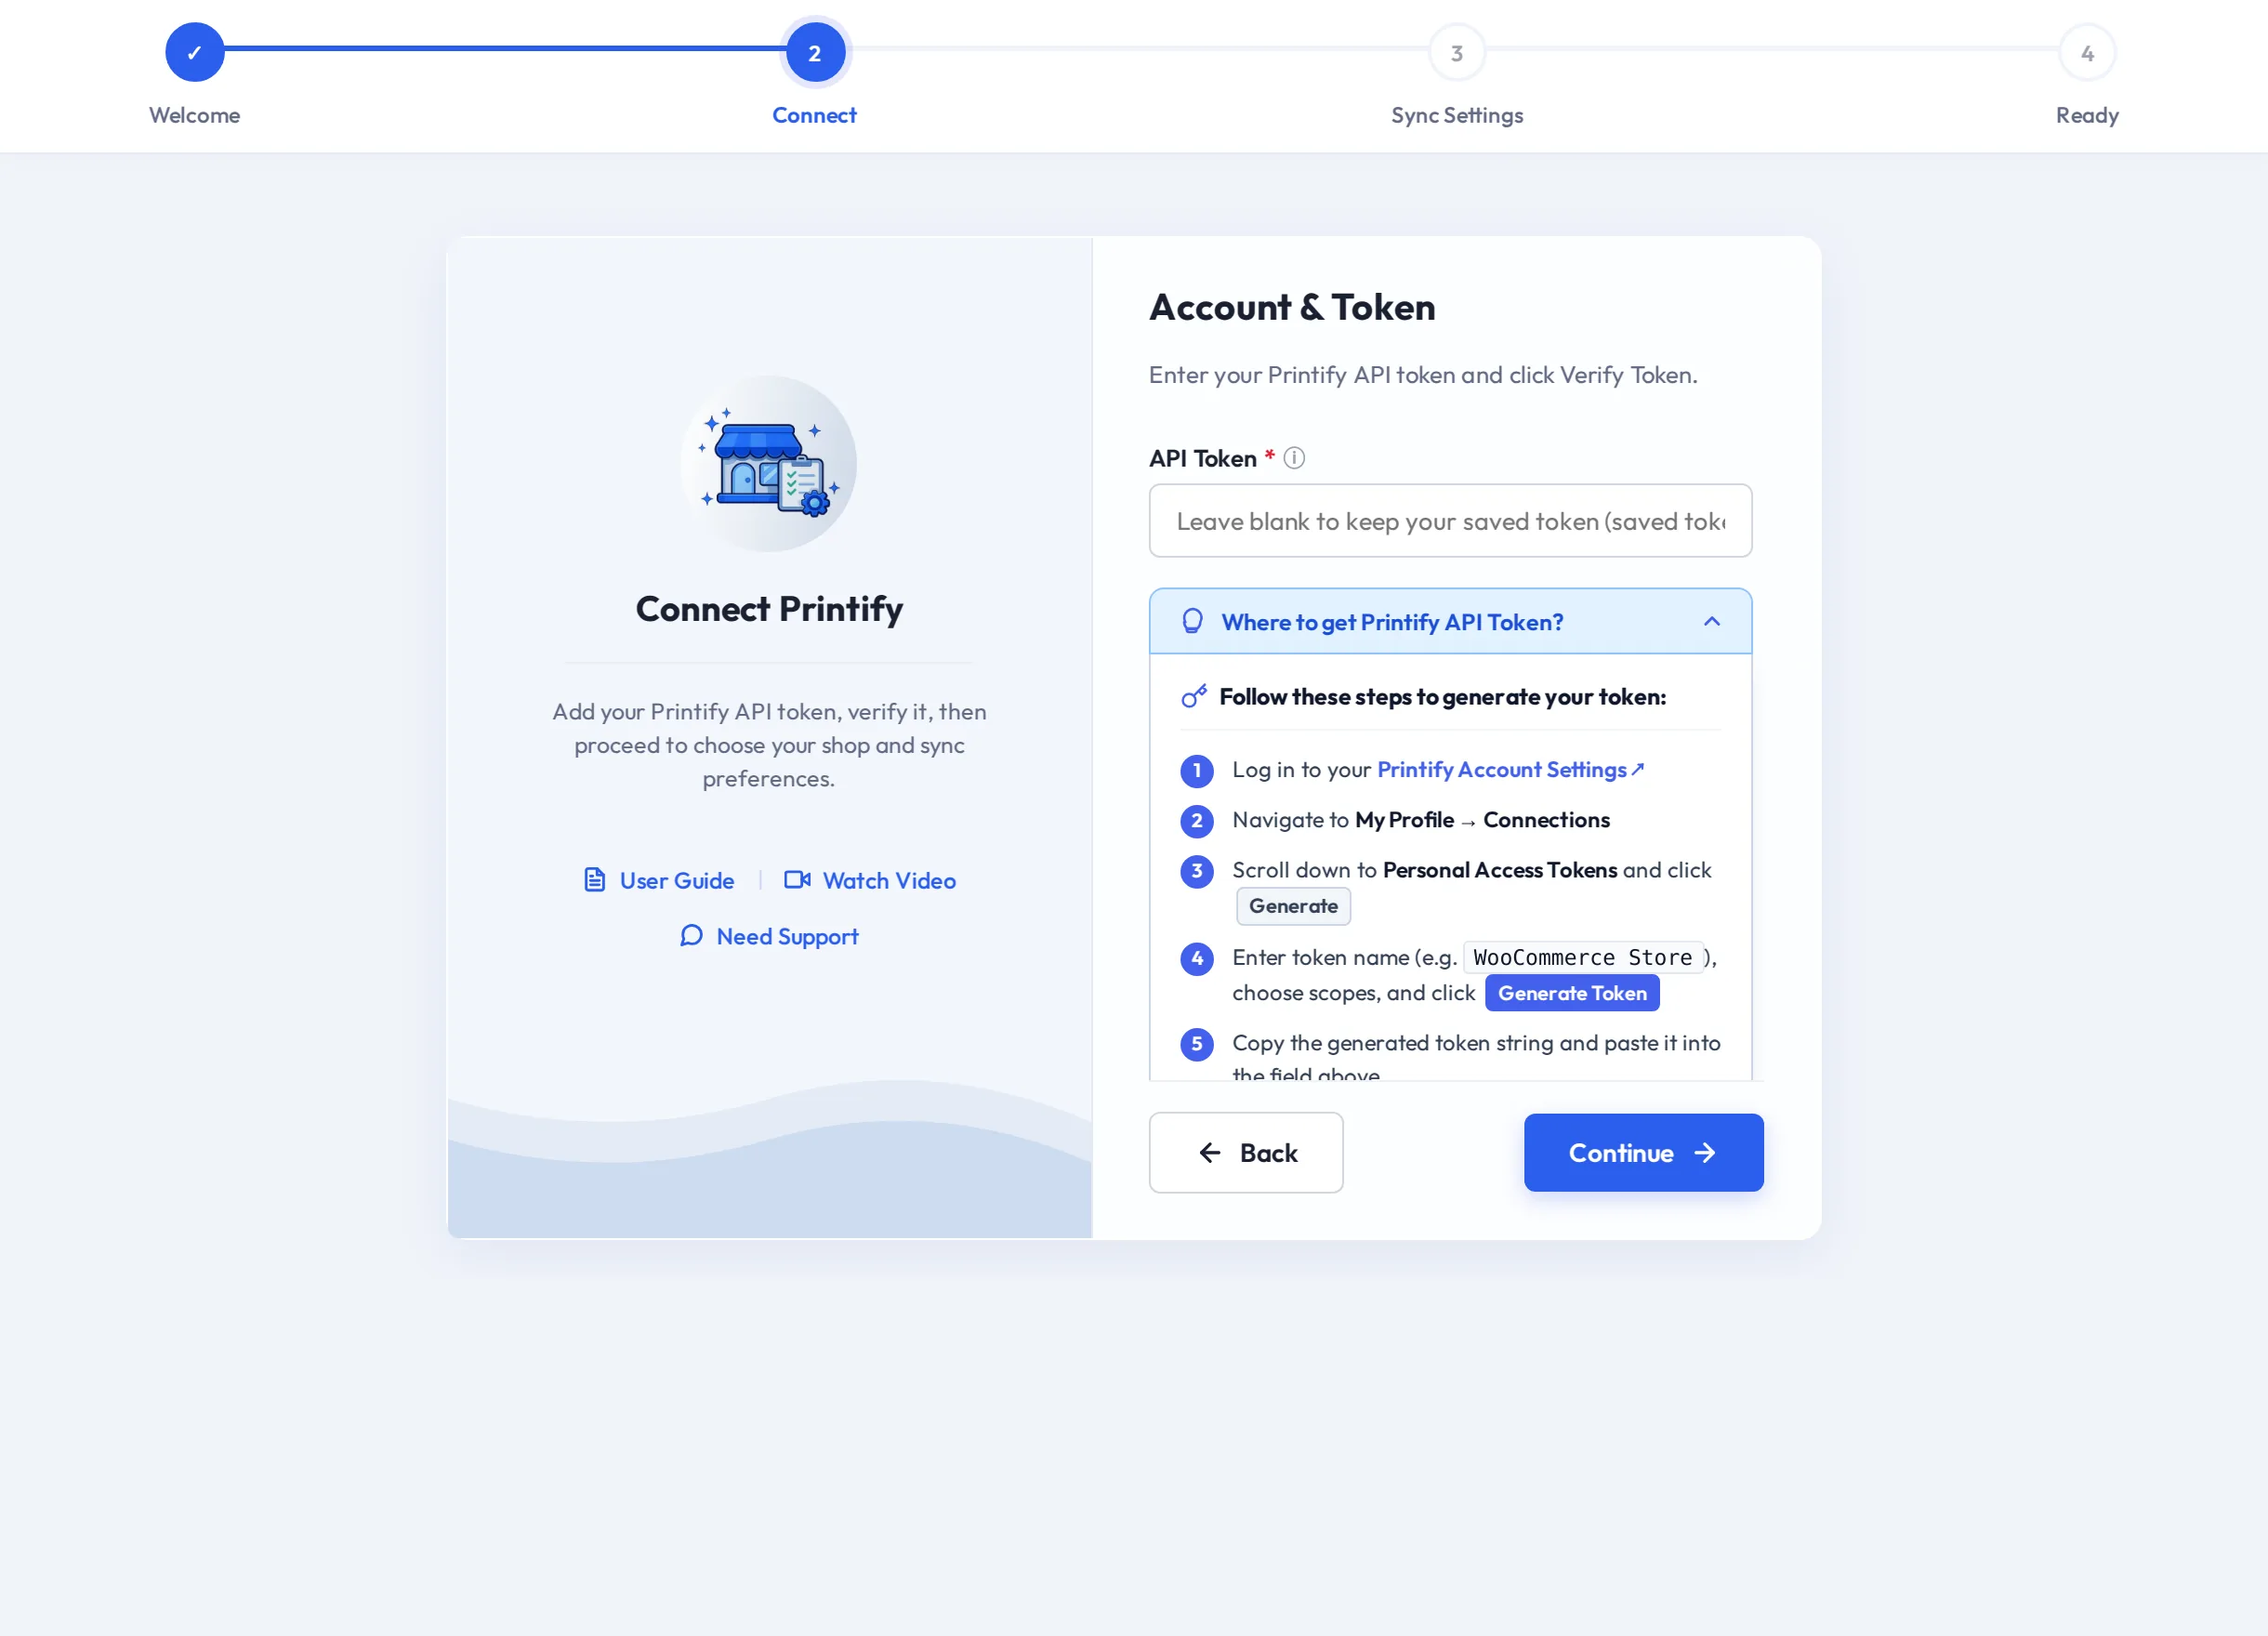
Step 2 — Connect
- Paste the Printify token into API Token. Select Where to get Printify API Token? for the steps in Printify.
- Select Verify Token and wait for Token verified successfully!
- Select Continue.
Step 3 — Sync Settings
Choose the vendor's Printify Shop, the Default Category for imported products, whether products are imported as Draft or Publish, and whether Auto Export Orders is enabled. These fields work exactly as in the Admin Setup Wizard, but apply only to this vendor.
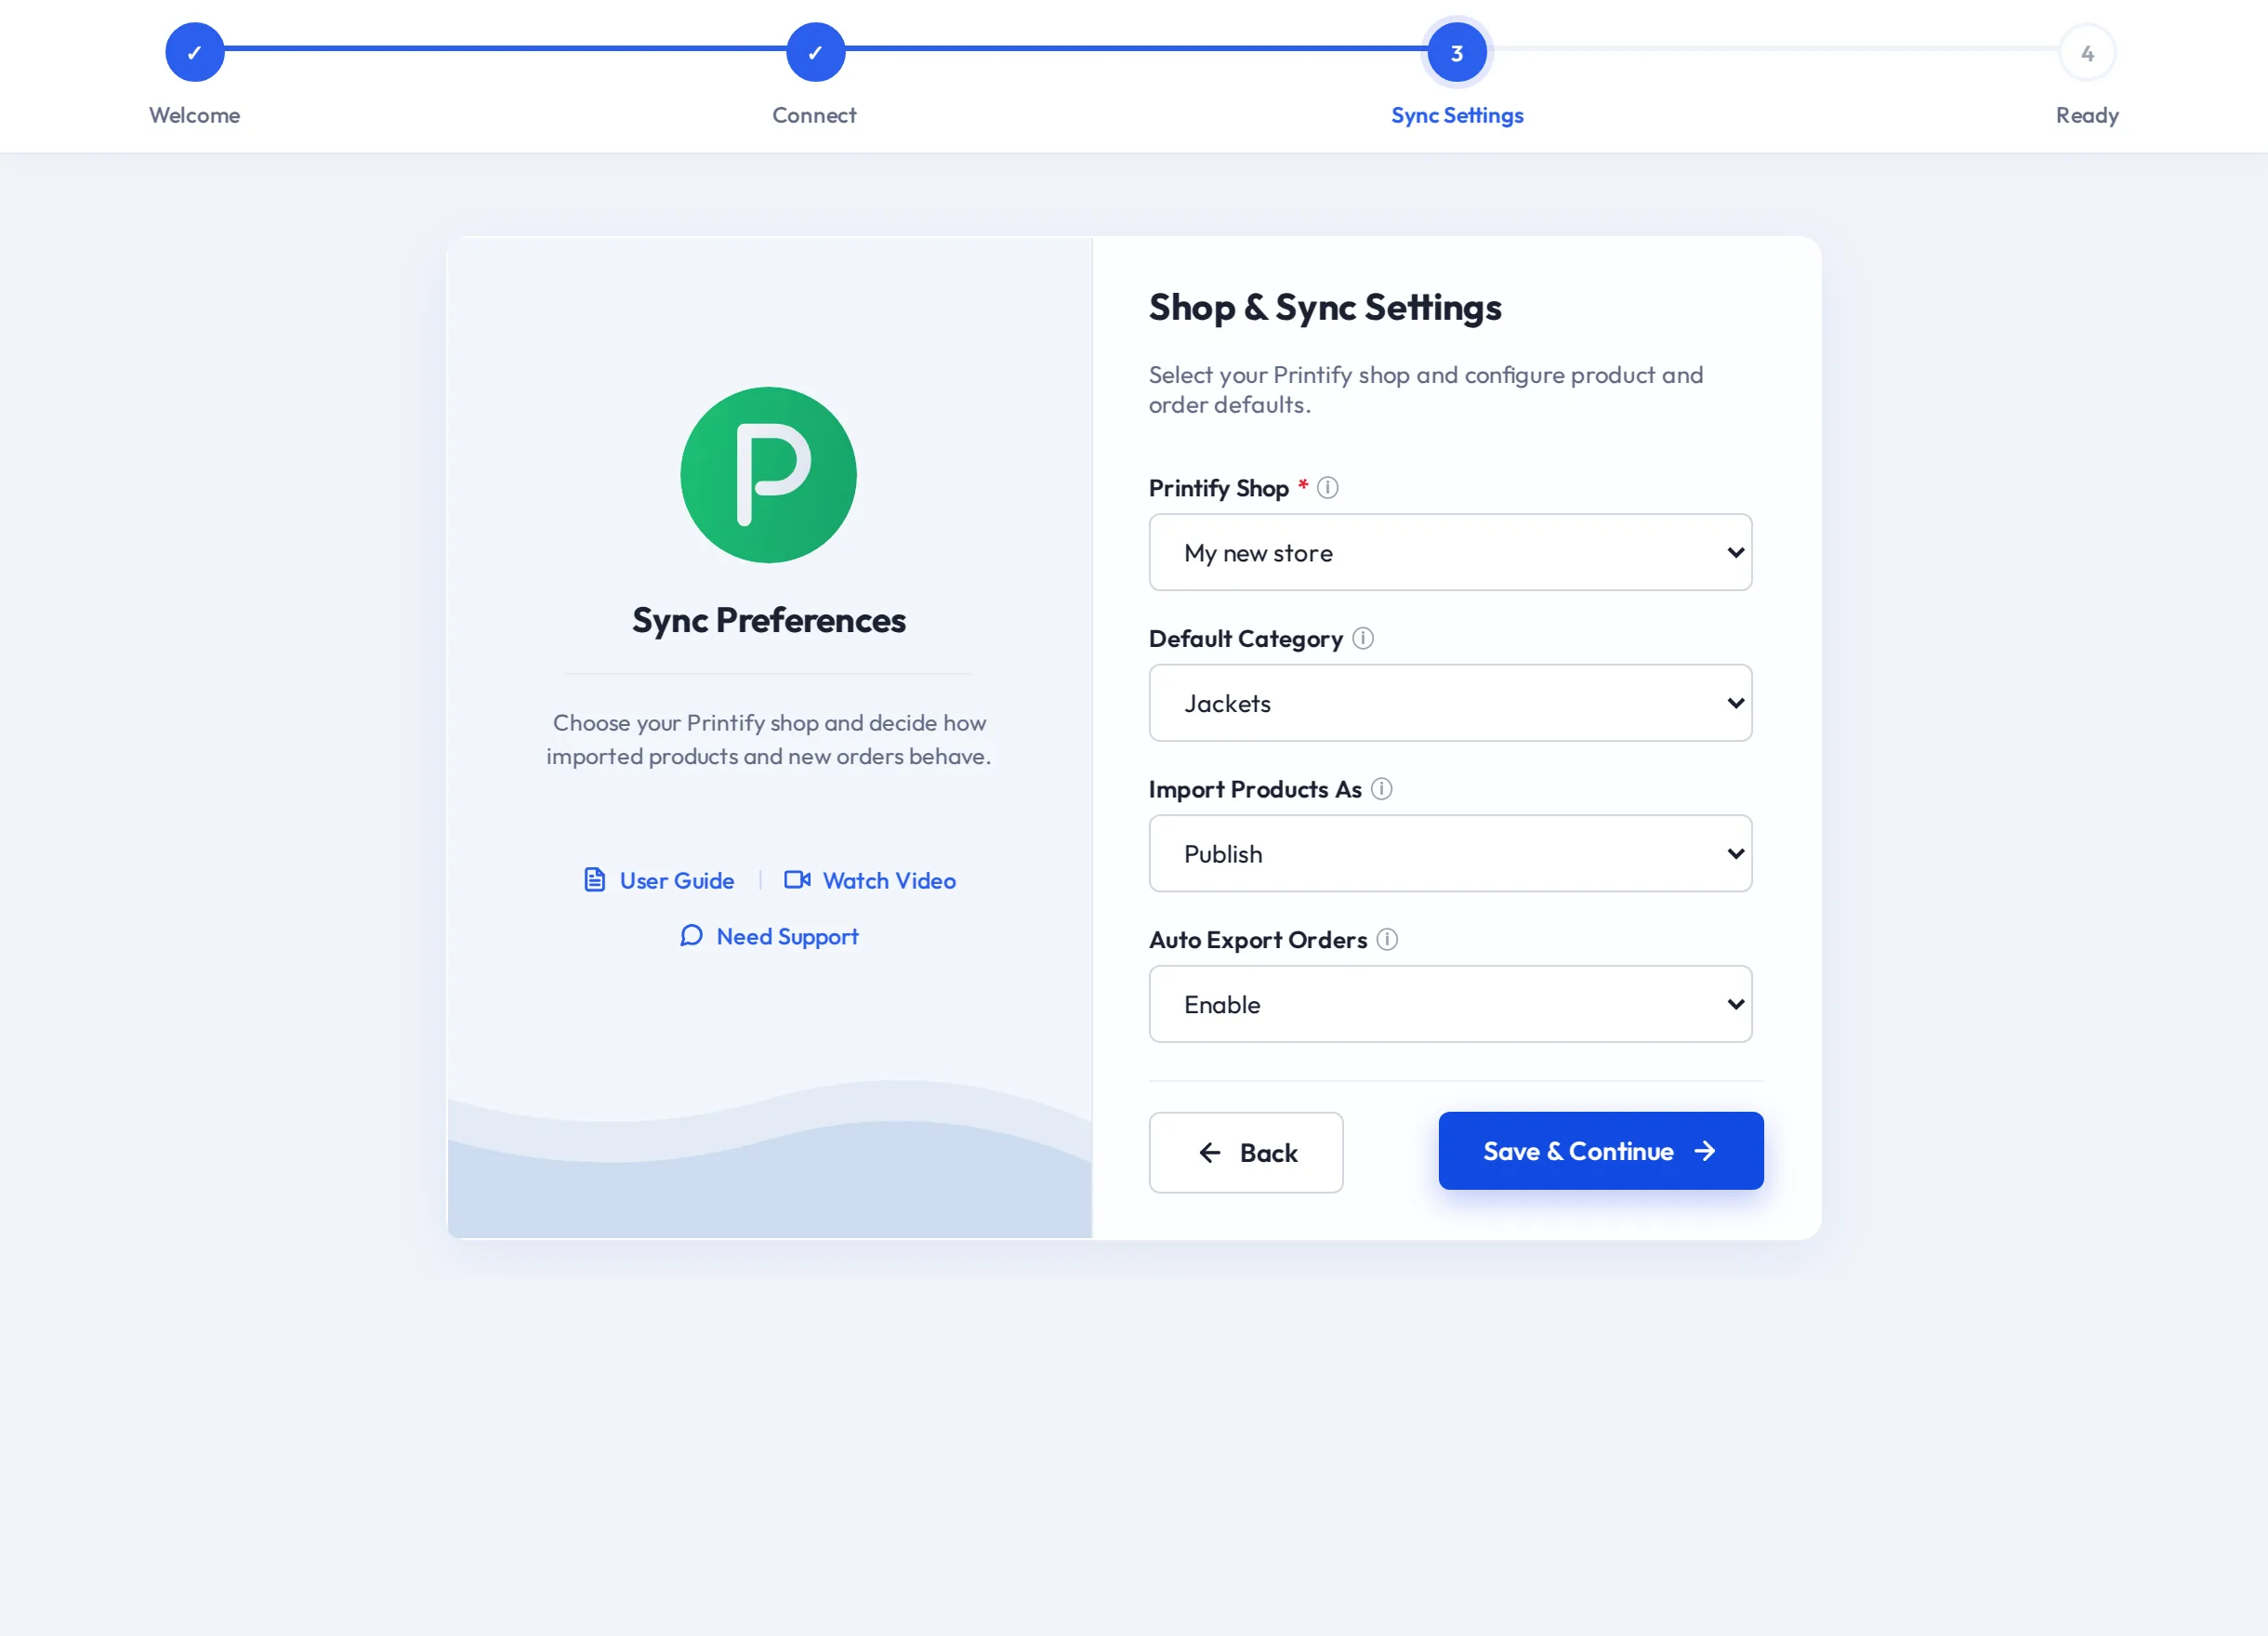
Select Save & Continue.
Each Printify shop can be connected once. If another vendor or the admin already uses the shop, the wizard shows This Printify store is already connected to another account. Choose a different shop.
Step 4 — Ready
The summary confirms the connection, the shop and the chosen defaults.
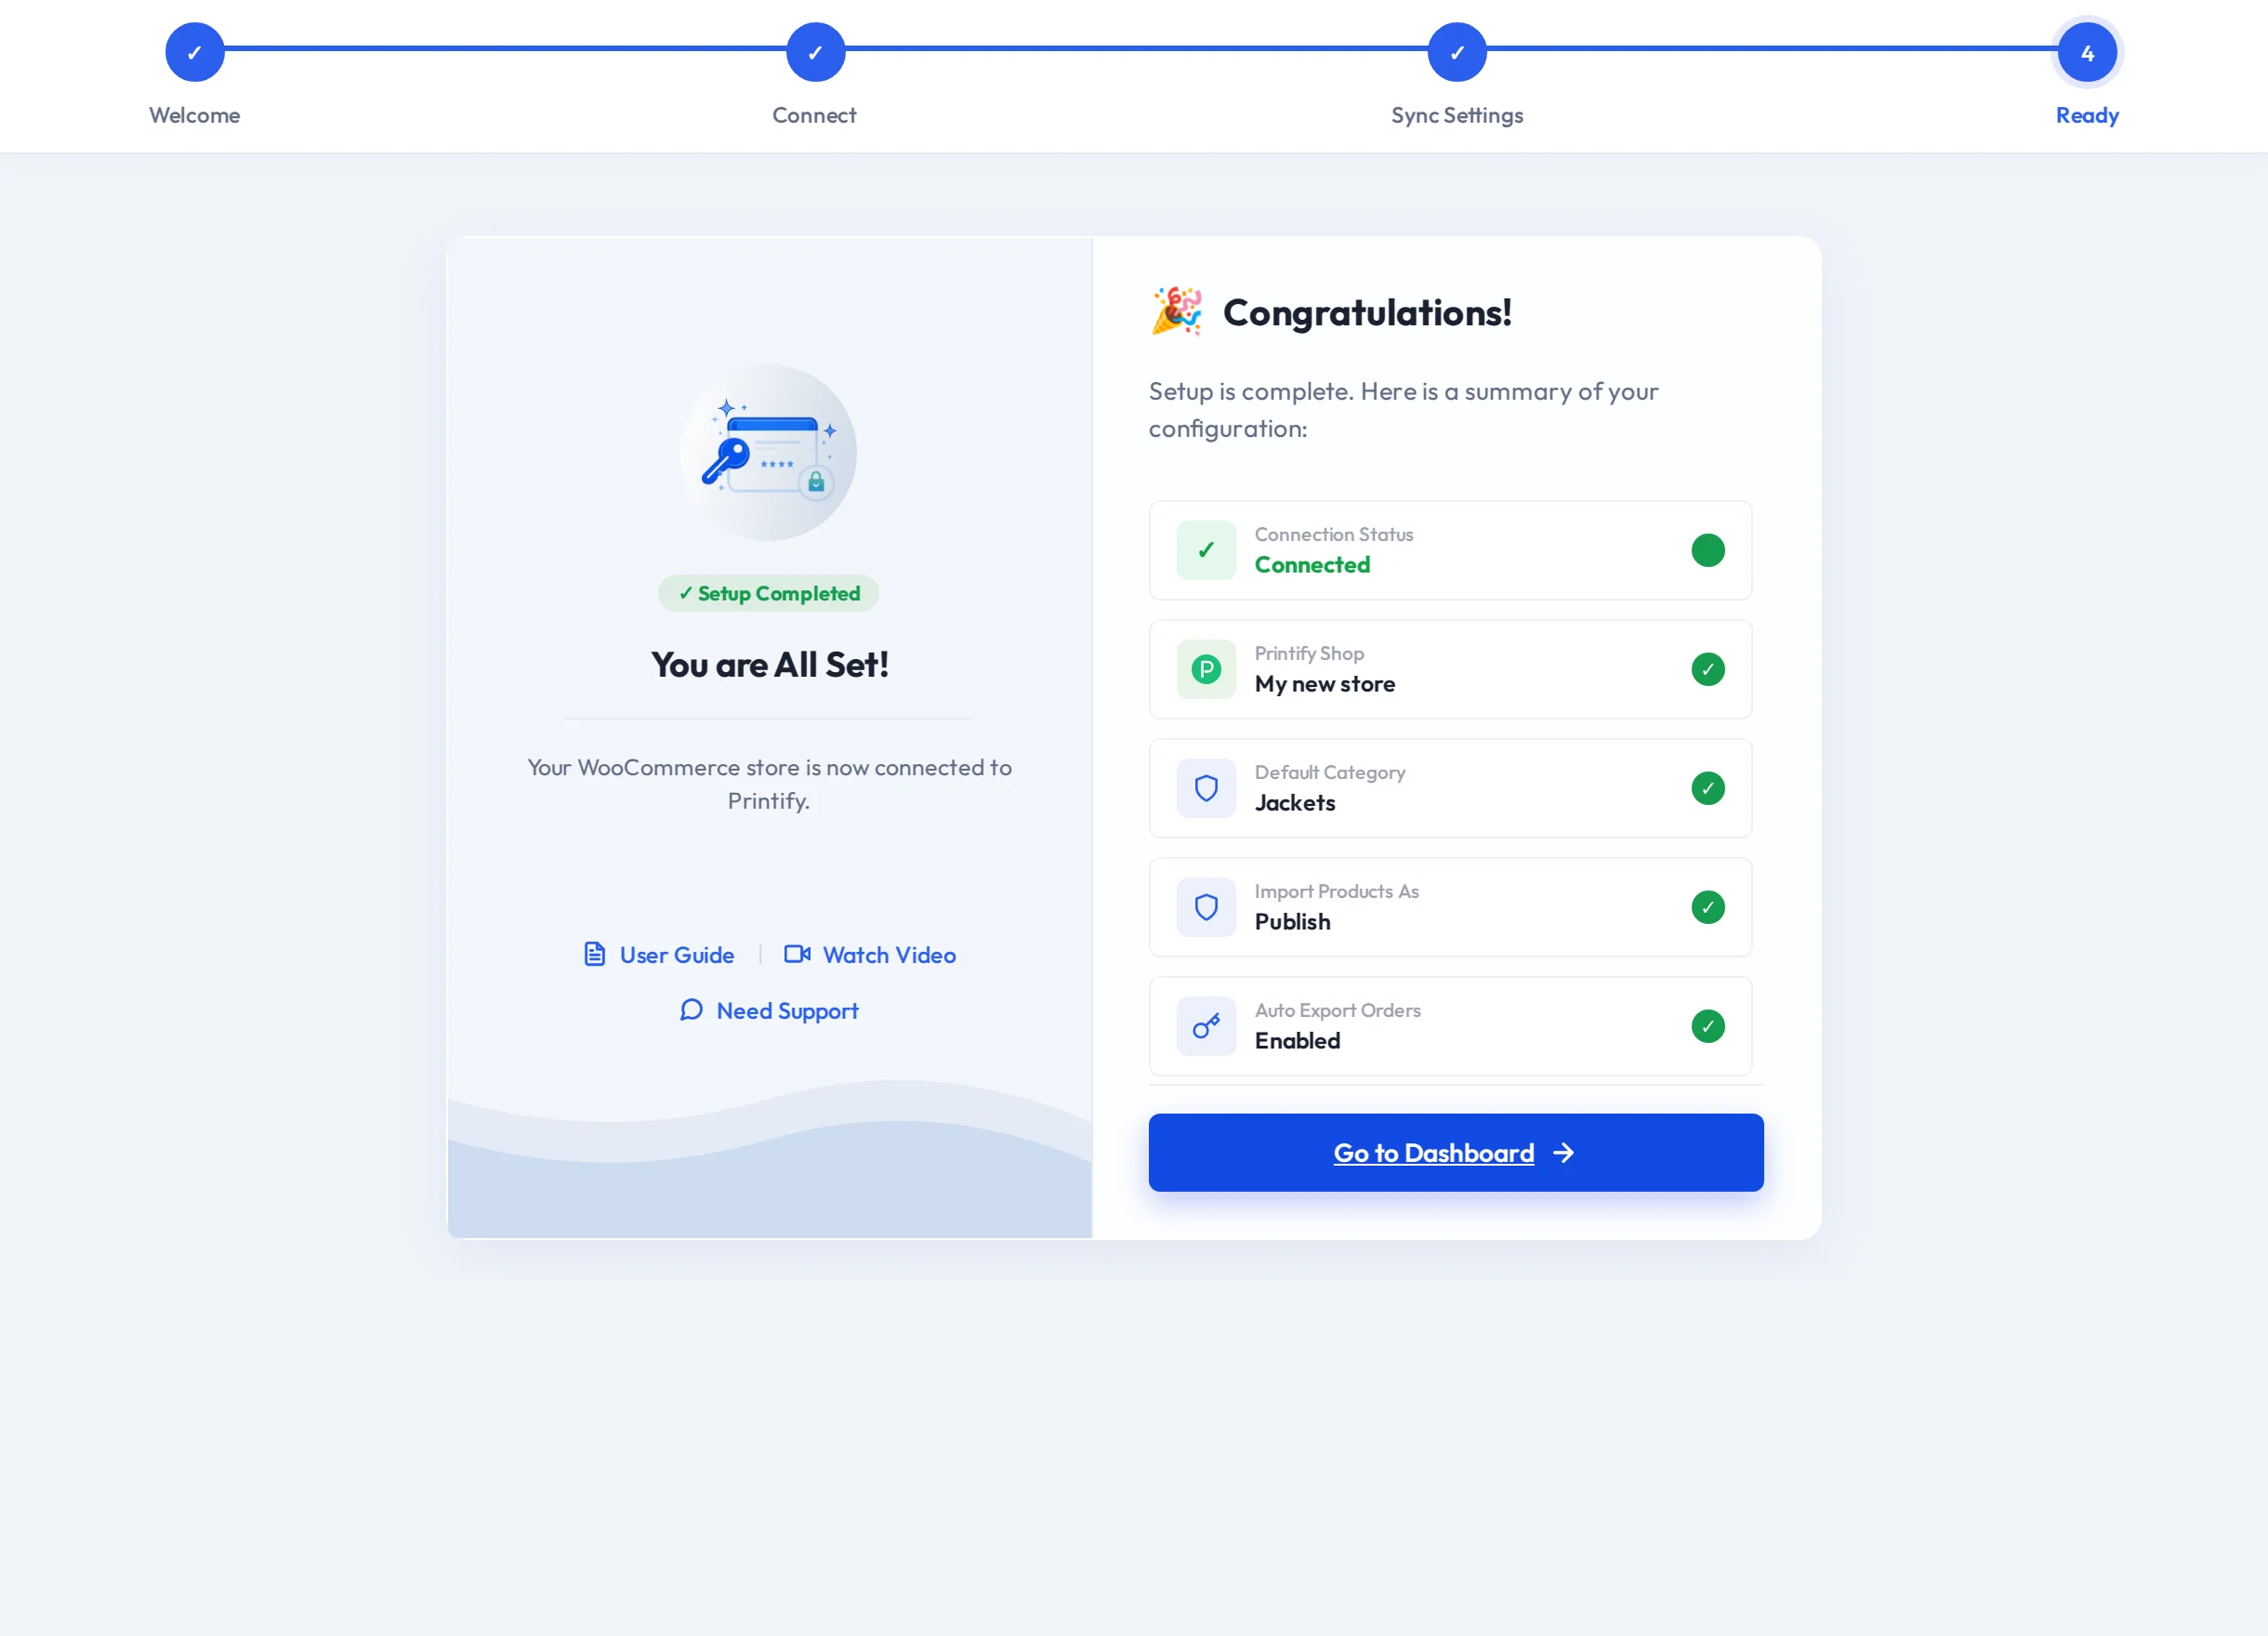
Select Go to Dashboard to open My Account → Printify Connector, where the vendor can start importing products.
What vendors can and cannot see
- A vendor sees only their own Printify connection, products, orders, settings and webhook events.
- Products a vendor creates from Printify are listed under that vendor's store in the marketplace.
- A vendor can exclude only products they imported themselves.
See Vendor Dashboard for where each screen sits in the vendor dashboard.