
Connection Settings
The Connection tab is the home screen of the connector. It shows the live state of your QuickBooks Online link and is where you edit, re-authorize, or remove credentials.
Open it at Webkul WC Addons → WC Quick Book Connector.
Connection Status Dashboard
When credentials are saved, the tab shows a status card:
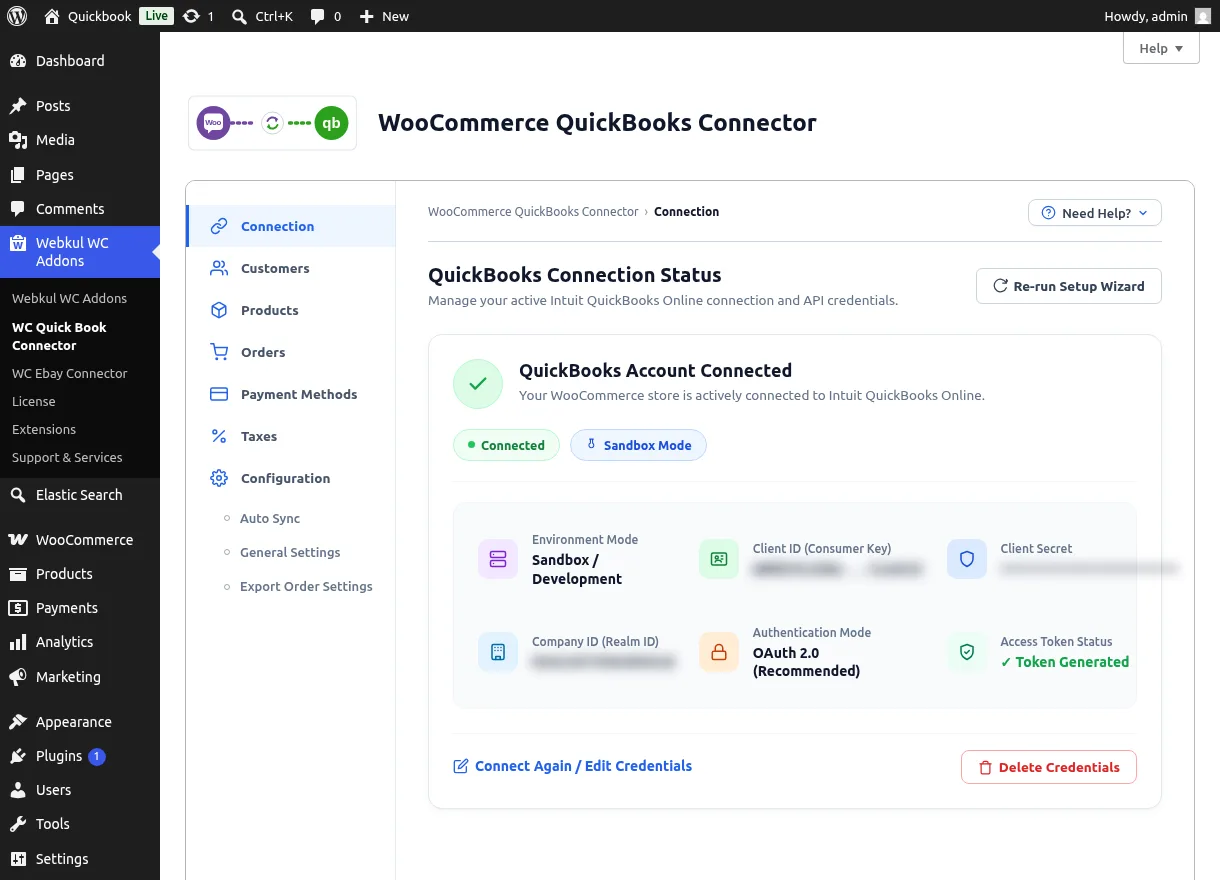
- Headline — "QuickBooks Account Connected" when the live check passes, or "Credentials Stored — Re-authorization Needed" when tokens are missing or stale.
- Badges — Connected / Auth Required, plus the current environment (Sandbox Mode / Production Mode).
- Details grid — Environment Mode, Client ID (truncated), Client Secret (masked), Company ID (Realm ID), Authentication Mode, and Access Token Status (✓ Token Generated / ⚠ Token Missing).
- Actions — Connect Again / Edit Credentials, Delete Credentials, and Re-run Setup Wizard.
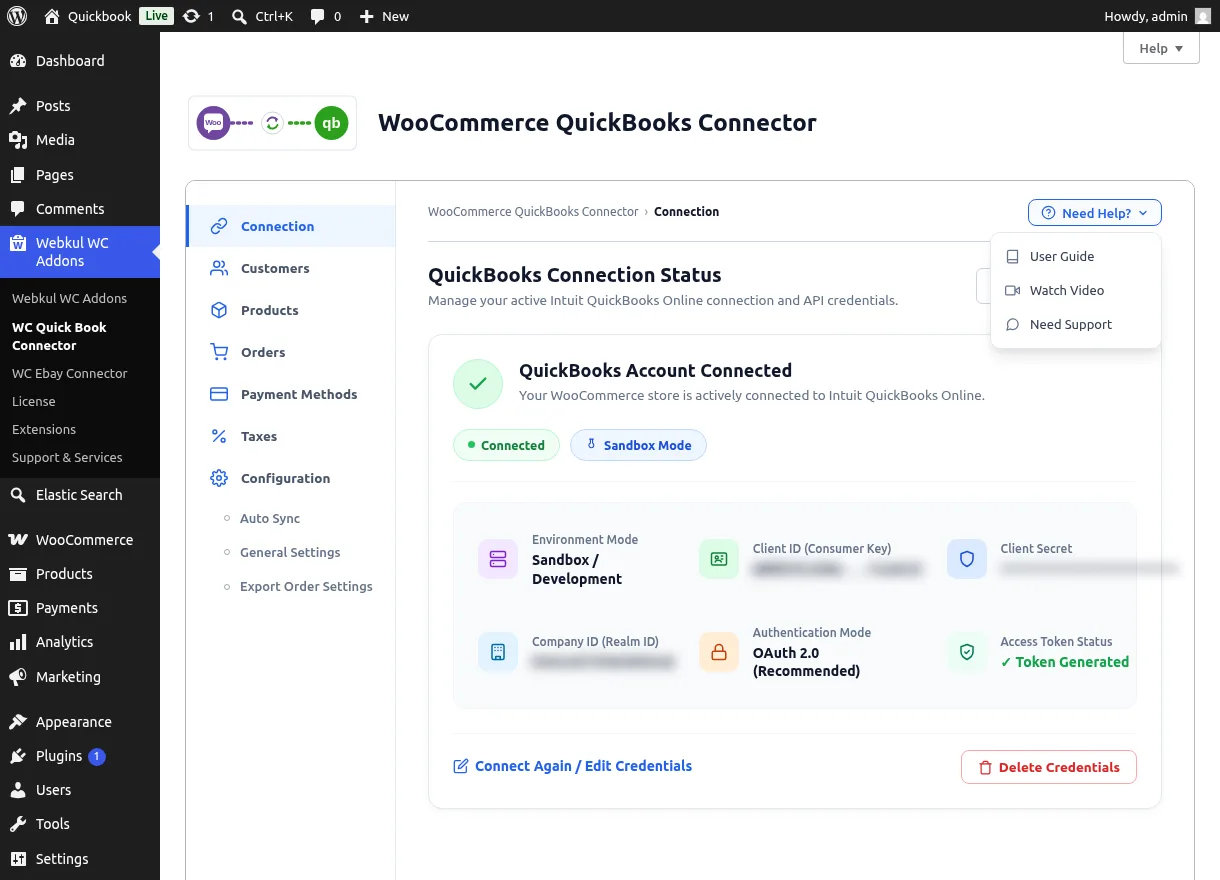
The Need Help? menu in the breadcrumb row links to the user guide, a video walkthrough, and the Webkul support desk:
Editing the Connection
Click Connect Again / Edit Credentials to open the connection form:
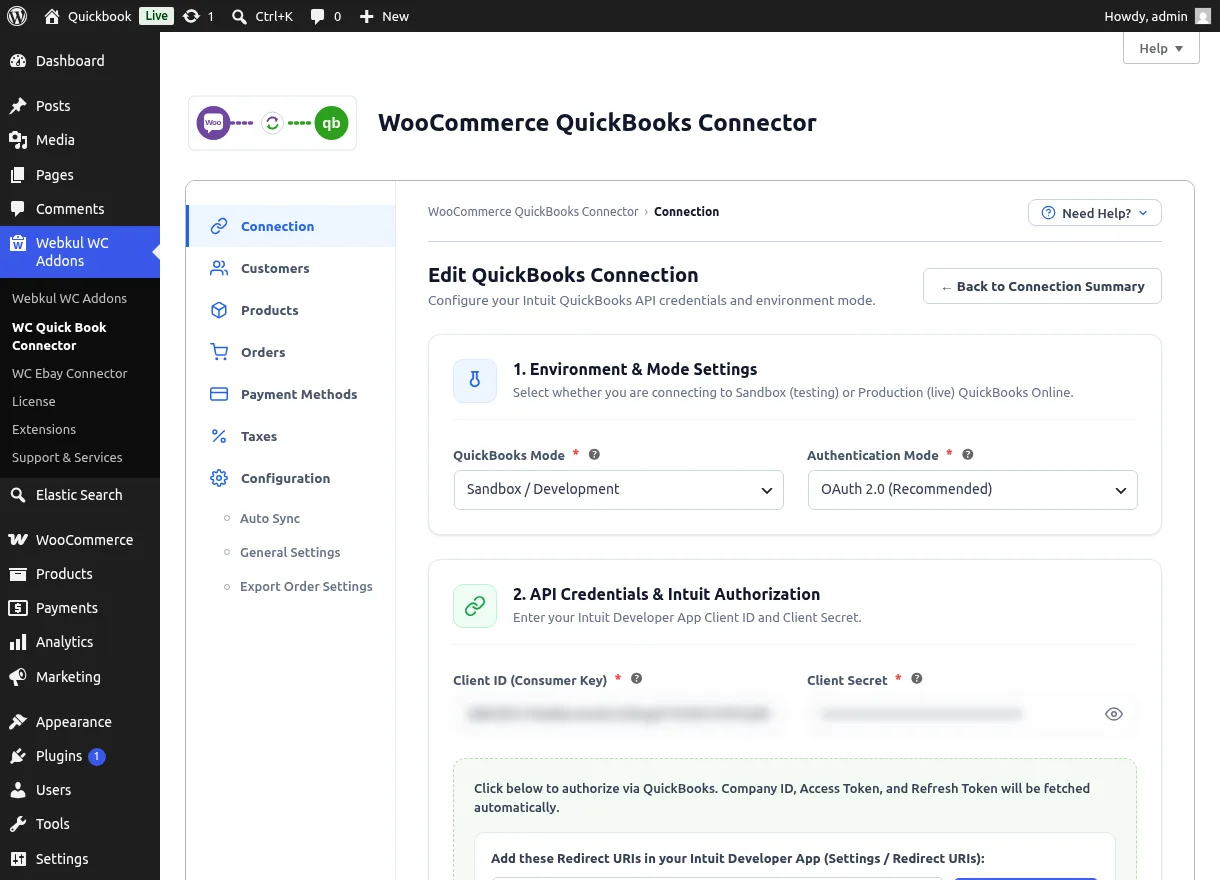
1. Environment & Mode Settings
| Setting | Options | Notes |
|---|---|---|
| QuickBooks Mode | Sandbox / Development, Live / Production | Must match the Intuit app and company you authorize |
| Authentication Mode | OAuth 2.0 (Recommended), OAuth 1.0 (Deprecated) | Keep OAuth 2.0 |
2. API Credentials & Intuit Authorization
- Enter the Client ID (Consumer Key) and Client Secret from your Intuit Developer app. The secret field has a show/hide toggle.
- Copy the two Redirect URIs shown in the green callout (Copy Setup URI and Copy Main URI) and add both to your Intuit app's Redirect URIs list.
- Click Connect with QuickBooks. Approve access in the Intuit window — the Company ID, Access Token, and Refresh Token are fetched automatically and the window closes on success.
- Click Complete Setup to save.
Advanced: Manual Tokens
The collapsible Advanced: Manual Tokens section exposes the Company ID / Realm ID, Access Token, and Refresh Token fields. These fill automatically after authorization; enter them by hand only if Webkul support asks you to.
Success and error messages
| Message | What to do |
|---|---|
| "Access token created and account details saved successfully" | You're connected — nothing to do |
| "Unable to generate access token please check the credentials again" | Verify Client ID/Secret and the registered redirect URIs |
| "Unable to generate refresh token" | Re-run the authorization |
| "Wrong Credentials used please check the credentials again" | The keys don't match the selected mode's Intuit app |
Editing invalidates the connection
Changing any credential or token immediately marks the store as disconnected until QuickBooks authorization succeeds again. Data sync pauses in the meantime.
Deleting Credentials
Click Delete Credentials on the status card. A confirmation dialog explains the impact before anything happens:
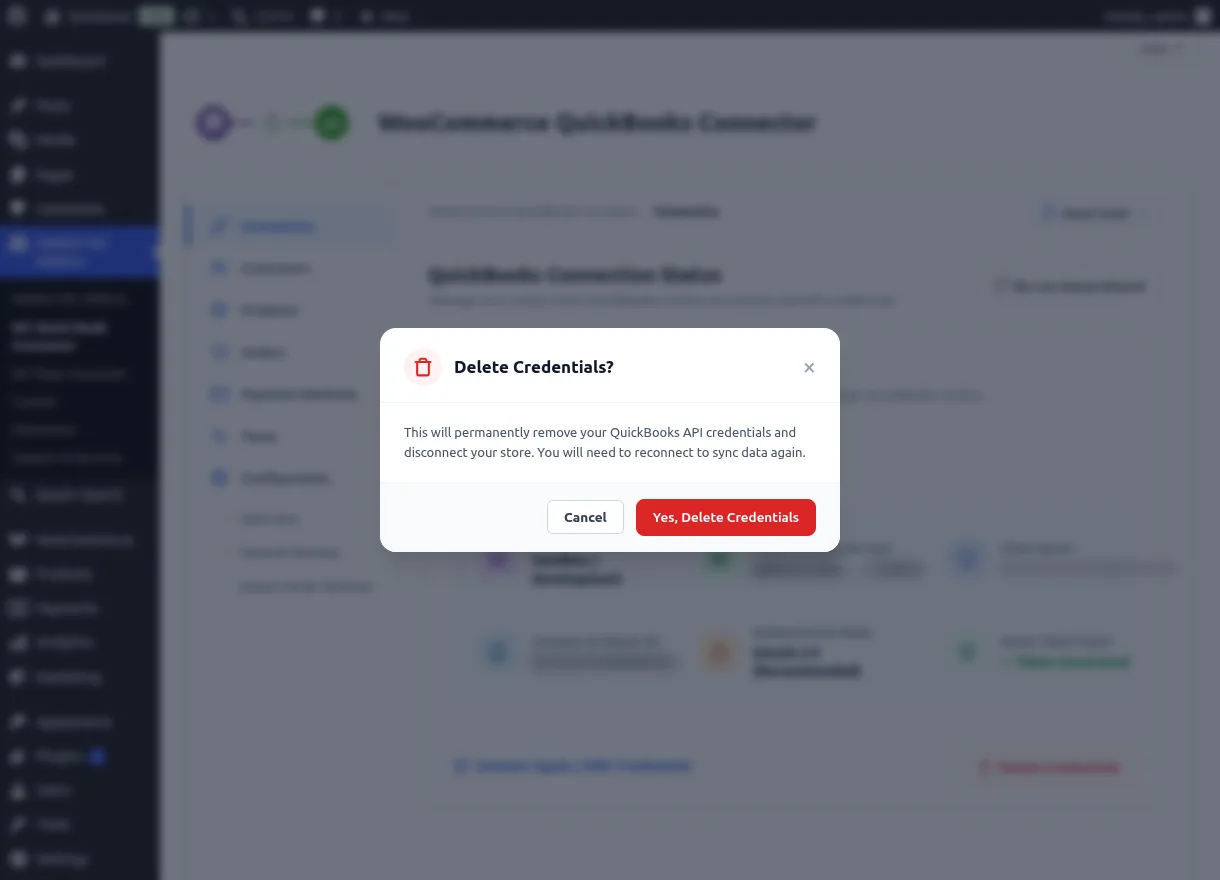
Confirming with Yes, Delete Credentials permanently removes the Client ID, Client Secret, tokens, and Company ID, disconnects the store, and resets the Setup Wizard so it runs again on your next visit. Your synced data in QuickBooks is not touched.
Related Features
- Setup Wizard — the guided way to create this connection
- General Settings — map QuickBooks accounts once connected