
Installation
Requirements
- A working WordPress site with the WooCommerce plugin installed and active. ERP for WooCommerce shows an admin notice and stays inactive-in-effect until WooCommerce is available.
- Compatible with WooCommerce High-Performance Order Storage (HPOS).
- A working outgoing-mail setup (SMTP recommended) if you want the email notifications to actually reach customers, staff and suppliers.
Install the plugin
- Download the erp-for-woocommerce plugin ZIP.
- In WordPress admin, go to Plugins → Add New → Upload Plugin.
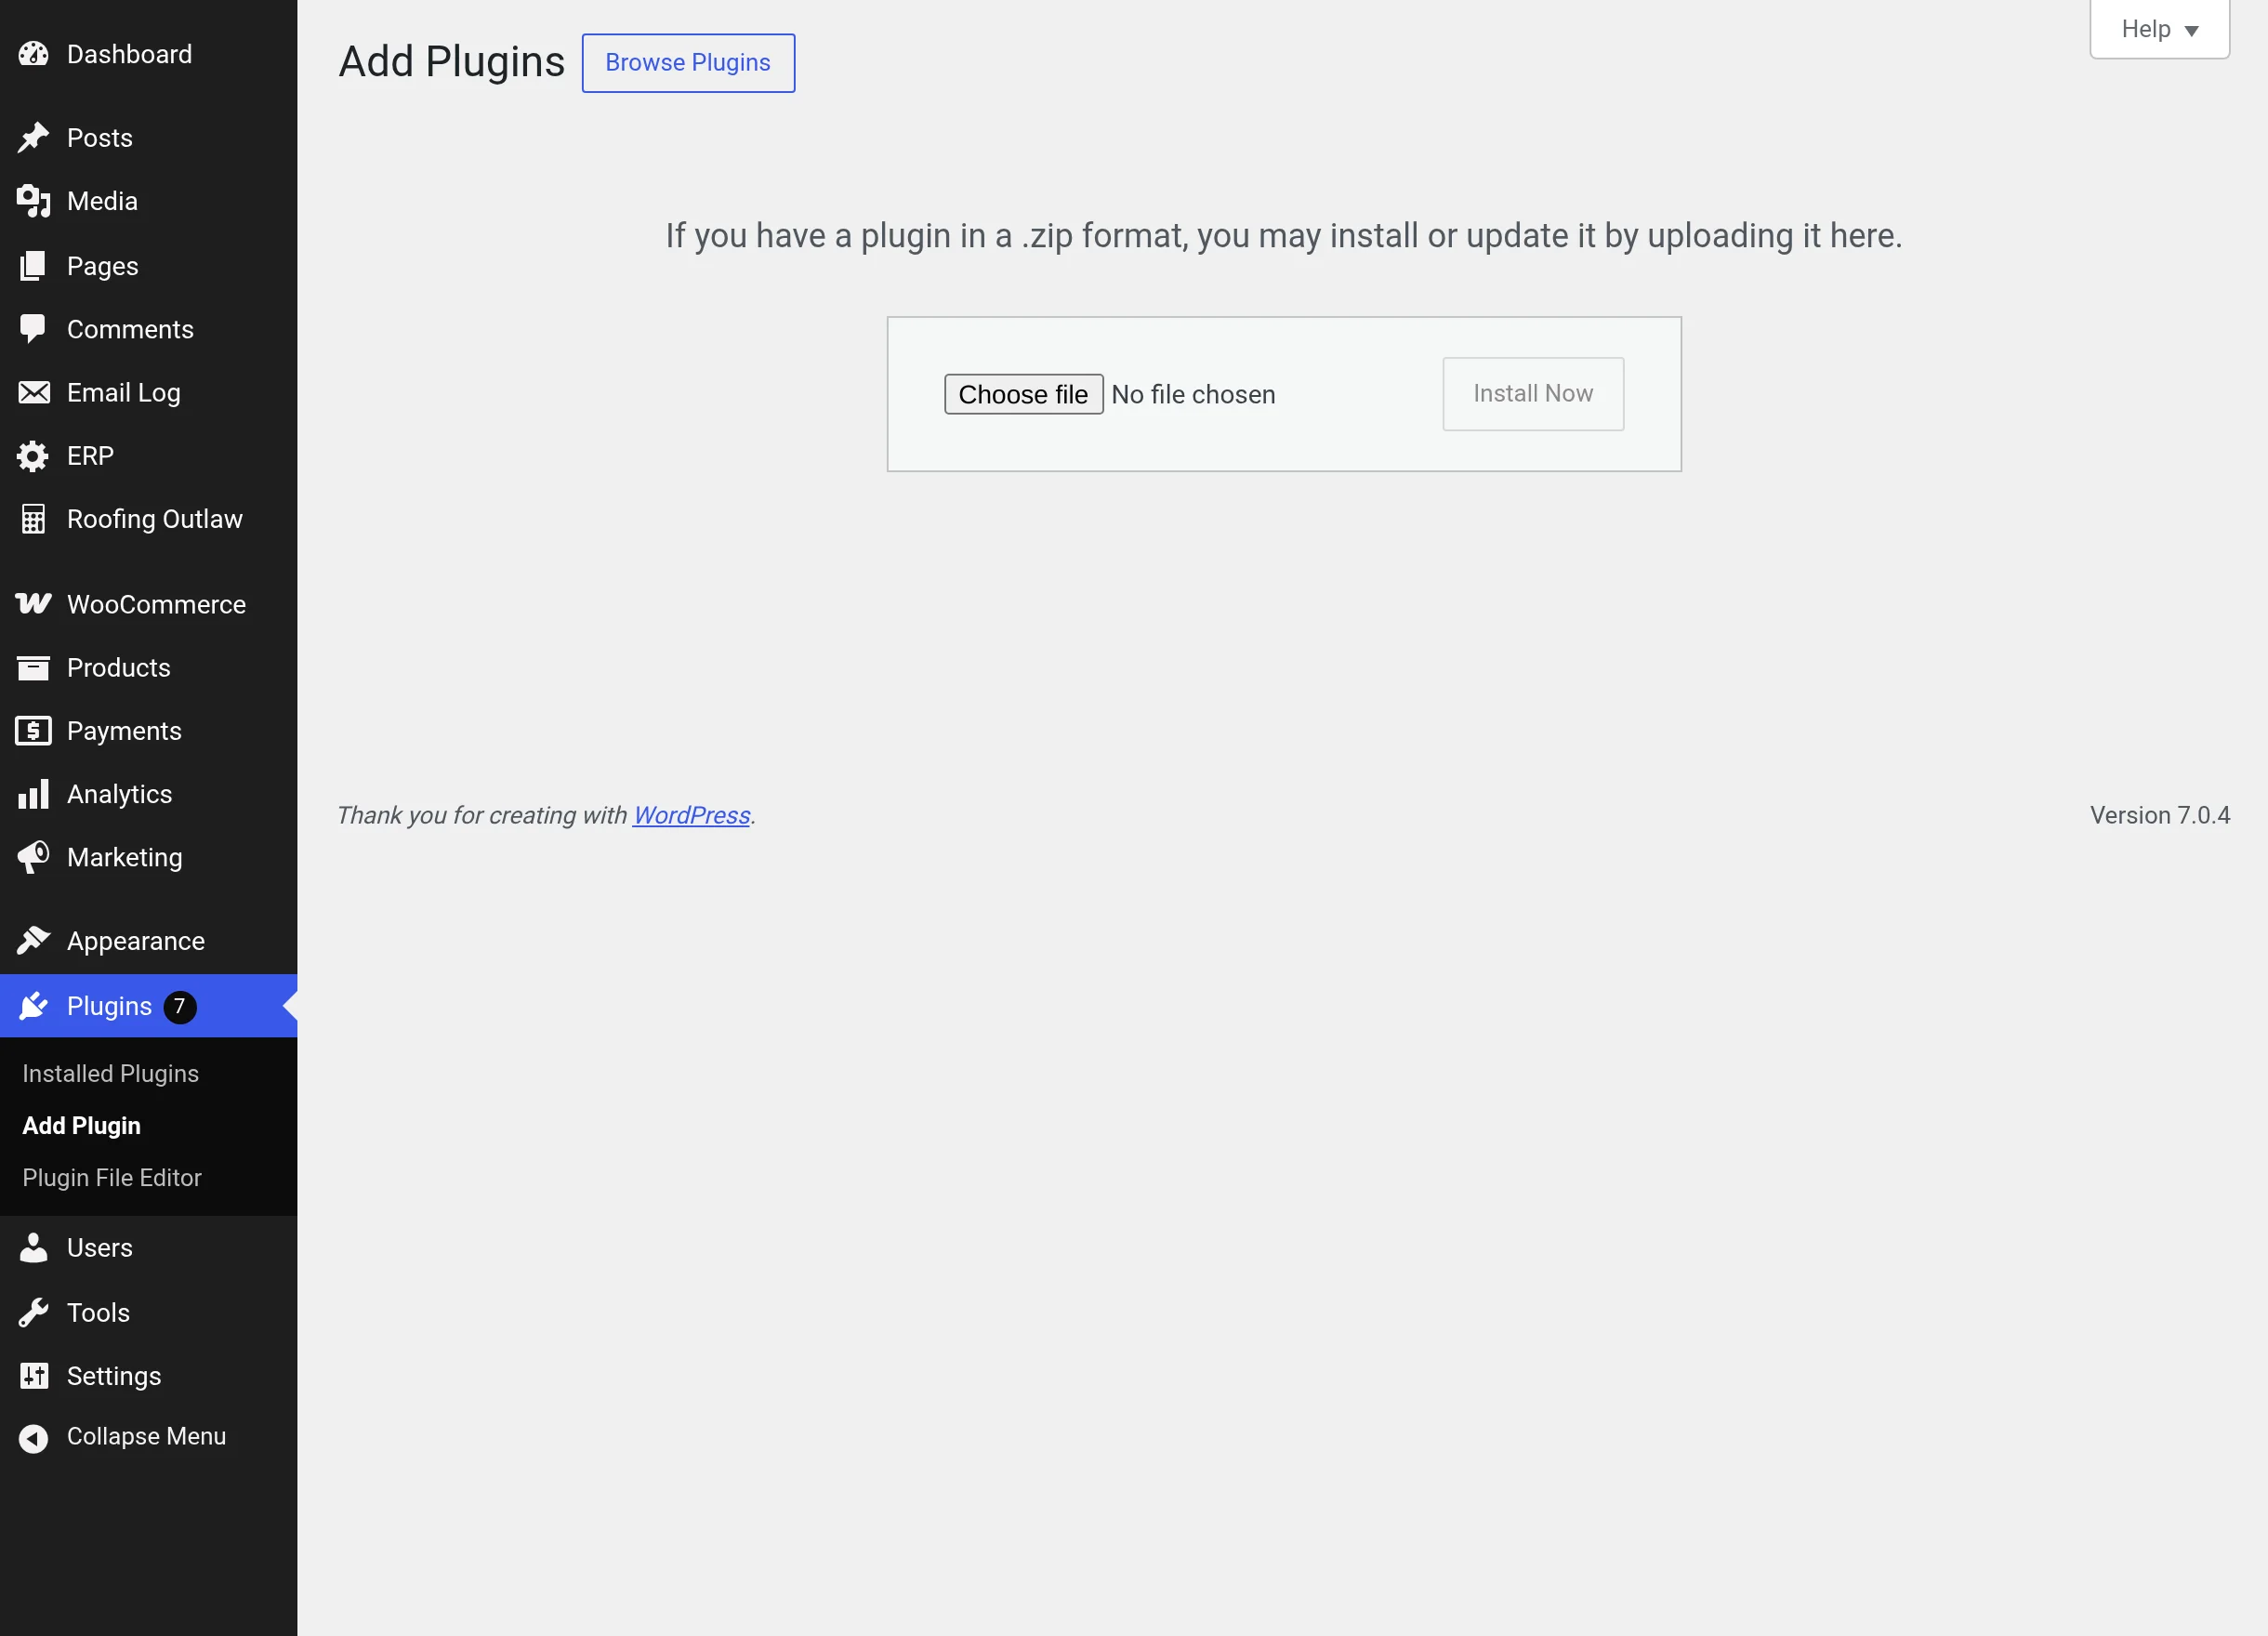
- Choose the ZIP file and click Install Now.
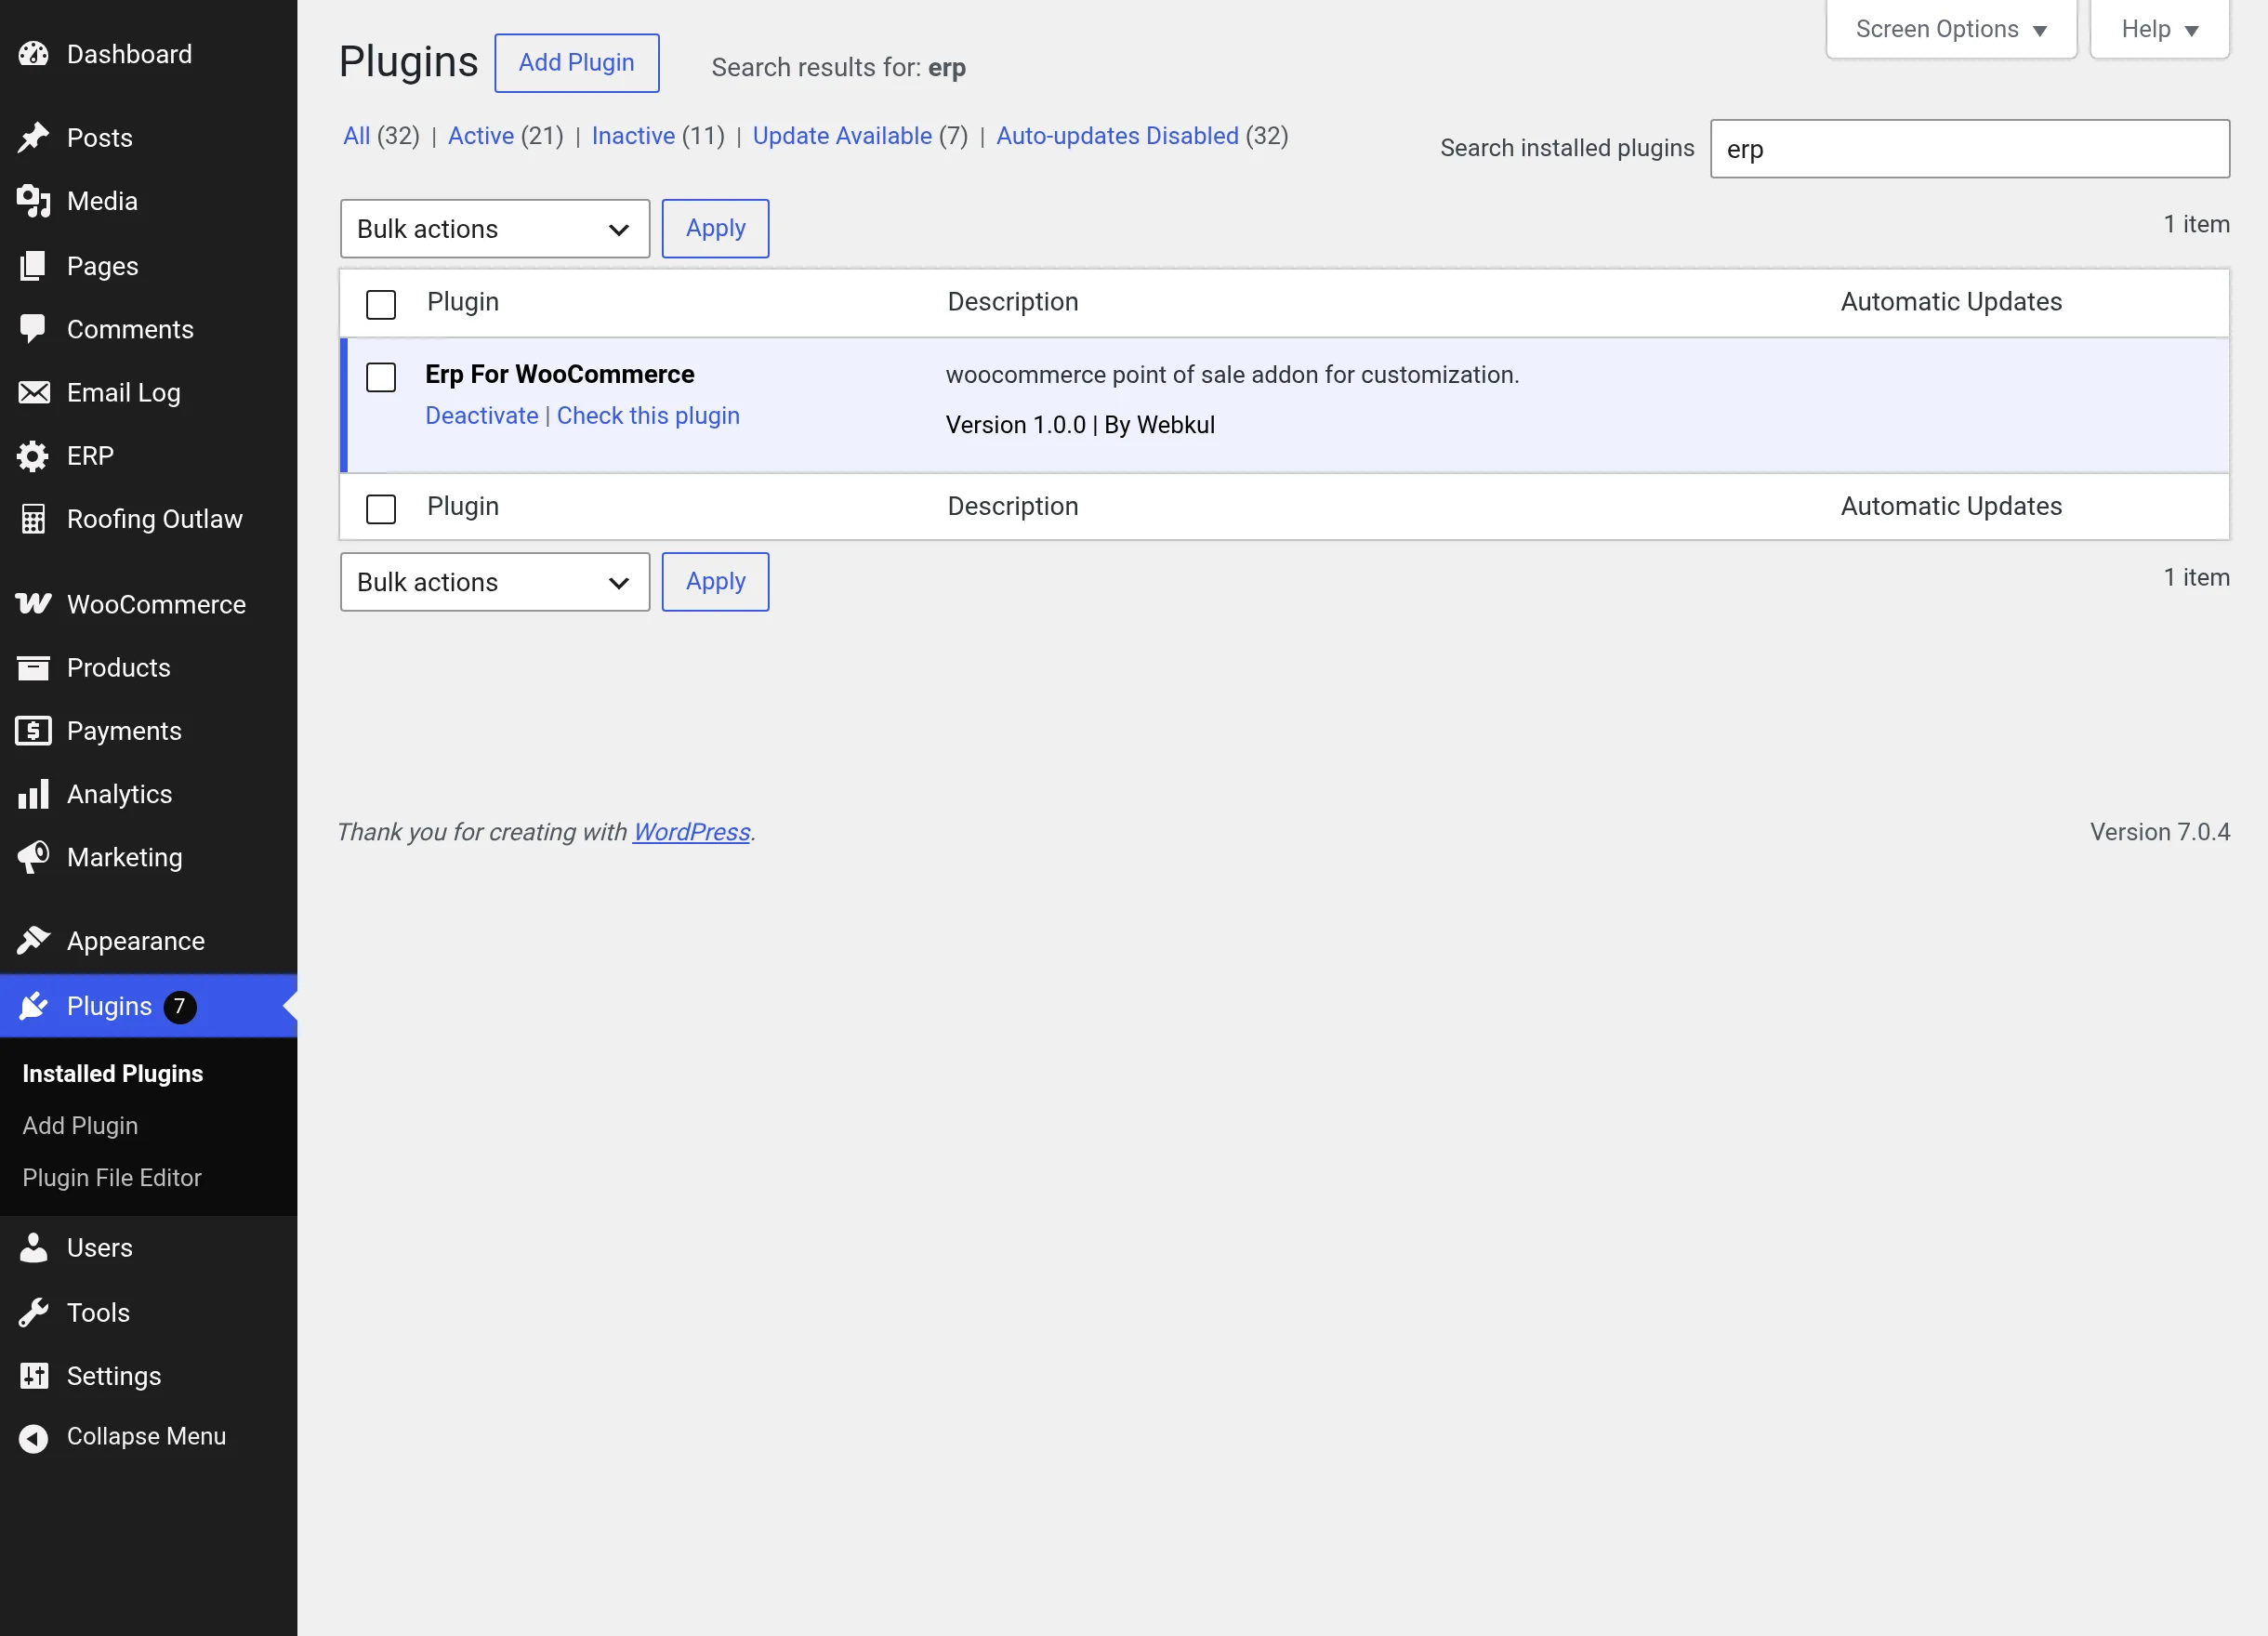
- When the installation finishes, click Activate Plugin. You can also activate it later from the Plugins list:
What activation does
- Creates three user roles: Warehouse Manager, Warehouse Staff and Supplier.
- Registers the ERP application at
yourstore.com/erp(permalinks are refreshed automatically). - Adds the ERP menu to WordPress admin (with Users and RFQs submenus).
- Registers the five fulfilment order statuses and the 28 WooCommerce emails.
Database tables for warehouses, stock, orders, RFQs, purchase orders and transfers are created automatically the first time each module is used.
Data is kept on uninstall
Deleting the plugin removes its roles and capabilities but deliberately keeps all warehouse, stock, purchasing and transfer data so that removing a plugin can never silently destroy your inventory records. Drop the erp_* database tables manually if you ever want a full reset.
After installation
- Open
yourstore.com/erpas an administrator — administrators always have full access. - Grant your team access in Access Control (no role can enter the ERP until you do).
- Create your first warehouse — see Warehouse Management.
If /erp shows a 404
The plugin refreshes WordPress rewrite rules automatically on activation and self-heals them afterwards. If you ever hit a 404 on /erp, saving Settings → Permalinks once forces a refresh.