
Order Fulfilment
This is the heart of the plugin: every paid WooCommerce order travels through a guarded warehouse workflow, and your team fulfils it item by item from Orders in the ERP.
The status flow
Order Received → Stock Validated → Picking → Packing → Shipping → Collected/Delivered (Completed)
- A paid order (and every checkout order) enters at Order Received automatically.
- Statuses may only move one step forward at a time. An attempted skip is quietly reverted and noted in the order's activity log. Administrators, shop managers and Warehouse Managers hold an override and may skip; Warehouse Staff cannot.
- Moving backward, and cancelling/refunding, is always allowed.
- These statuses appear everywhere in WooCommerce too — order list filters, reports and bulk actions.
Prerequisites
- Products must have their stock assigned to bins — see Stock Assignment. Stock that exists only as a WooCommerce number cannot be reserved.
- The user needs Orders access in the Access Control matrix and must be allowed to edit shop orders (all three ERP roles are).
The order list
Open Orders → Orders.
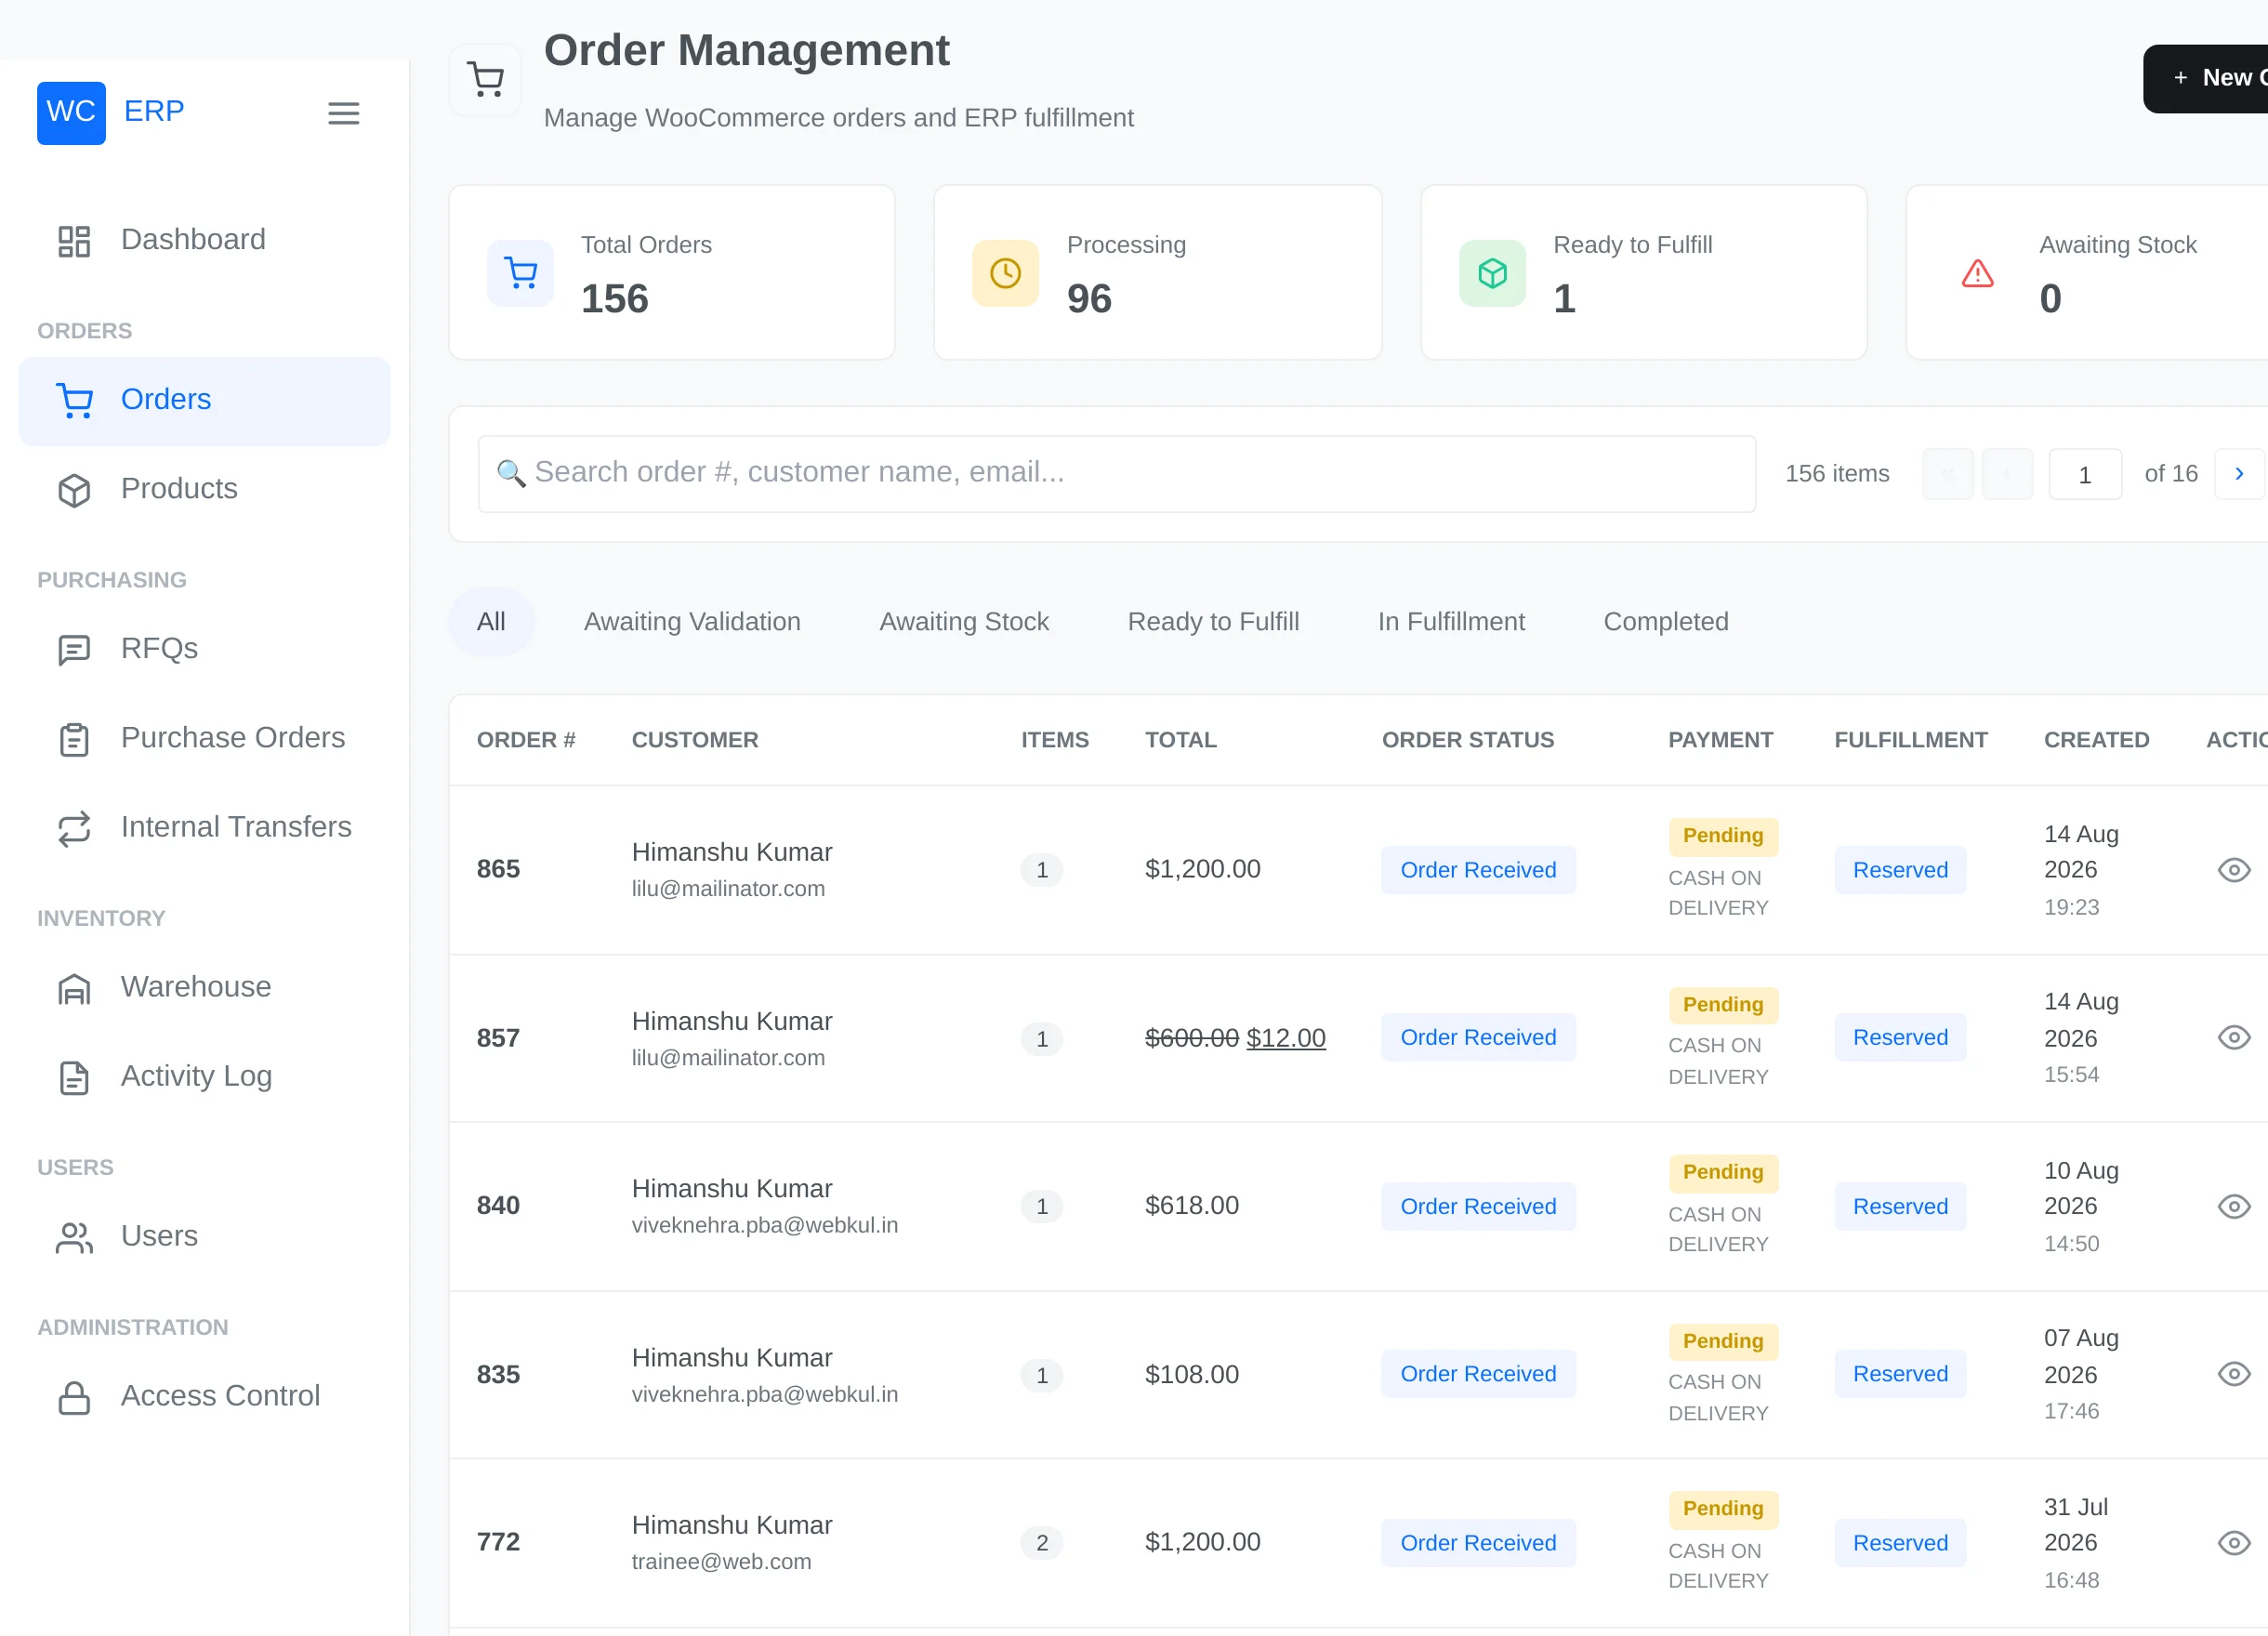
Search by order number (press Enter), page through 10 at a time, and open any order with the eye icon. The + New Order button creates an order from the ERP (see below). Deep links from the dashboard pipeline open this list pre-filtered by status.
The order view
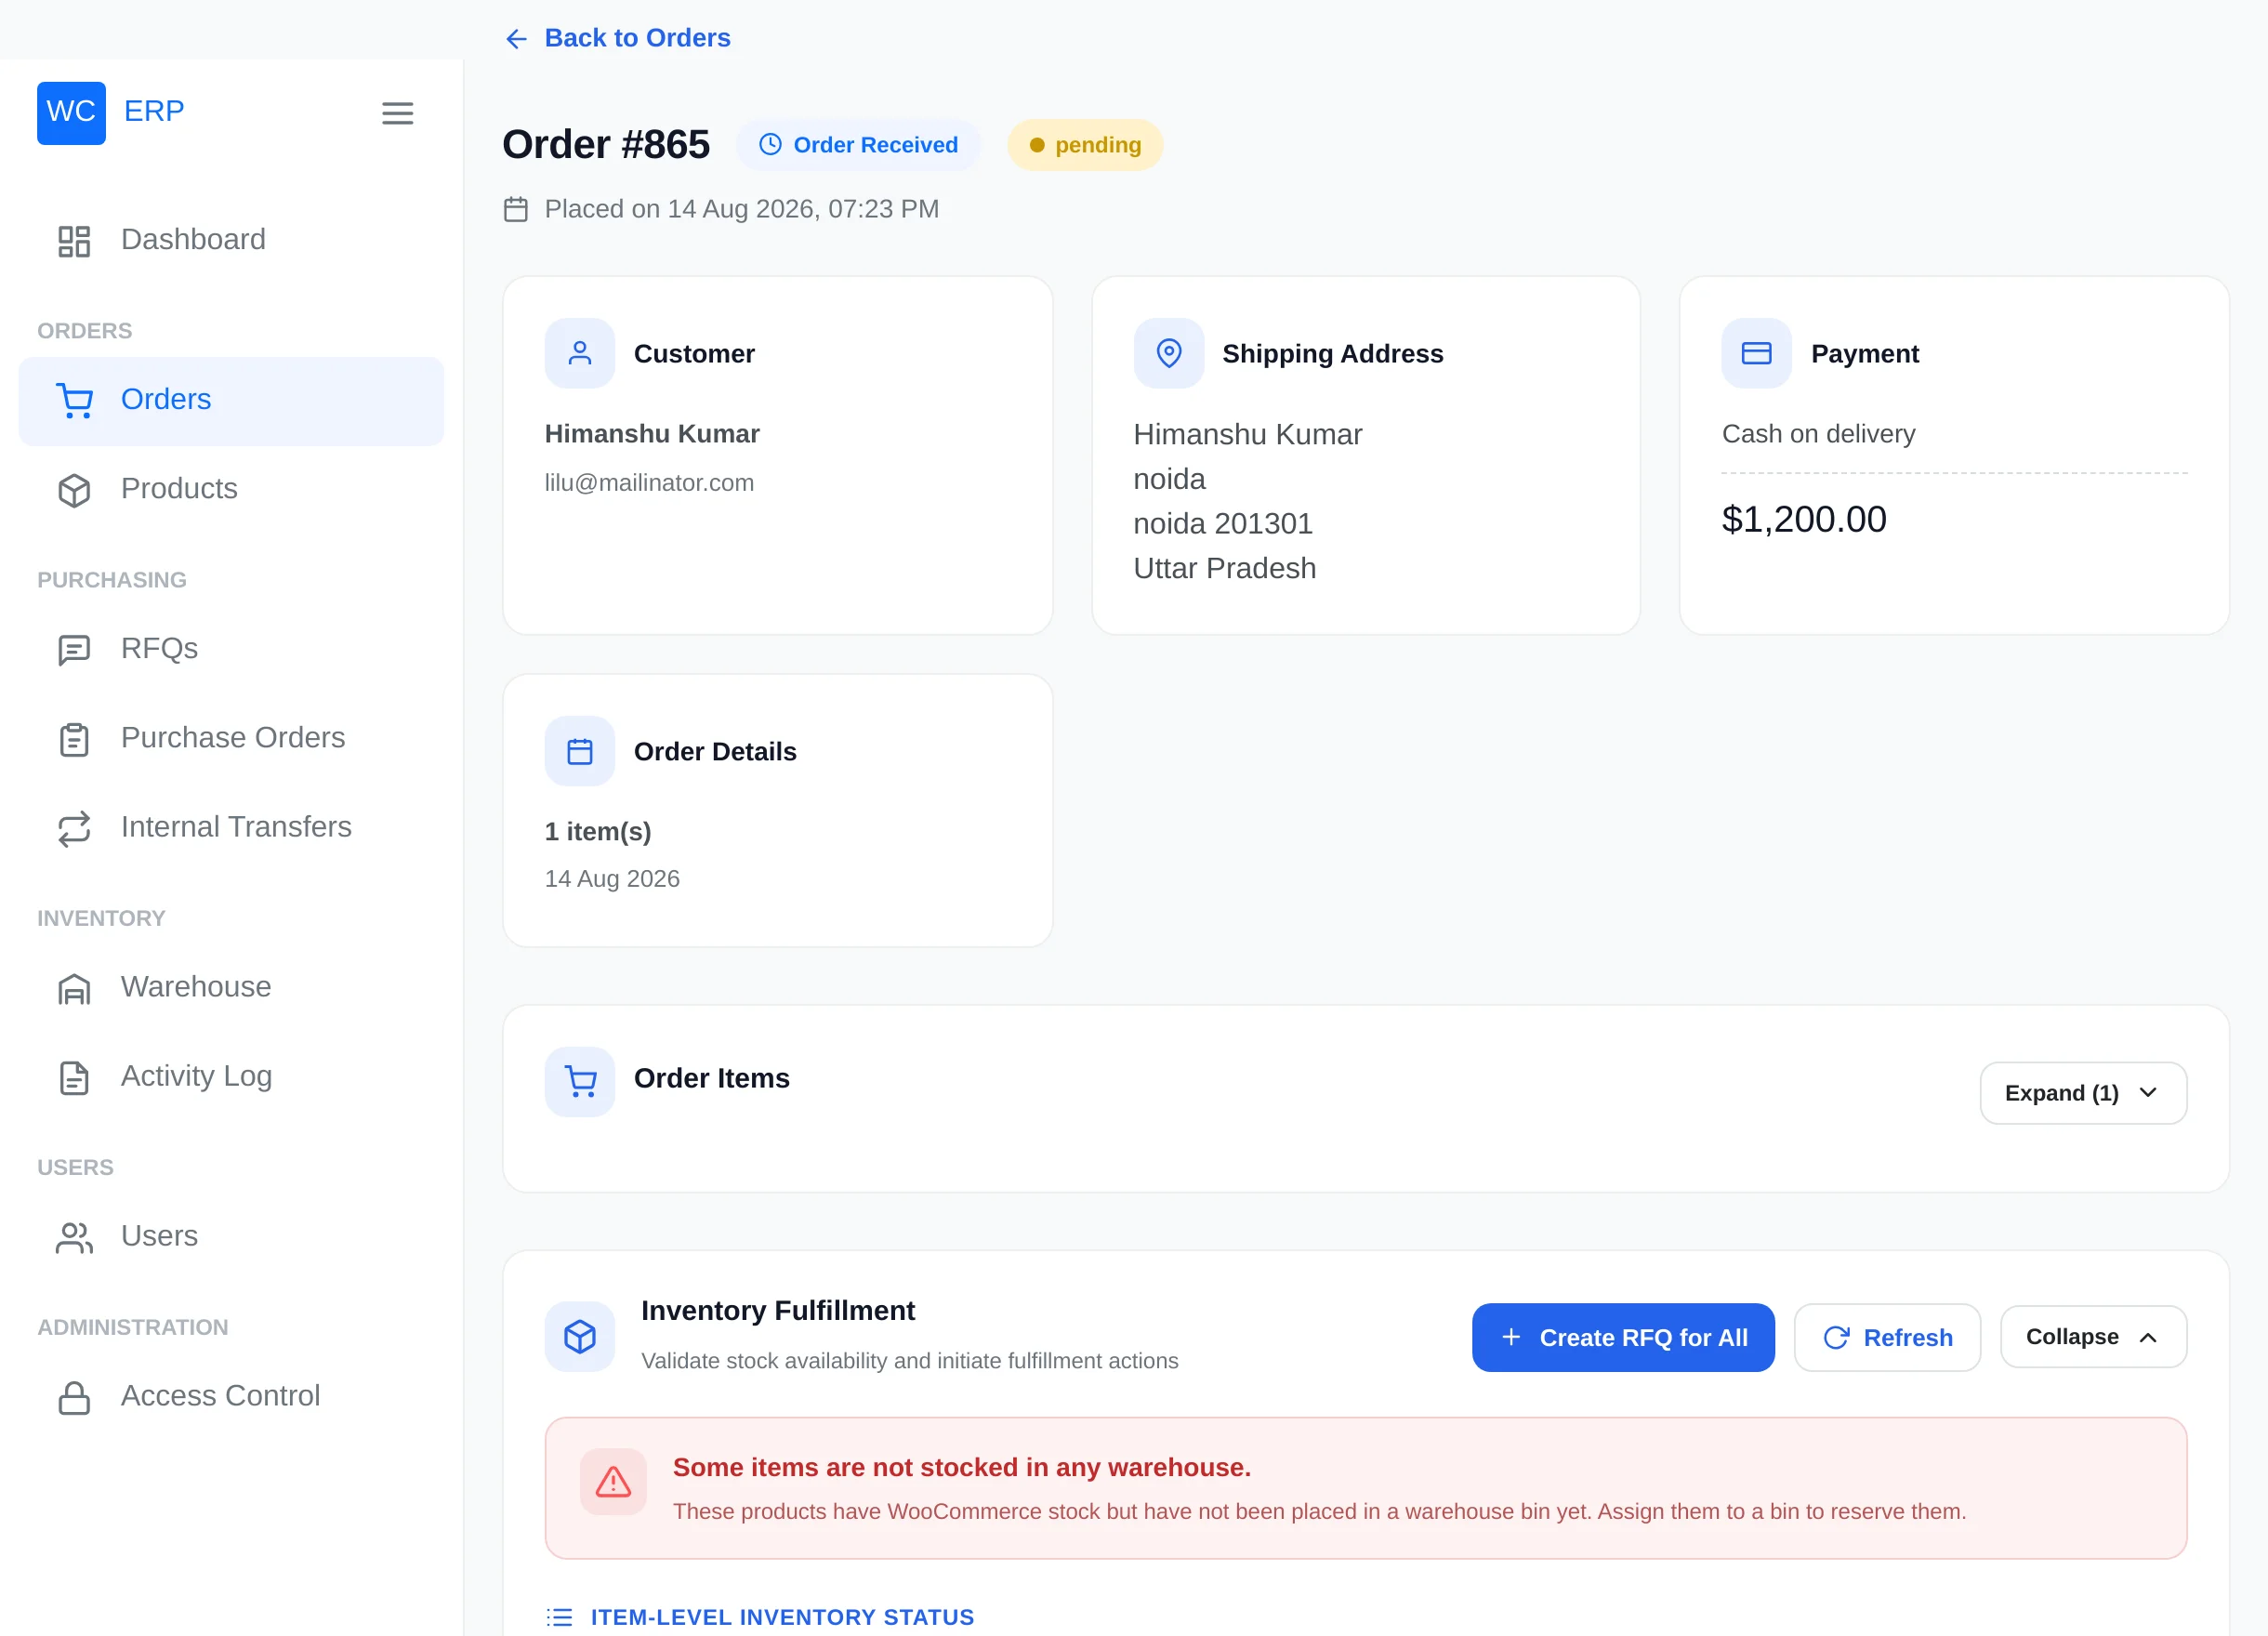
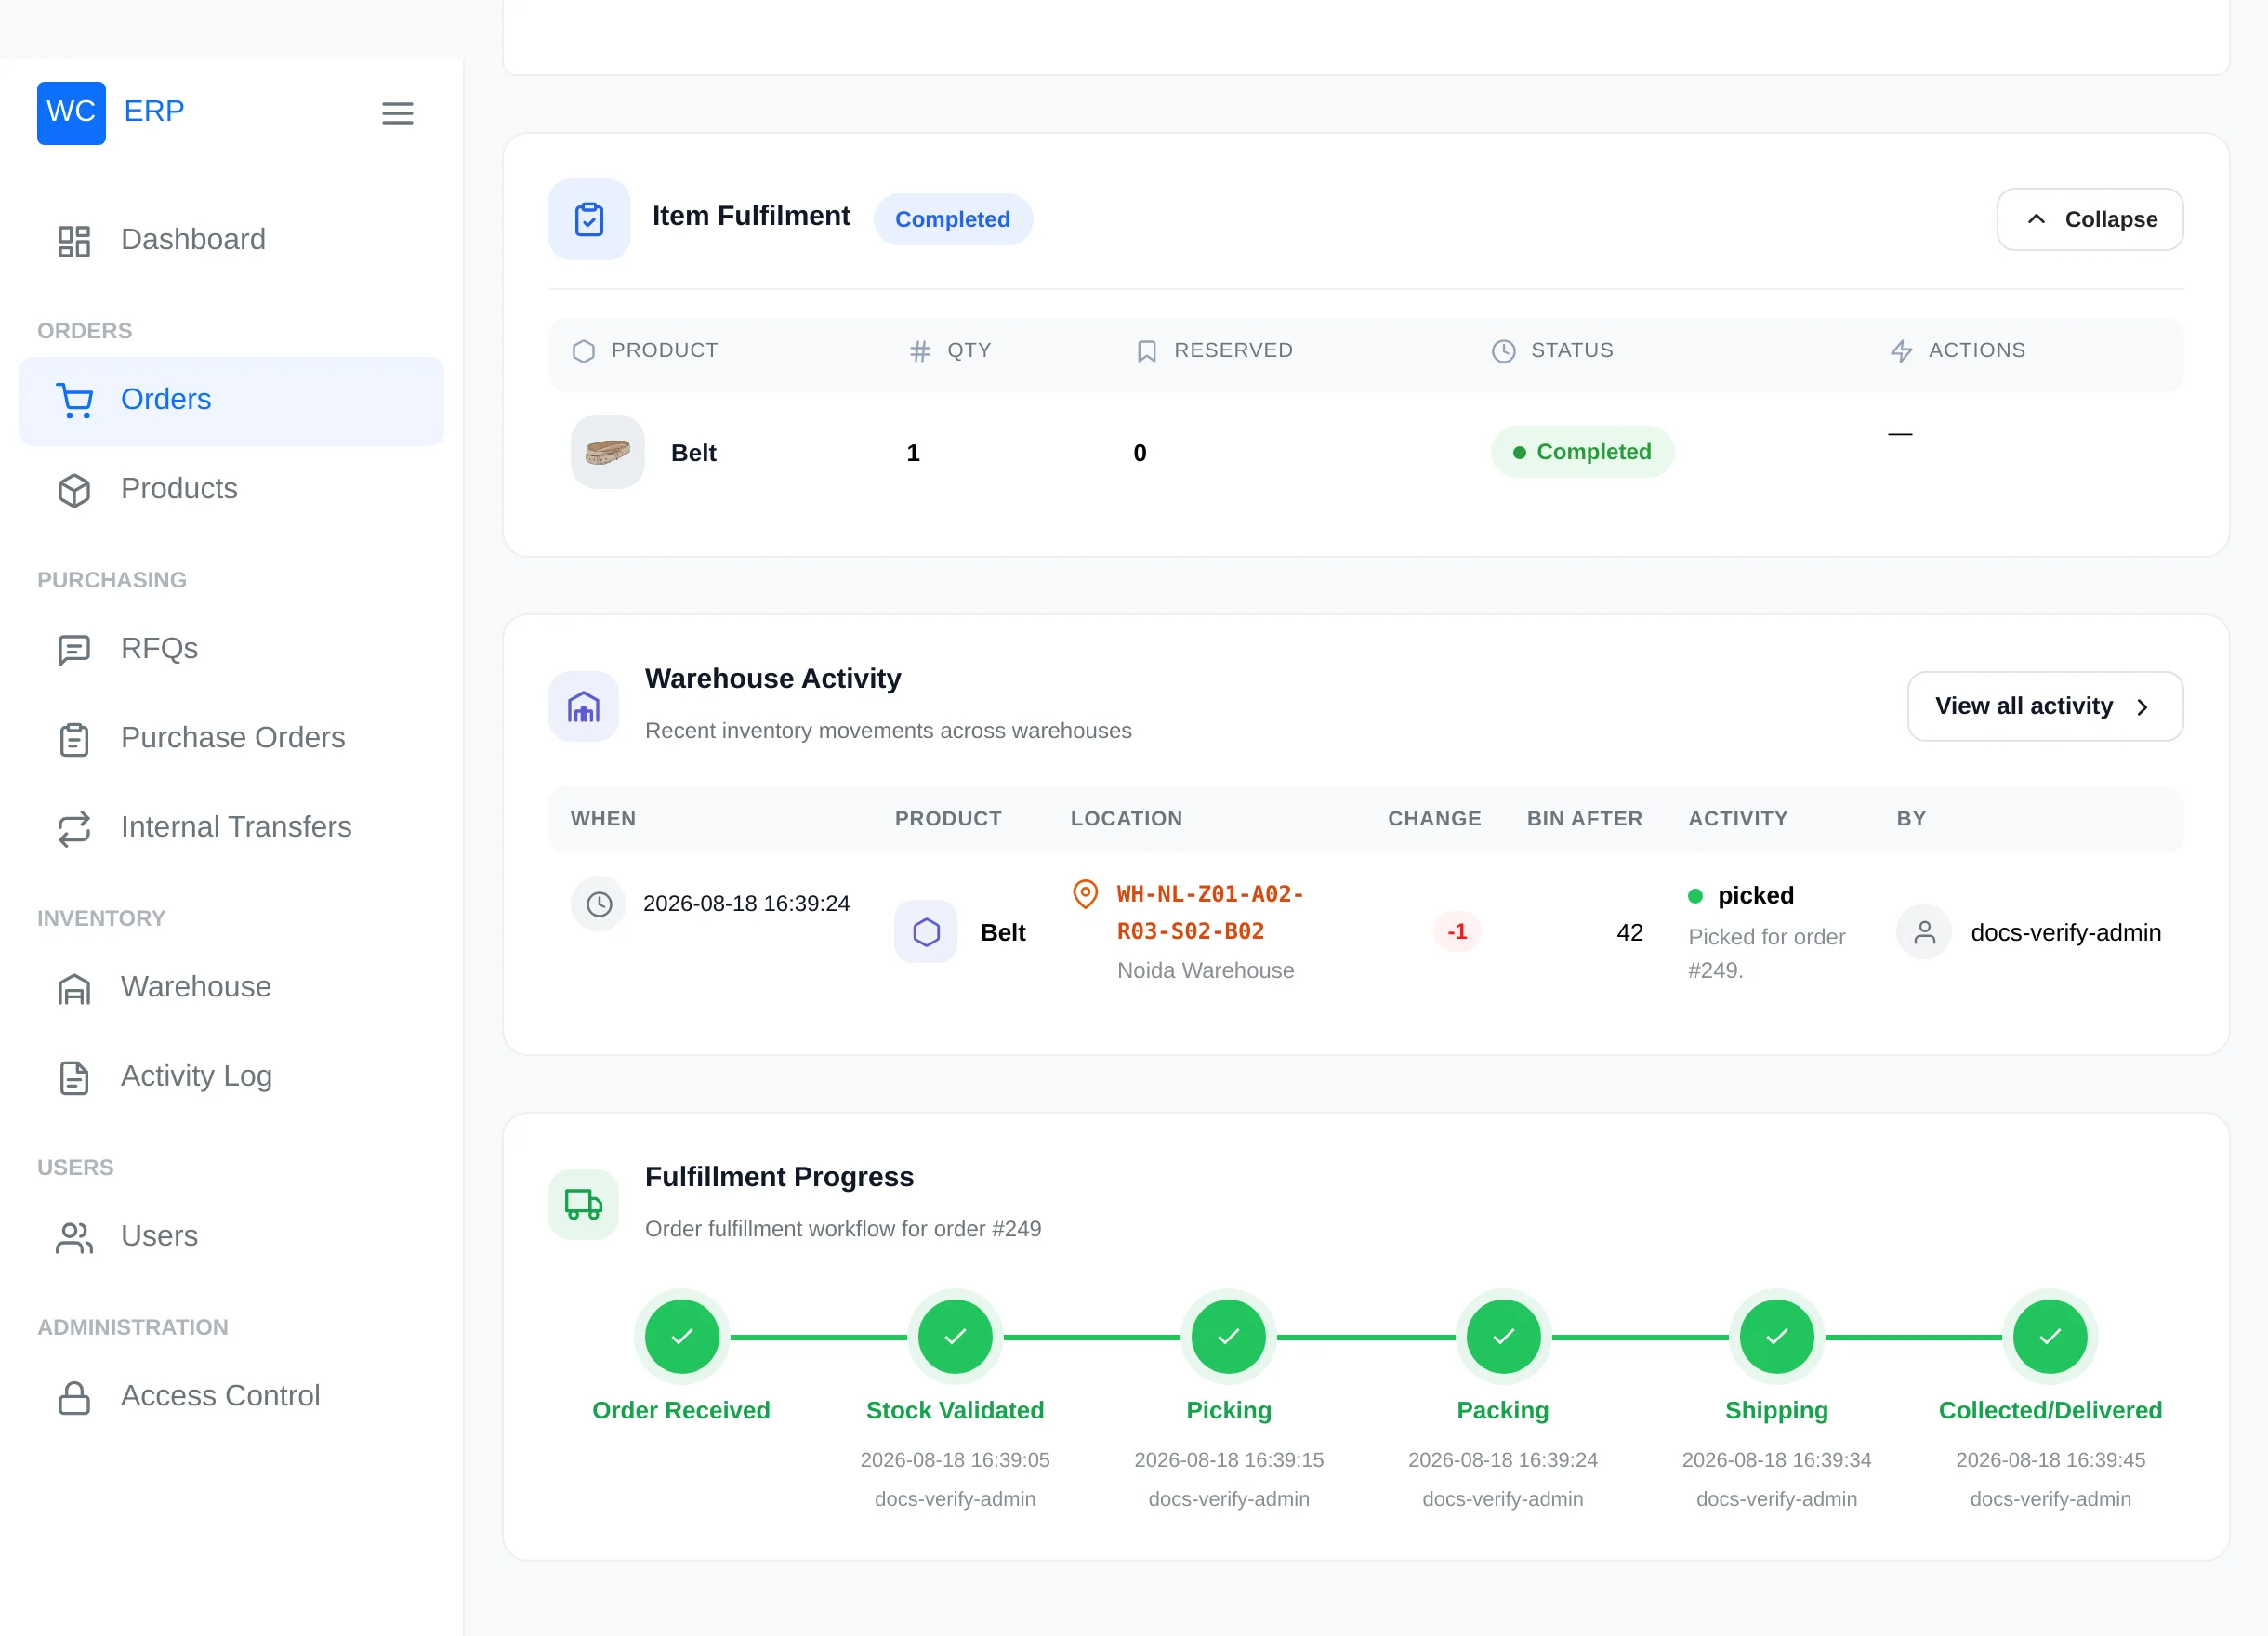
Top to bottom: customer, shipping address, payment and order-detail cards; the order items with totals; and then the fulfilment panels described next. A Fulfillment Progress timeline at the bottom shows all six stages with who completed each and when:
Step 1 — Check inventory
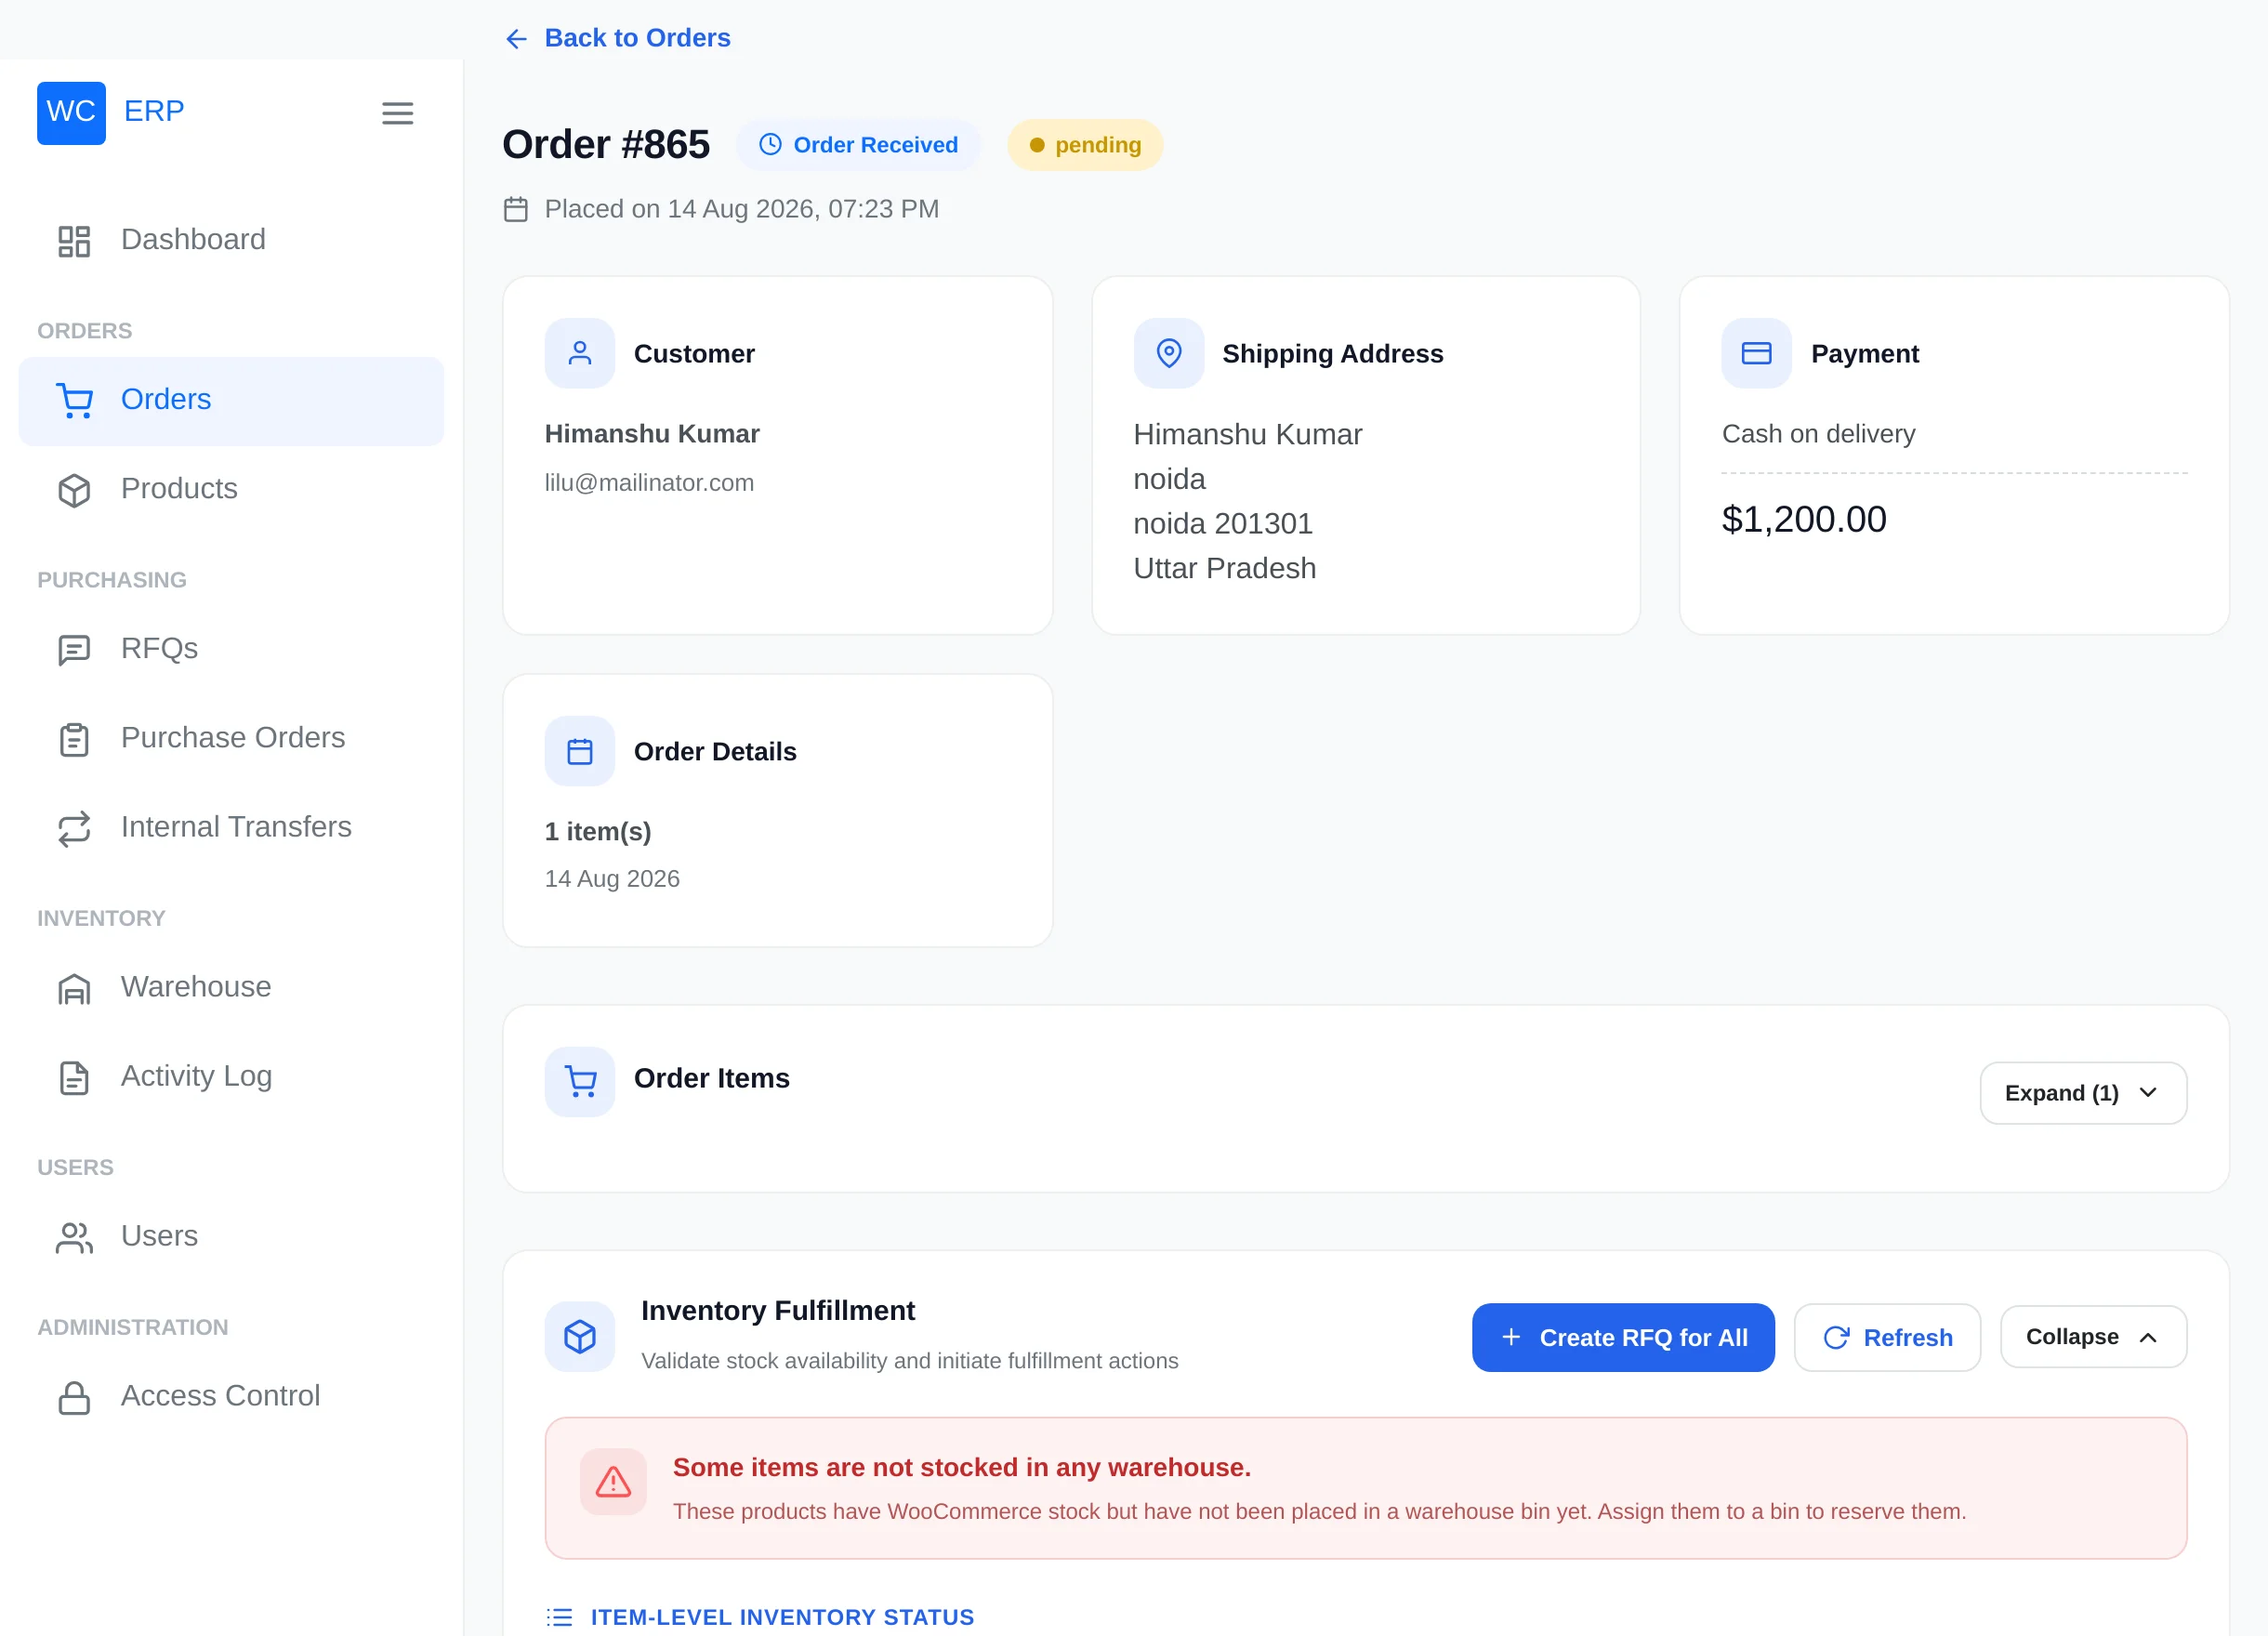
The Inventory Fulfillment panel compares each ordered line with your warehouse stock:
| Column | Meaning |
|---|---|
| Required | Units the order needs |
| Reserved | Units already held for this order |
| Available | Free units in bins right now |
| Shortage | What cannot be covered |
The banner distinguishes two problems:
- "Some items are not stocked in any warehouse" — the product has WooCommerce stock but sits in no bin. Fix: assign it to a bin.
- "Some items cannot be covered from warehouse stock" — genuinely not enough units. Fix: buy more — every short line offers a Create RFQ button pre-filled with the missing quantity, and Create RFQ for All covers every shortage in one request.
Step 2 — Validate and reserve
The Item Fulfilment panel drives the per-item workflow:
- Validate — checks availability and marks the line Validated.
- Validate and Reserve — checks and immediately holds the units. If several bins could serve the line, you're asked to choose one; otherwise the ERP allocates automatically.
- Reserve — appears on validated lines; pick the bin from a list showing each bin's free units.
- Validate All / Validate & Reserve All run the same for every line at once and report the combined result.
Reserved units stay in their bins but no other order can take them — reservations are conflict-safe even when two people work at the same time ("Could not reserve — another order may have taken them" means someone else got there first; re-validate and try again).
Reservations release themselves
Cancelling, fully refunding, or deleting an order — or removing an order line — automatically releases its reservations. Reducing a line's quantity releases just the surplus.
Step 3 — Pick
Click Start Picking on a reserved line (order status becomes Picking). While picking, the panel lists exactly which bins to take the units from. Need a different bin? Change / split bin moves the hold — fully or partially — to another bin with enough free units.
Mark as Picked then removes the units from their bins — this is the moment physical stock decreases. Every pick lands in the order's Warehouse Activity panel and the global Activity Log.
Step 4 — Pack, ship, complete
- Start Packing → Packing; Mark as Packed when the box is closed.
- Start Shipping → Shipping — the customer receives the "Order Shipped" email.
- Mark as Completed finishes the line; when all lines are done the order becomes Collected/Delivered and the customer gets the completion email.
The order status always mirrors the least advanced line, so partially processed orders are visible at a glance.
Create an order from the ERP
+ New Order opens a draft order editor:
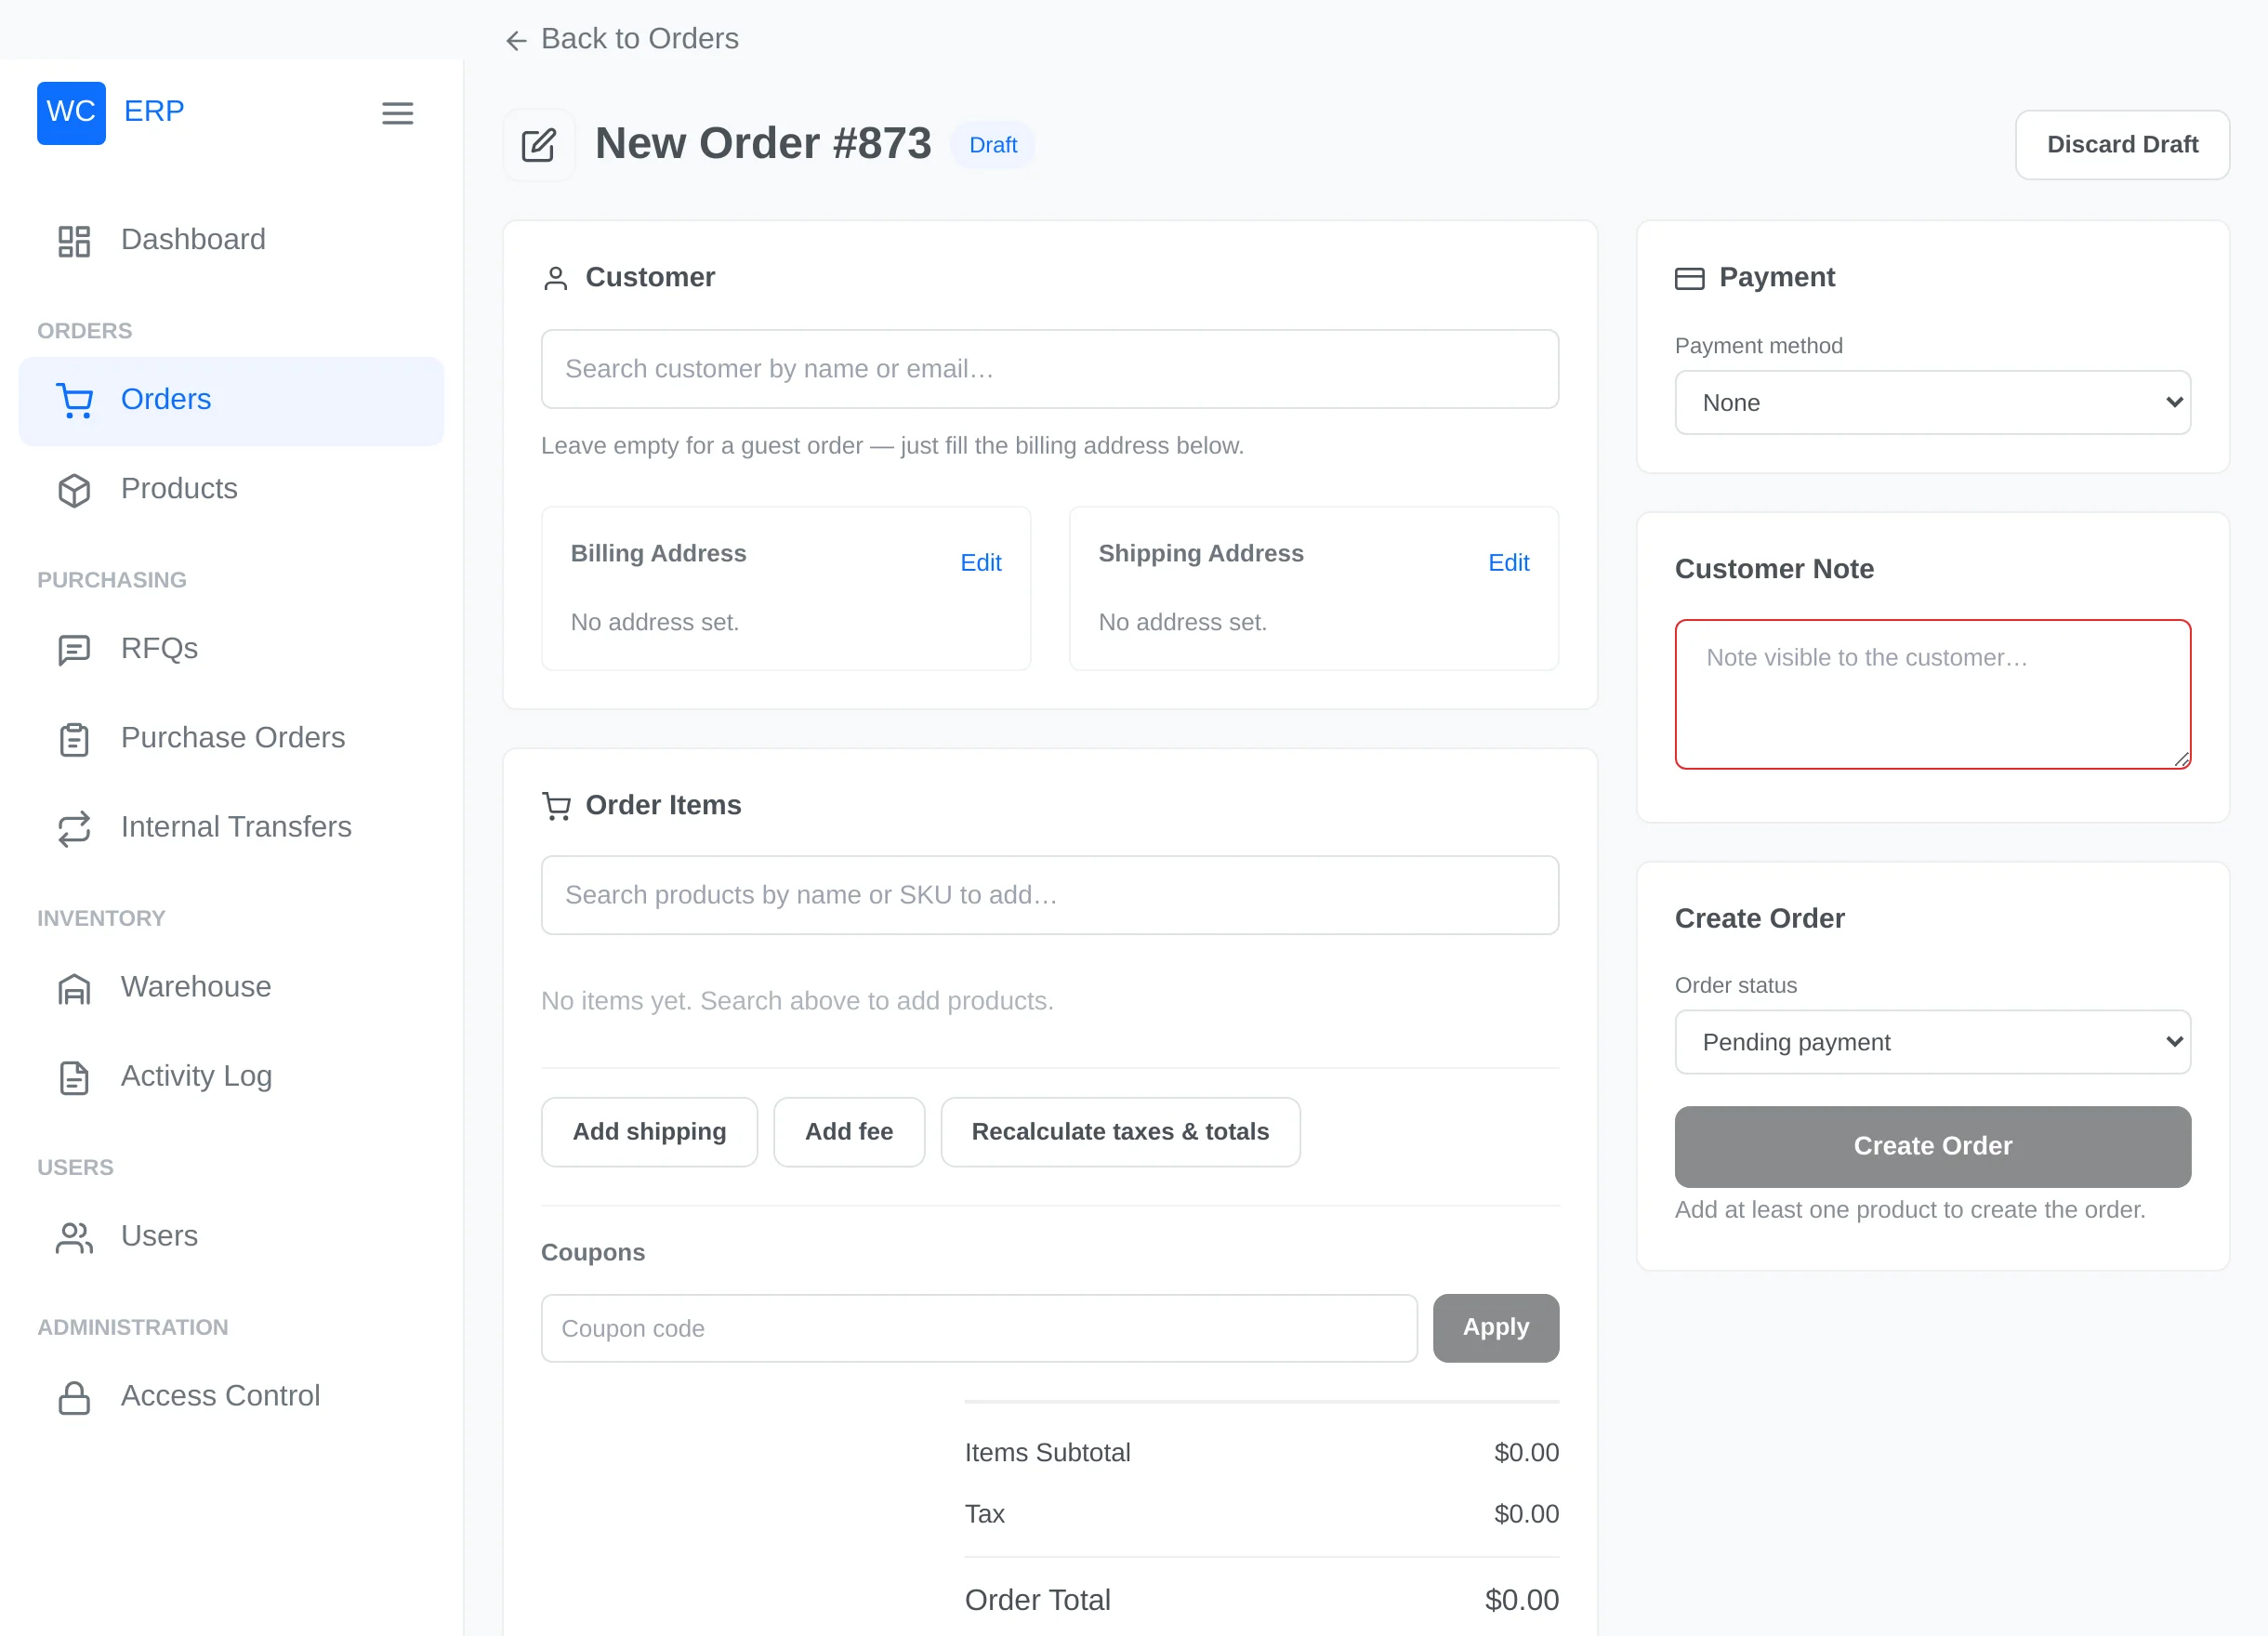
Assign a registered customer (or leave empty and fill a guest billing address), add products, adjust quantities, apply coupons, add shipping and fees, choose the payment method, recalculate totals, and attach documents. Create Order places it into the workflow; Discard Draft deletes it without a trace.
Fulfilment without leaving WooCommerce
Everything above can also be driven from the classic WooCommerce order screens — see Fulfilment from WooCommerce Admin.