
WooCommerce ERP DocumentationWooCommerce ERP Documentation
  • Getting Started

    • WooCommerce ERP
    • Overview
    • Features
    • Installation
  • Setup & Configuration

    • Roles & Access Control
    • Users & Suppliers
    • Warehouse Management
    • Layout Builder
  • Daily Operations

    • ERP Dashboard
    • Stock Assignment
    • Products & Inventory
    • Order Fulfilment
  • Purchasing

    • RFQ Management
    • Purchase Orders
    • Internal Transfers
  • Reference

    • Email Notifications
    • FAQ & Notes
  • Getting Started

    • WooCommerce ERP
    • Overview
    • Features
    • Installation
  • Setup & Configuration

    • Roles & Access Control
    • Users & Suppliers
    • Warehouse Management
    • Layout Builder
  • Daily Operations

    • ERP Dashboard
    • Stock Assignment
    • Products & Inventory
    • Order Fulfilment
  • Purchasing

    • RFQ Management
    • Purchase Orders
    • Internal Transfers
  • Reference

    • Email Notifications
    • FAQ & Notes
  • WooCommerce ERP
  • Overview
  • Features
  • Installation
  • Roles & Access Control
  • Users & Suppliers
  • ERP Dashboard
  • Warehouse Management
  • Layout Builder
  • Stock Assignment
  • Activity Log
  • Products & Inventory
  • Order Fulfilment
  • Fulfilment from WooCommerce Admin
  • RFQ Management
  • Purchase Orders
  • Internal Transfers
  • Email Notifications
  • FAQ & Notes

Layout Builder

Building a warehouse bin-by-bin would take days. The Layout Builder creates the entire zone → aisle → rack → shelf → bin structure in one guided run — up to 25,000 locations at a time.

Open Warehouse → Layout Builder tab.
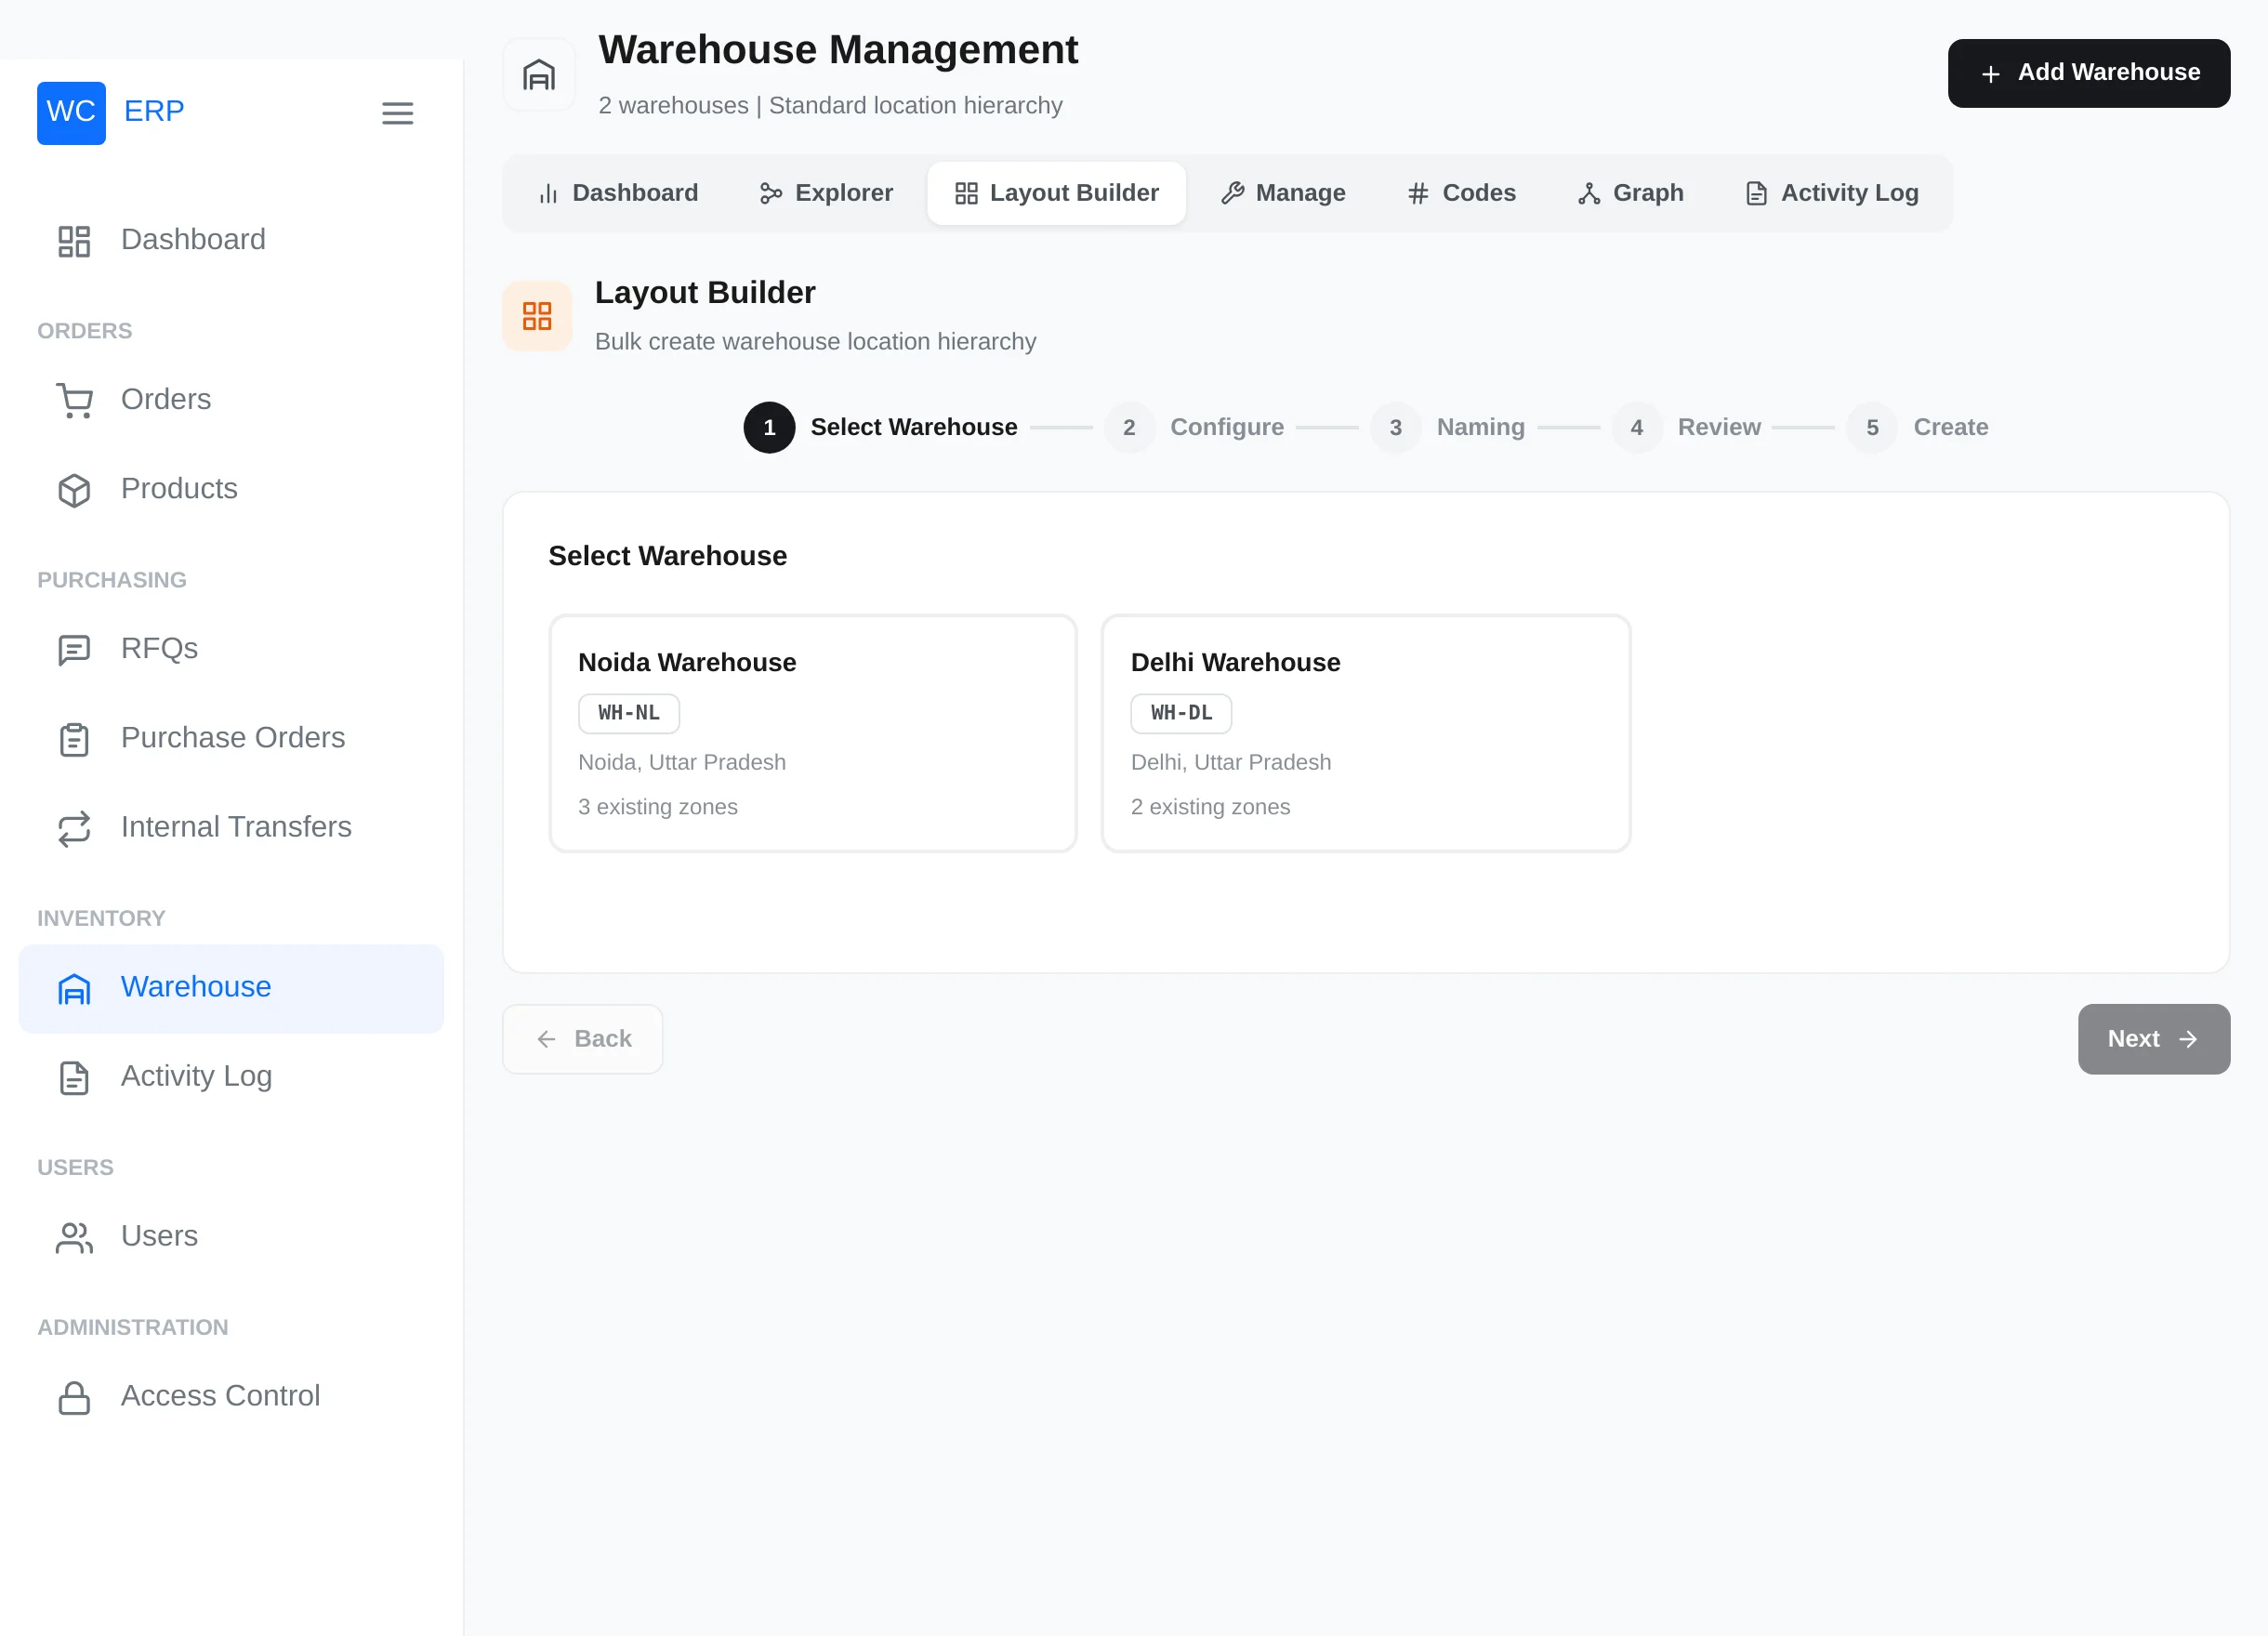
Layout Builder — select warehouse

Step 1 — Select Warehouse

Pick the facility to build in. Each card shows the code, address and how many zones already exist.

Safe to re-run

Running the builder again on a warehouse extends it — numbering continues after the existing zones instead of colliding with them.

Step 2 — Configure Hierarchy
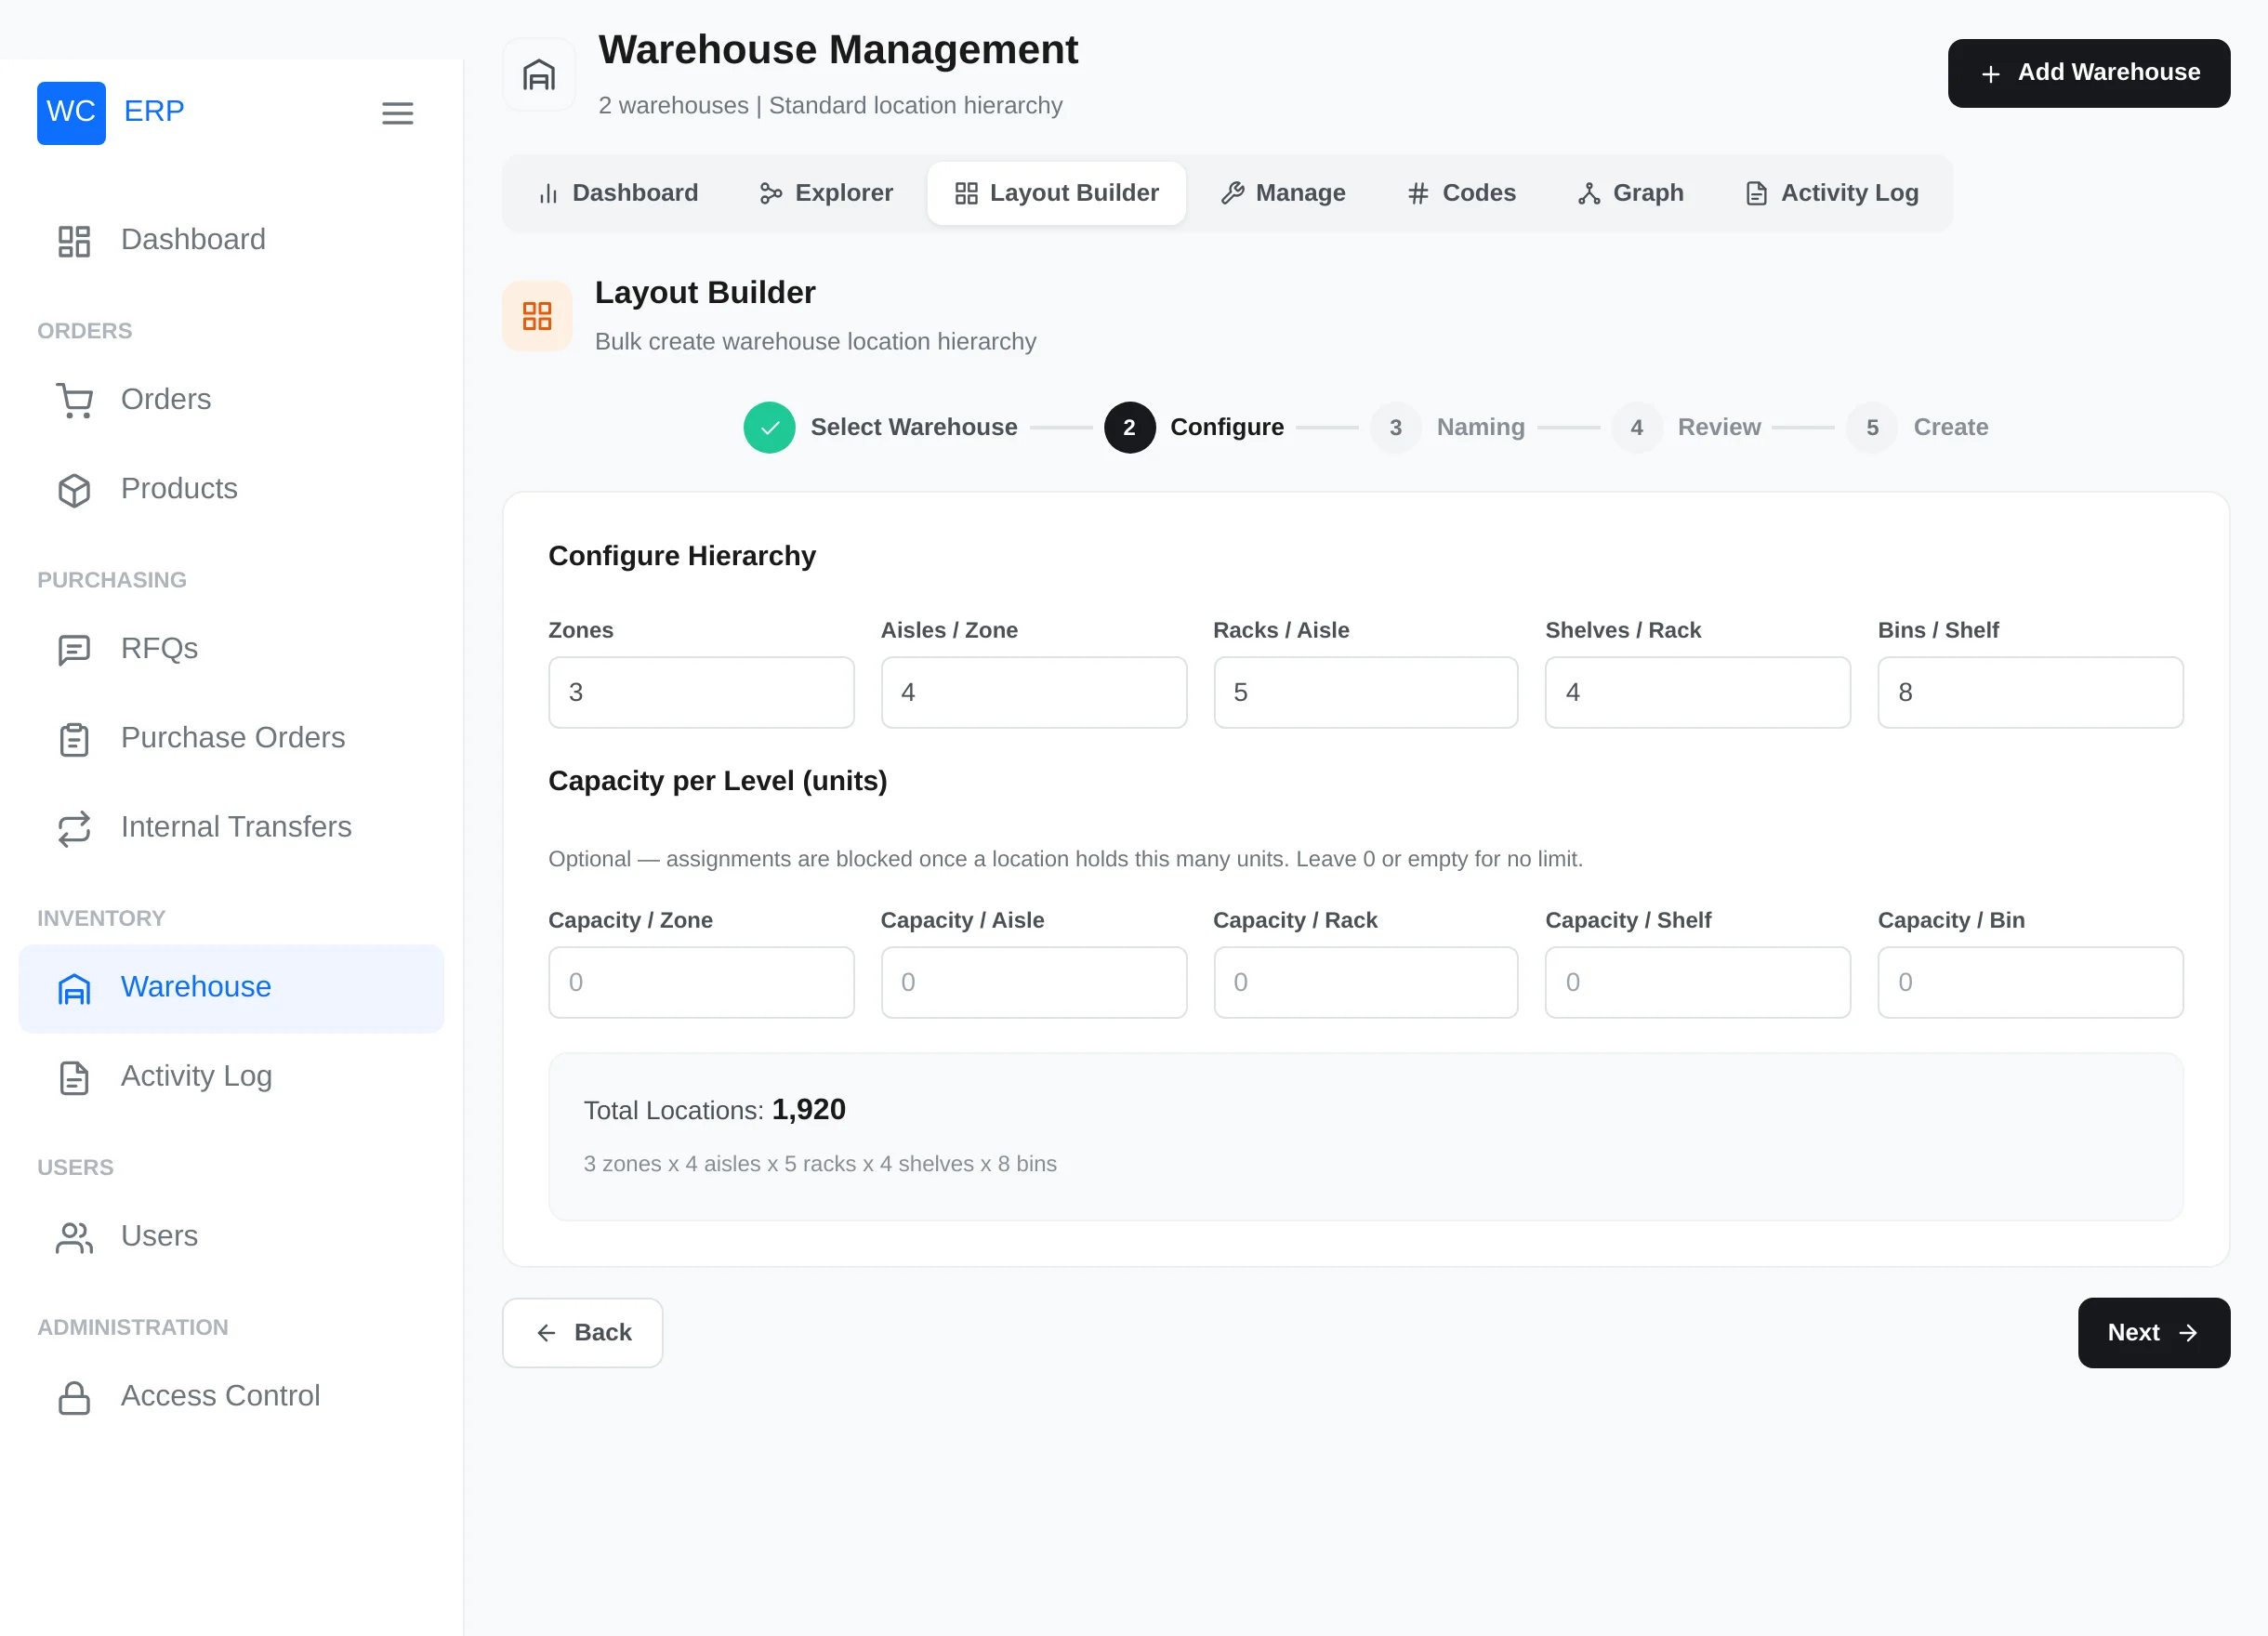
Layout Builder — configure

Set how many Zones, Aisles per zone, Racks per aisle, Shelves per rack and Bins per shelf you need (1–99 each; defaults 3 / 4 / 5 / 4 / 8). The panel shows the resulting total live.

Optionally set a Capacity per level in units — assignments are blocked once a location holds that many units; leave 0 or empty for no limit.

Step 3 — Naming

Choose a short prefix (up to 3 characters) per level — defaults Z, A, R, S, B — and the zone type. A live example shows exactly what your codes will look like, e.g.:

WH-MUM-Z01-A01-R01-S01-B01

Step 4 — Review

A summary of counts, capacities and naming, with a warning panel about the size of the run. Go back to adjust anything.

Step 5 — Create

Click create and wait for the confirmation. The new structure is immediately visible in the Explorer, the Manage tab and the Codes tab (where every new bin already has its QR code).

Size limit

One run may create at most 25,000 locations in total. For very large facilities, run the builder per zone batch.

Prev
Warehouse Management
Next
Stock Assignment