
Warehouse Management
Everything physical lives under Inventory → Warehouse in the ERP sidebar. The screen has seven tabs — Dashboard, Explorer, Layout Builder, Manage, Codes, Graph and Activity Log — covering the full life of a facility.
Create a warehouse
Click + Add Warehouse (top right of any tab).
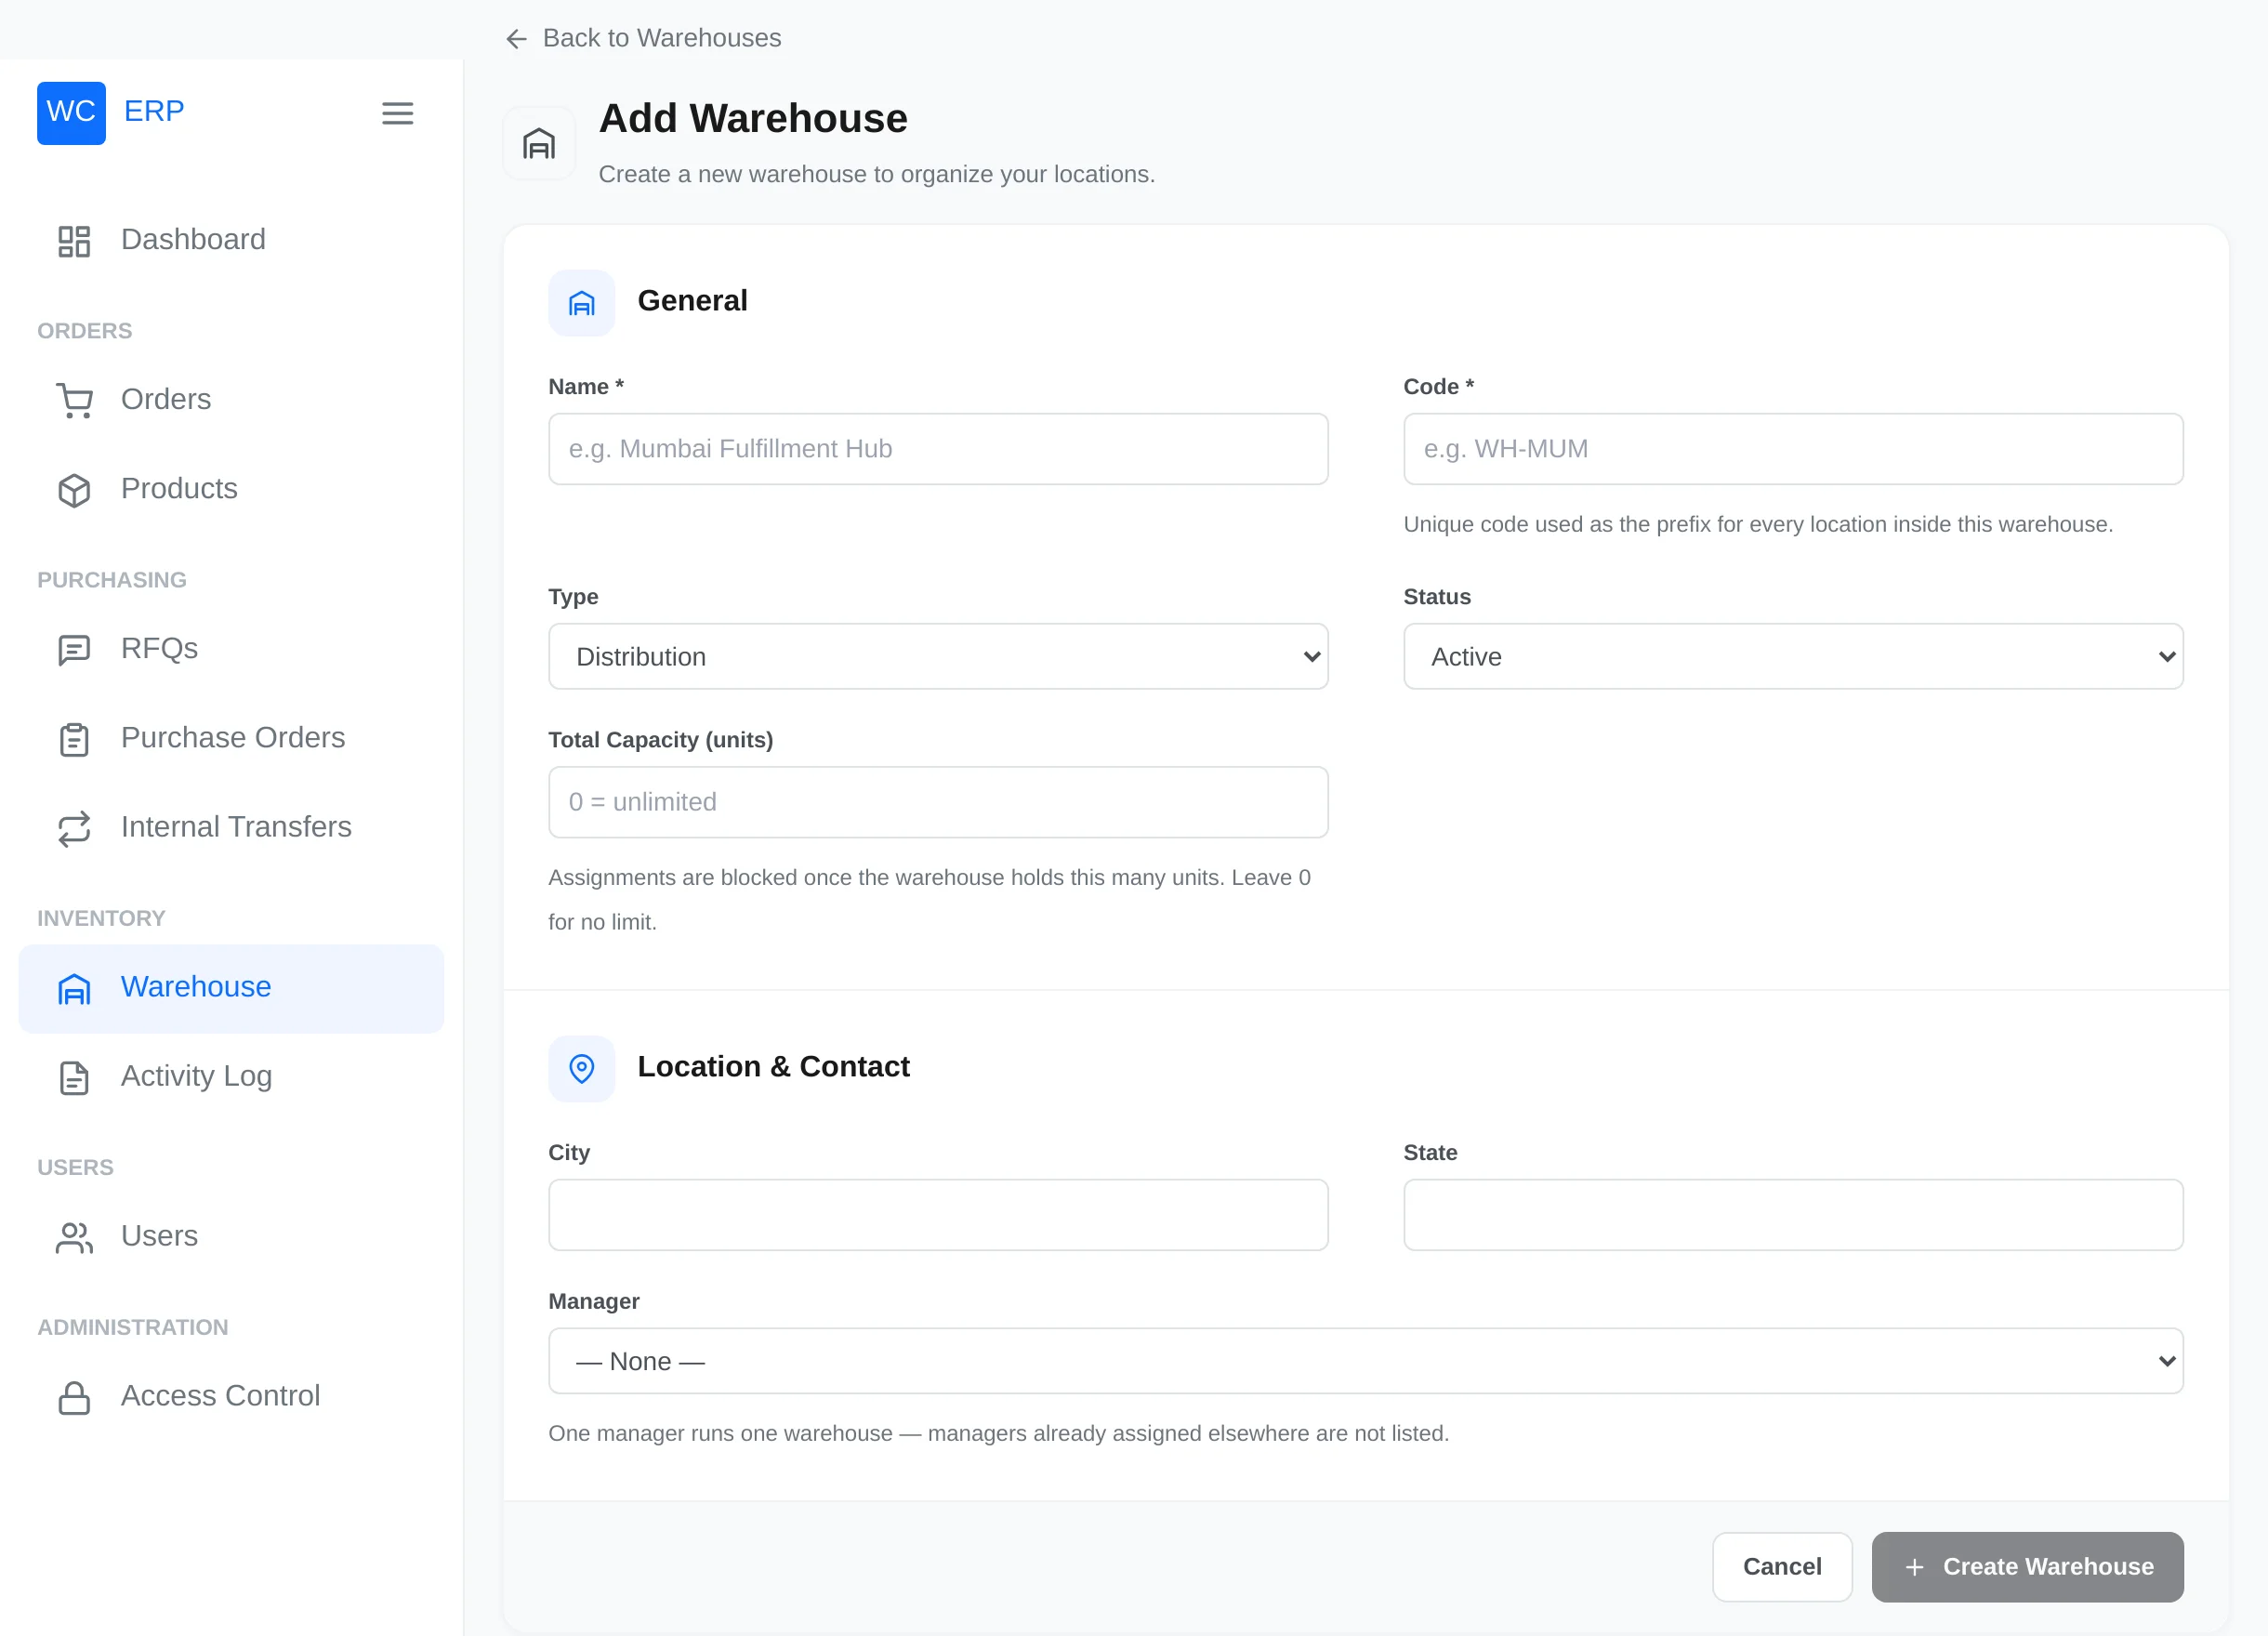
| Field | Notes |
|---|---|
| Name* | e.g. "Delhi Warehouse" |
| Code* | Short unique code, e.g. WH-DL. Becomes the prefix of every location code inside. Cannot be changed later. |
| Type | Distribution / Fulfillment / Storage |
| Status | Active / Inactive |
| Total Capacity (units) | Assignments are blocked once the warehouse holds this many units. 0 = unlimited |
| City / State | The warehouse address |
| Manager | Pick a Warehouse Manager. Only managers not already running another warehouse are offered — one manager runs one warehouse |
Click Save. The warehouse appears on the Dashboard tab.
Codes are permanent
The warehouse code (and every location code) is used in bin labels, QR codes and the movement ledger, so it can never be edited after creation. Choose codes carefully.
Dashboard tab
The warehouse overview: seven stat cards (warehouses, zones, aisles, racks, shelves, bins, total inventory) and a facility card per warehouse with its status, code, type, address, manager, a utilisation bar and per-level counts.
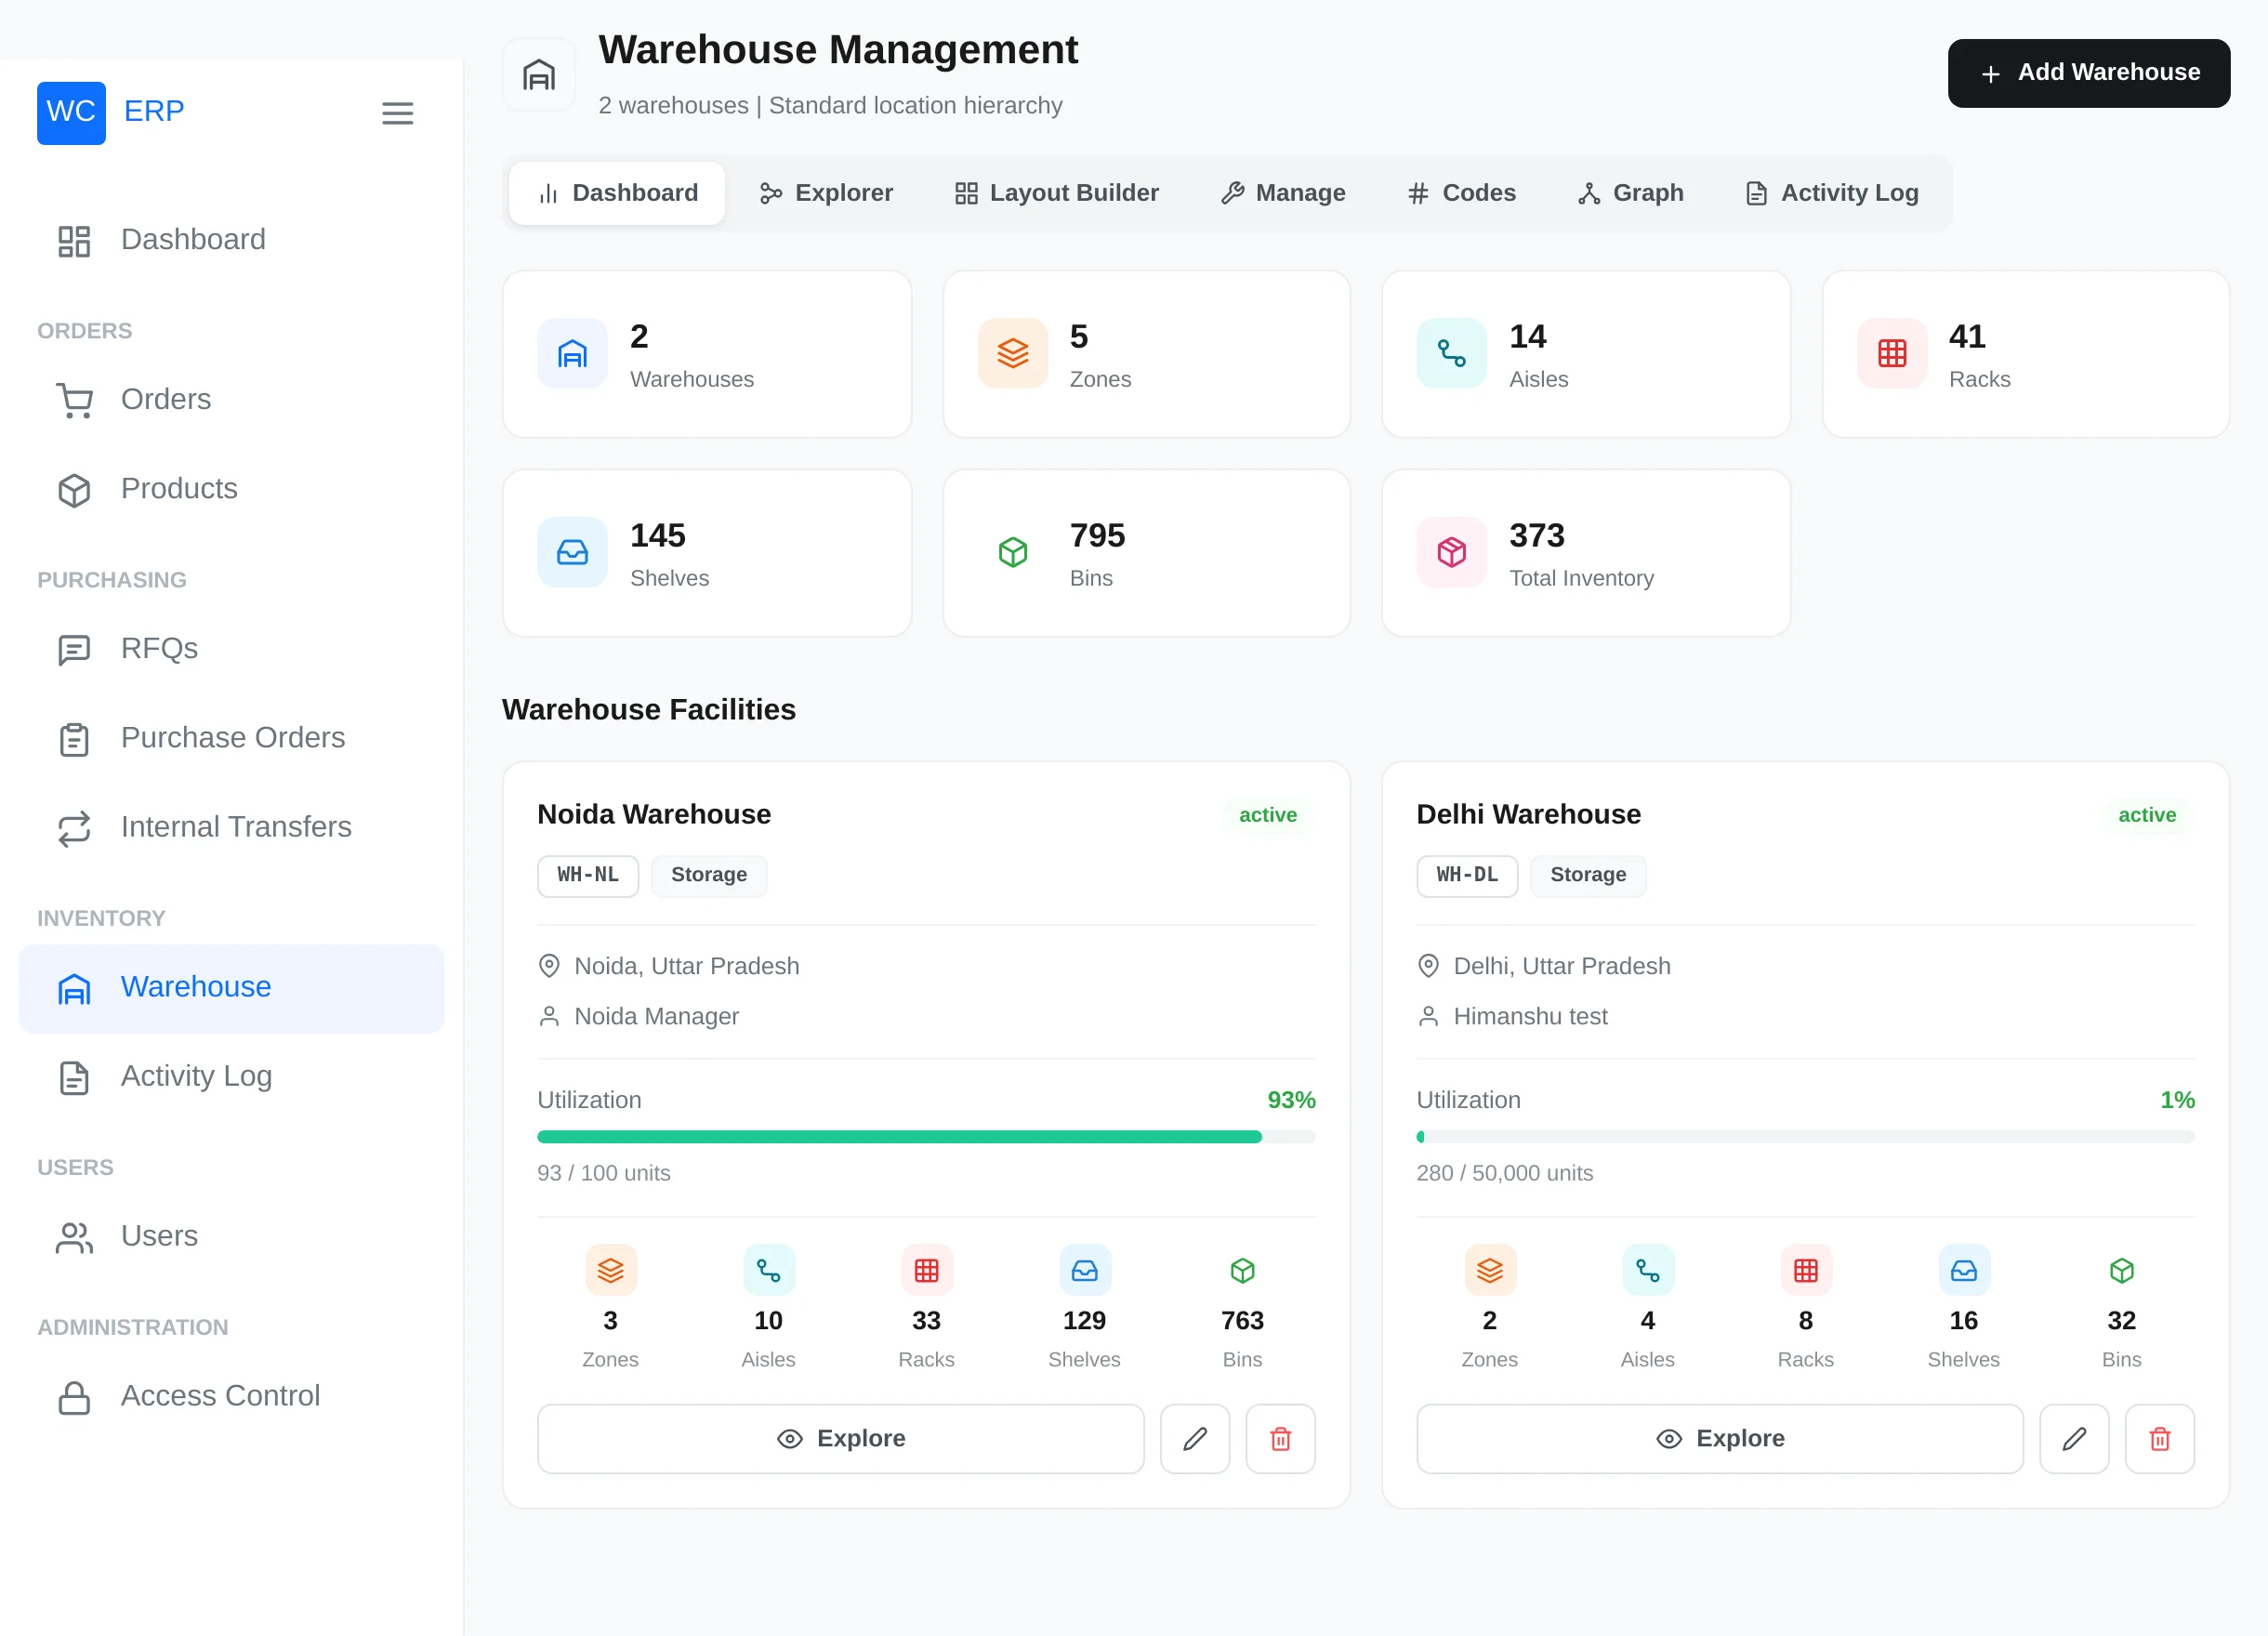
Per facility: Explore (jump into its hierarchy), Edit, and Delete — deleting removes the warehouse and all its locations after a confirmation.
The location hierarchy
Locations follow a fixed structure — zone → aisle → rack → shelf → bin — and only bins store products. You can build the tree three ways:
- Layout Builder — create the whole structure at once (recommended for new warehouses).
- Manage tab — add locations one at a time.
- A location's own page — append several children at once (e.g. "add 5 more bins to this shelf").
Add a single location (Manage tab)
The Manage tab lists locations by level (Zones / Aisles / Racks / Shelves / Bins) with search and a warehouse filter.
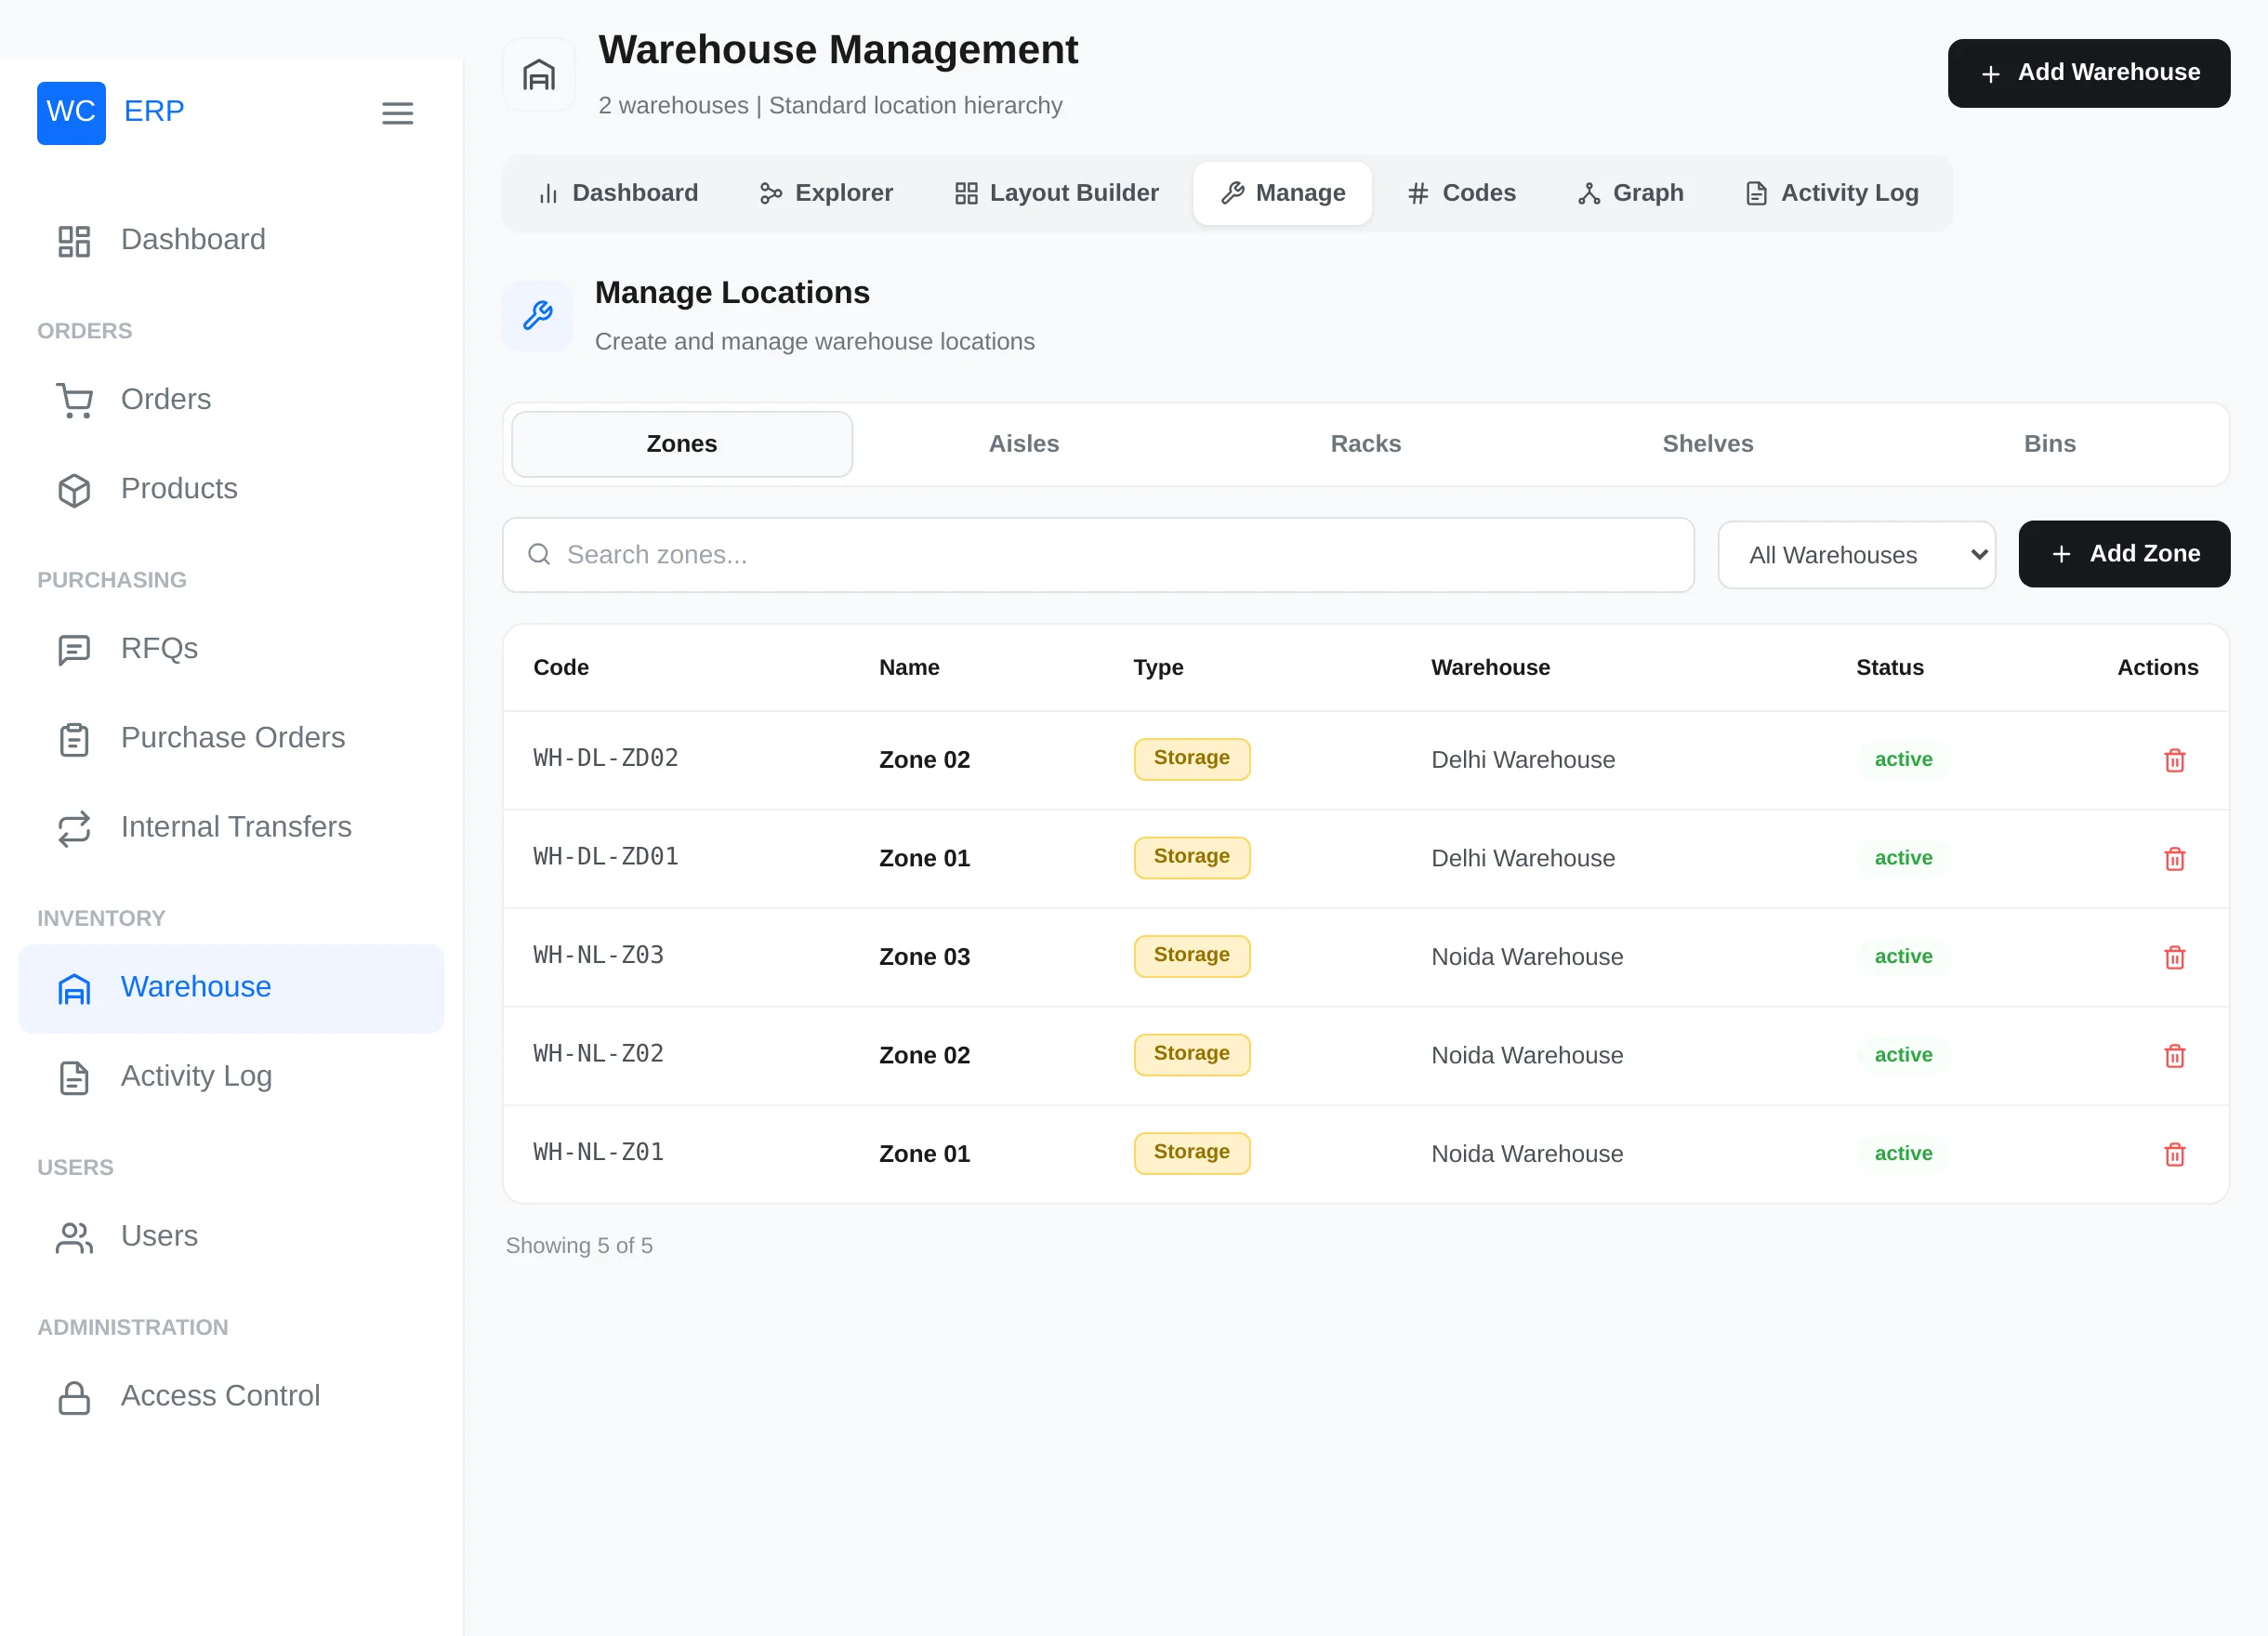
Click + Add Zone (or Aisle/Rack/Shelf/Bin on that sub-tab):
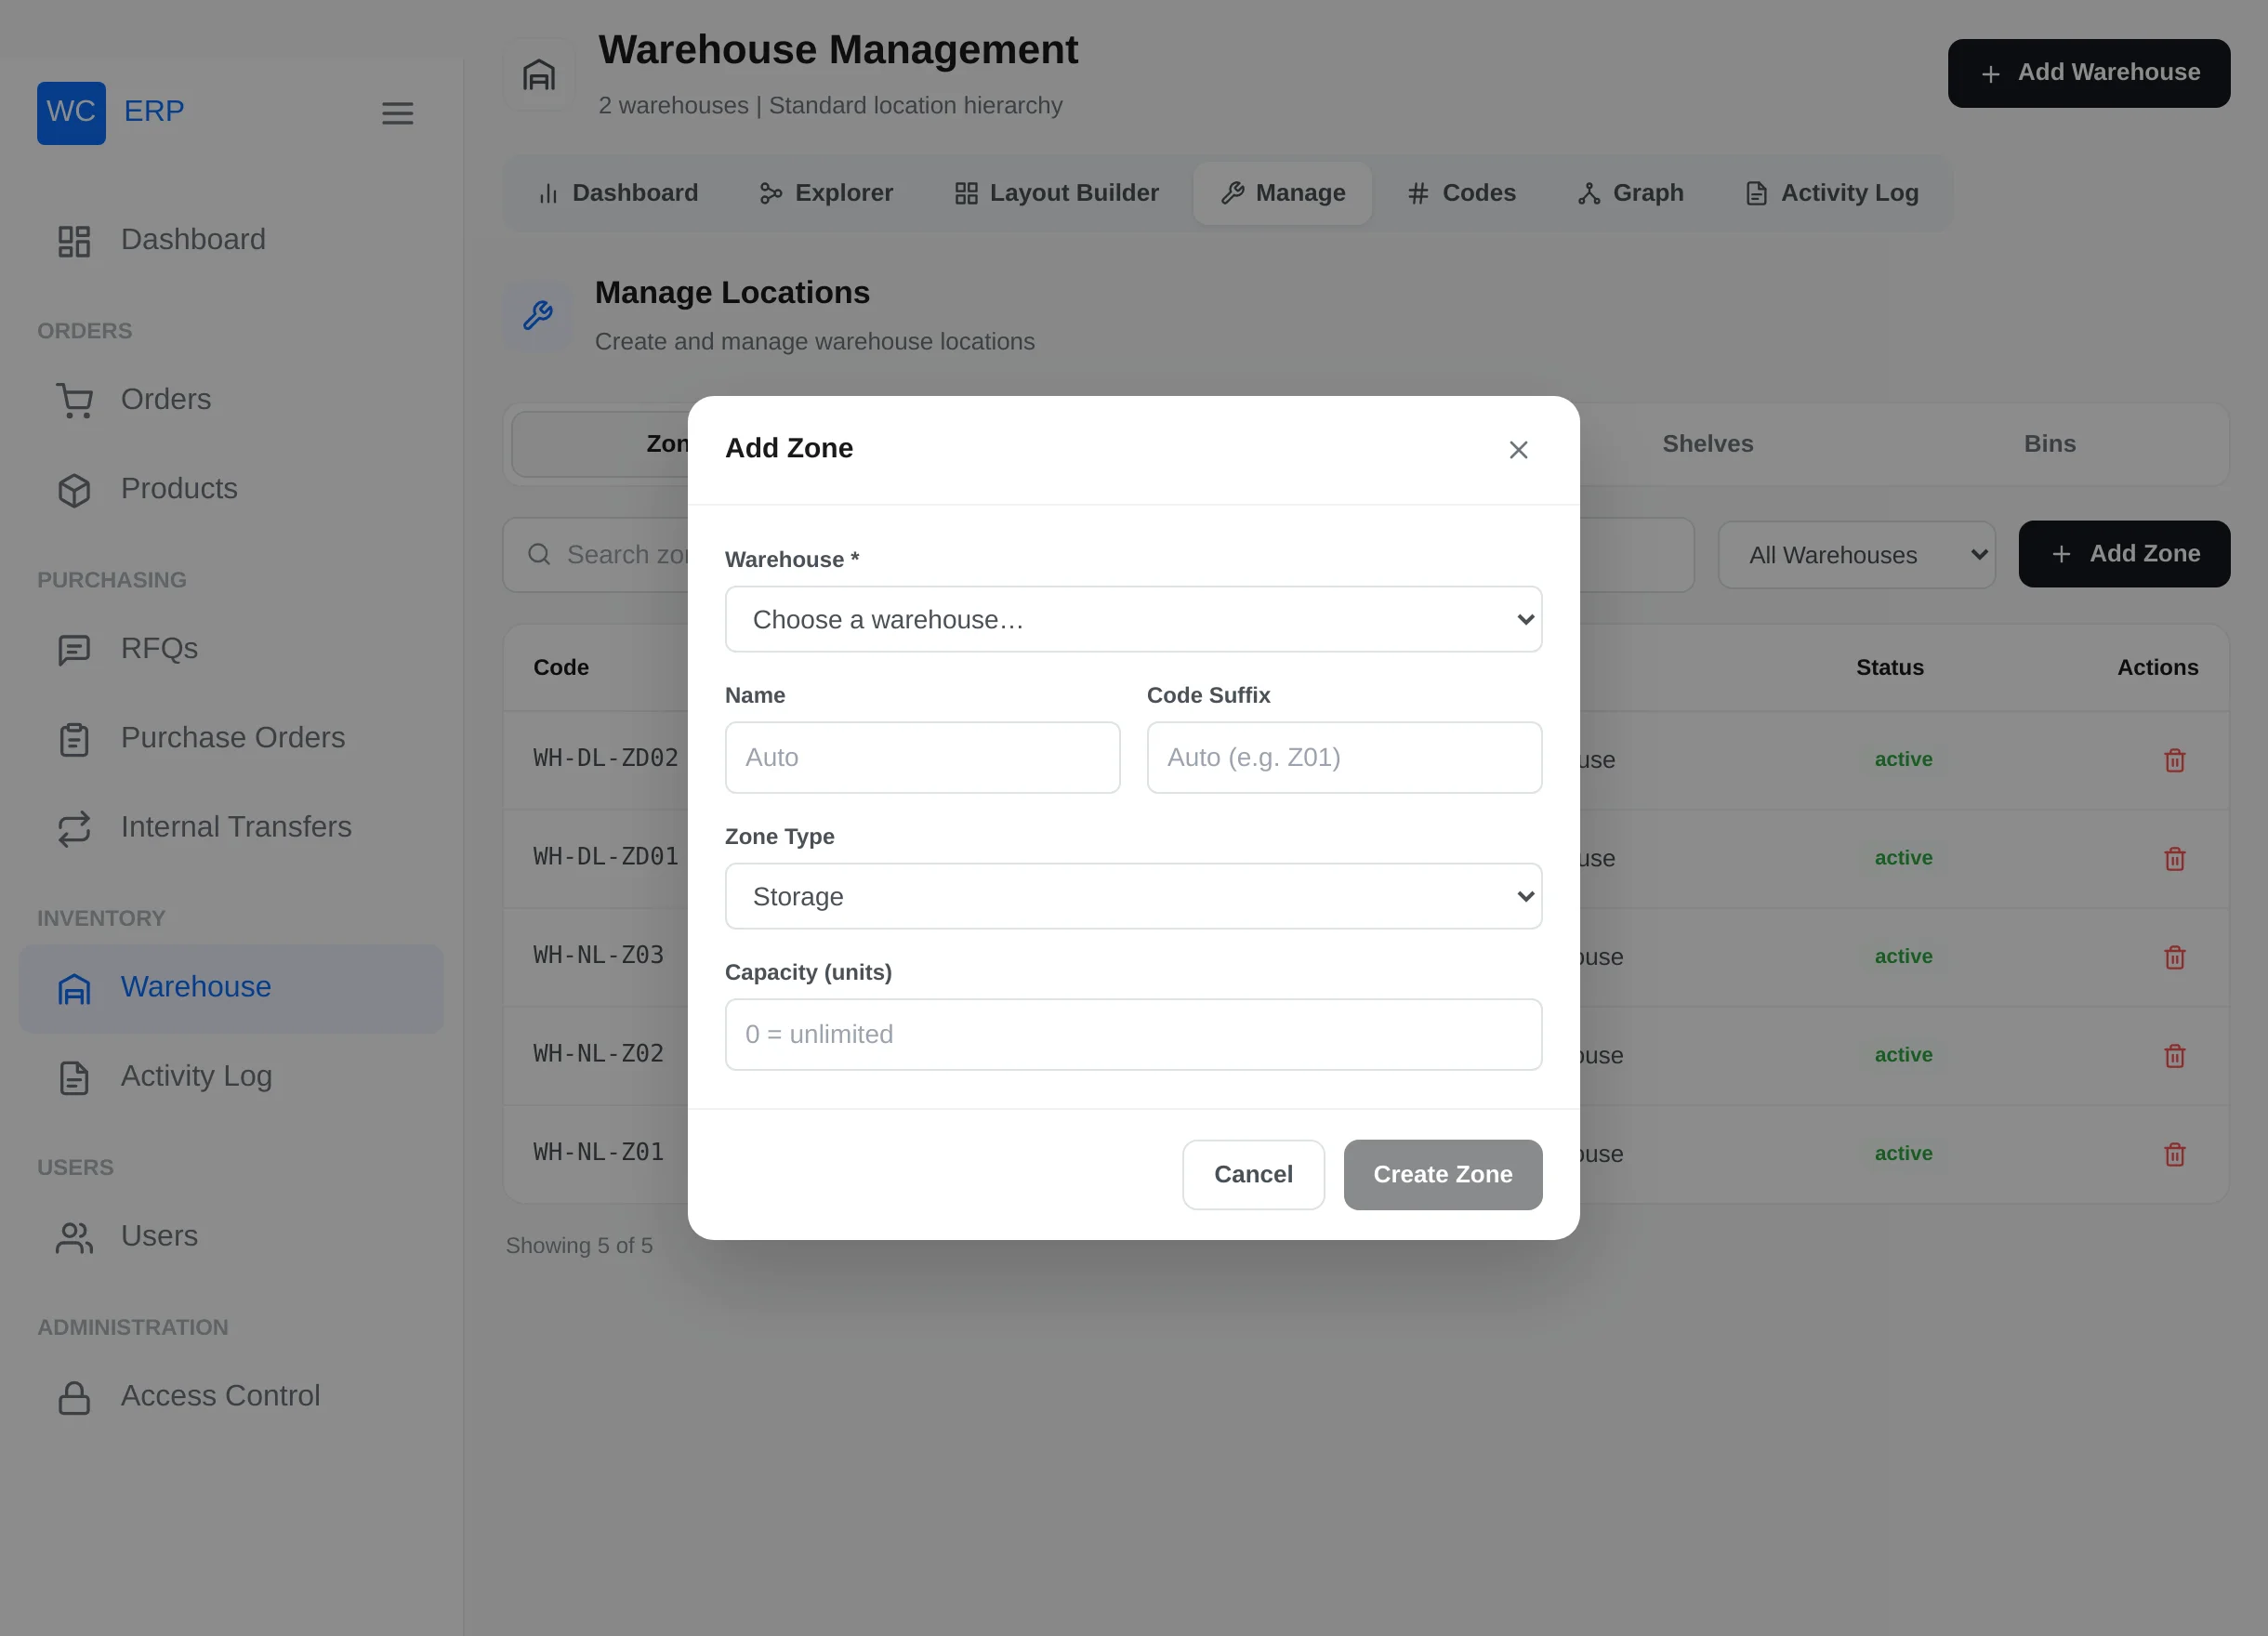
- Warehouse* and — below zone level — the parent location*.
- Name and Code Suffix are generated automatically (
Z01,A01, …) but can be typed manually. - Zone Type (zones only): Storage, Picking, Packing, Receiving, Shipping or Returns.
- Capacity (units) —
0= unlimited.
From a location's page you can also edit its name, capacity, status and zone type — the code stays fixed — and delete it (removing its whole subtree, with a count in the confirmation).
Explorer tab
Browse the hierarchy level by level with a breadcrumb trail. Cards show child counts, zone types and status; bins show their live Qty / capacity.
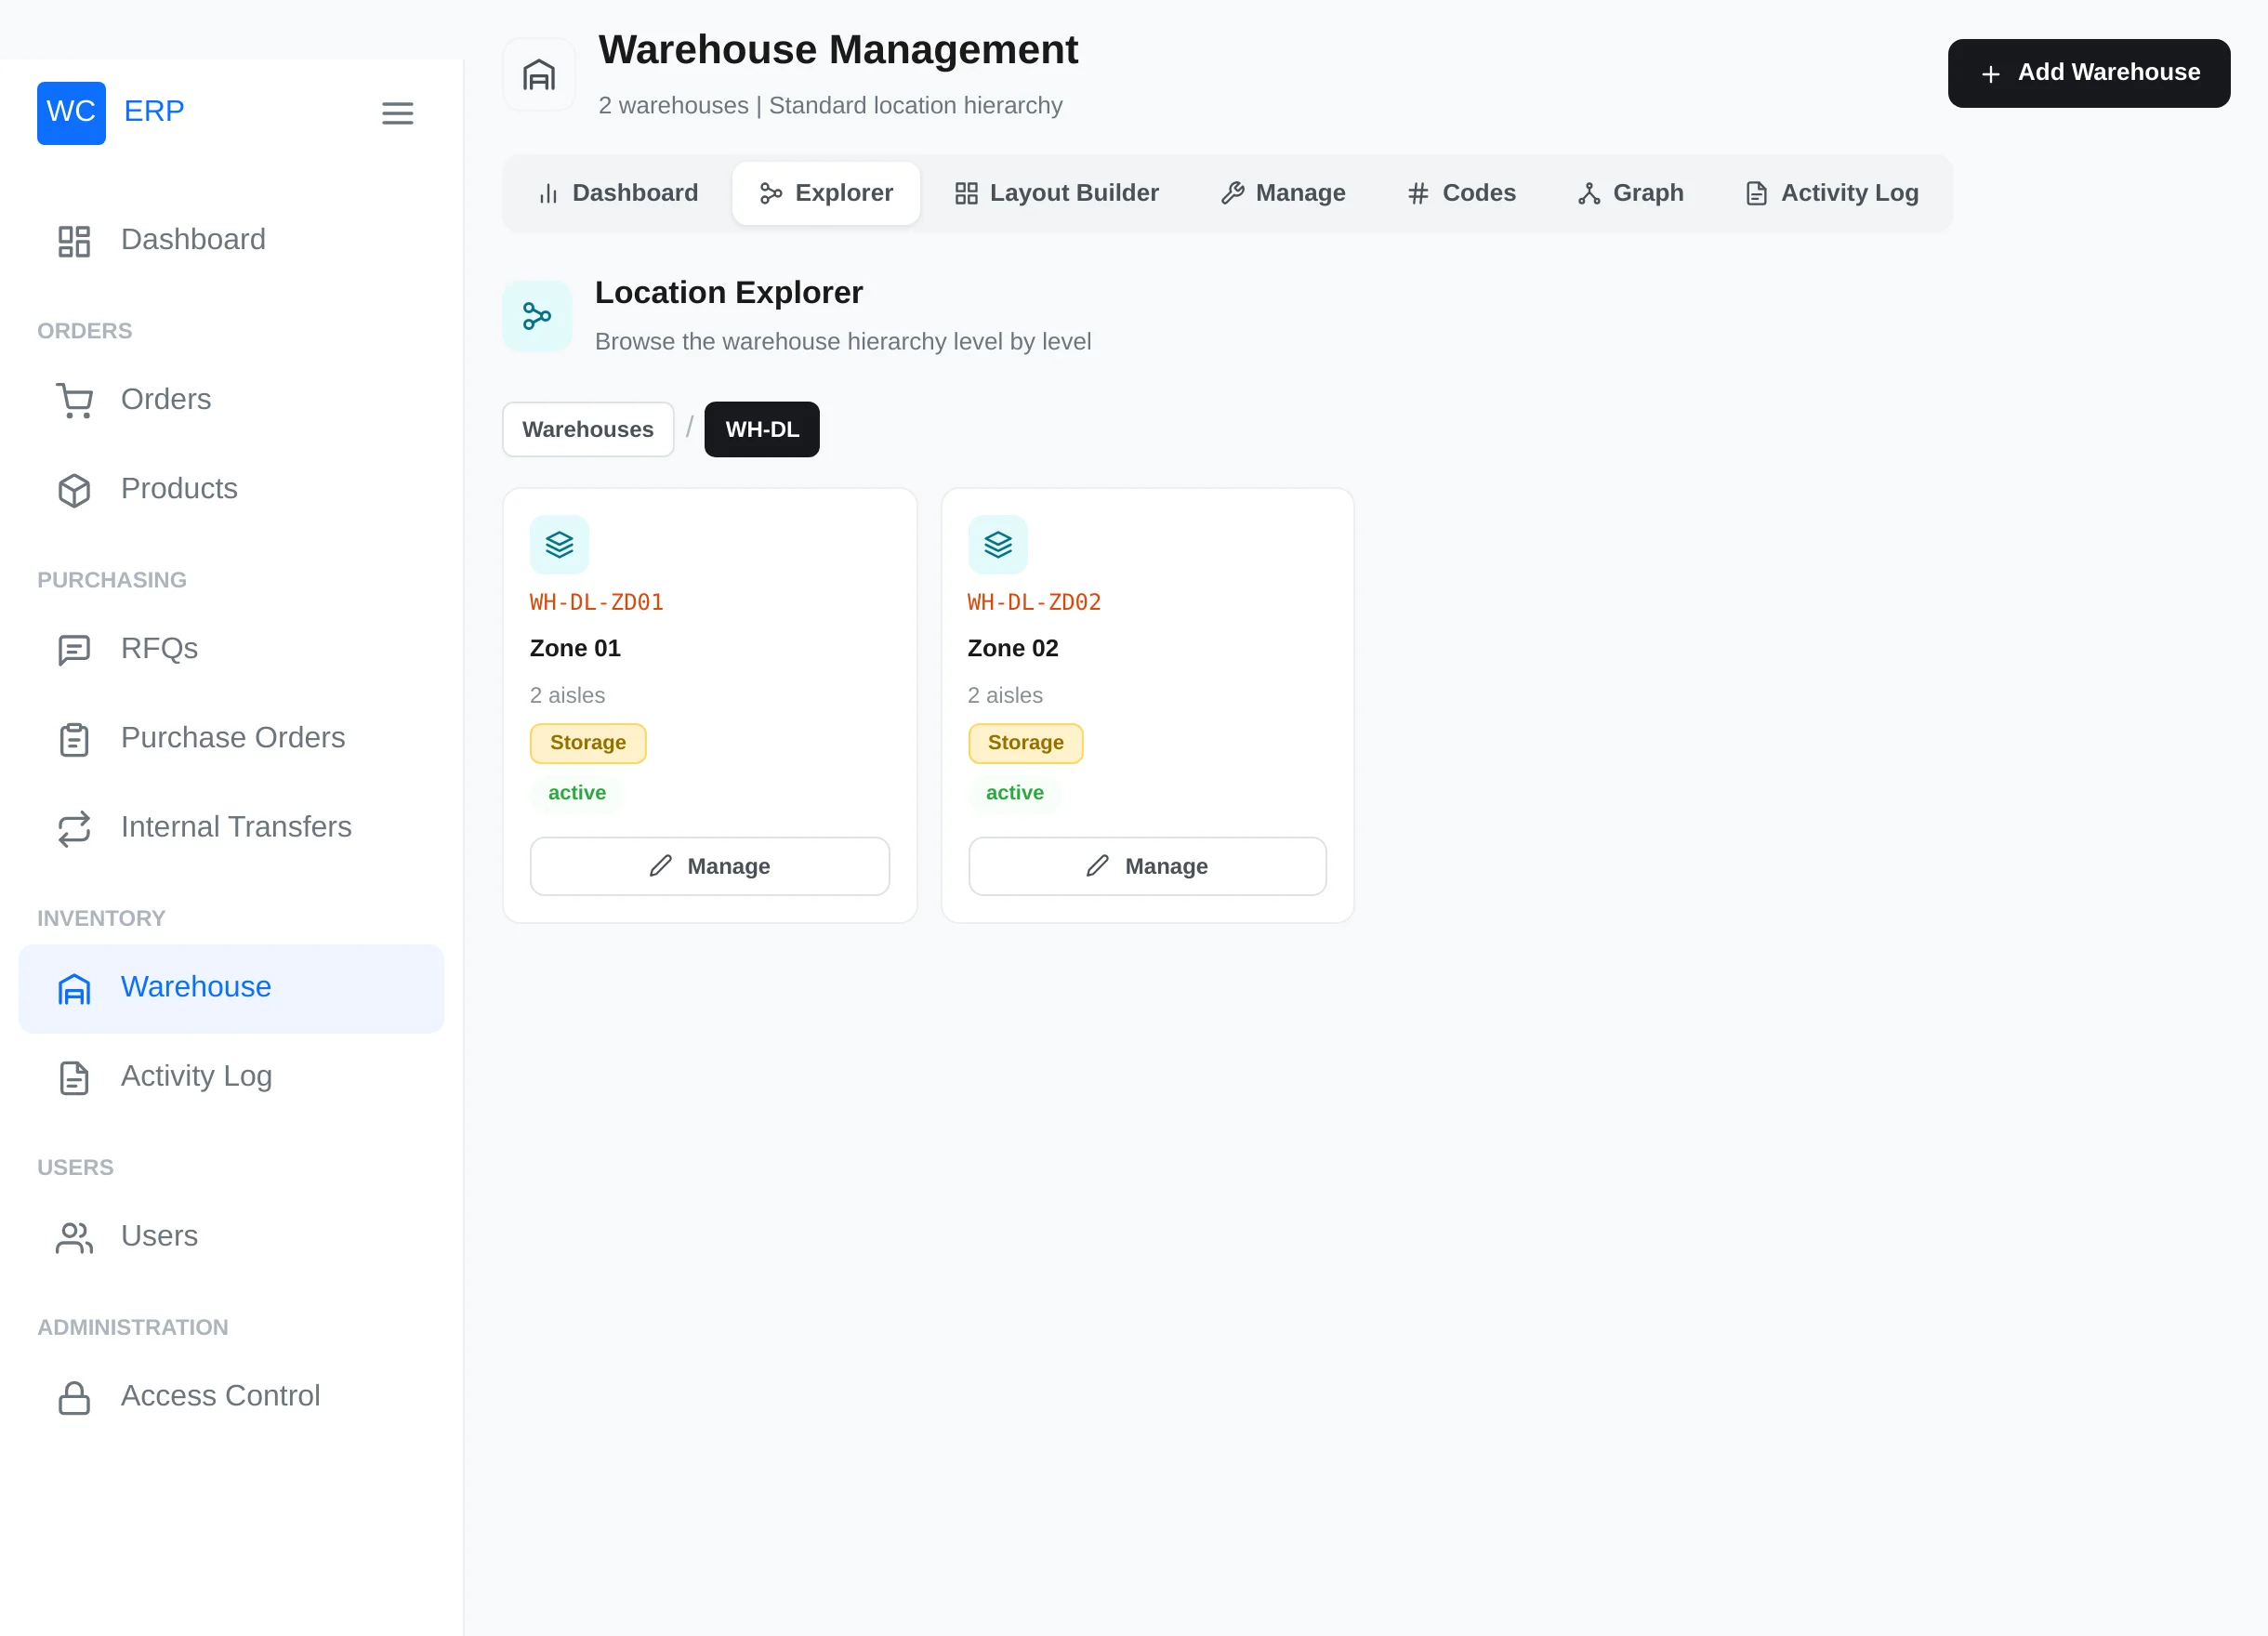
Drill all the way down to the bins:
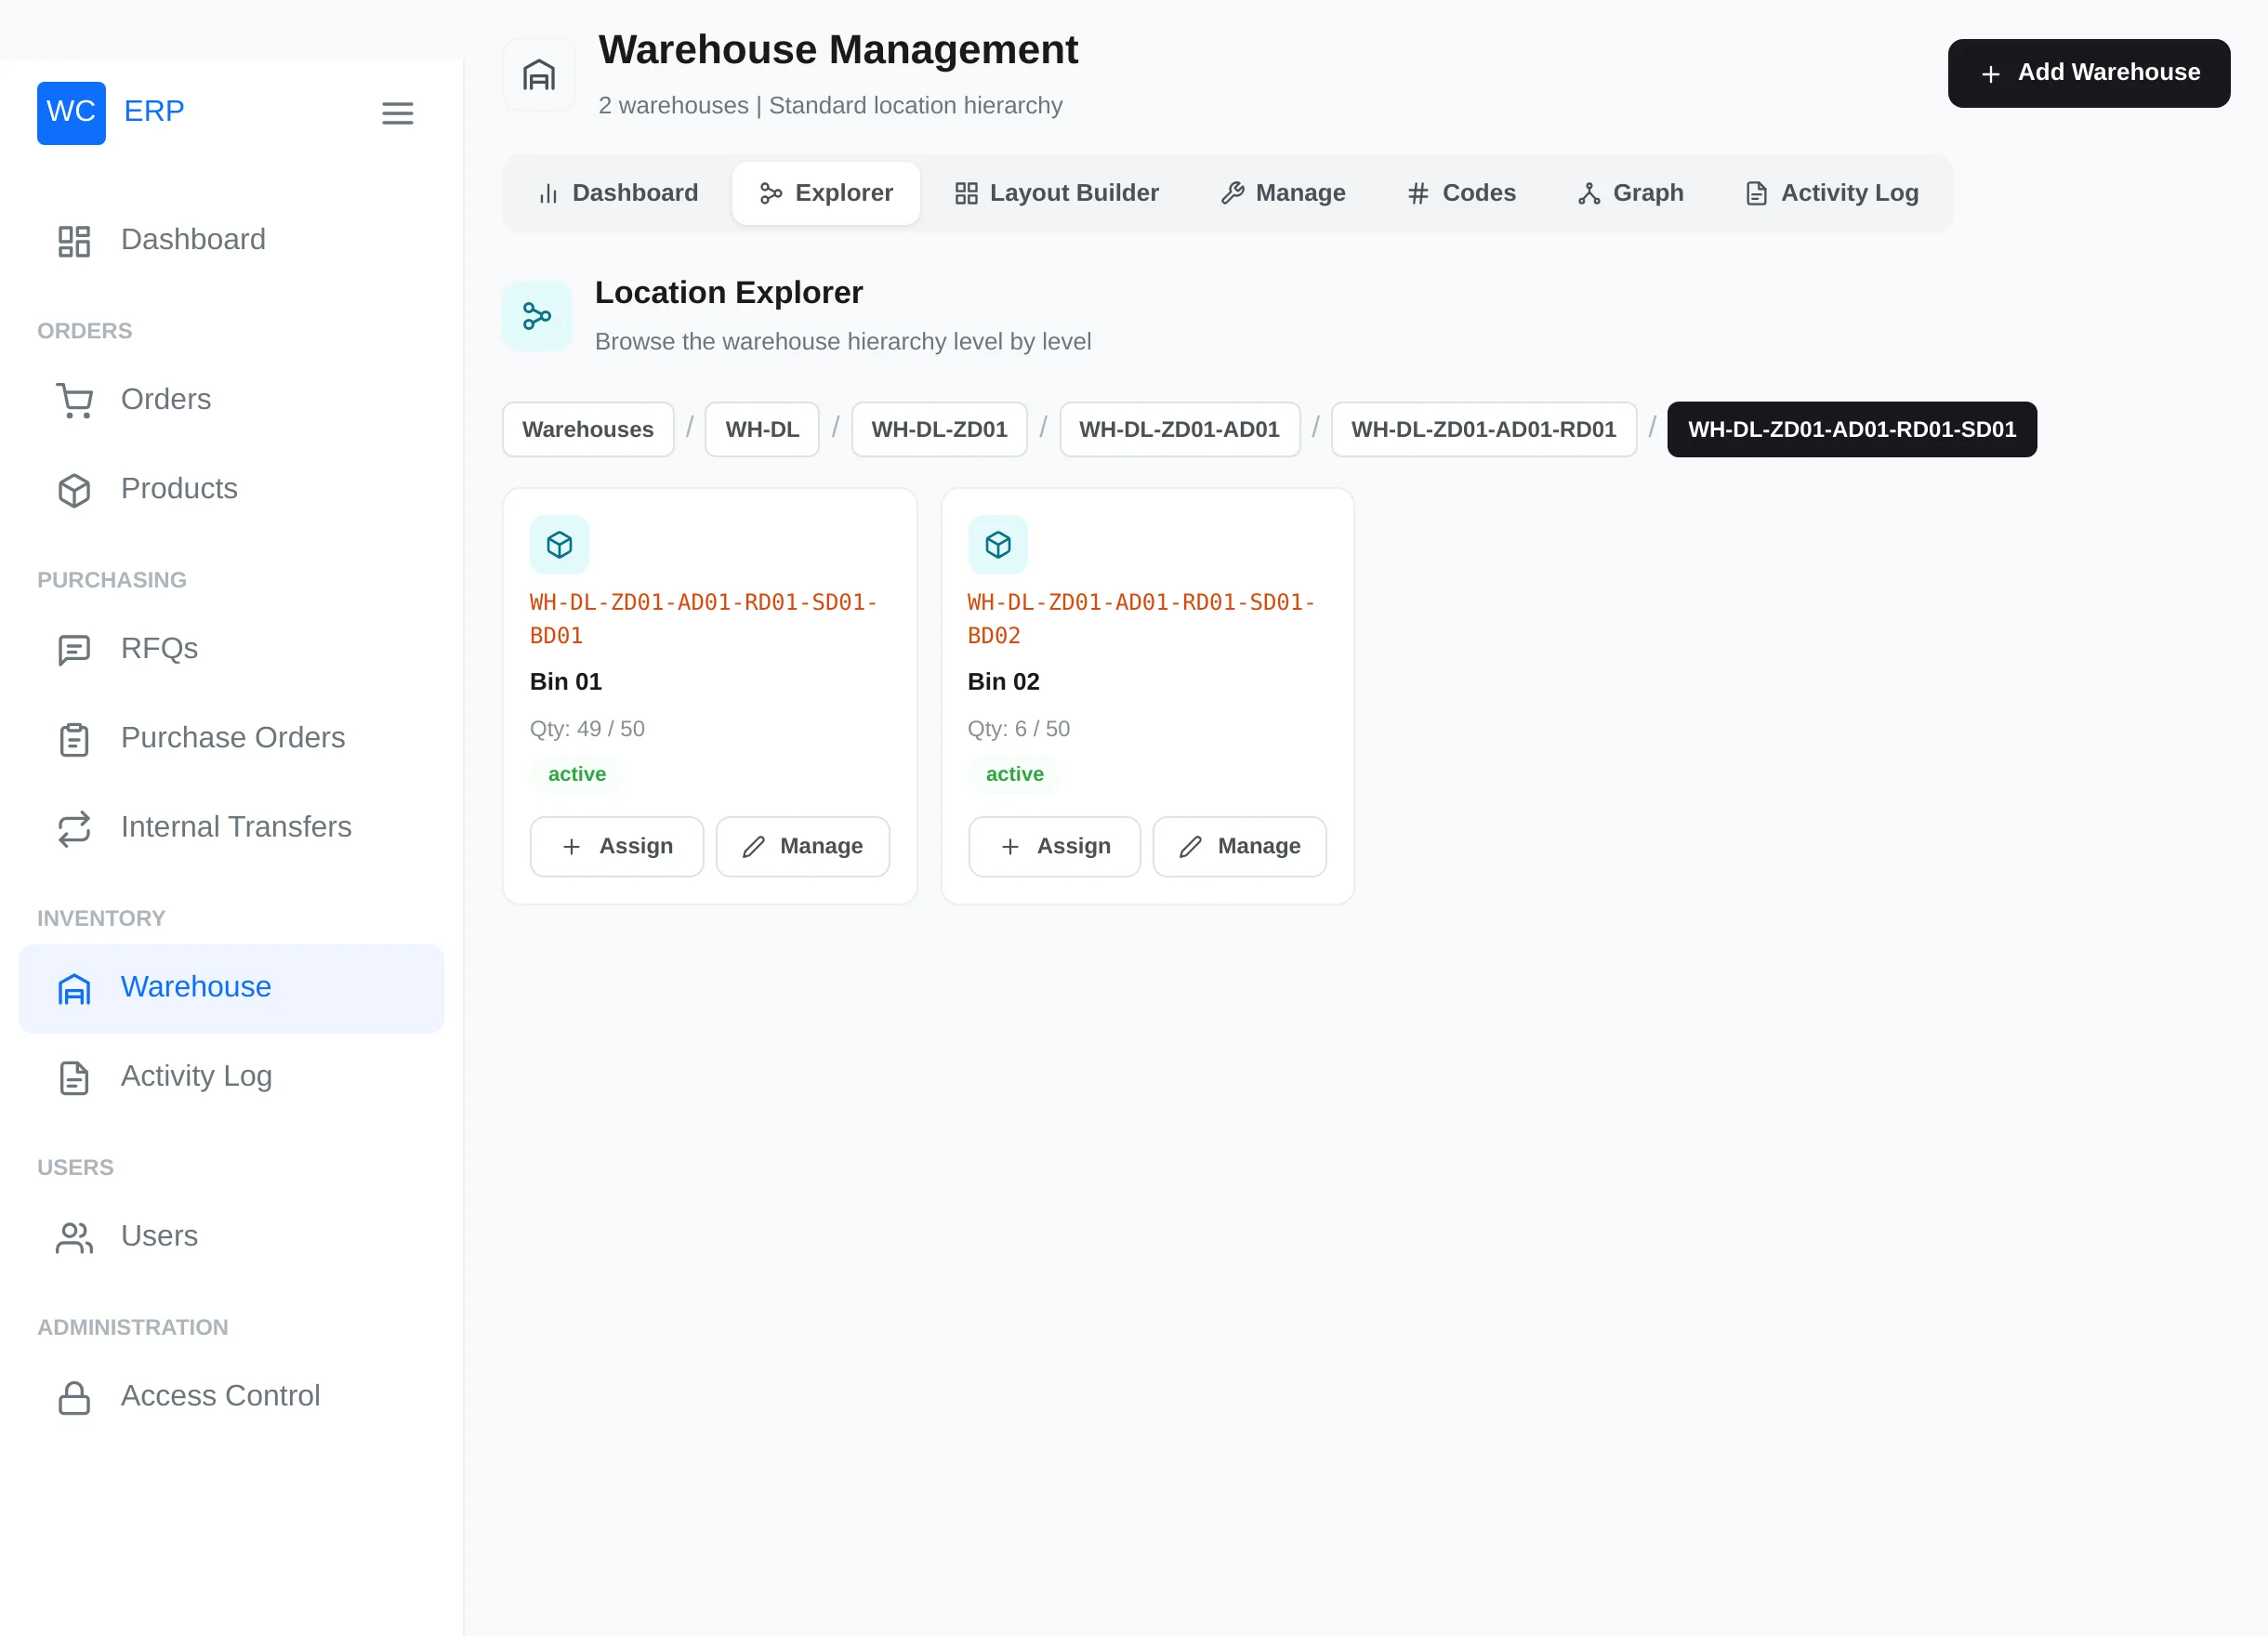
- Assign on a bin opens the stock assignment page for it.
- Manage opens the location's page.
Codes tab
Every bin code in one searchable, filterable list (50 per page) — your labelling station.
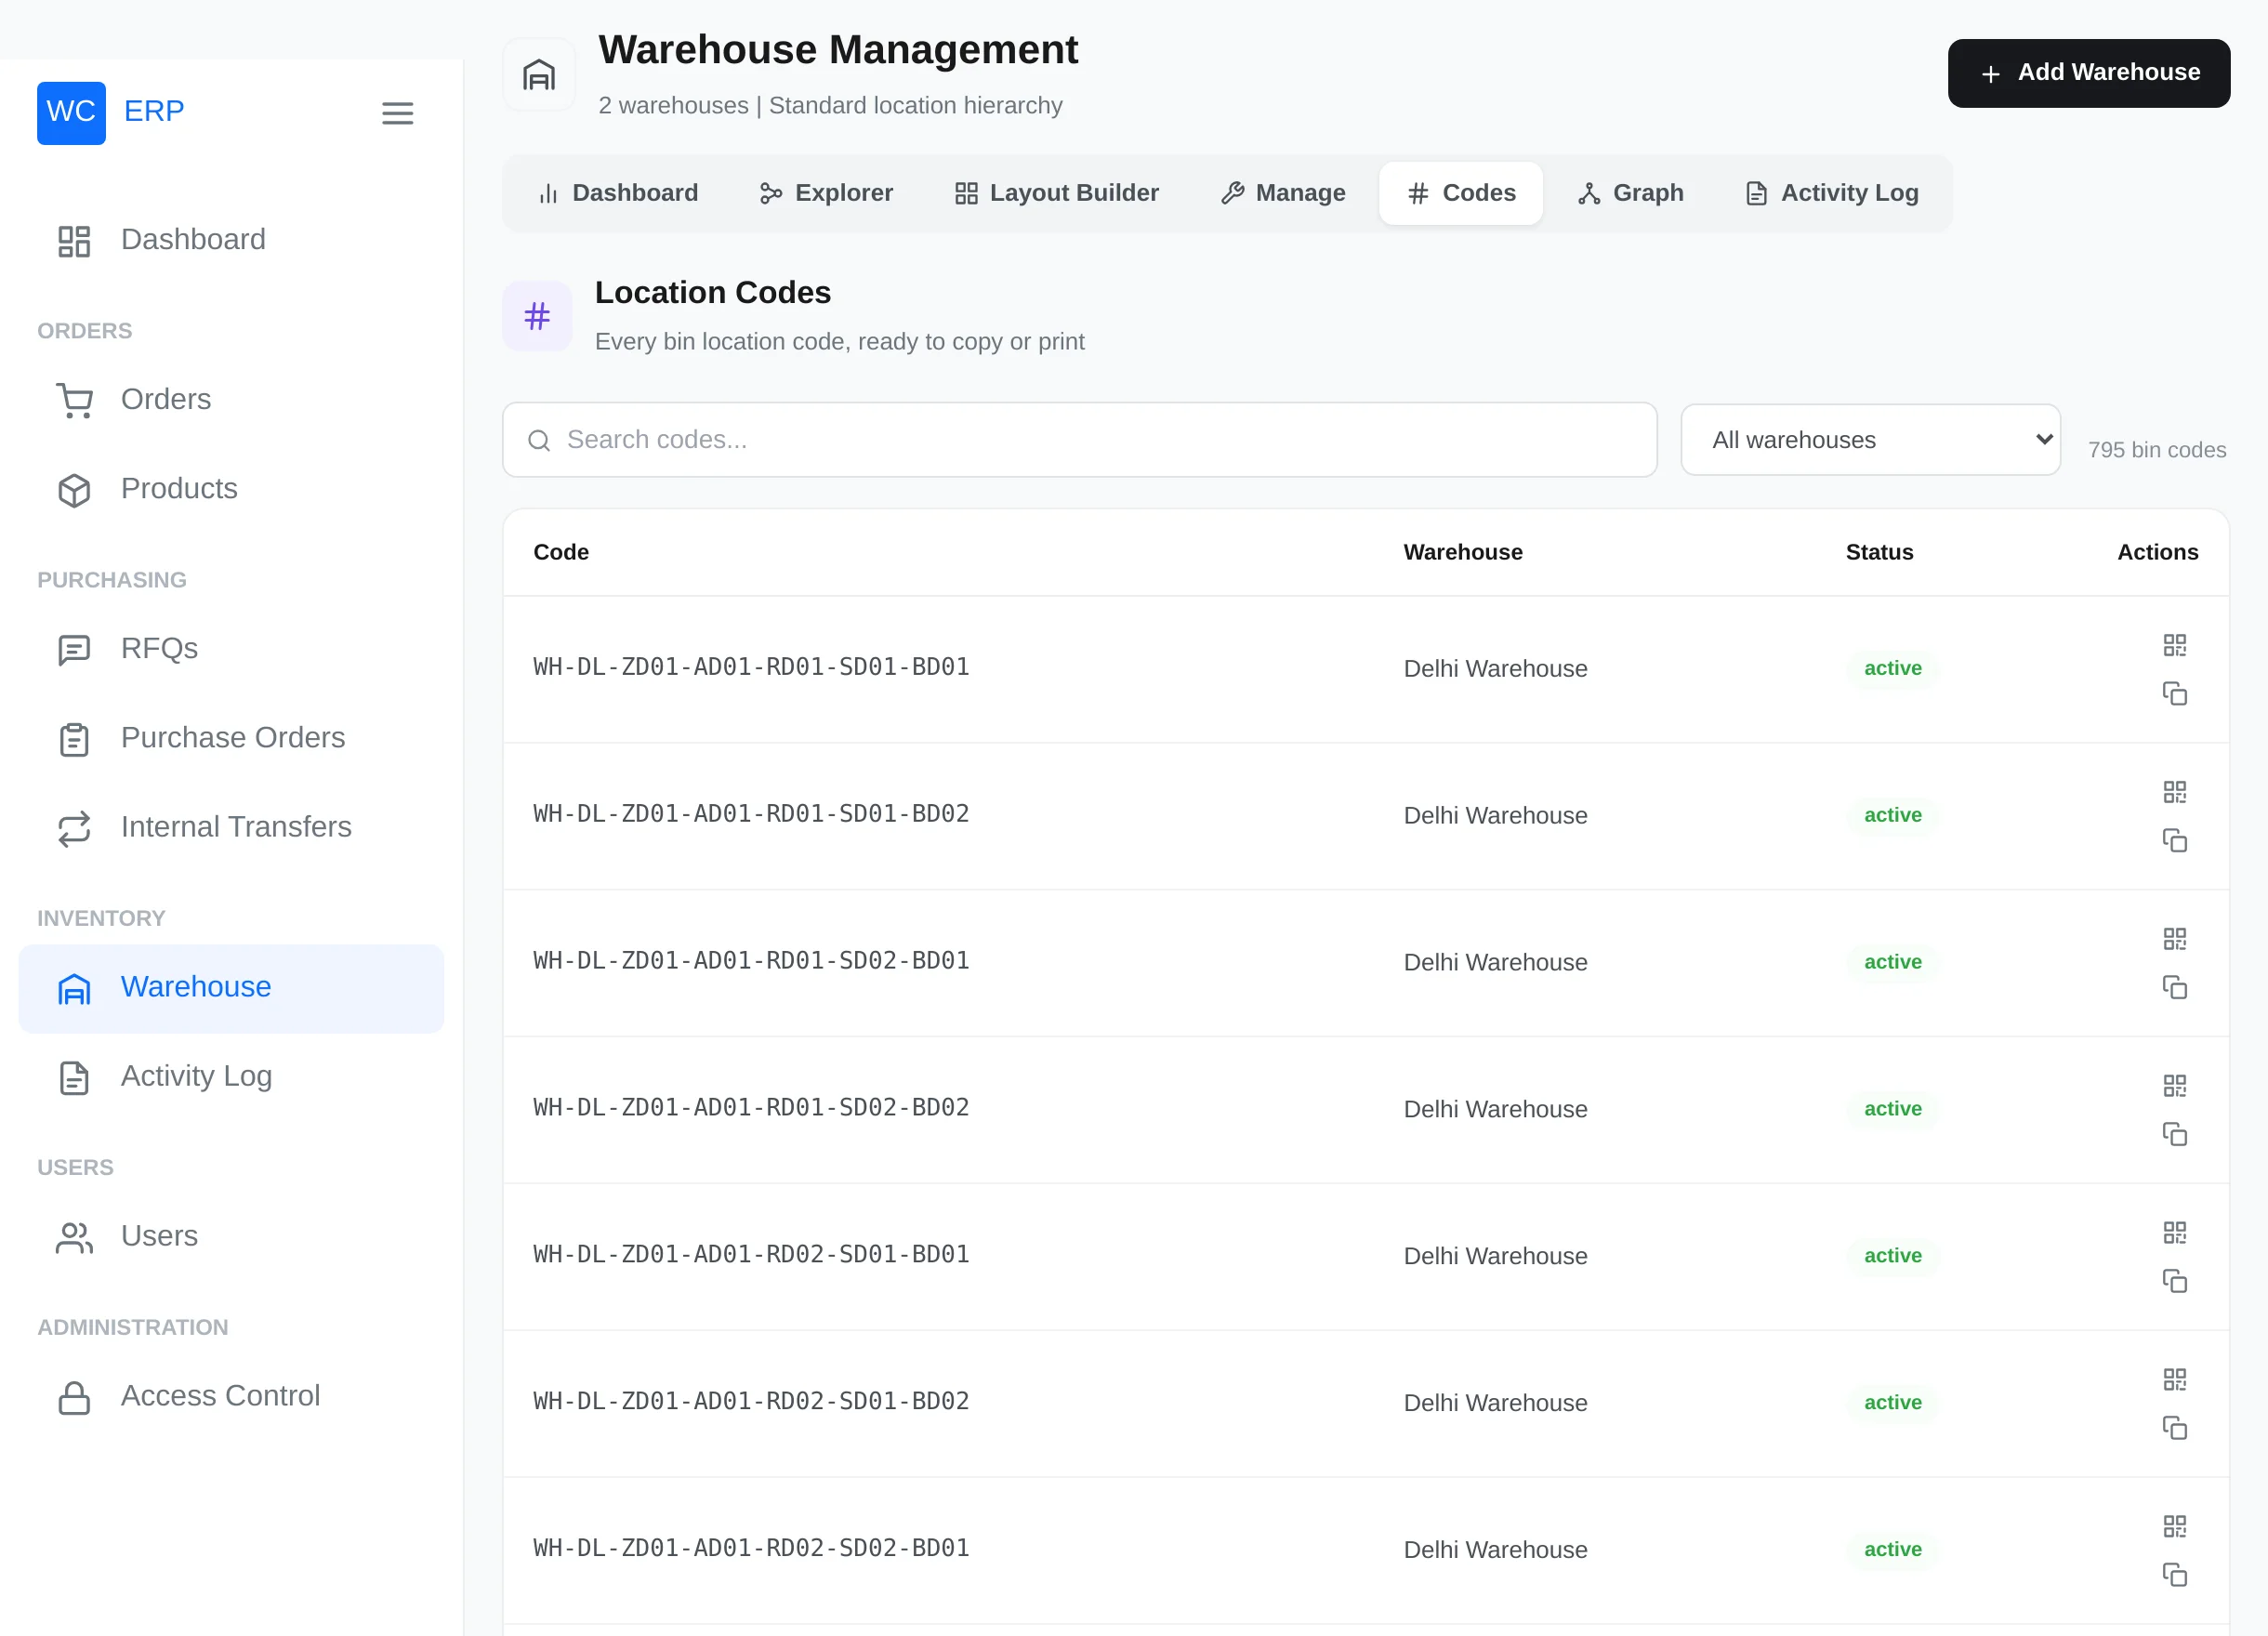
Per bin:
- View QR — opens a QR code of the bin code, with Download QR (saves
BIN-CODE.pngfor printing) and a "See this bin in graph" shortcut. - Copy code — copies the code to the clipboard.
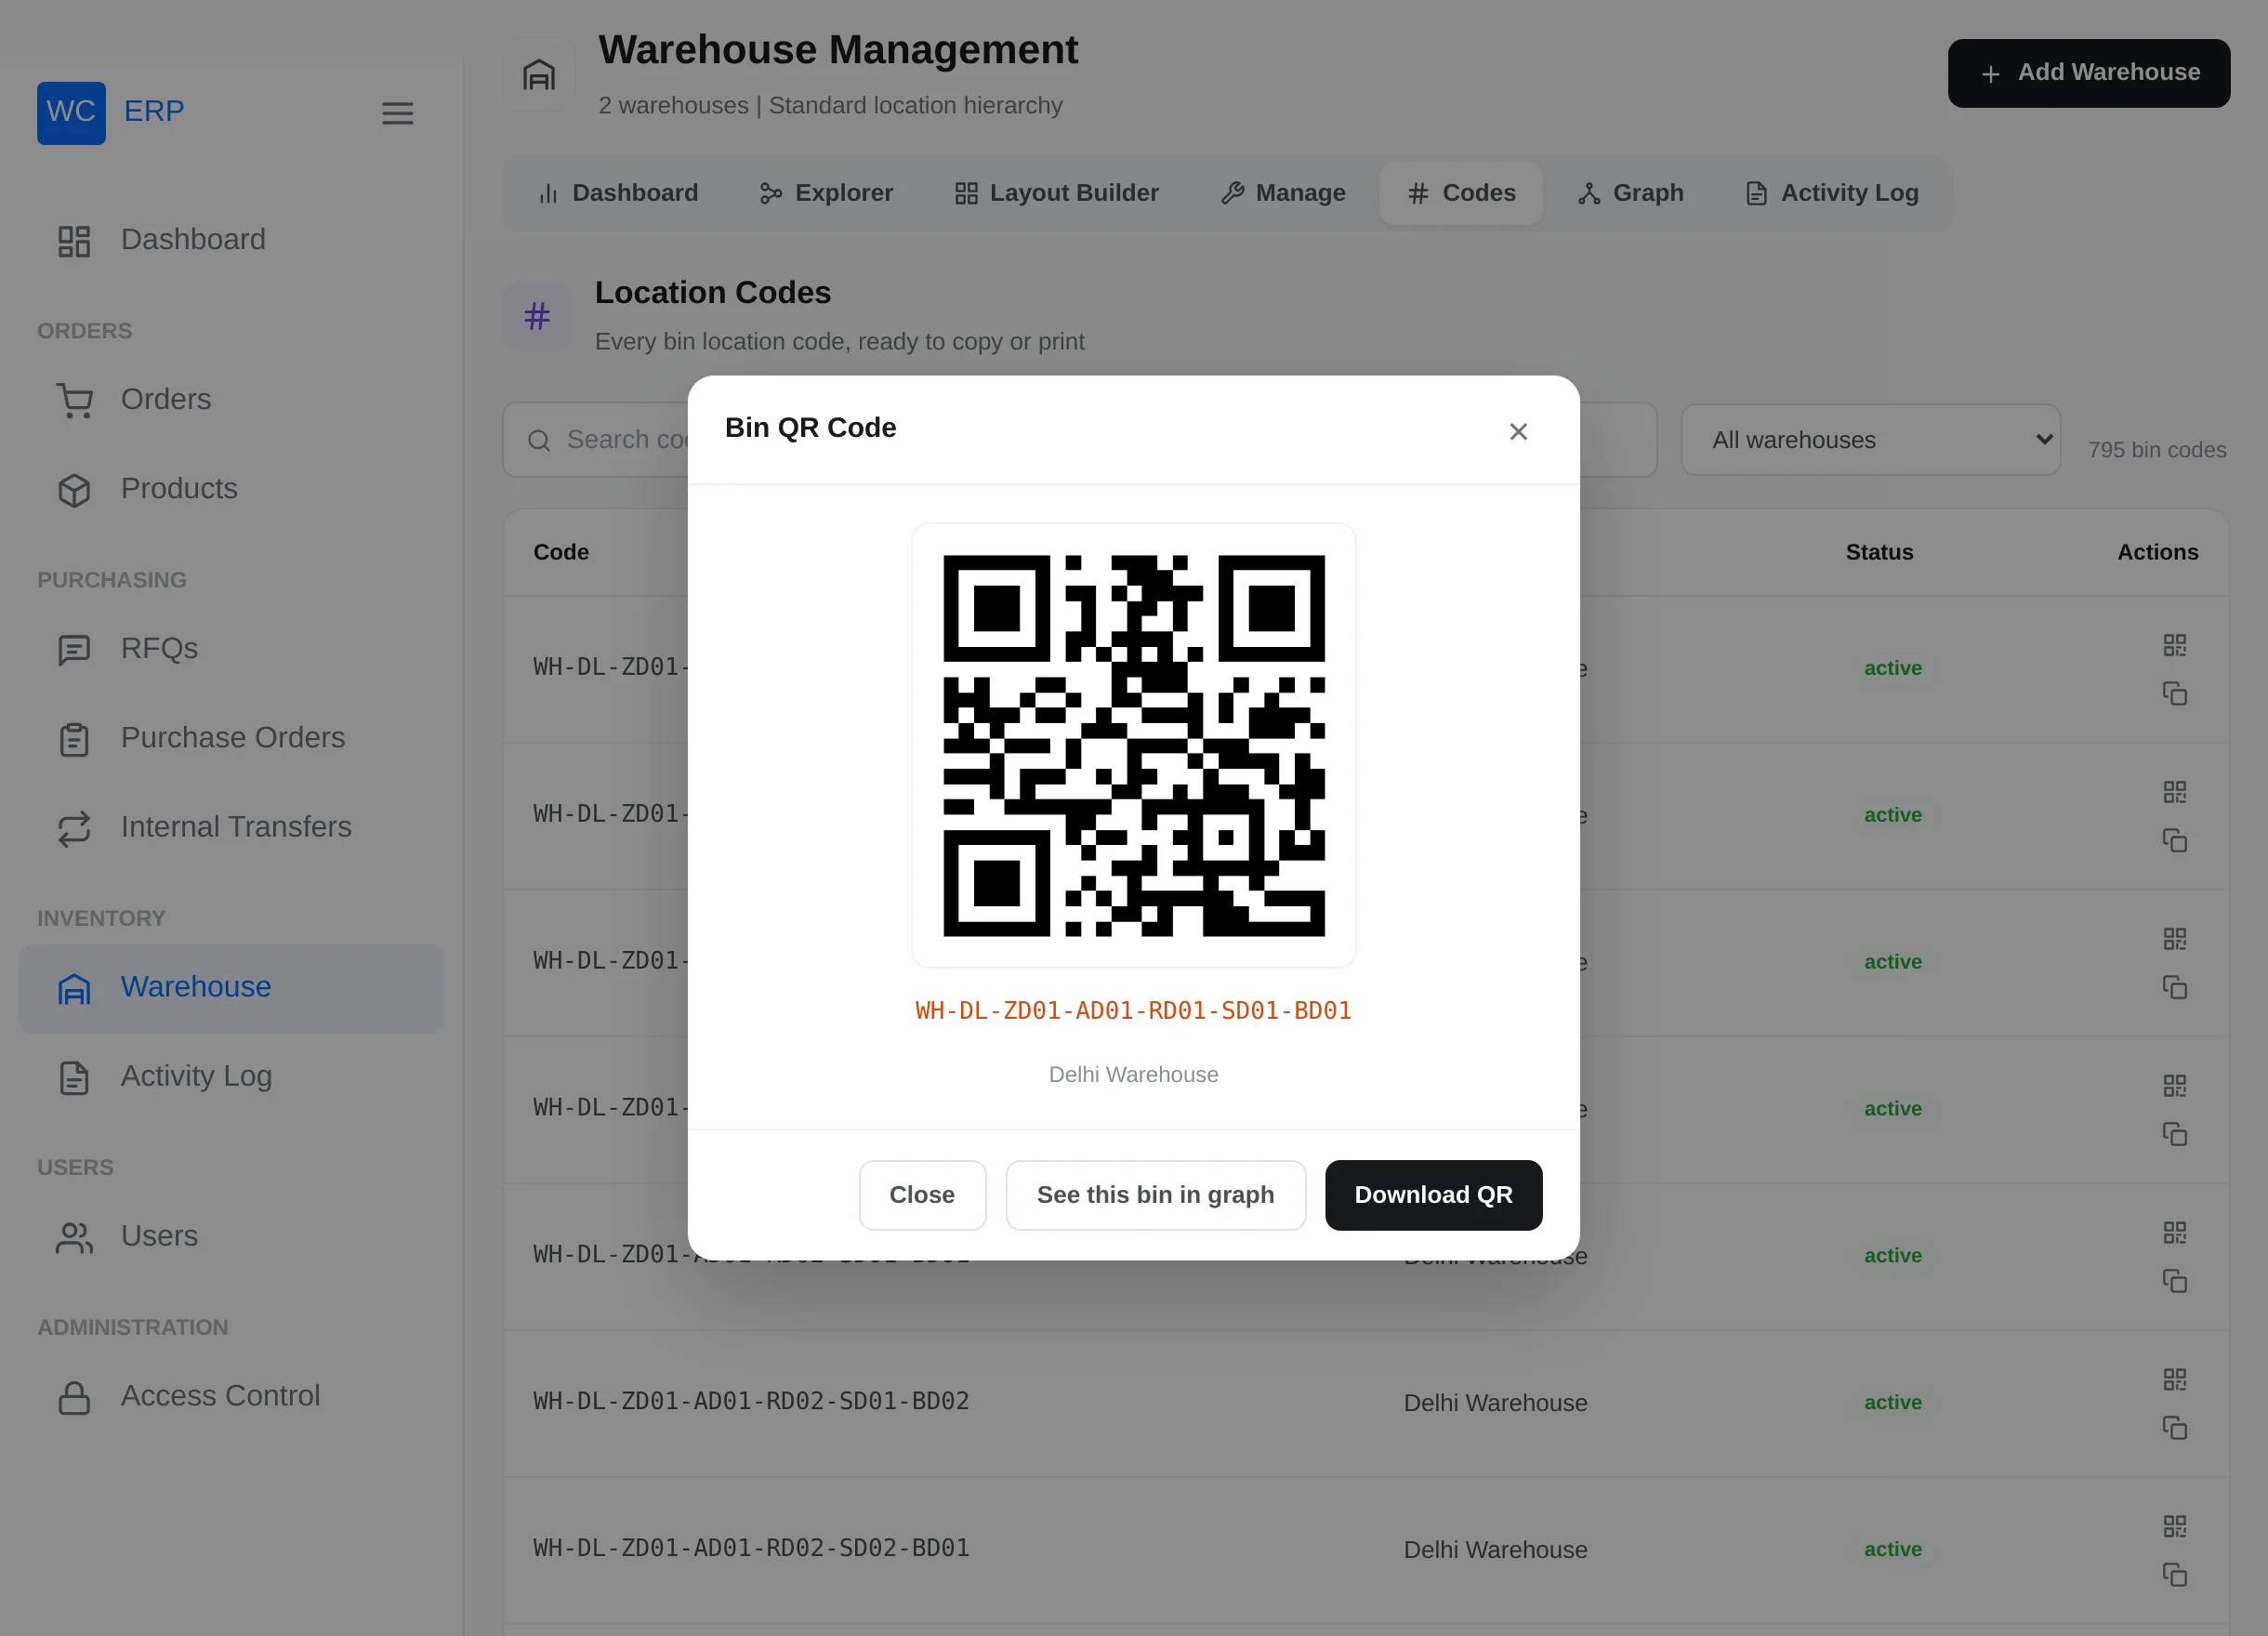
Scanner-friendly
Wherever the ERP asks for a bin (receiving purchase orders, receiving transfers), you can type or scan the bin code instead of clicking through dropdowns.
Graph tab
A visual map of where products sit inside a warehouse.
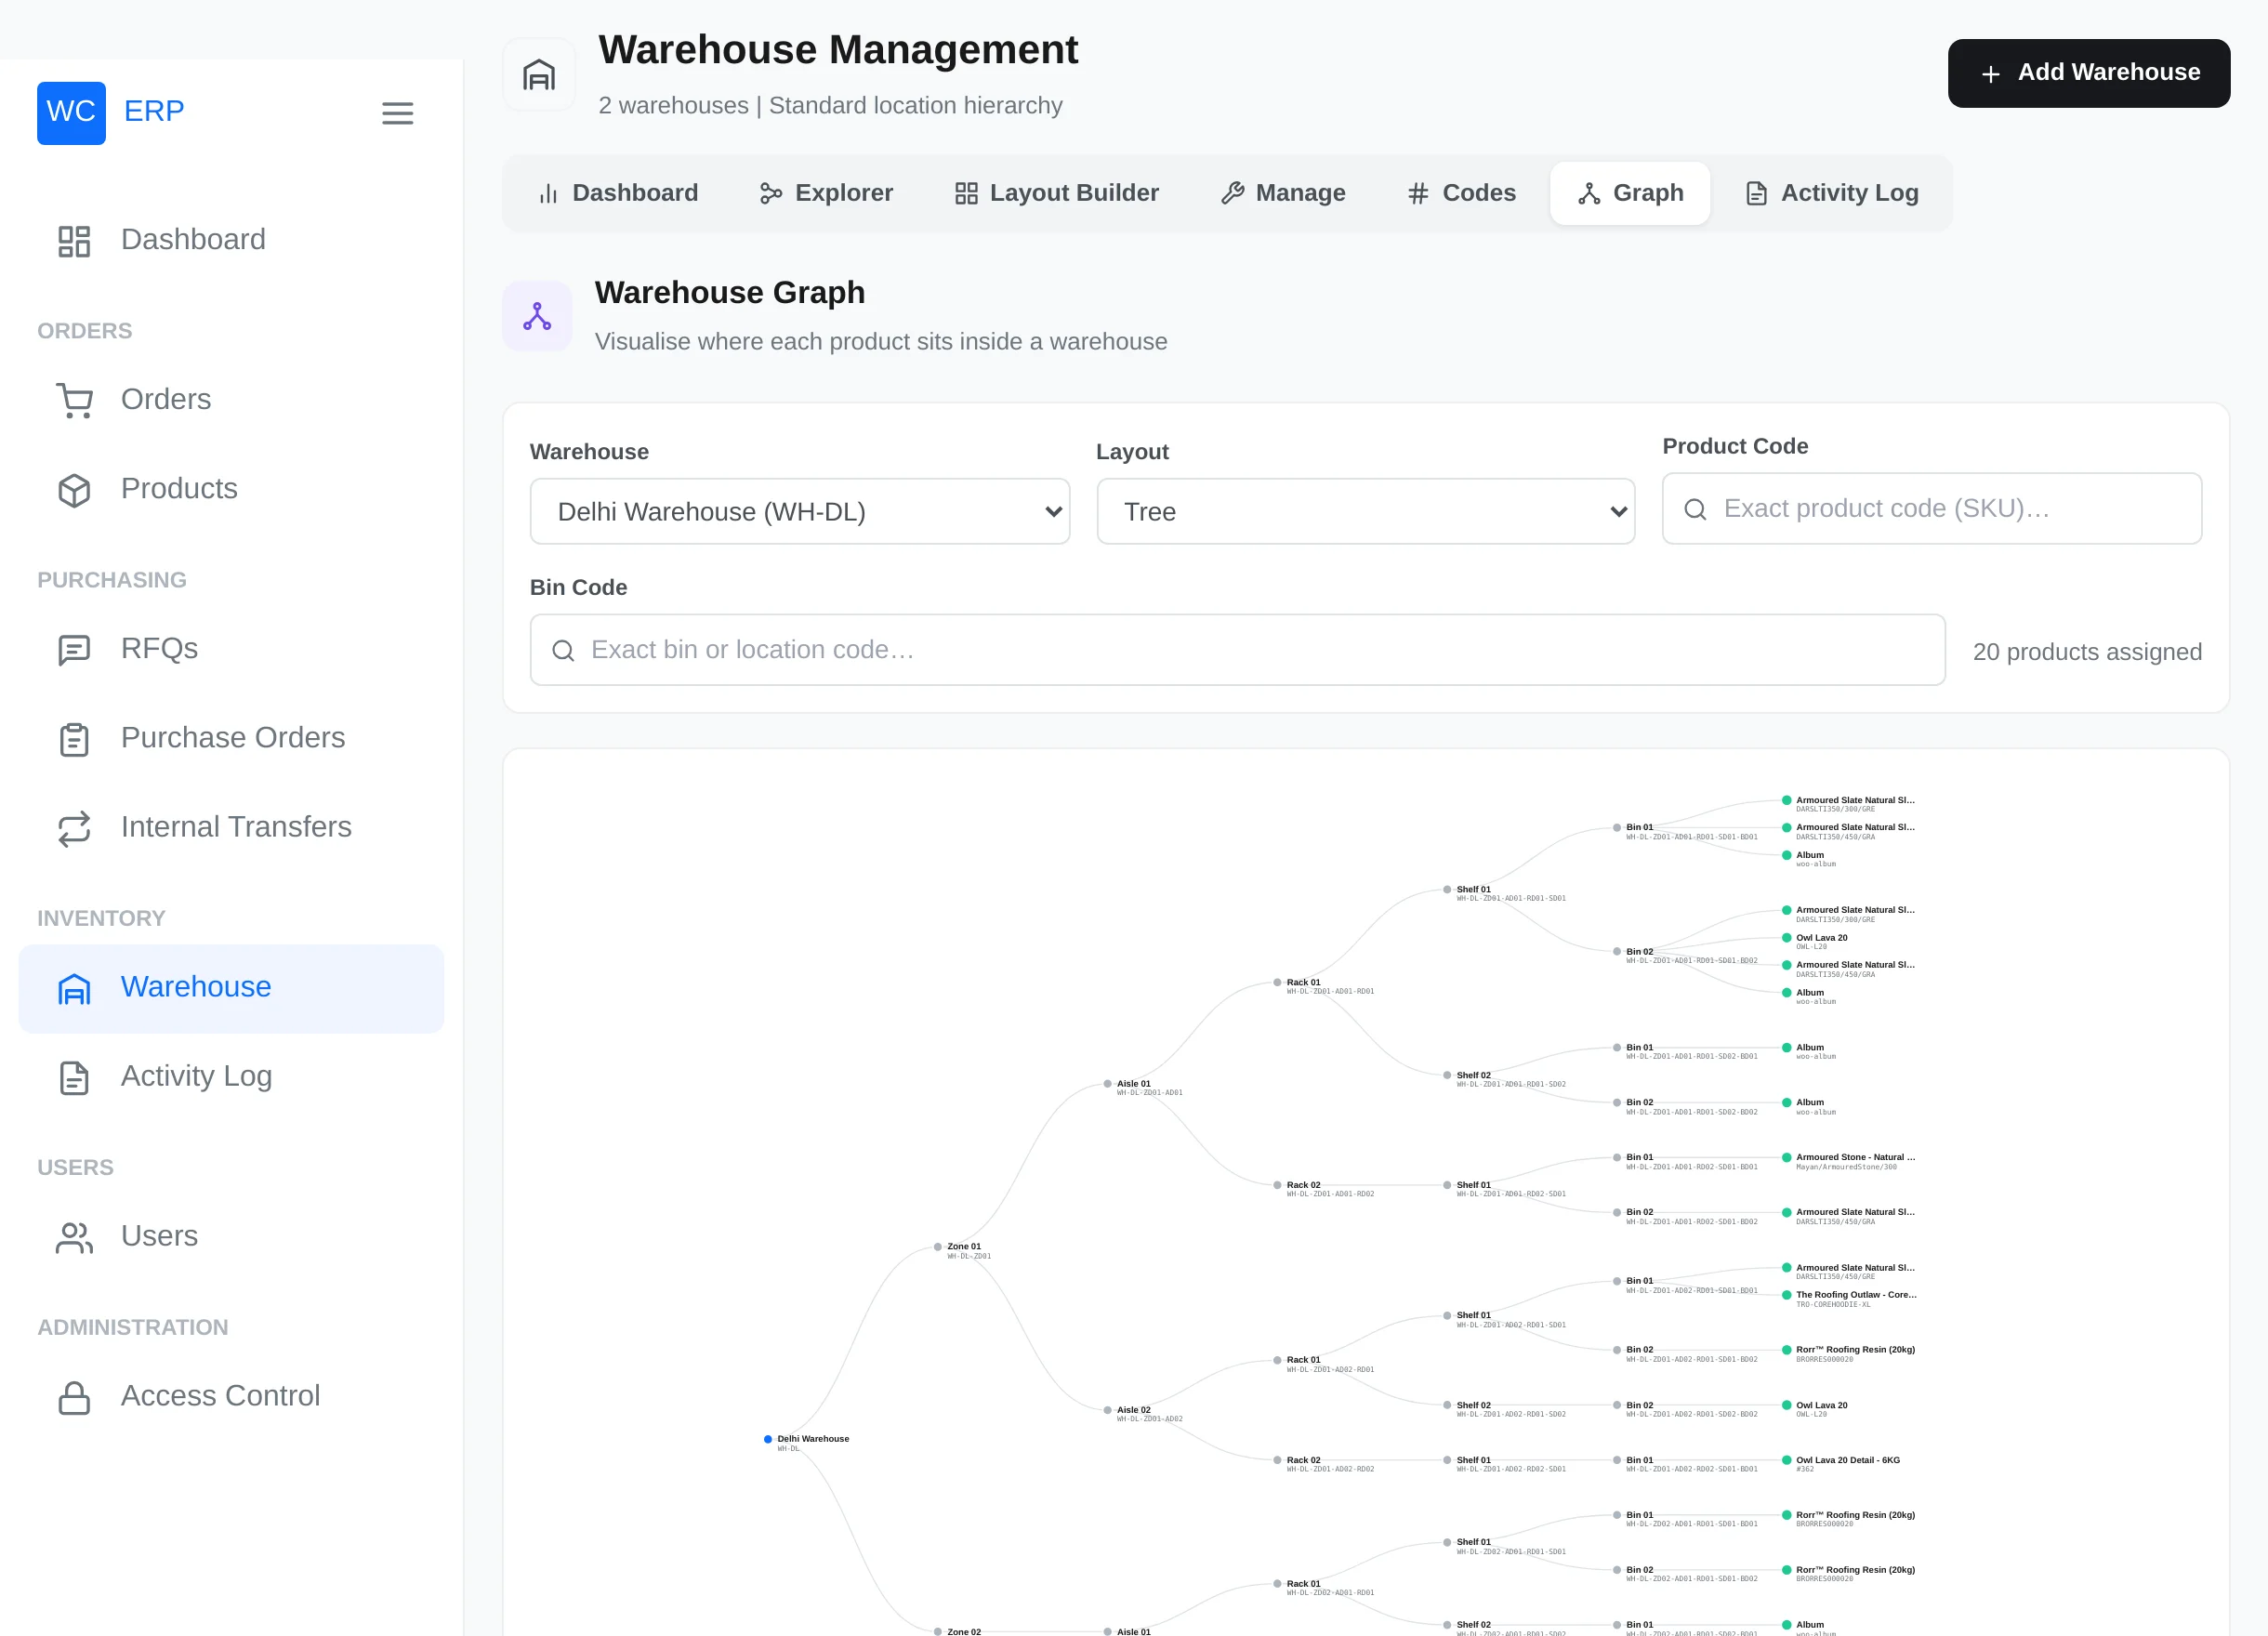
- Warehouse — pick the facility.
- Layout — Force directed, Tree, Cluster, Treemap or Circle pack (treemap/circle-pack areas scale with quantity).
- Product Code — exact SKU filter ("where is this product?").
- Bin Code — a bin or any parent code: enter a rack code to see everything stored under that rack.
The tree views support pan, zoom and dragging nodes. Only products with stock assigned in that warehouse appear.
Activity Log tab
The same movement ledger as the standalone Activity Log page, scoped by the filters you set.
Editing and deleting warehouses
- Edit changes everything except the code. Assigning a different manager automatically frees the previous one.
- Delete removes the warehouse and its whole location tree. Historical movement records remain in the ledger.