
Overview
WooCommerce Marketplace Shopify Connector is an add-on for WooCommerce Marketplace by Webkul. It gives every seller in the marketplace a way to connect their own Shopify store and keep the two catalogues — and the two order books — in step, without entering the same product twice.
The problem it solves
A seller who already trades on Shopify and joins your marketplace normally has to maintain two catalogues by hand: create the product again in WooCommerce, keep the price the same in both places, and copy each order across so stock stays honest. The connector removes that duplication. The seller connects the store once, decides which way each kind of data should flow, and the connector keeps both sides current.
Who uses it
| Role | What they see | Where |
|---|---|---|
| Seller (vendor) | The whole connector: connecting stores, mapping collections, importing and exporting products and orders, settings, price rules and webhooks | My Account → Shopify Connector |
| Marketplace administrator | A read-only list of every seller's connected Shopify account, plus a Shopify Order Id column on the WooCommerce order list | Marketplace → MP Shopify Connector |
| Customer | Nothing new to configure. Shopify tracking details appear on the order lines of orders the seller fulfils in Shopify | The normal WooCommerce order pages |
There is no separate customer settings screen and no new customer-facing page. Everything the customer experiences arrives through the standard WooCommerce order flow.
How the pieces fit together
The connector is organised around Shopify accounts. A seller can connect more than one Shopify store; each connected store is an account with its own ID, its own settings, its own category mappings and its own price rules. Everything else hangs off that account.
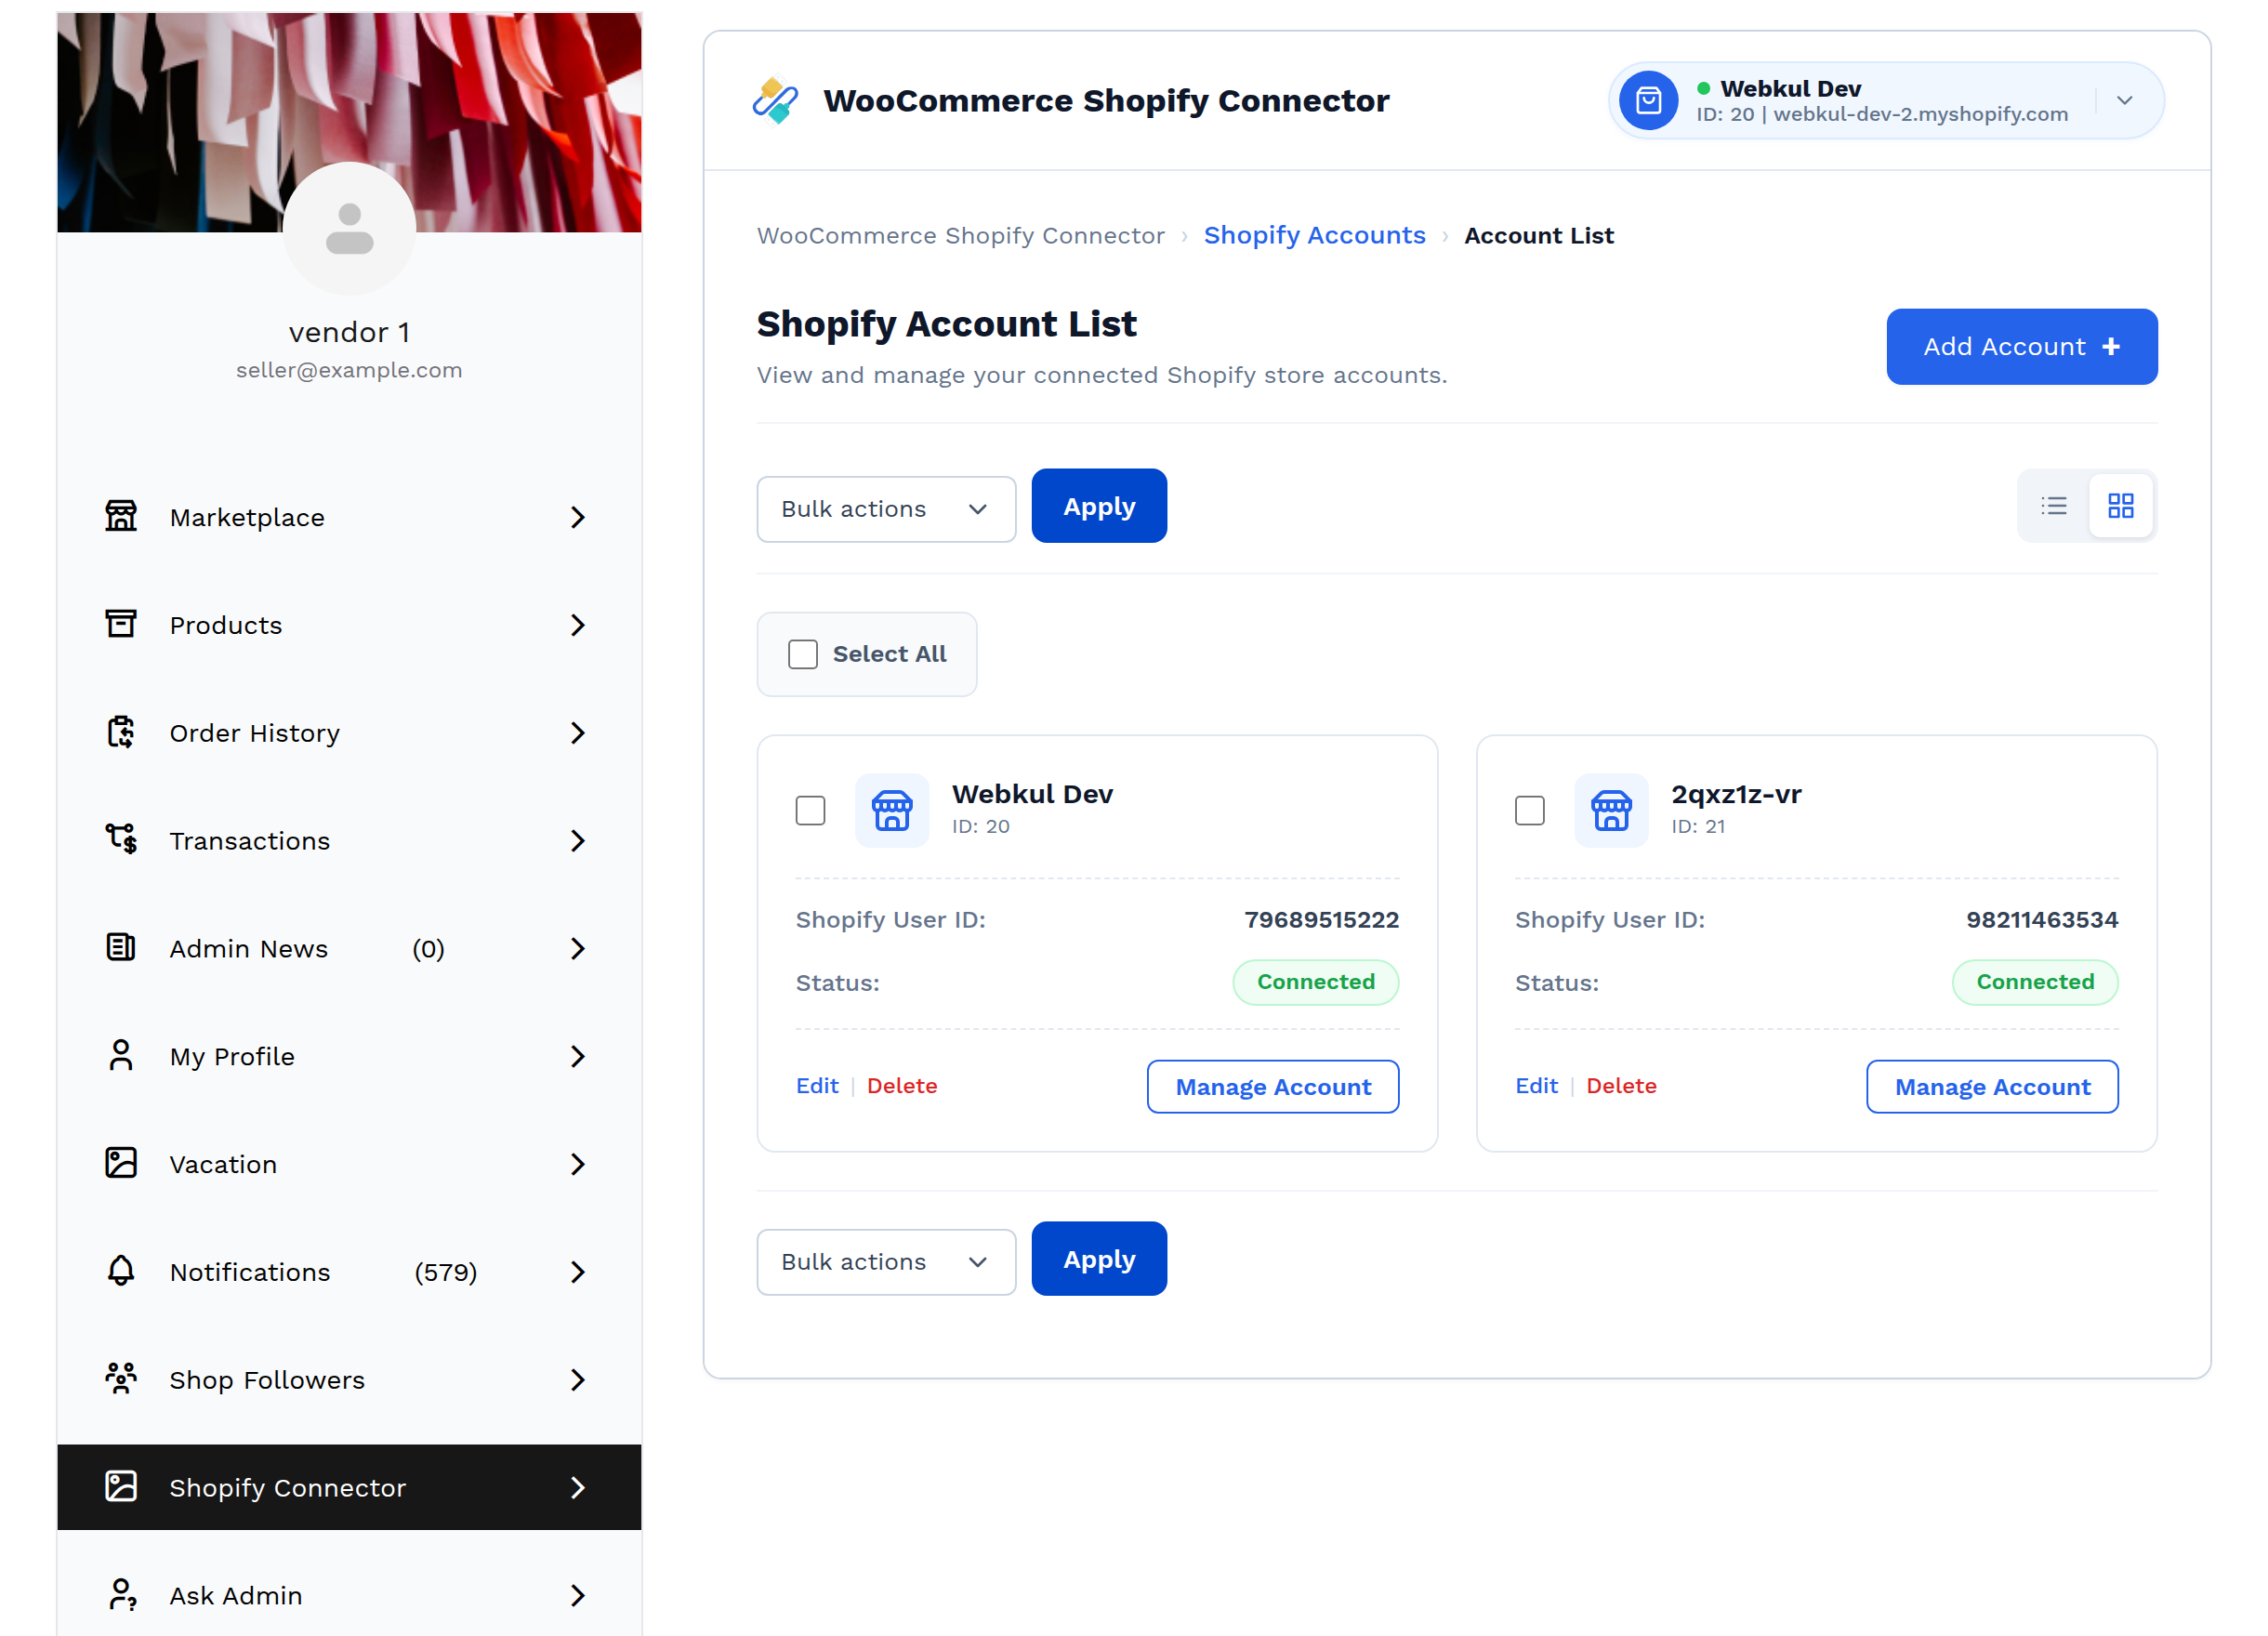
Opening an account with Manage Account gives nine tabs:
| Tab | What it is for |
|---|---|
| Account | The store's credentials and connection type |
| Map Categories | Pair Shopify collections with WooCommerce categories |
| Import Product | Bring the Shopify catalogue into WooCommerce |
| Import Order | Bring Shopify orders into WooCommerce |
| Export Product | Send WooCommerce products to Shopify |
| Export Order | Send WooCommerce orders to Shopify |
| Settings | Everything that controls how the syncing behaves |
| Price Rule | Adjust prices as products move between stores |
| Webhooks | The live-update subscriptions registered with Shopify |
Which way does data flow?
The connector moves data in both directions, but never all of it at once — you decide which parts travel, and when.
| Data | Shopify → WooCommerce | WooCommerce → Shopify |
|---|---|---|
| Collections / categories | Fetched, then mapped by hand | — |
| Products | Import Product tab; optionally live through webhooks | Export Product tab; optionally on product creation |
| Stock and prices | Refresh action, or live through webhooks | Update to Shopify, or auto-sync |
| Orders | Import Order tab | Export Order tab, or automatically at checkout |
| Fulfilment and tracking | Live through the ORDERS_FULFILLED webhook | — |
Two-stage imports
Importing is deliberately split into two steps, for products and for orders alike:
- Import — the connector fetches the data from Shopify and parks it in a staging area. Nothing is created in WooCommerce yet, so a large catalogue can be pulled in batches without a timeout.
- Create — the connector turns the staged data into real WooCommerce products or orders, applying the default category, statuses, image size and price rules you configured.
Both stages show a progress bar and a running Sync Logs panel, so a long import can be watched as it happens.
What keeps it live
Three Shopify webhooks are registered for every connected account, and they are what makes the connection feel live rather than batch-based:
PRODUCTS_UPDATE— a product changed in Shopify.PRODUCTS_DELETE— a product was removed from Shopify.ORDERS_FULFILLED— an order was fulfilled in Shopify, with carrier and tracking details.
Incoming webhooks are signature-checked against the store's API secret key, queued, and applied by a background process so a burst of Shopify activity never blocks the storefront.
Important
Product webhooks are only acted on when the account's Product Auto-Sync setting is Shopify To WooCommerce. See Webhooks and Auto-Sync.
Next steps
- Check the feature list if you are evaluating the plugin.
- Go to Installation to put it in place.