
Setup Wizard
The first time a seller opens My Account → Shopify Connector, the connector sends them to a four-step wizard instead of the account list. The wizard collects the store details, verifies the credentials with Shopify, saves the account and registers the webhooks — so a seller who finishes it has a working connection, not just a saved form.
The wizard lives at My Account → Shopify Connector Setup.
Note
The wizard is shown until the seller either completes it or selects Skip Setup. After that, Shopify Connector goes straight to the account list.
Step 1 — Welcome
The opening screen introduces the four steps and offers two ways forward.
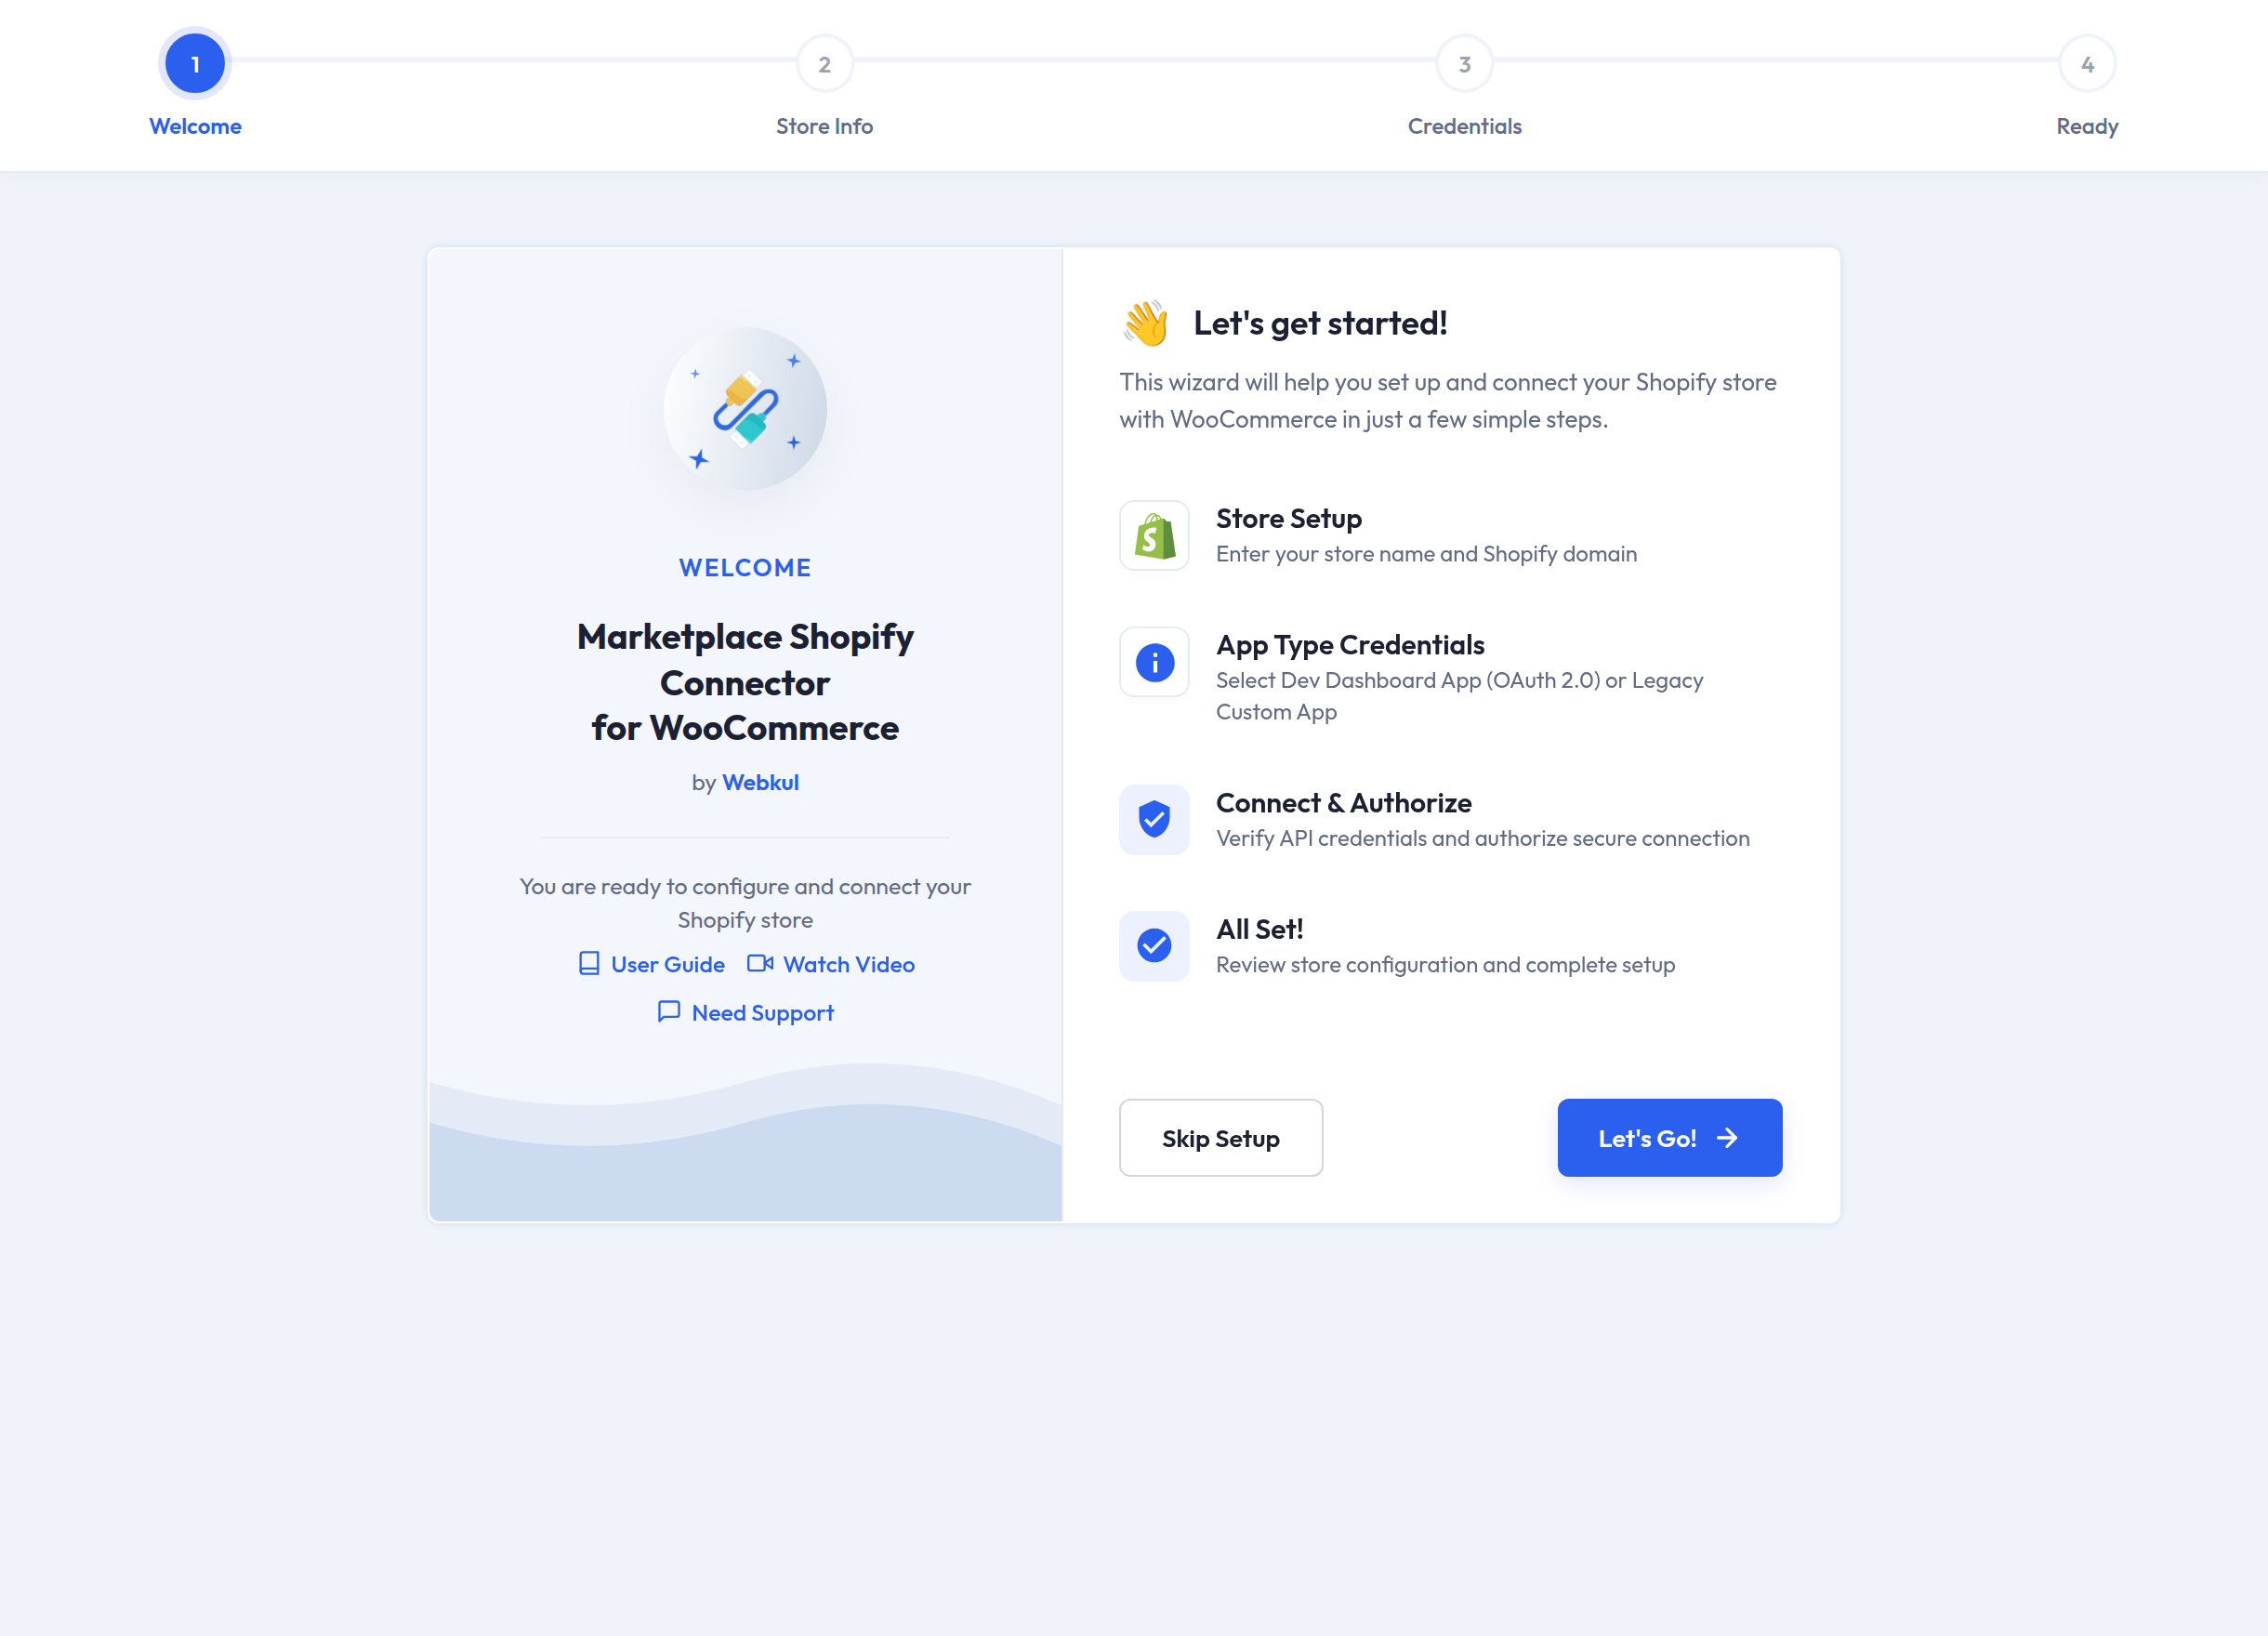
- Let's Go! starts the wizard.
- Skip Setup marks the wizard as finished and drops the seller on the account list. Nothing is connected; the seller can add a store later from Add Shopify Account.
The left panel also carries User Guide, Watch Video and Need Support links.
Step 2 — Store Info
Two fields, both required.
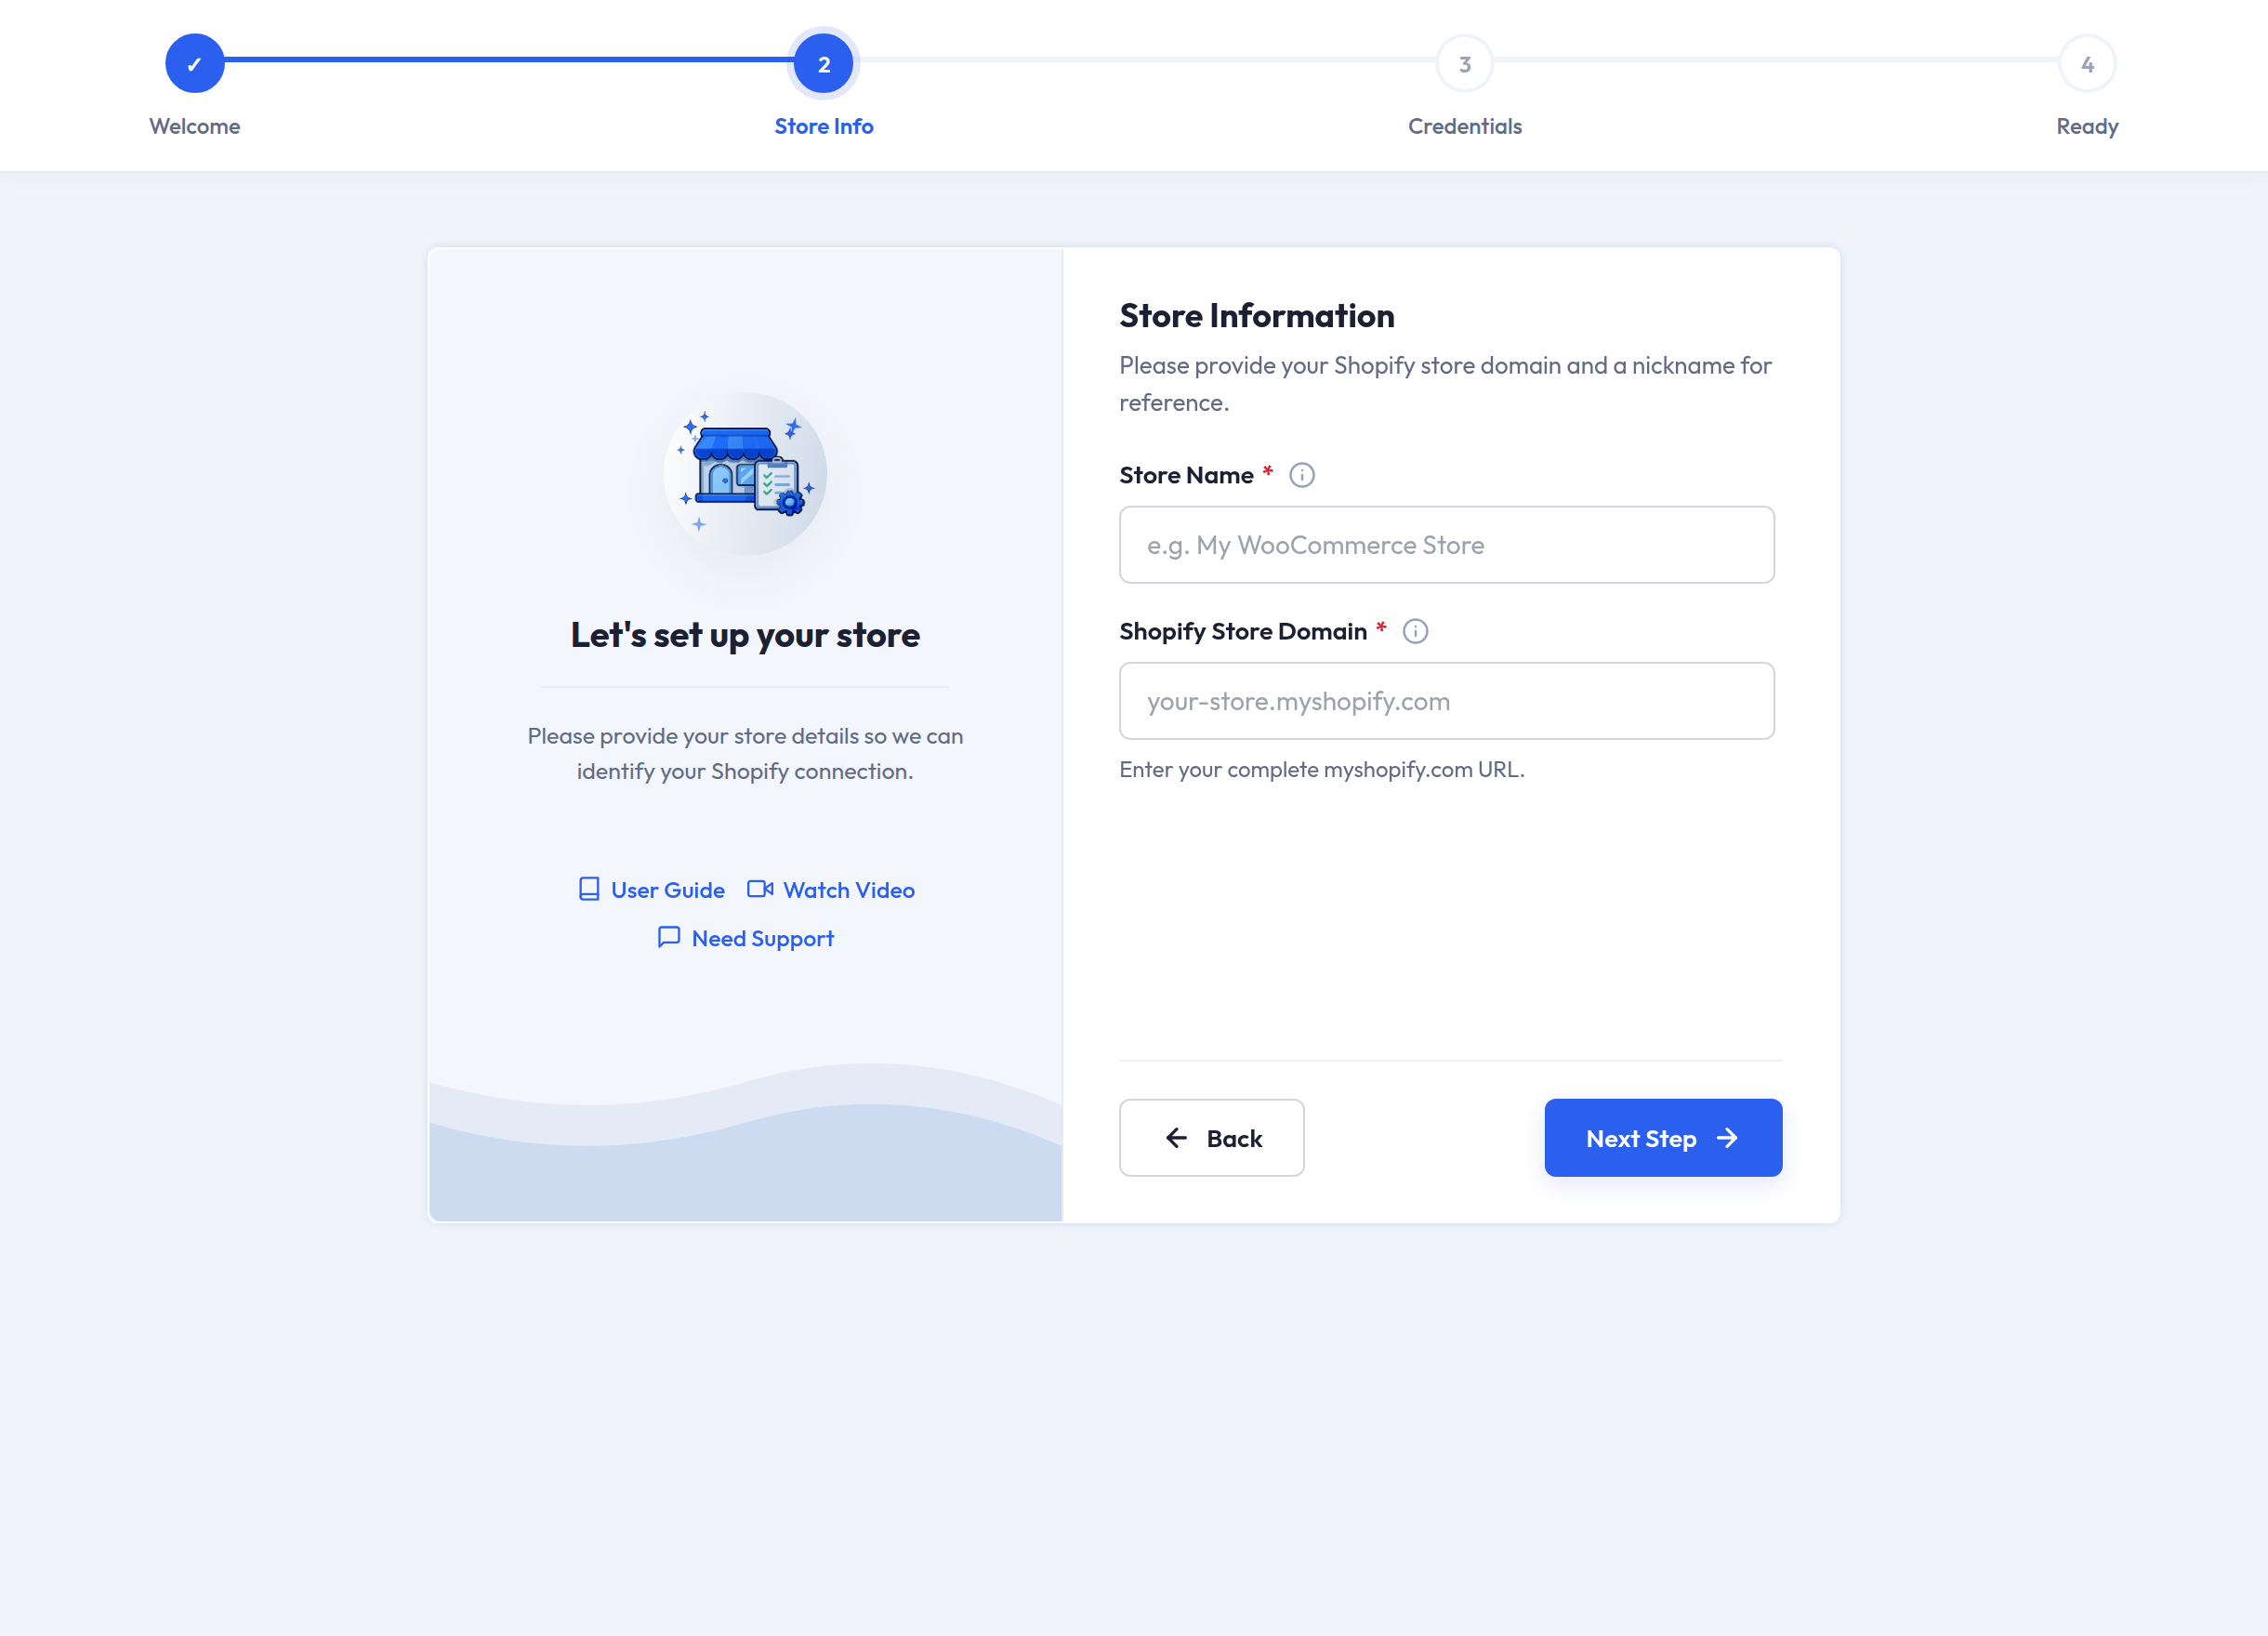
| Field | What to enter |
|---|---|
| Store Name | The store's name exactly as it appears in Shopify. The connector reads the name back from Shopify and rejects the connection if it does not match. |
| Shopify Store Domain | The myshopify.com domain, without https:// — for example my-store.myshopify.com. A bare handle such as my-store is expanded automatically. |
Next Step validates both fields before it moves on. If either is empty, or the domain is too short to be real, the field is marked and the wizard stays on this step.
Step 3 — Credentials
This is where the seller chooses how to authenticate, and it is the only step that talks to Shopify.
Dev Dashboard App (OAuth)
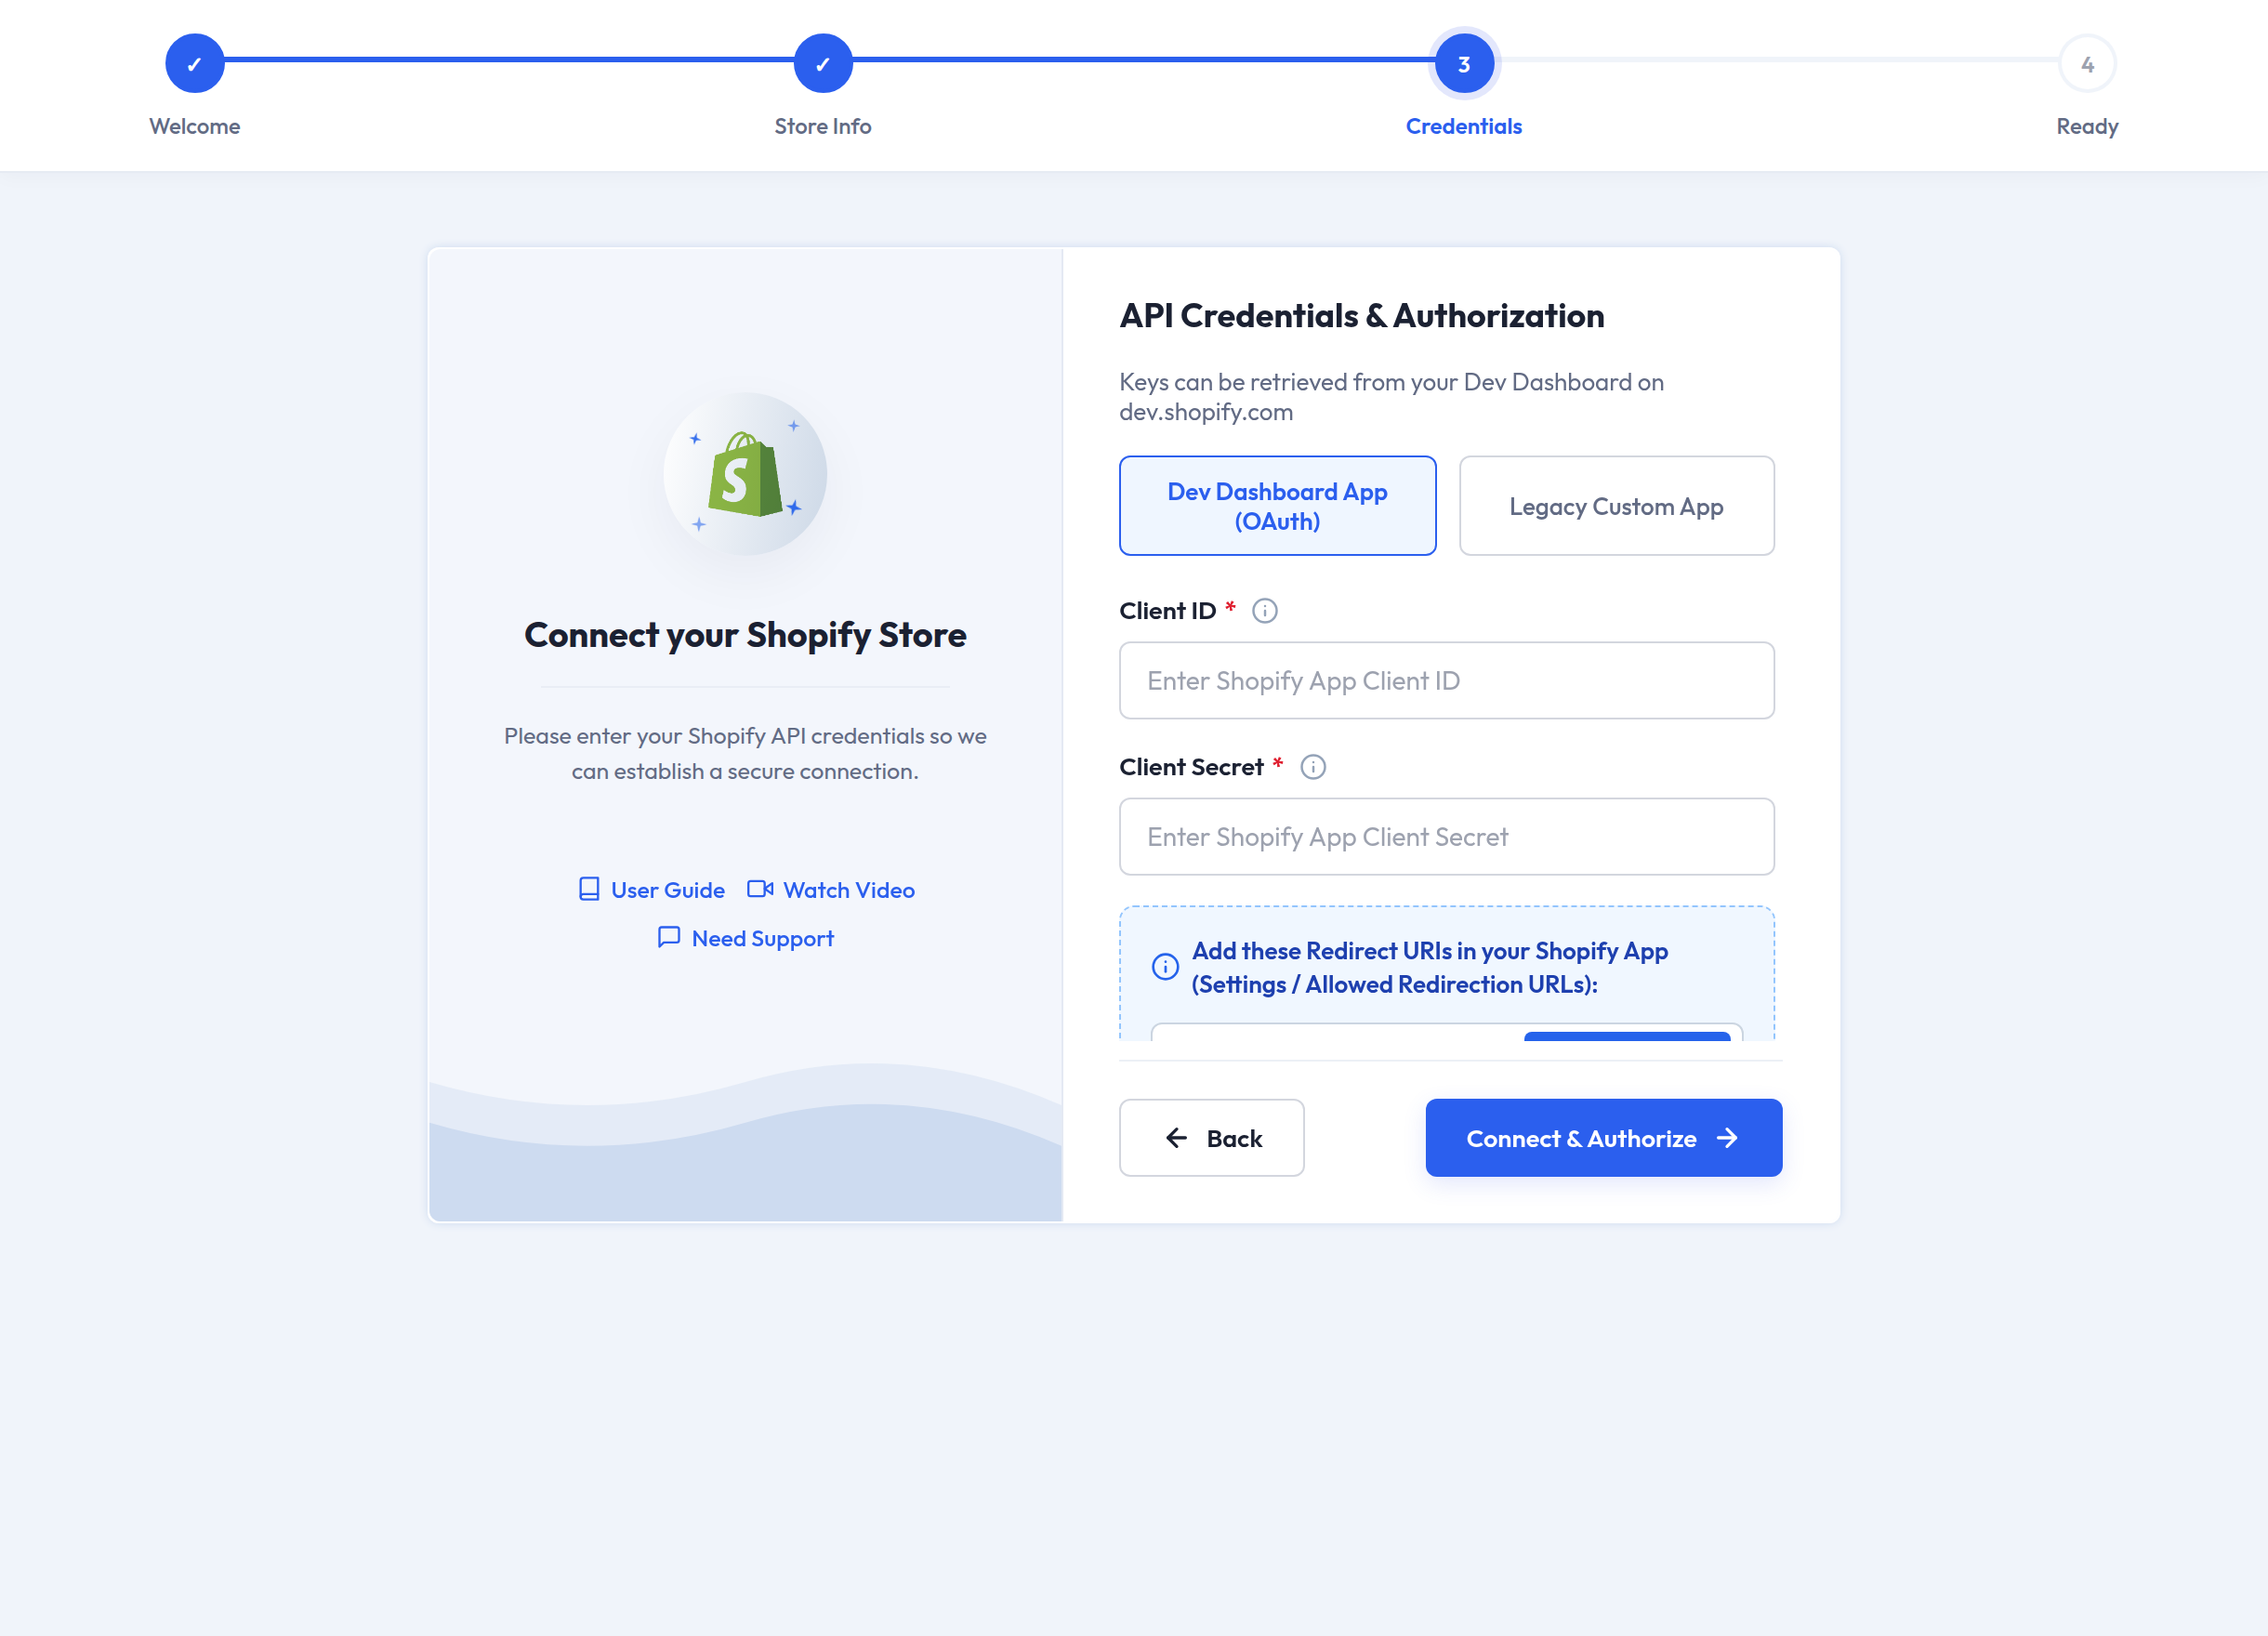
- Enter the Client ID and Client Secret from the Shopify Developer Dashboard app.
- Copy the two redirect URIs shown in the callout below the fields and add them to the Shopify app's Allowed redirection URLs, if you have not already — see Creating the Shopify App.
- Select Connect & Authorize.
The connector opens a Shopify authorisation window. Approve the app there, and the window closes on its own; the wizard picks the result up and moves to step 4.
Legacy Custom App
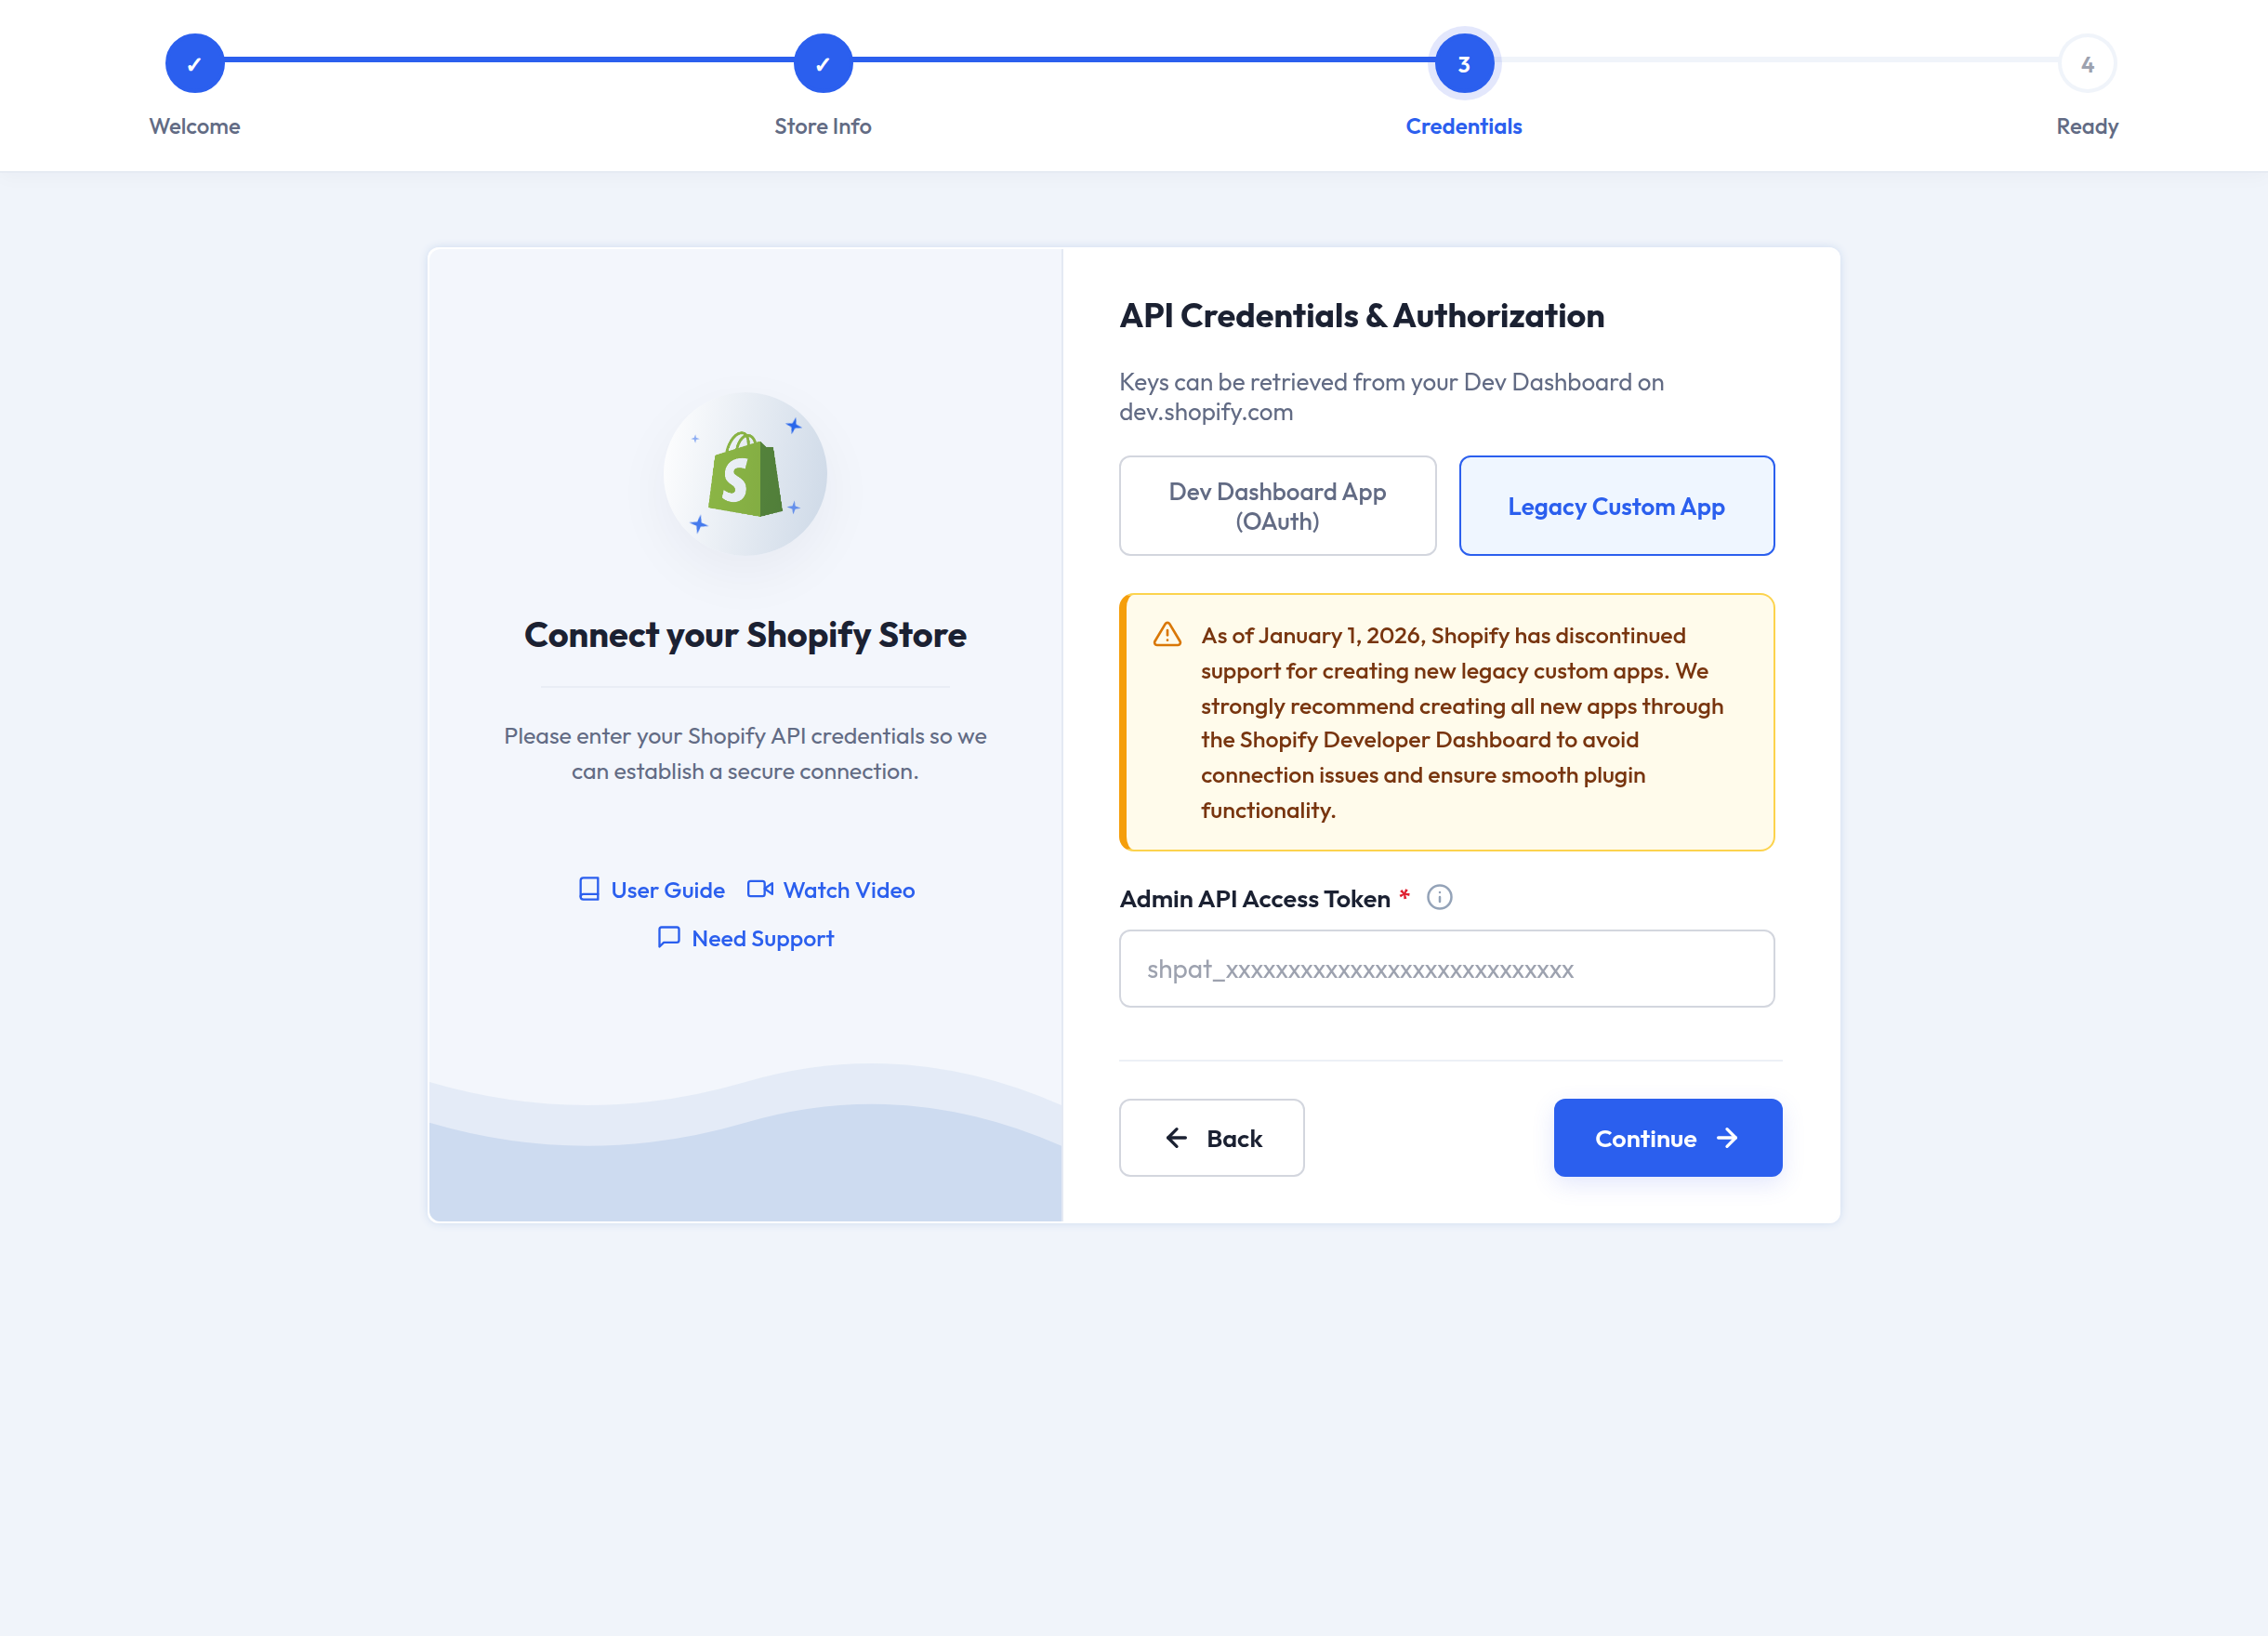
- Select Legacy Custom App.
- Enter the Admin API Access Token — it starts with
shpat_. - Select Test & Verify Connection.
The connector queries Shopify directly. On success it reports "Connection validated successfully!" and enables Continue.
The tab carries the notice that Shopify stopped issuing new legacy custom apps on 1 January 2026, so this route only suits stores that already have one.
What can stop you here
| Message | What it means |
|---|---|
| "Please enter Store Name in Store Information." | Go back to step 2 and fill the store name. |
| "Please enter both Client ID and Client Secret." | One of the OAuth fields is blank. |
| "Please provide Admin API Access Token." | The legacy tab needs the token. |
| "Shopify verification failed. Please check your credentials." | Shopify rejected the token. |
| "Account already exists. This Shopify store is already connected to another account." | Another seller already connected this Shopify store. |
| "OAuth Authentication Failed: Please check your Shopify Client ID, Client Secret, and Store Name." | The authorisation completed but the exchange failed — usually a mistyped secret. |
Step 4 — Ready
The final step confirms what was connected: the store name, the myshopify.com domain, the authentication type (OAuth 2.0 or Legacy Custom App) and a Connected status badge.
Two buttons finish the job:
- Manage Accounts — go to the account list, ready to configure the store.
- Go to Dashboard — return to the seller dashboard.
Behind the scenes, completing this step saves the account and its default settings, and registers the three Shopify webhooks described in Webhooks and Auto-Sync.
Running the wizard again
The wizard is not one-time. From Shopify Connector → Add Account, select Re-run Setup Wizard at the top right of the page. That resets the wizard for the current seller and reopens it at step 1 — useful when connecting a second store, or when walking a colleague through the process.
Next step
Go to Connecting Your Store to see the account list and what you can do with a connected store.