
Connecting a Shopify Account
Every sync operation belongs to a connected Shopify account. You can connect as many stores as you need — this page shows both connection methods.
Get your Shopify credentials first
This page assumes you already hold either a Client ID + Client Secret or an Admin API access token. If you don't, work through Getting Shopify API Credentials first — it covers creating the app in Shopify and granting it the right read/write permissions.
Go to Webkul WC Addons → WC Shopify Connector. In the left panel, under Shopify Accounts, choose Add Account.
Method 1 — Shopify Dev App (recommended)
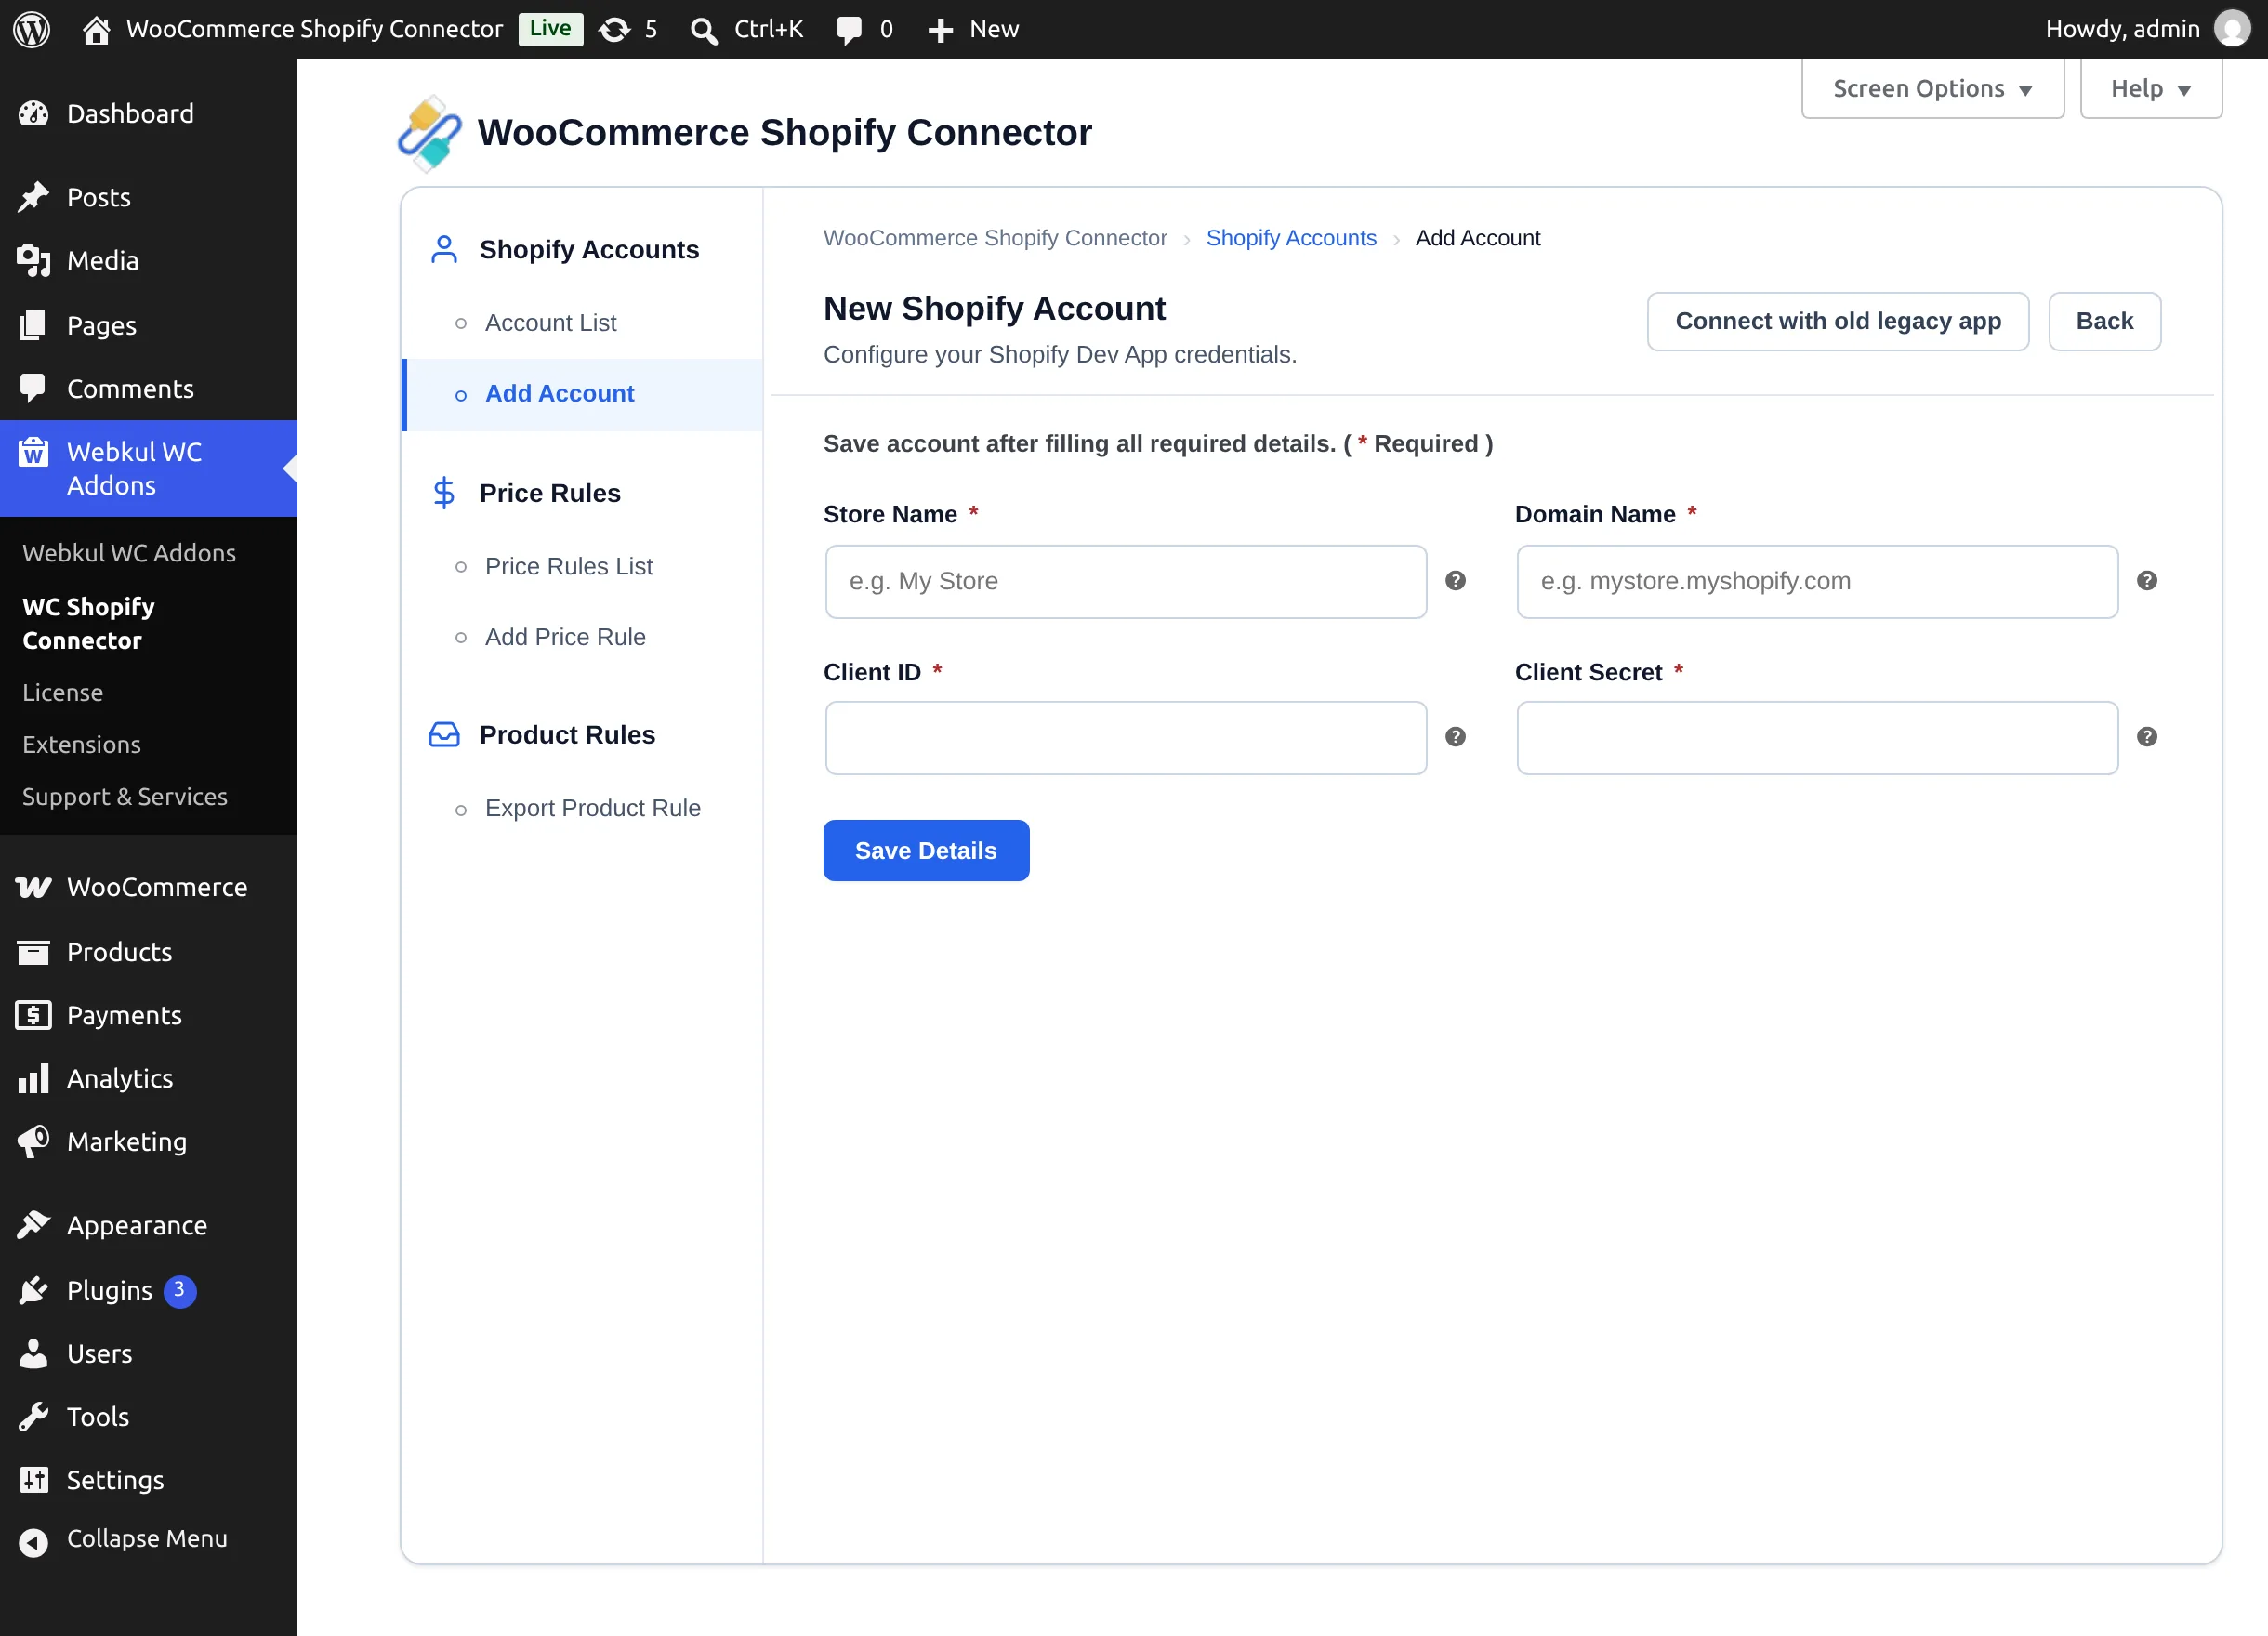
This is the default form, titled New Shopify Account. It uses an app created in the Shopify Dev Dashboard and Shopify's OAuth authorization.
- Create the app on the Shopify side and copy its Client ID and Client Secret — the full walkthrough, including the read/write scopes to tick and the App URL to enter, is in Getting Shopify API Credentials.
- Back in WooCommerce, fill in the form:
| Field | What to enter |
|---|---|
| Store Name | A unique label for this connection, e.g. My Store. |
| Domain Name | Your Shopify domain, e.g. mystore.myshopify.com — without https://. |
| Client ID | From the Dev Dashboard app. |
| Client Secret | From the Dev Dashboard app. |
- Select Save Details. You are redirected to Shopify to authorize the app.
- Approve the authorization. Shopify returns you to WooCommerce, the connector exchanges the authorization code for an access token, verifies the connection against your shop, and saves the account. You'll see "Account created successfully."
After updating the app in Shopify
If you later create a new app version in the Developer Dashboard, open the account's Account Settings tab and use Refresh the app details to re-run the authorization.
Method 2 — Legacy custom app token
If your store still uses a legacy custom app, select Connect with old legacy app on the Add Account form. Generating the token is covered in Getting Shopify API Credentials.
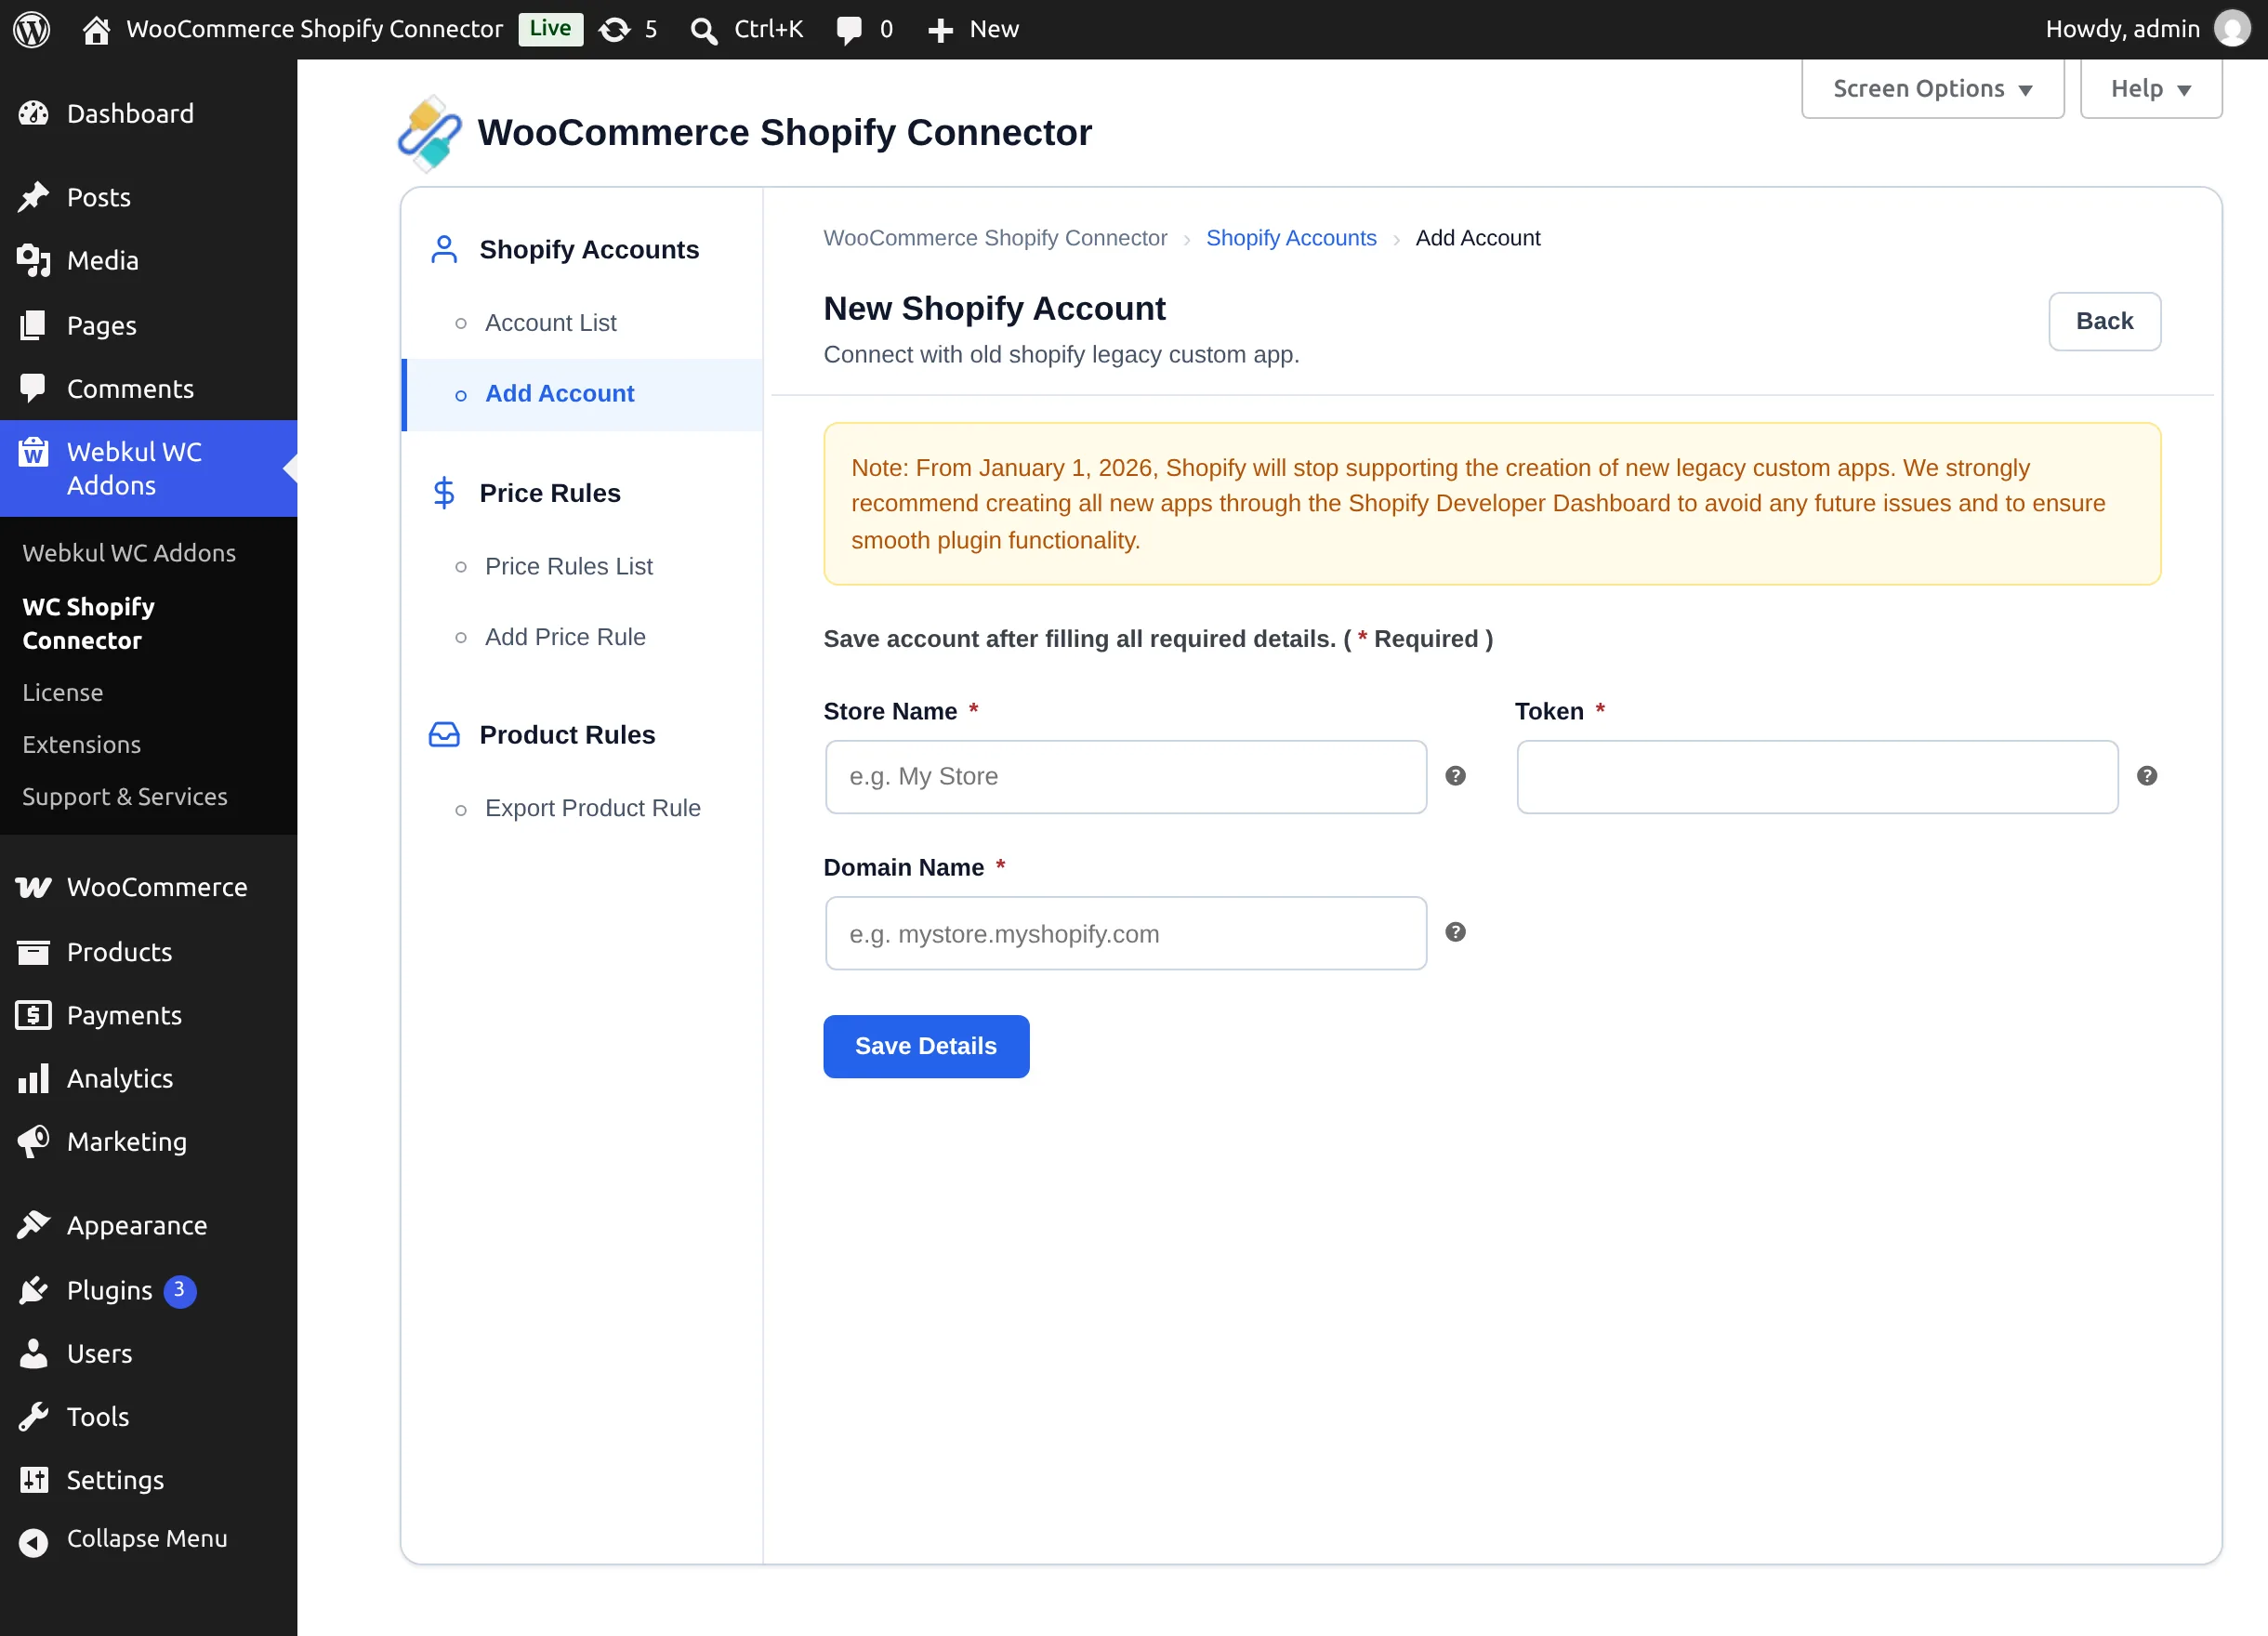
| Field | What to enter |
|---|---|
| Store Name | A unique label for this connection. |
| Token | The custom app's Admin API access token (shpat_…). |
| Domain Name | Your Shopify domain, without https://. |
Select Save Details. The connector verifies the token against your shop and saves the account.
Deprecation notice
From January 1, 2026, Shopify no longer supports creating new legacy custom apps. Webkul strongly recommends creating new apps through the Shopify Developer Dashboard (Method 1).
If something goes wrong
| Message | Meaning | What to do |
|---|---|---|
| "Please Enter The Details." / "Please enter all the details" | A required field is empty. | Fill in every field. |
| "Please Enter Correct Details." | Shopify rejected the credentials. | Re-check domain, token, or Client ID/Secret; confirm the app is installed on that store, and that it carries the required read/write scopes. |
| "Account already exists ." | The store name or the same Shopify shop is already connected. | Use the existing account, or pick a different store name. |
| "Invalid OAuth state" | The OAuth return didn't match the request (expired or reused link). | Start the connection again from Add Account. |
Next step
Open your new account with Manage Account — see Managing Accounts.