
Setup Wizard
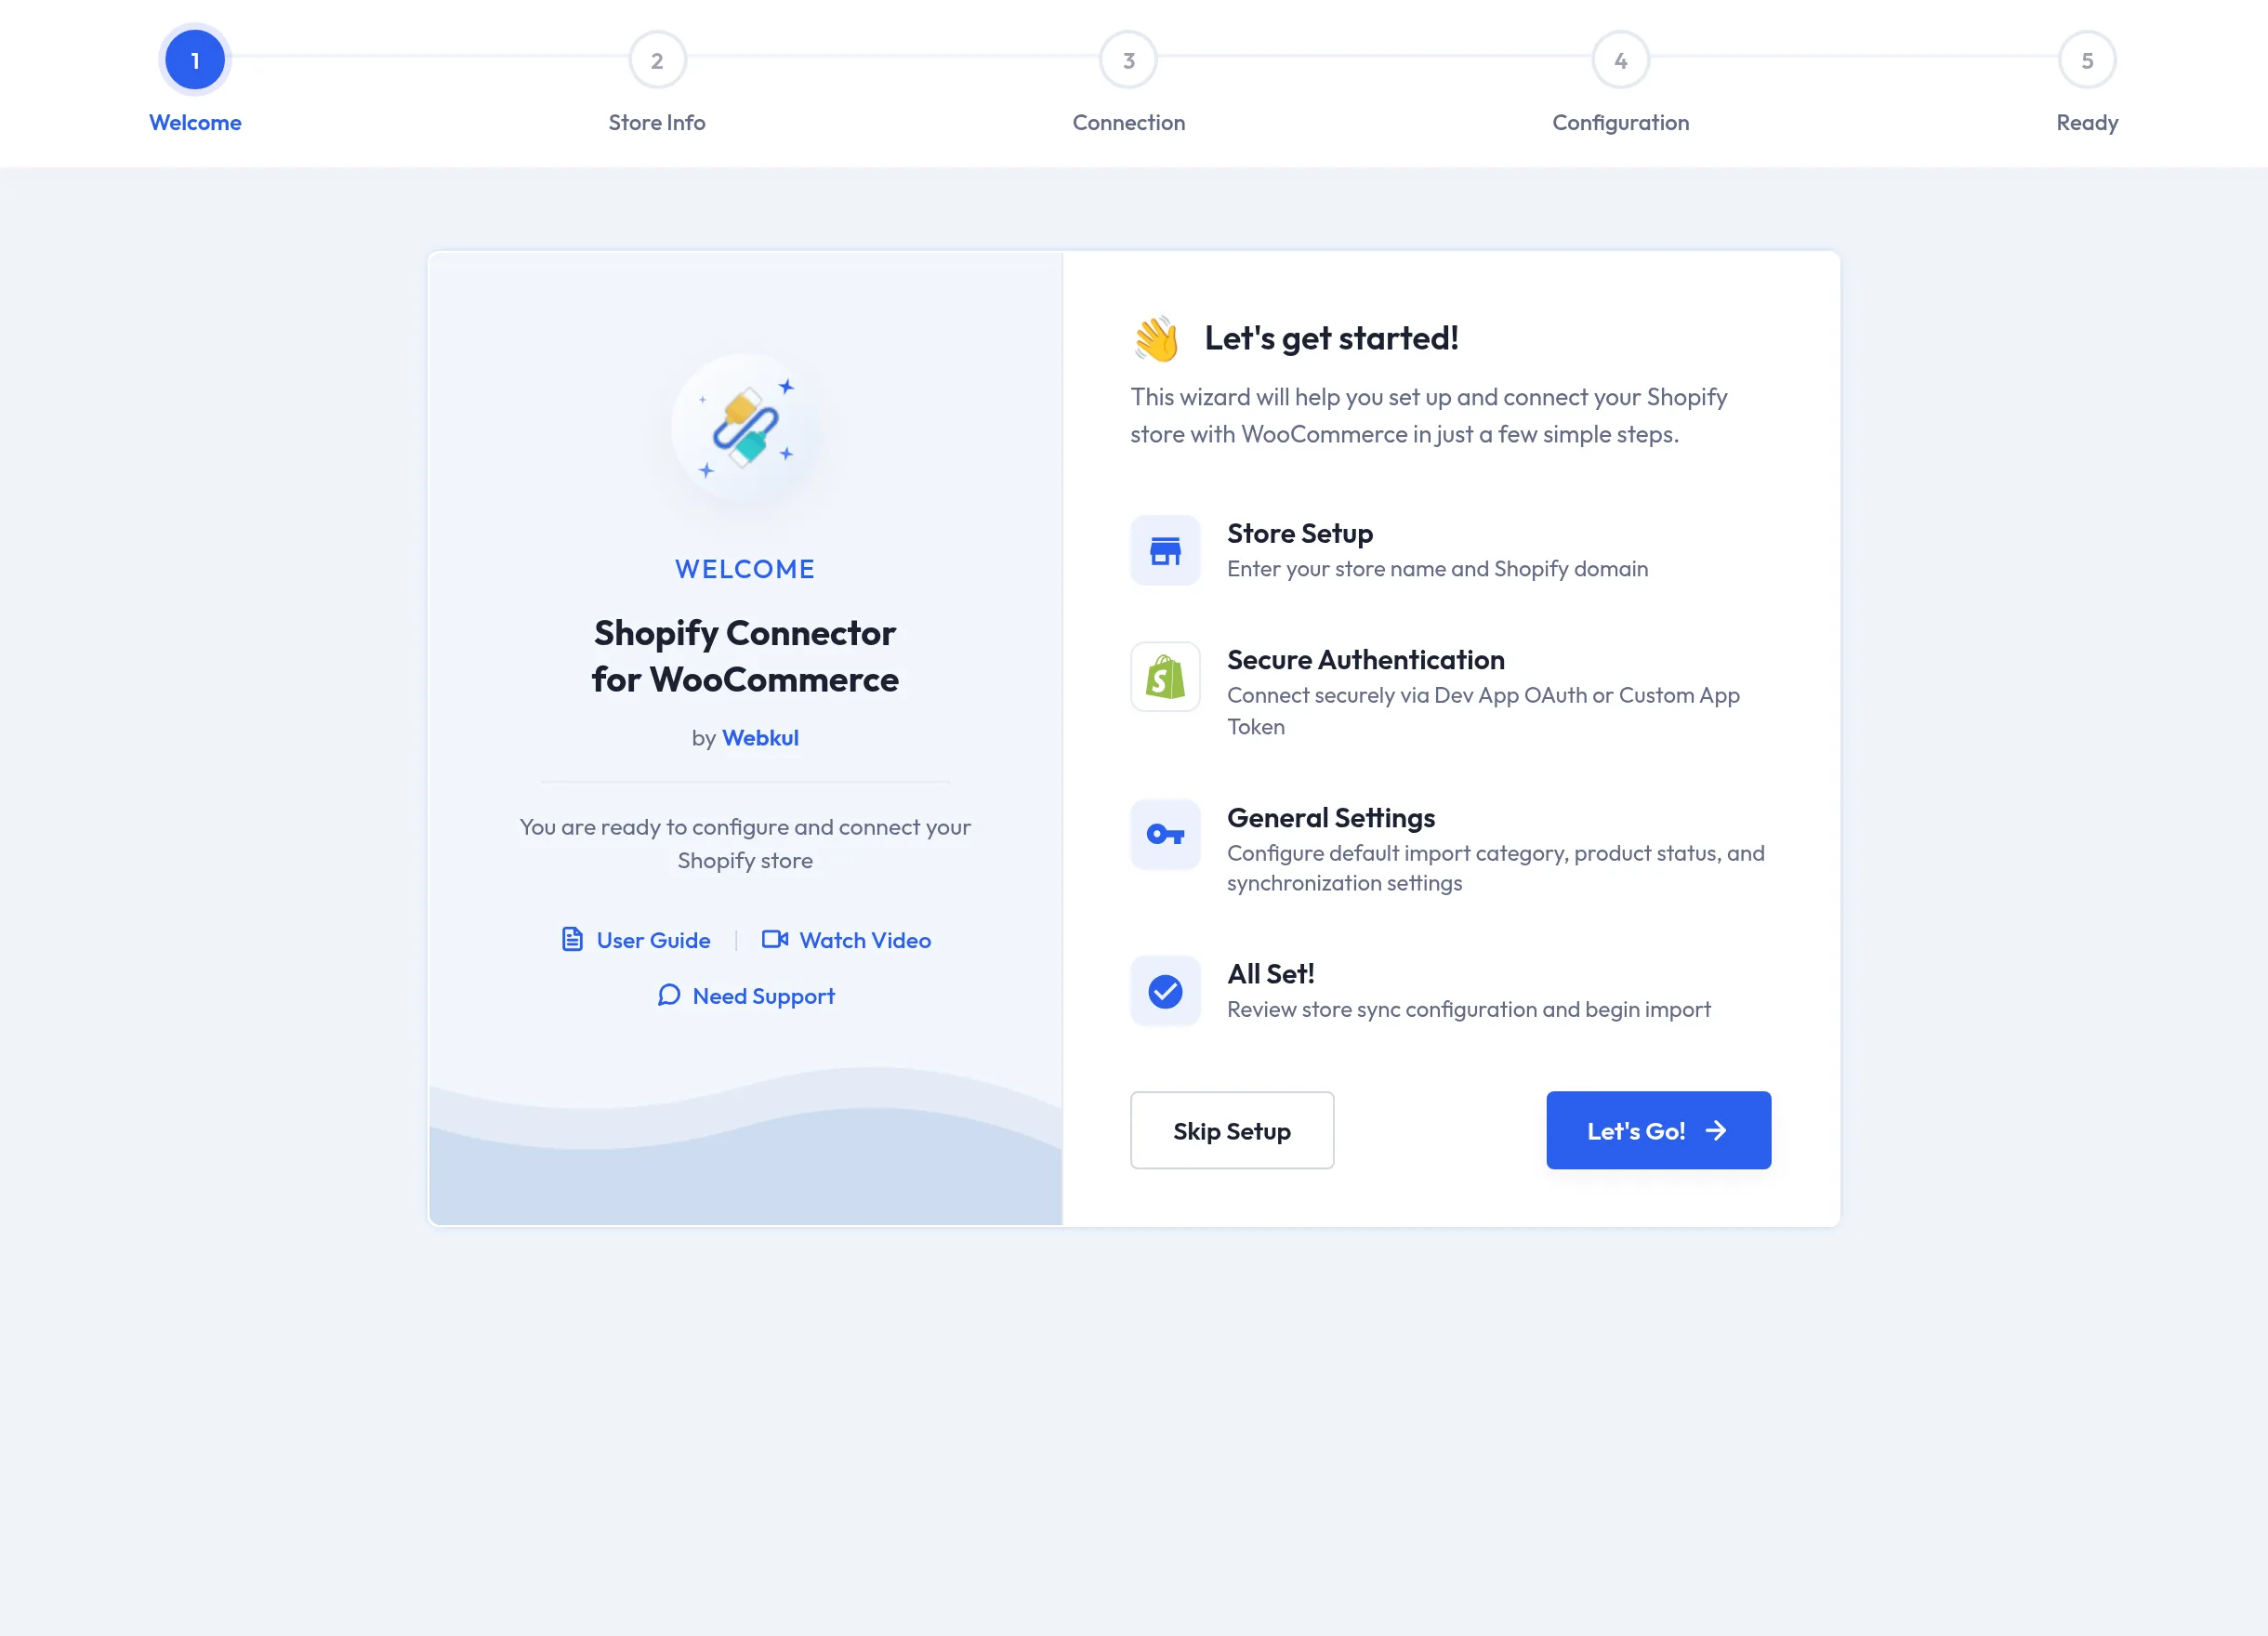
The first time you activate the plugin (or open Webkul WC Addons → WC Shopify Connector before any store is connected), the connector launches a five-step Setup Wizard that connects your first Shopify store and applies base settings.
Skipping and re-running
Every step except the last offers a Skip option — you can always connect a store later from the Add Account screen. To re-run the wizard, open the connector page, expand the Help tab at the top-right of the screen, choose Shopify Setup Wizard, and select the Shopify Wizard button.
Step 1 — Welcome
The "Let's get started!" screen outlines what the wizard will do. Select Let's Go! to begin (or Skip Setup to leave the wizard).
Step 2 — Store Info
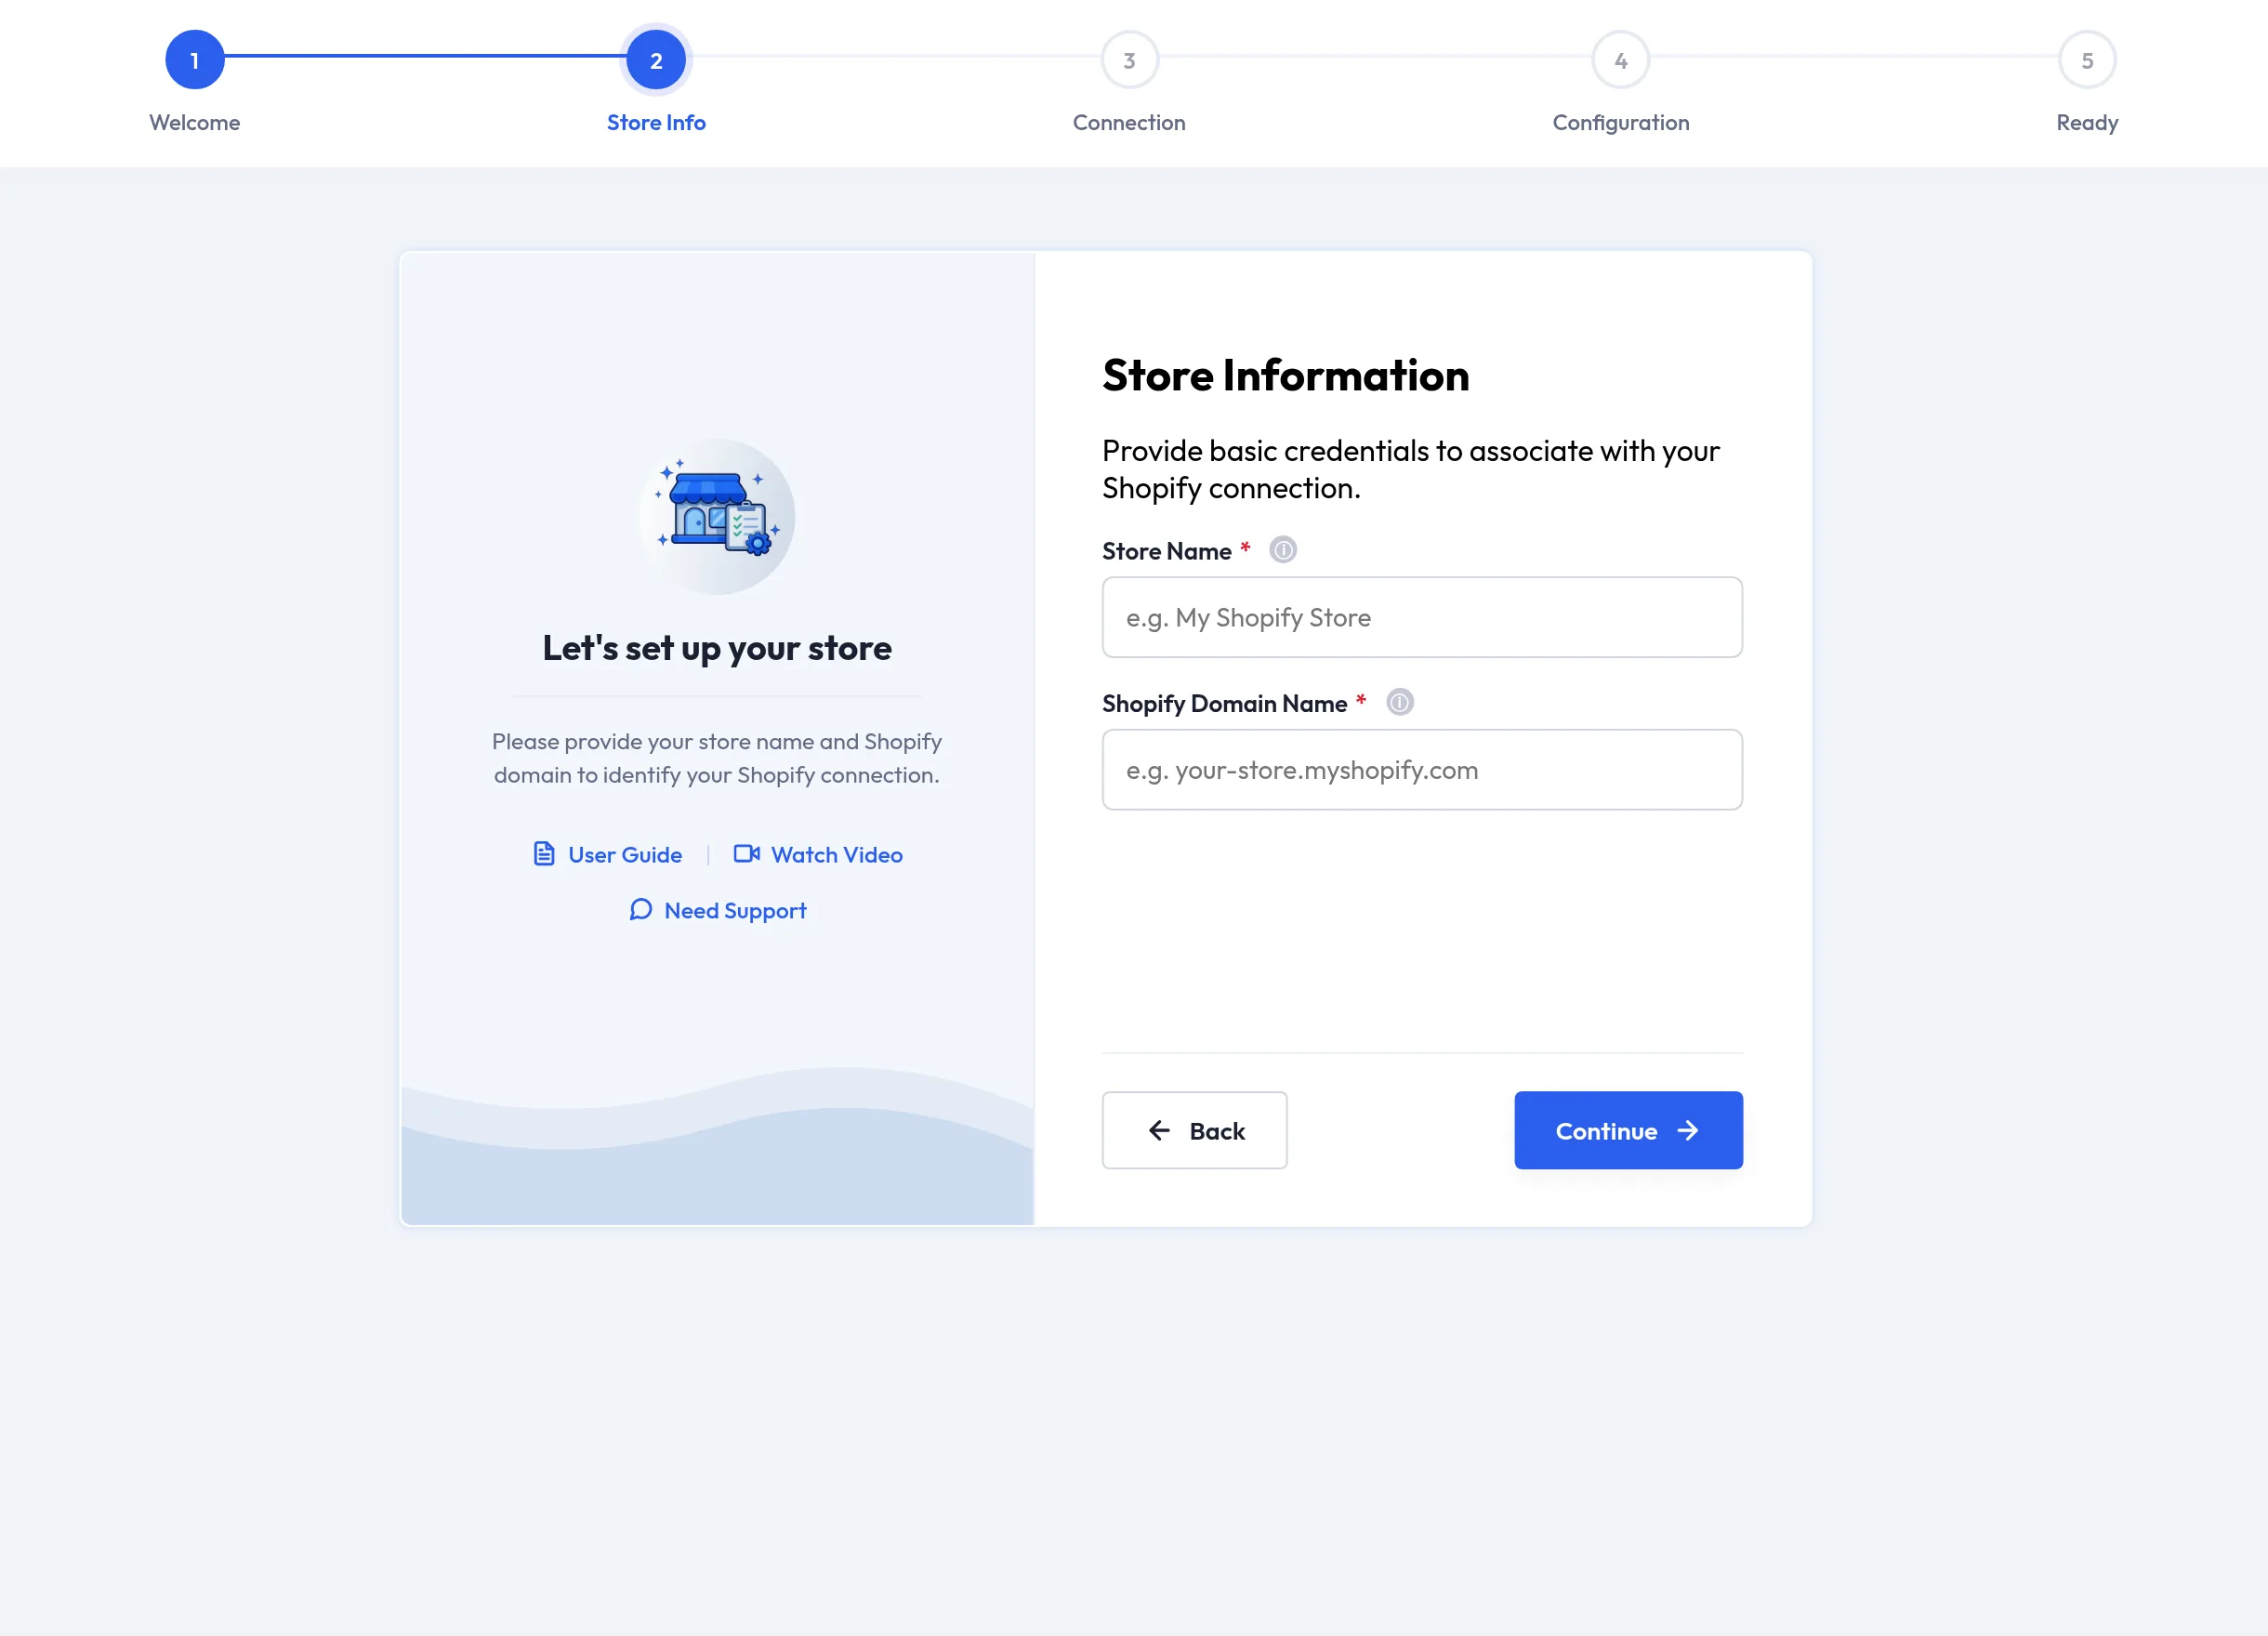
The Store Information step identifies your Shopify connection:
| Field | What to enter |
|---|---|
| Store Name | A label for this connection, e.g. My Shopify Store. It must be unique among your connected accounts. |
| Shopify Domain Name | Your *.myshopify.com domain, e.g. your-store.myshopify.com, without https://. |
Select Continue.
Step 3 — Connection
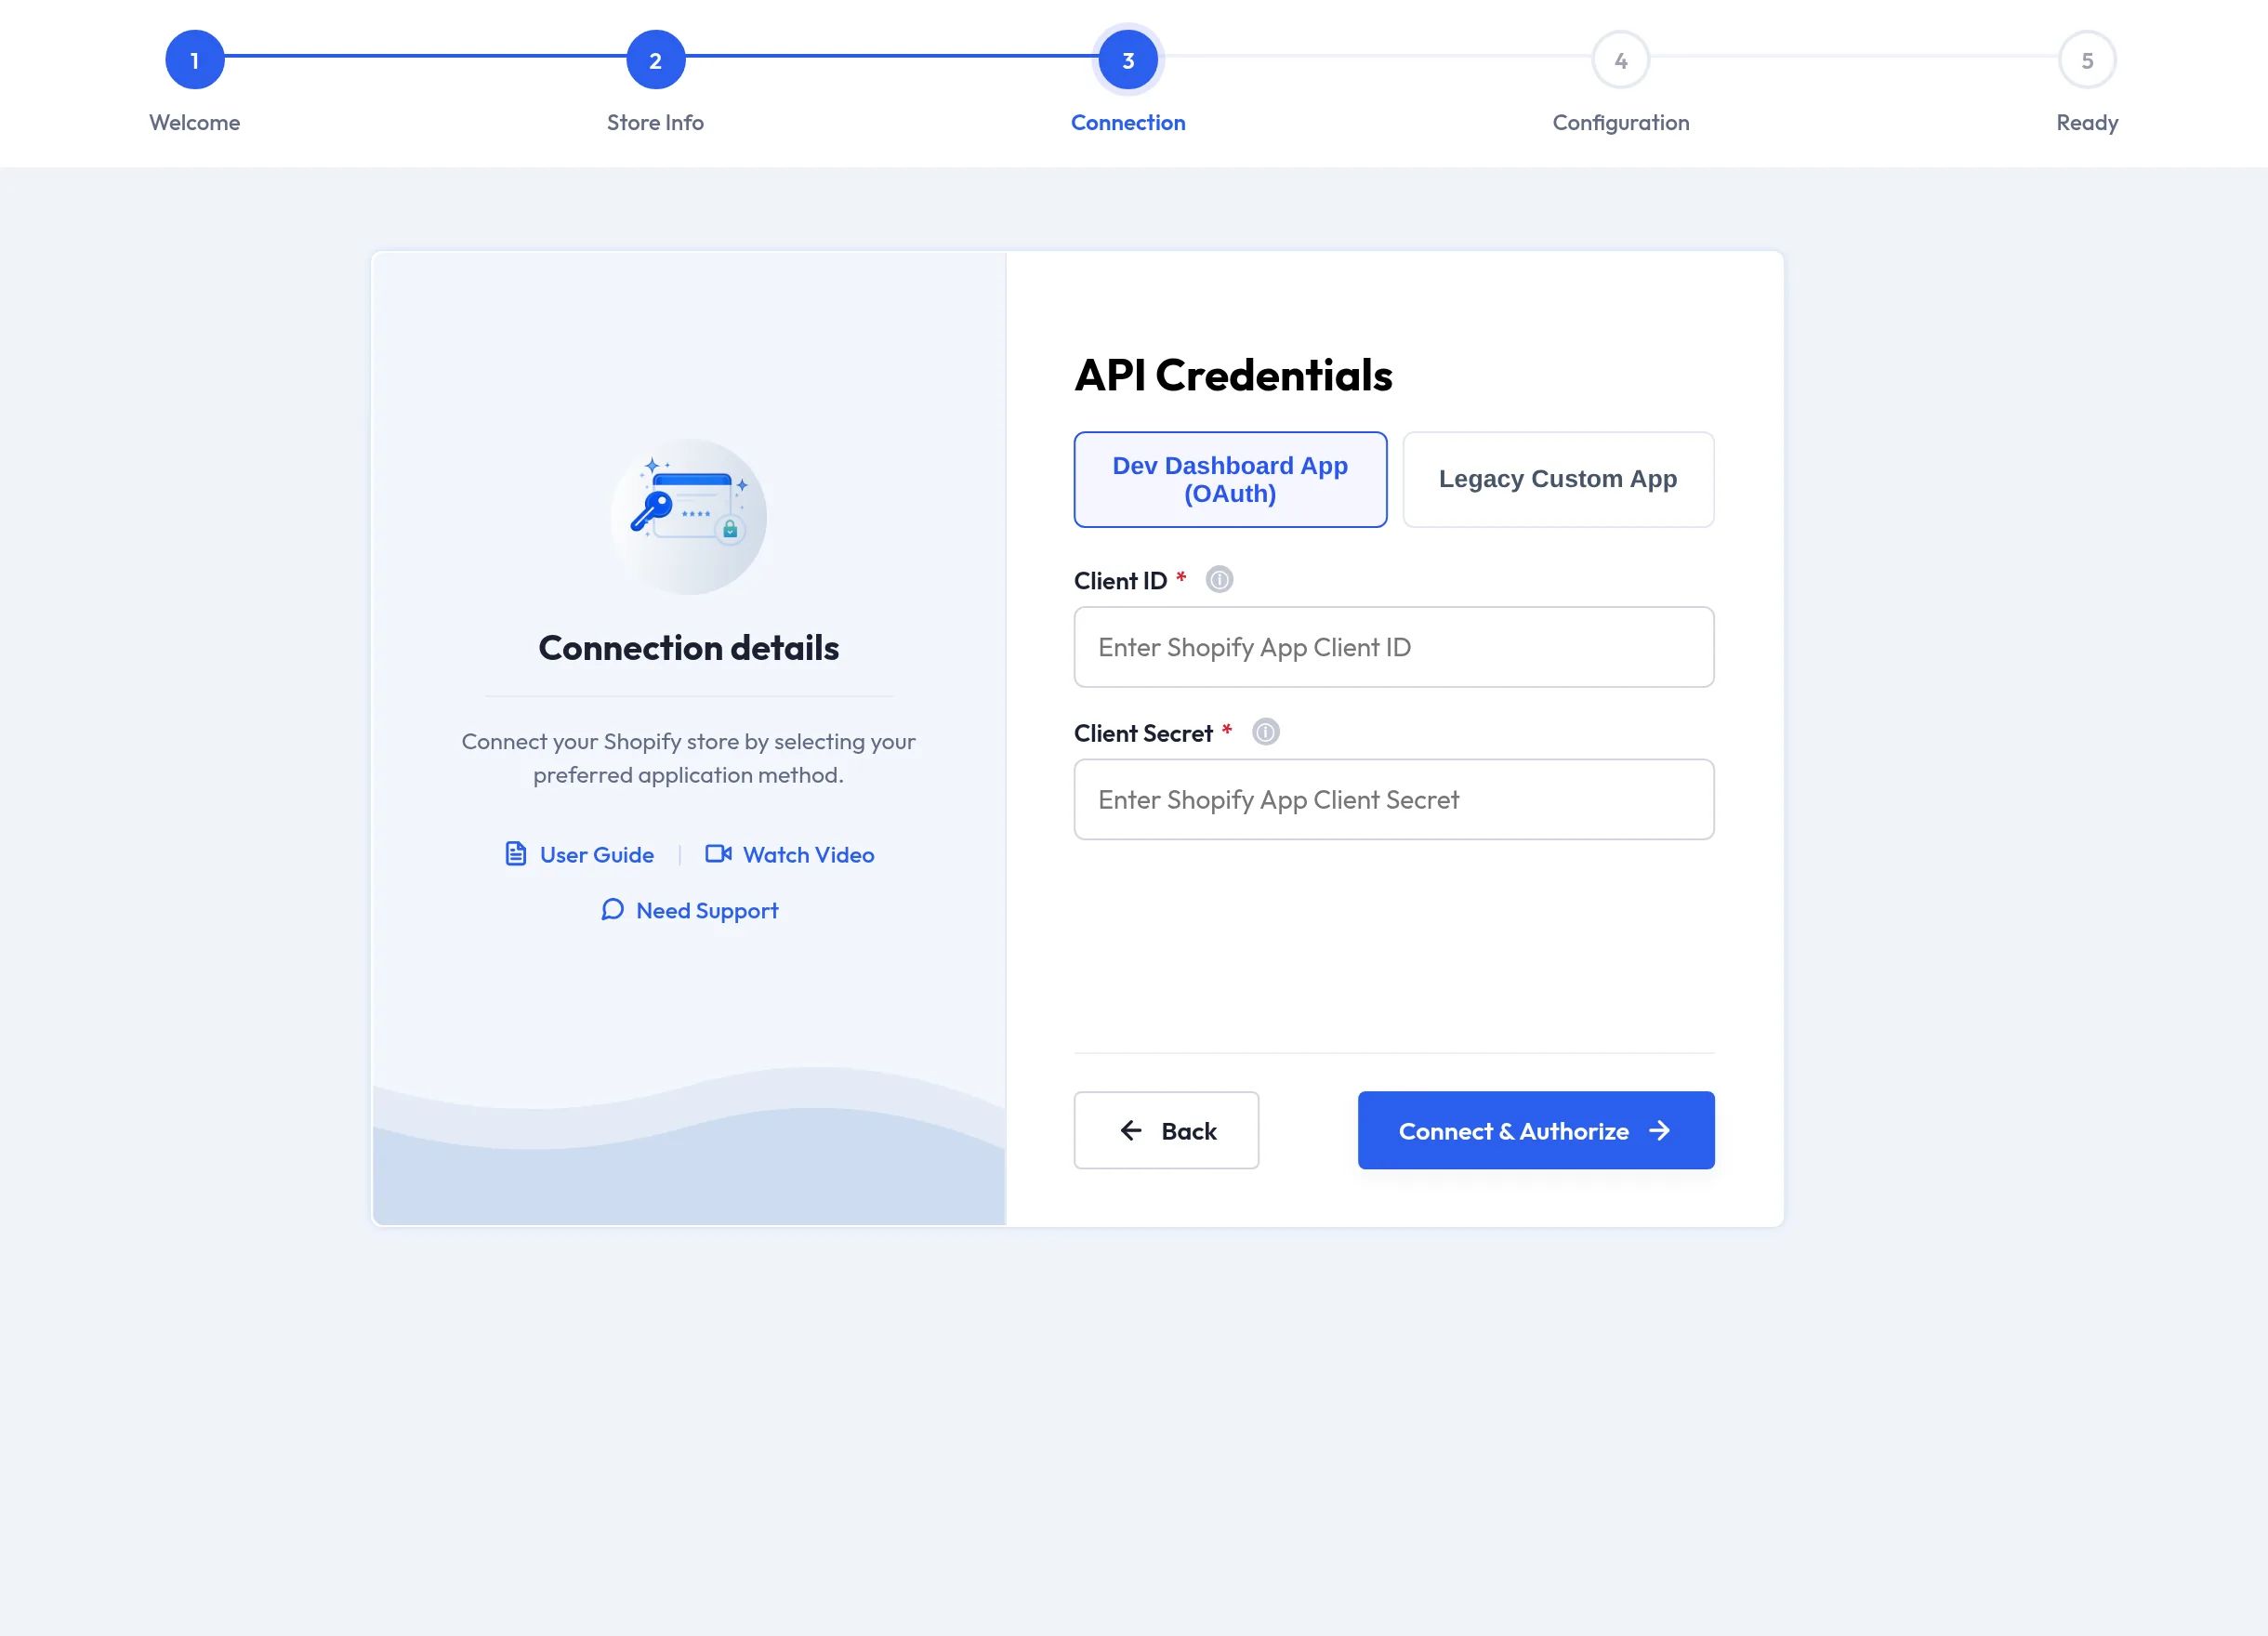
The API Credentials step offers two authentication methods, switched with the toggle at the top:
- Dev Dashboard App (OAuth) — enter the Client ID and Client Secret of an app created in the Shopify Developer Dashboard, then select Connect & Authorize. A Shopify consent screen opens and the access token is obtained automatically.
- Legacy Custom App — paste the Admin API access token (
shpat_…) of a legacy custom app created in your Shopify admin.
On success you'll see "Connection verified successfully!"; on failure, "Shopify verification failed. Please check your domain and API token."
Legacy custom apps are being retired
Shopify stopped supporting the creation of new legacy custom apps from January 1, 2026. For new connections, create the app in the Shopify Developer Dashboard and use the Dev App option.
Step 4 — Configuration
Set the initial sync behavior:
| Setting | Meaning |
|---|---|
| Default Category | WooCommerce category assigned to imported products that have no mapped collection. |
| Product status | WooCommerce status for imported products. |
| Order status | WooCommerce status for imported orders. |
| Auto Sync Direction | Disable Auto Sync / Shopify to WooCommerce / WooCommerce to Shopify / Both Ways. |
All remaining settings receive sensible defaults, and everything can be changed later in General Configuration.
Verify the auto-import options afterwards
In version 4.0.0, the wizard's Auto Import Products and Auto Import Orders switches do not reliably save the enabled state. After finishing the wizard, open Account Settings → General Configuration and confirm the Auto Import Product and Auto Import Order options are set the way you want them.
Step 5 — Ready
The "You're ready to go!" screen offers quick links — Add New Account and Review Settings — and a Go to Dashboard button that takes you to the connector.
Next step
Review your connection under Managing Accounts, then fine-tune General Configuration.