
Installation
This page covers installing and activating WooCommerce Shopify Connector, and activating your Webkul license.
Requirements
| Requirement | Minimum |
|---|---|
| WordPress | 6.7 or later |
| PHP | 7.4 or later |
| WooCommerce | 10.0 or later (installed and active) |
| Shopify | A Shopify store you administer, with permission to create apps |
WooCommerce is required
The plugin declares WooCommerce as a required plugin. WordPress will not let you activate the connector until WooCommerce is installed and active.
Install the plugin
- In the WordPress admin, go to Plugins → Add New → Upload Plugin.
- Choose the
wp-woocommerce-shopify-connector.zipfile you downloaded from your Webkul Store or CodeCanyon account, then select Install Now.
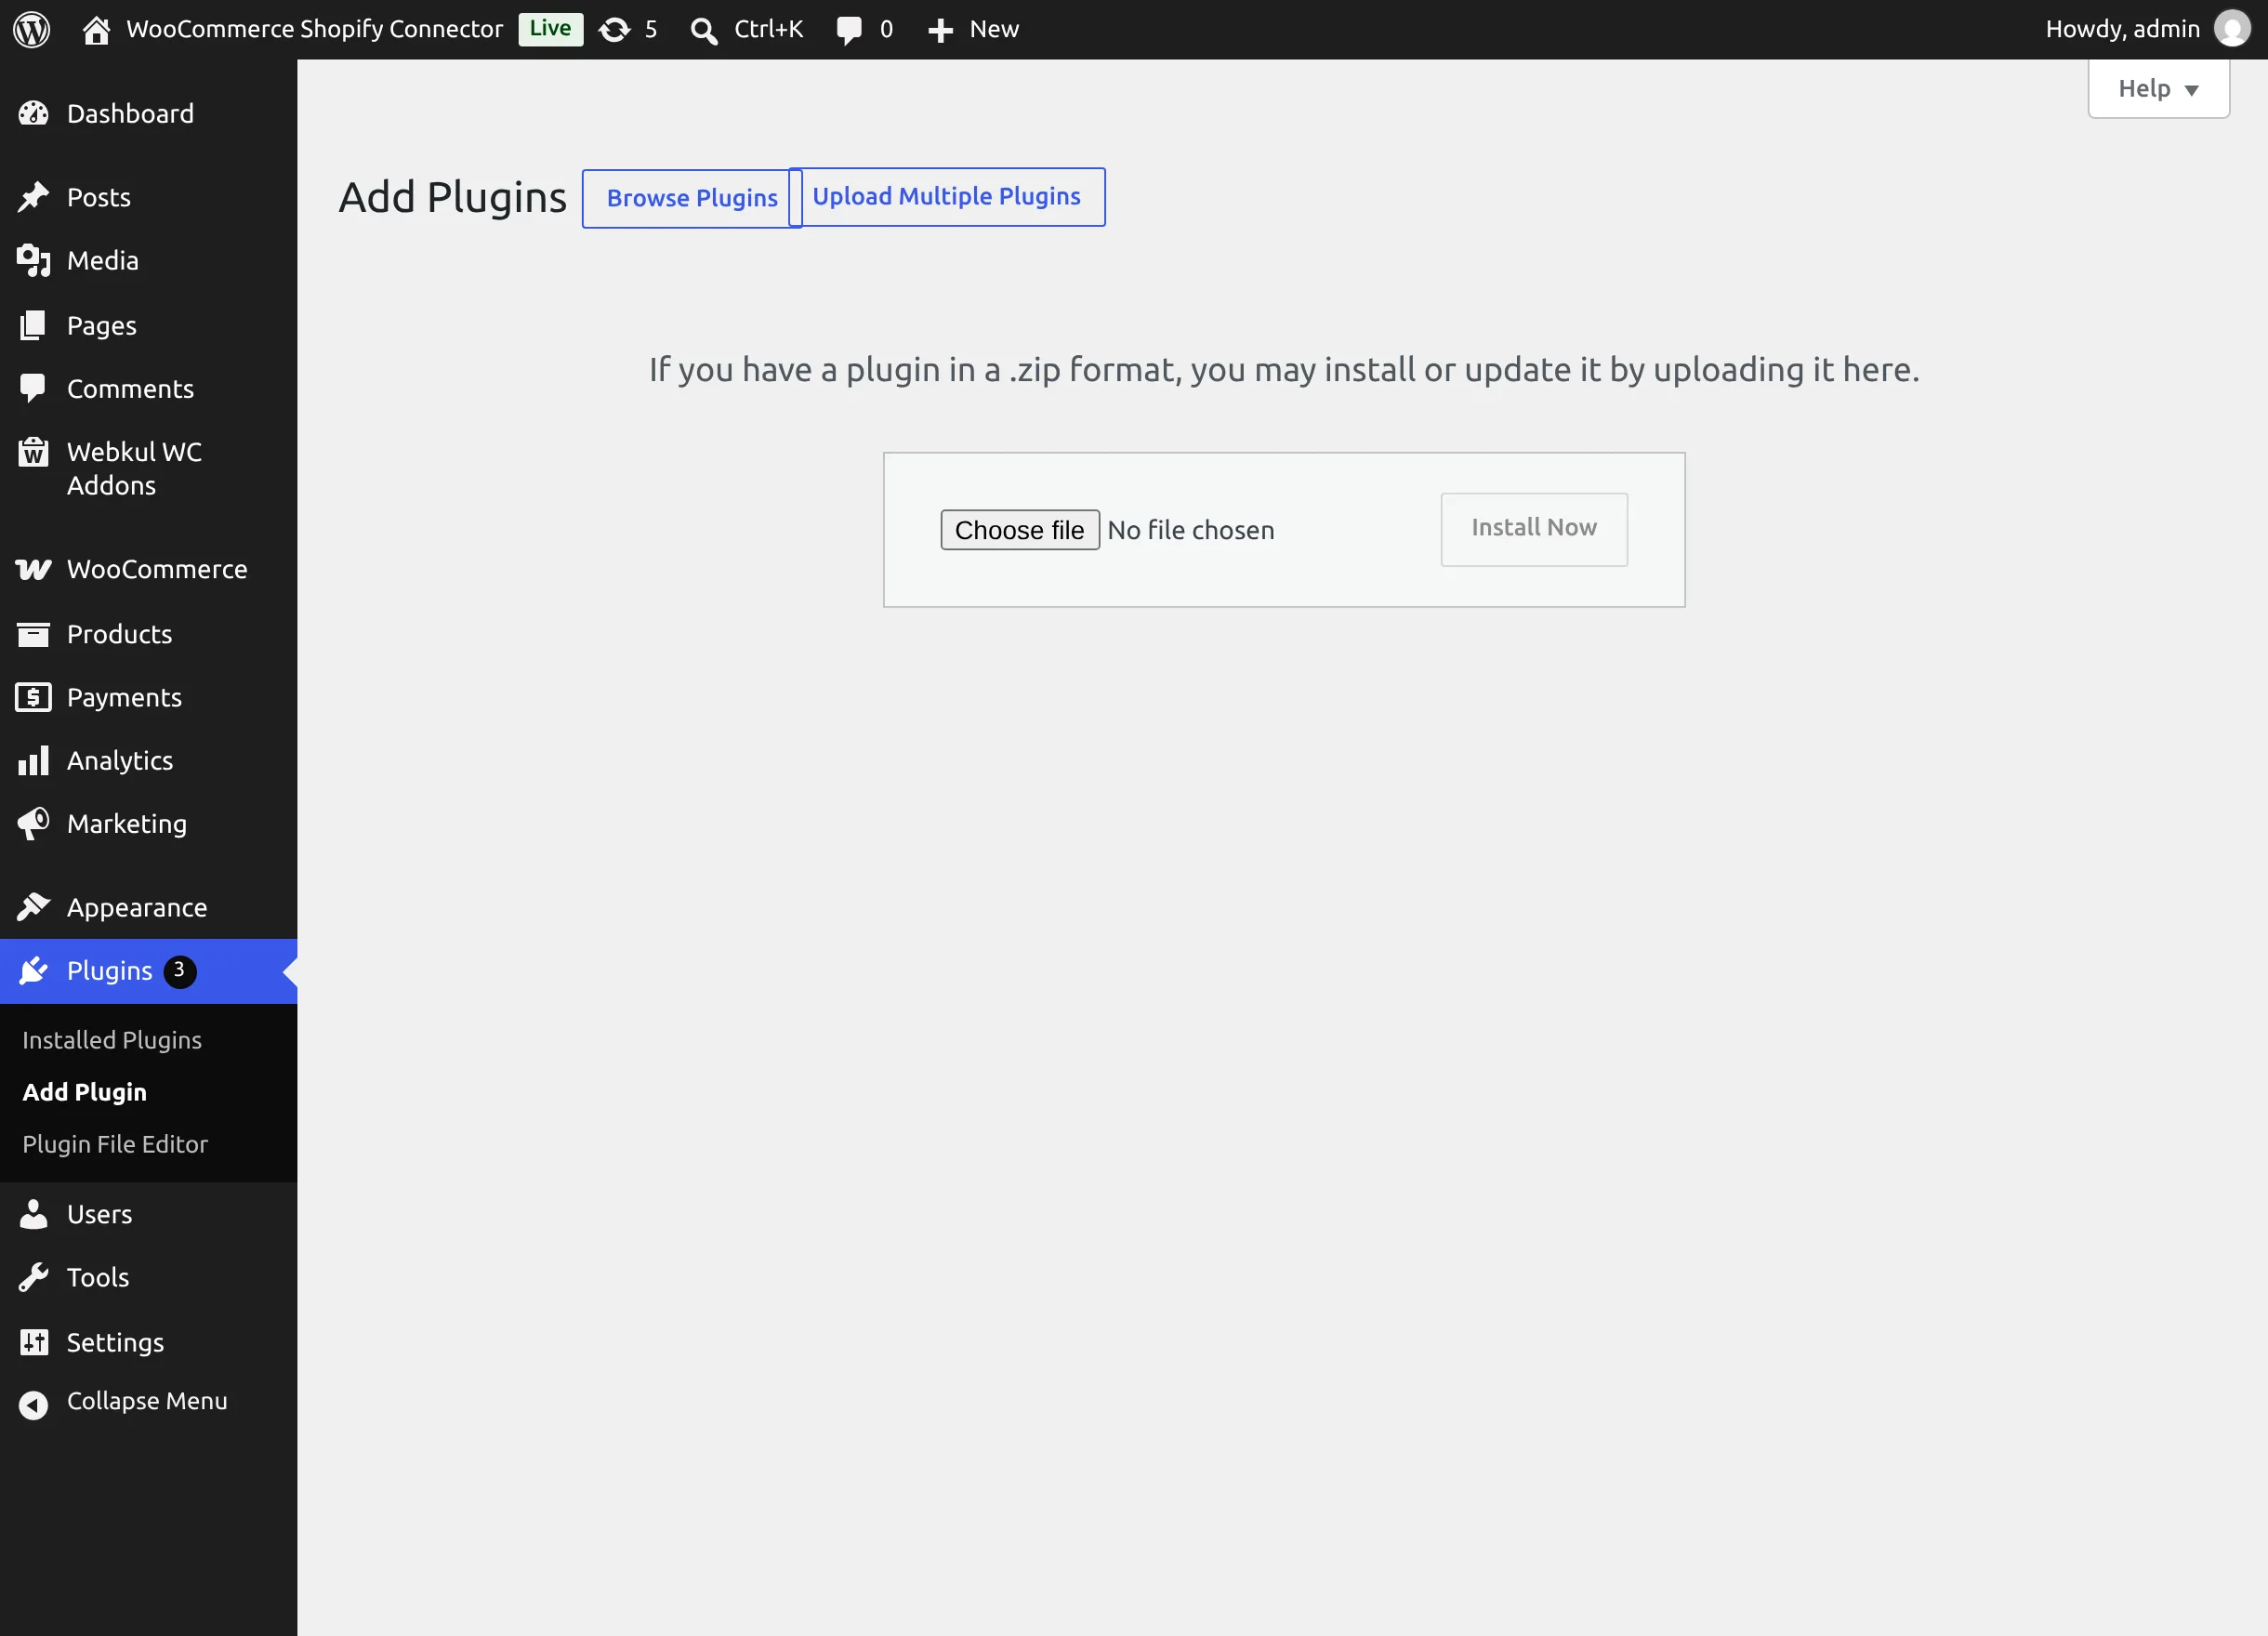
- When the upload finishes, select Activate Plugin.
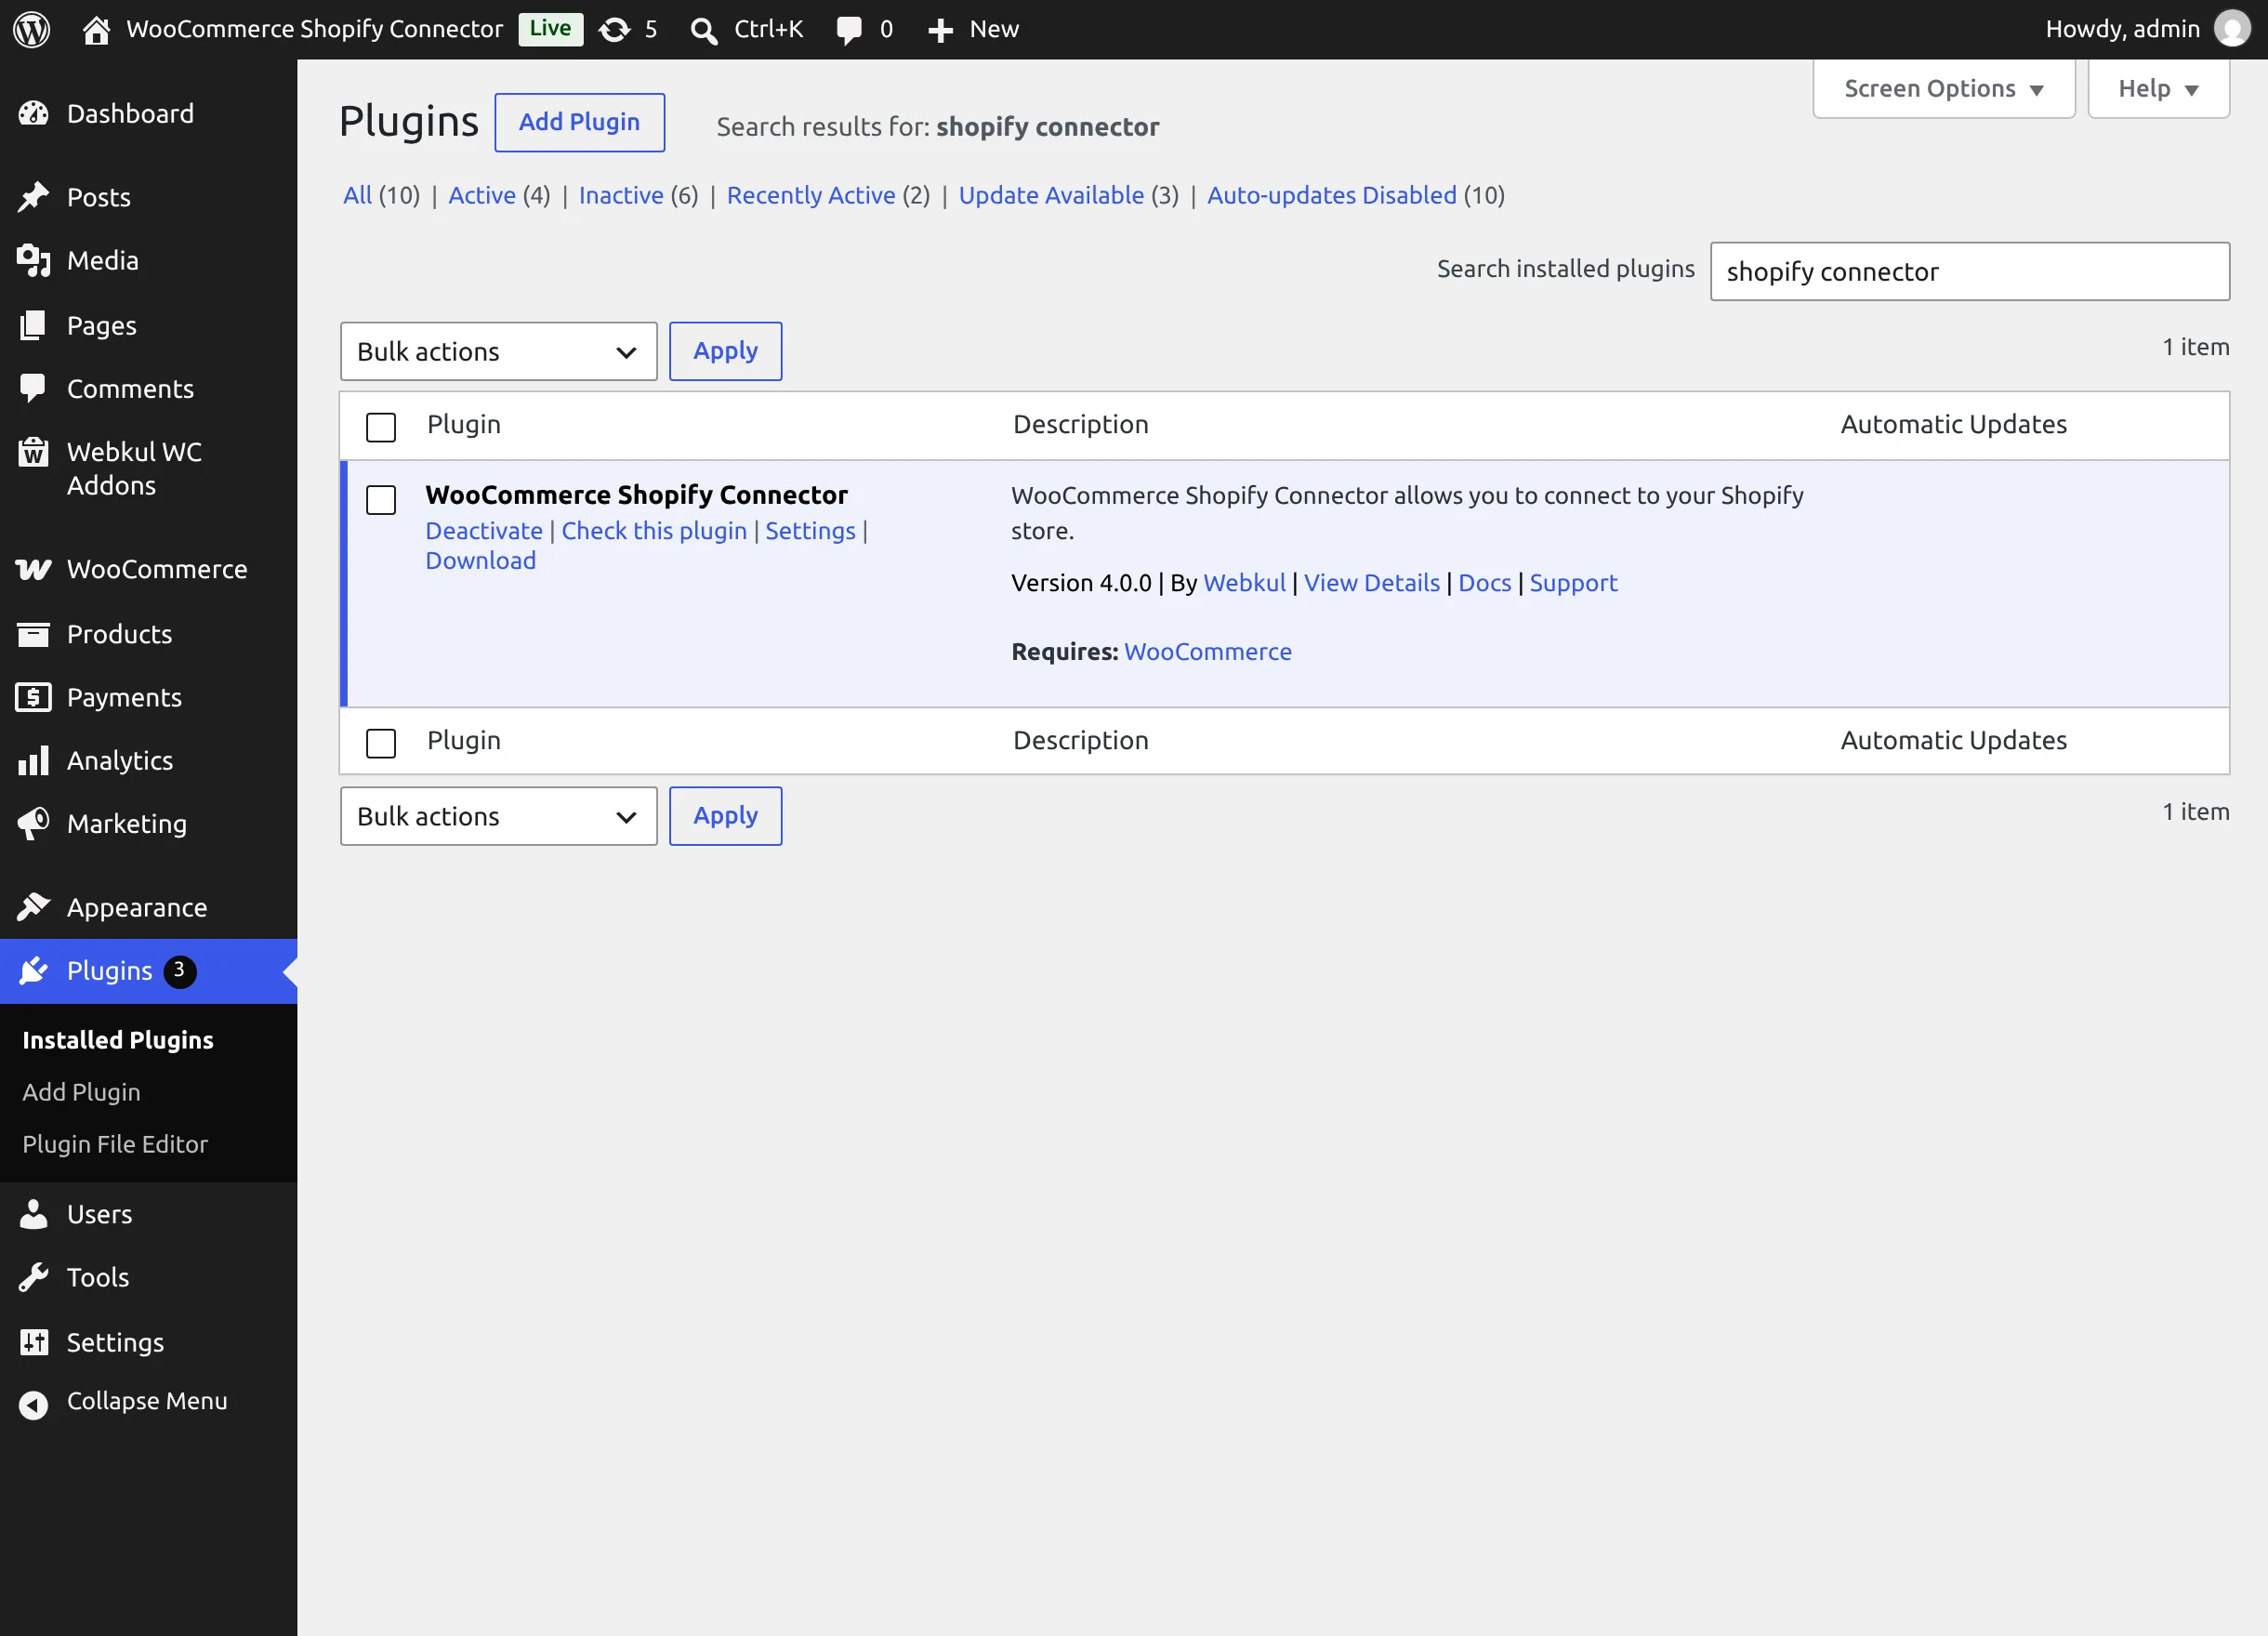
After activation you are redirected to the Setup Wizard, which walks you through connecting your first Shopify store. A new Webkul WC Addons menu also appears in the admin sidebar — the connector lives under Webkul WC Addons → WC Shopify Connector.
Activate your license
Webkul modules must be activated with a valid purchase code.
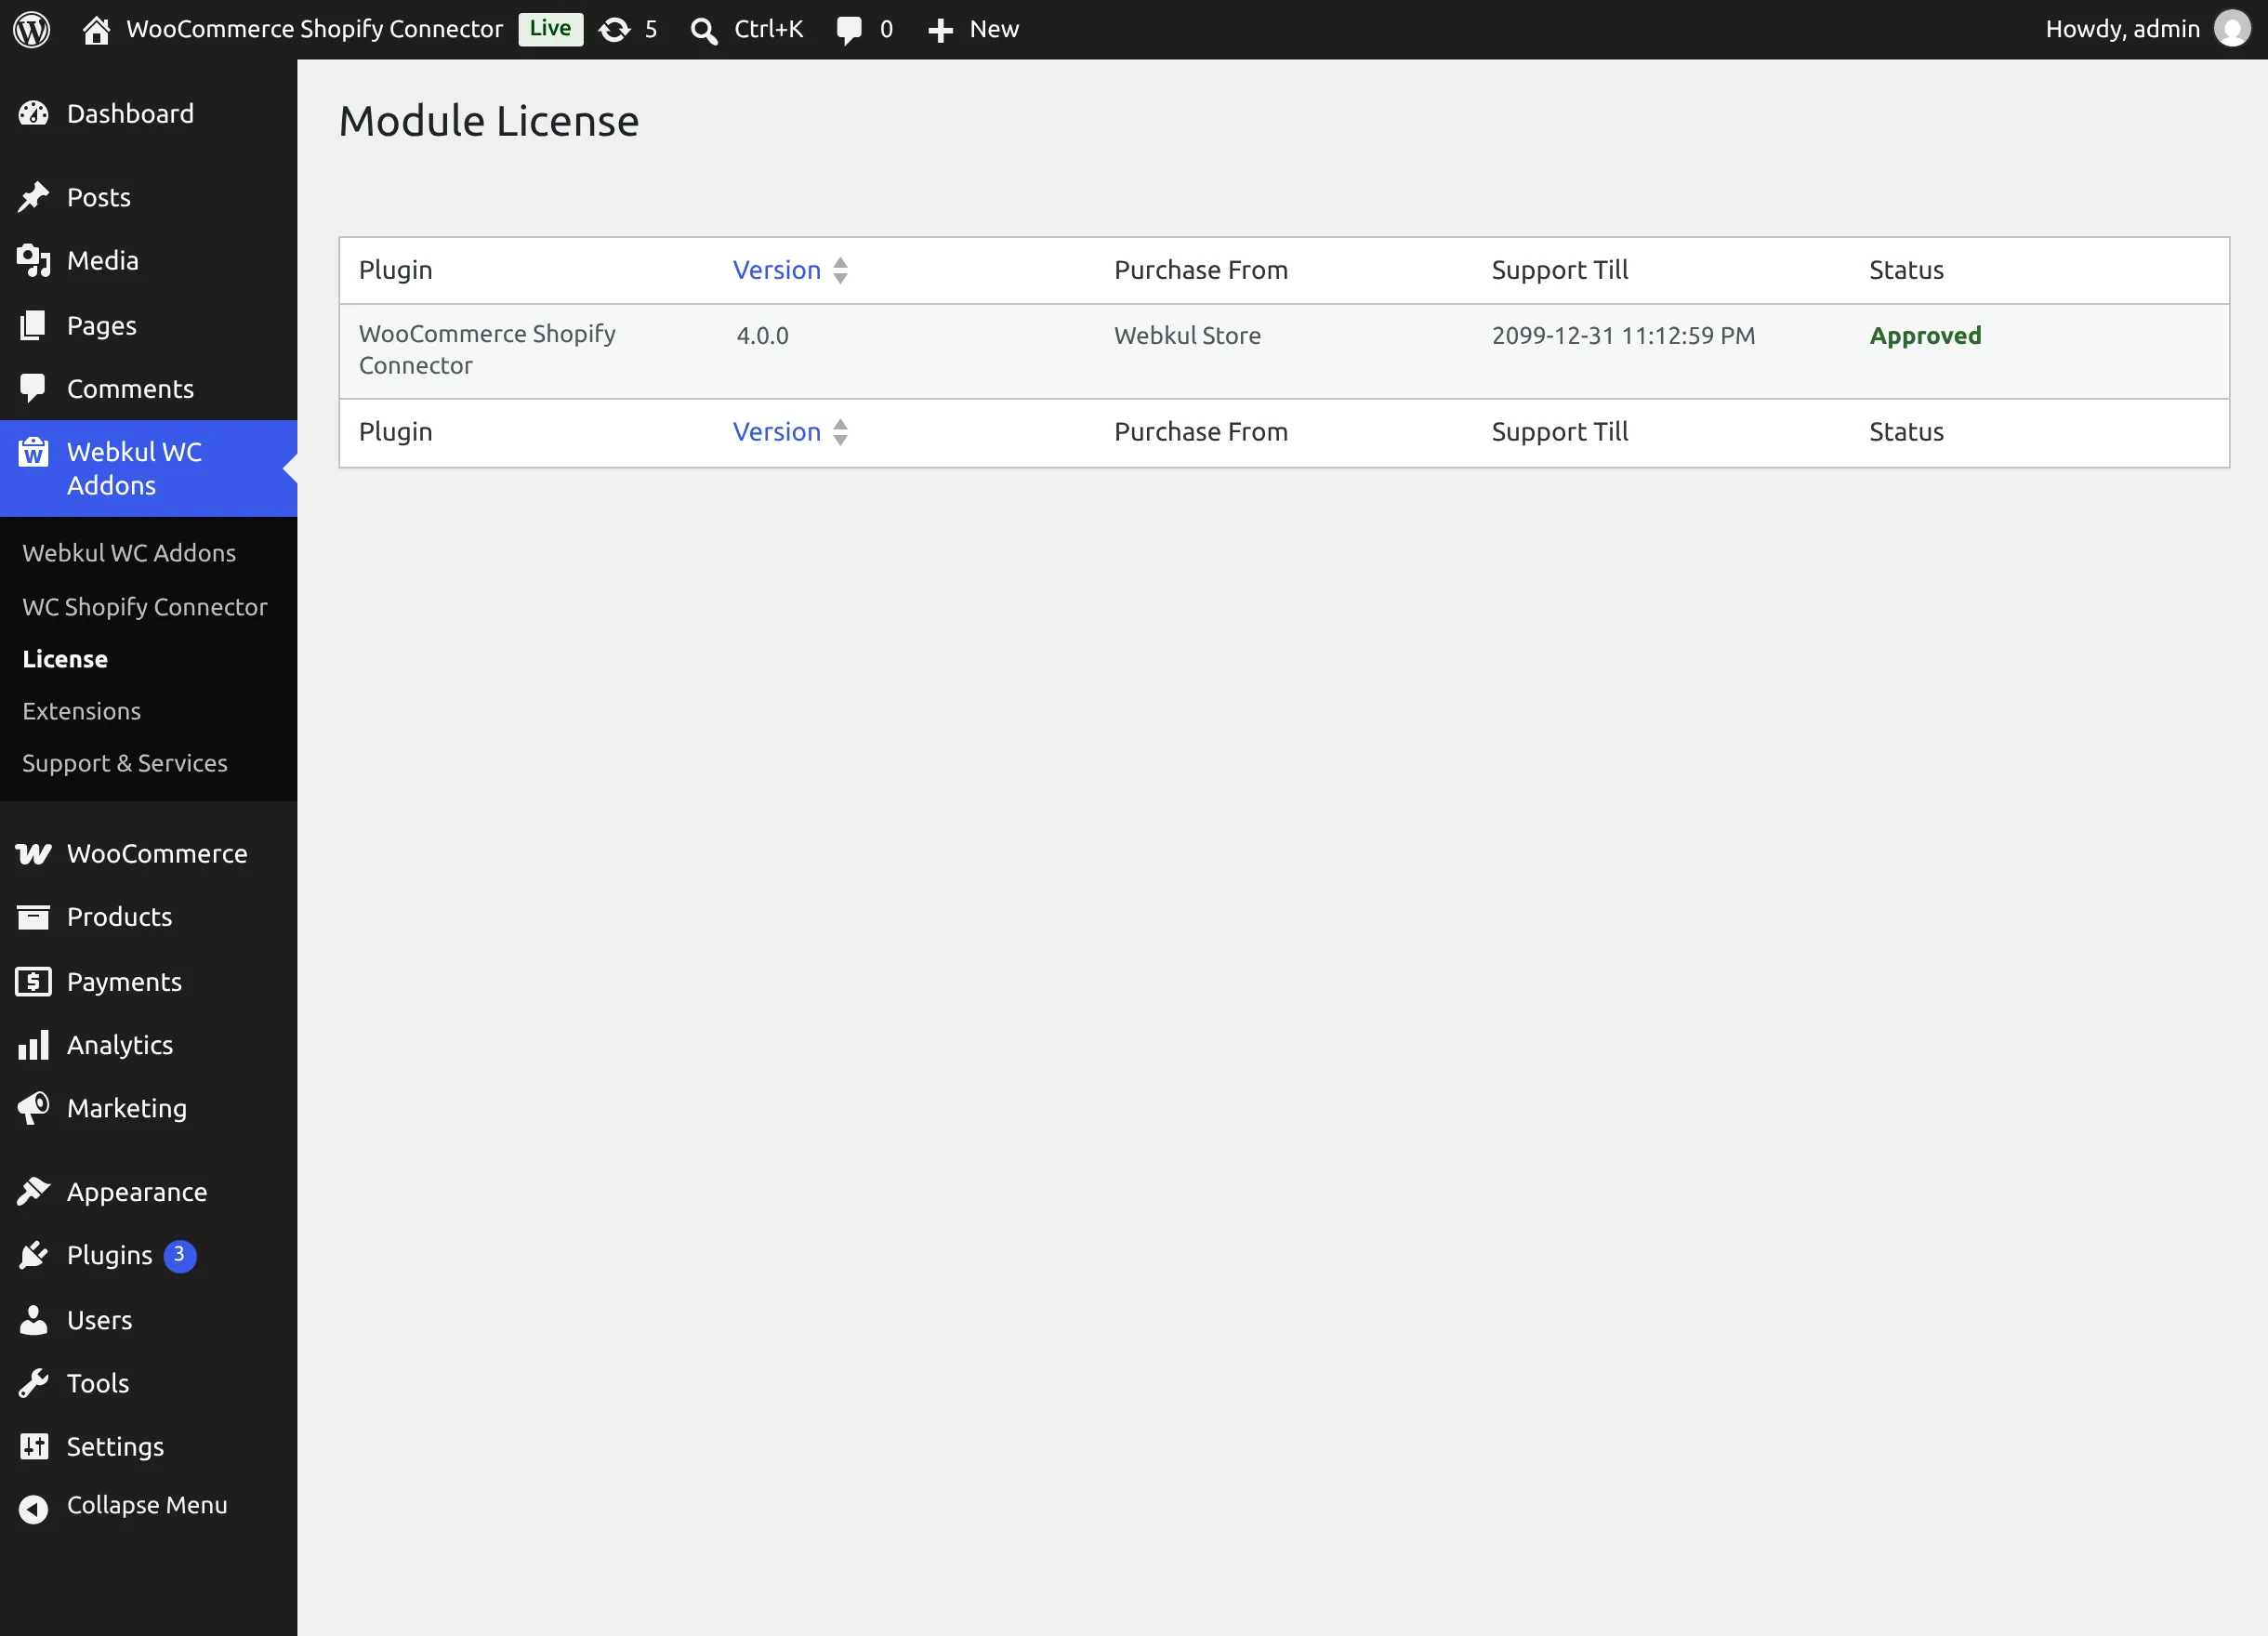
- Go to Webkul WC Addons → License. The Module License table lists each installed Webkul module with its version, purchase source, support period, and status.
- In the row for WooCommerce Shopify Connector, select Activate and enter the purchase code from your Webkul Store or CodeCanyon purchase.
- On success the status shows Approved and the message "Purchase Code Saved" appears. If you see "Purchase Code is not Correct", re-check the code against your purchase receipt.
Support expiry
When support expires, the row shows Extend Support (which takes you to the store to renew) and afterwards Sync Support to refresh the status.
Next step
Continue to the Setup Wizard — or, if you prefer to configure everything manually, go straight to Connecting a Shopify Account.