
Importing Store Data
Beyond products and orders, the connector imports four more kinds of Shopify data: customers, pages, coupons, and blog posts. Each has its own tab in the store workspace and follows the same two-step pattern you know from products — import first, then create.
Import Customers
Tab: Import Customers
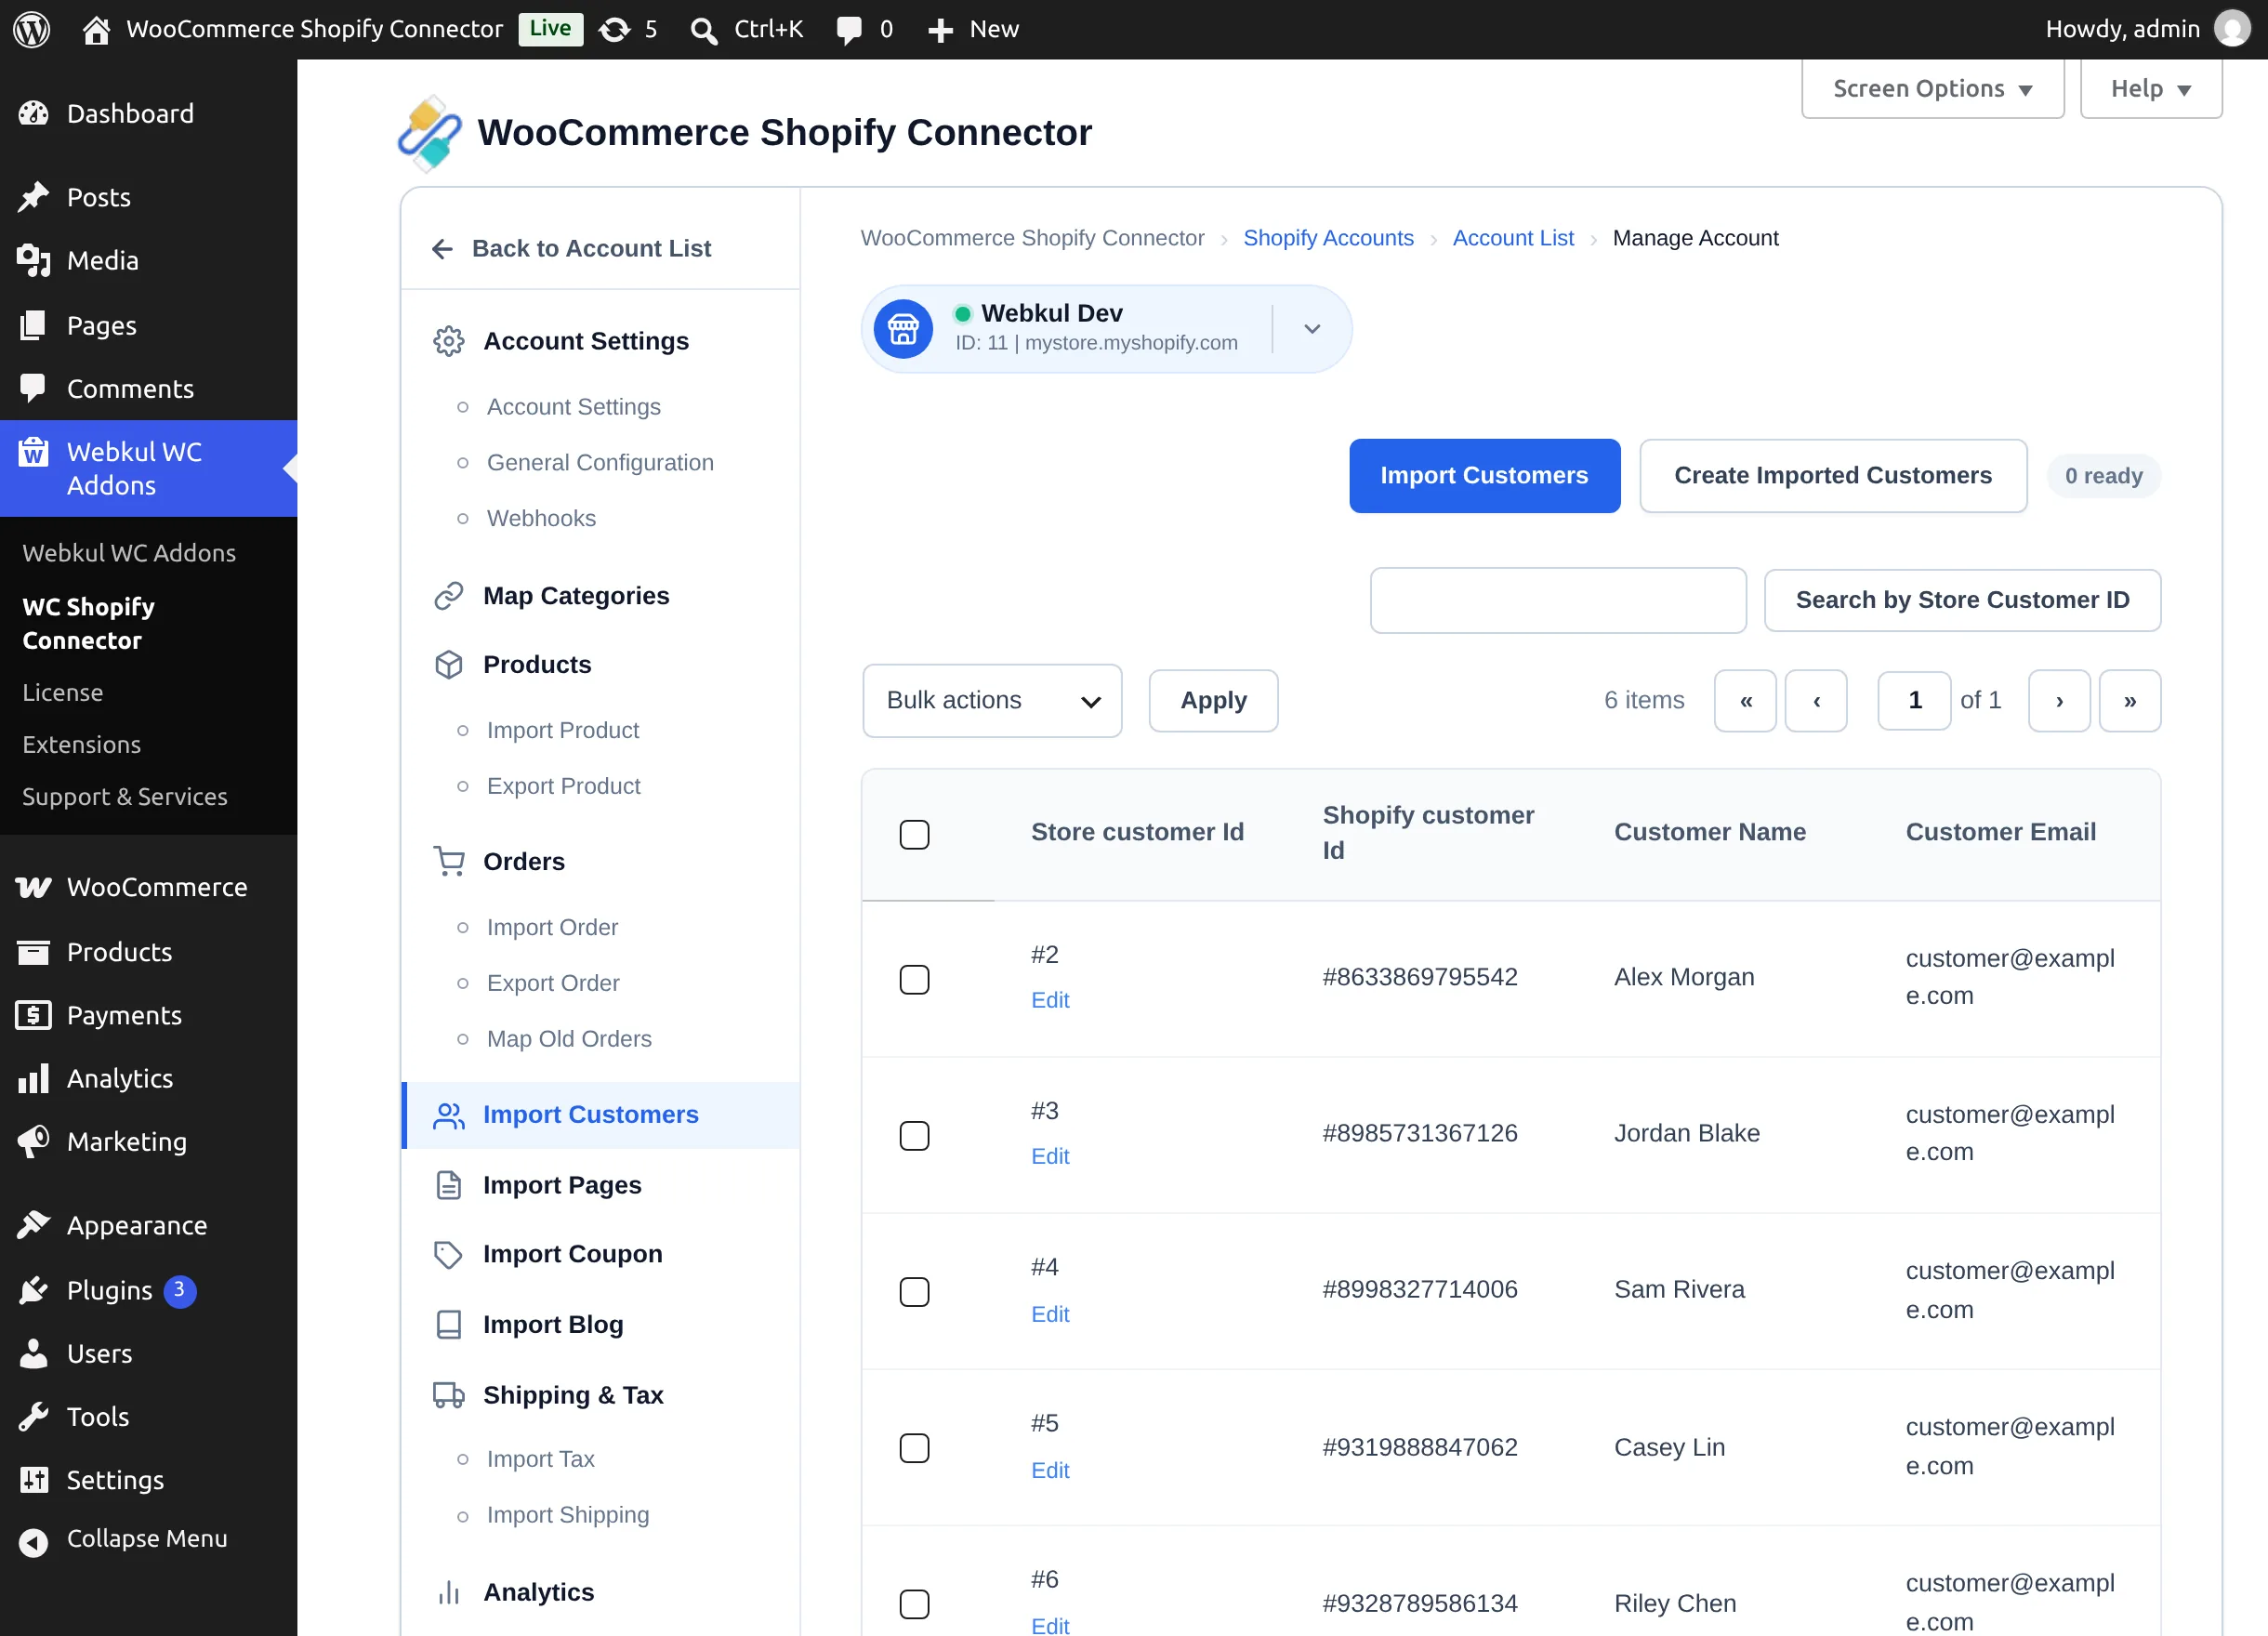
- Select Import Customers to stage the store's Shopify customers.
- Select Create Imported Customers to create them as WordPress users with the Customer role.
Each created account carries the customer's name and their default address as the WooCommerce billing address. Customers without an email address on Shopify are skipped ("not Created due to email not available."). The table lists Store customer Id, Shopify customer Id, Customer Name, and Customer Email; Edit opens the WordPress user profile.
Tips
Import customers before importing their orders — orders are attached to accounts by email.
Import Pages
Tab: Import Pages
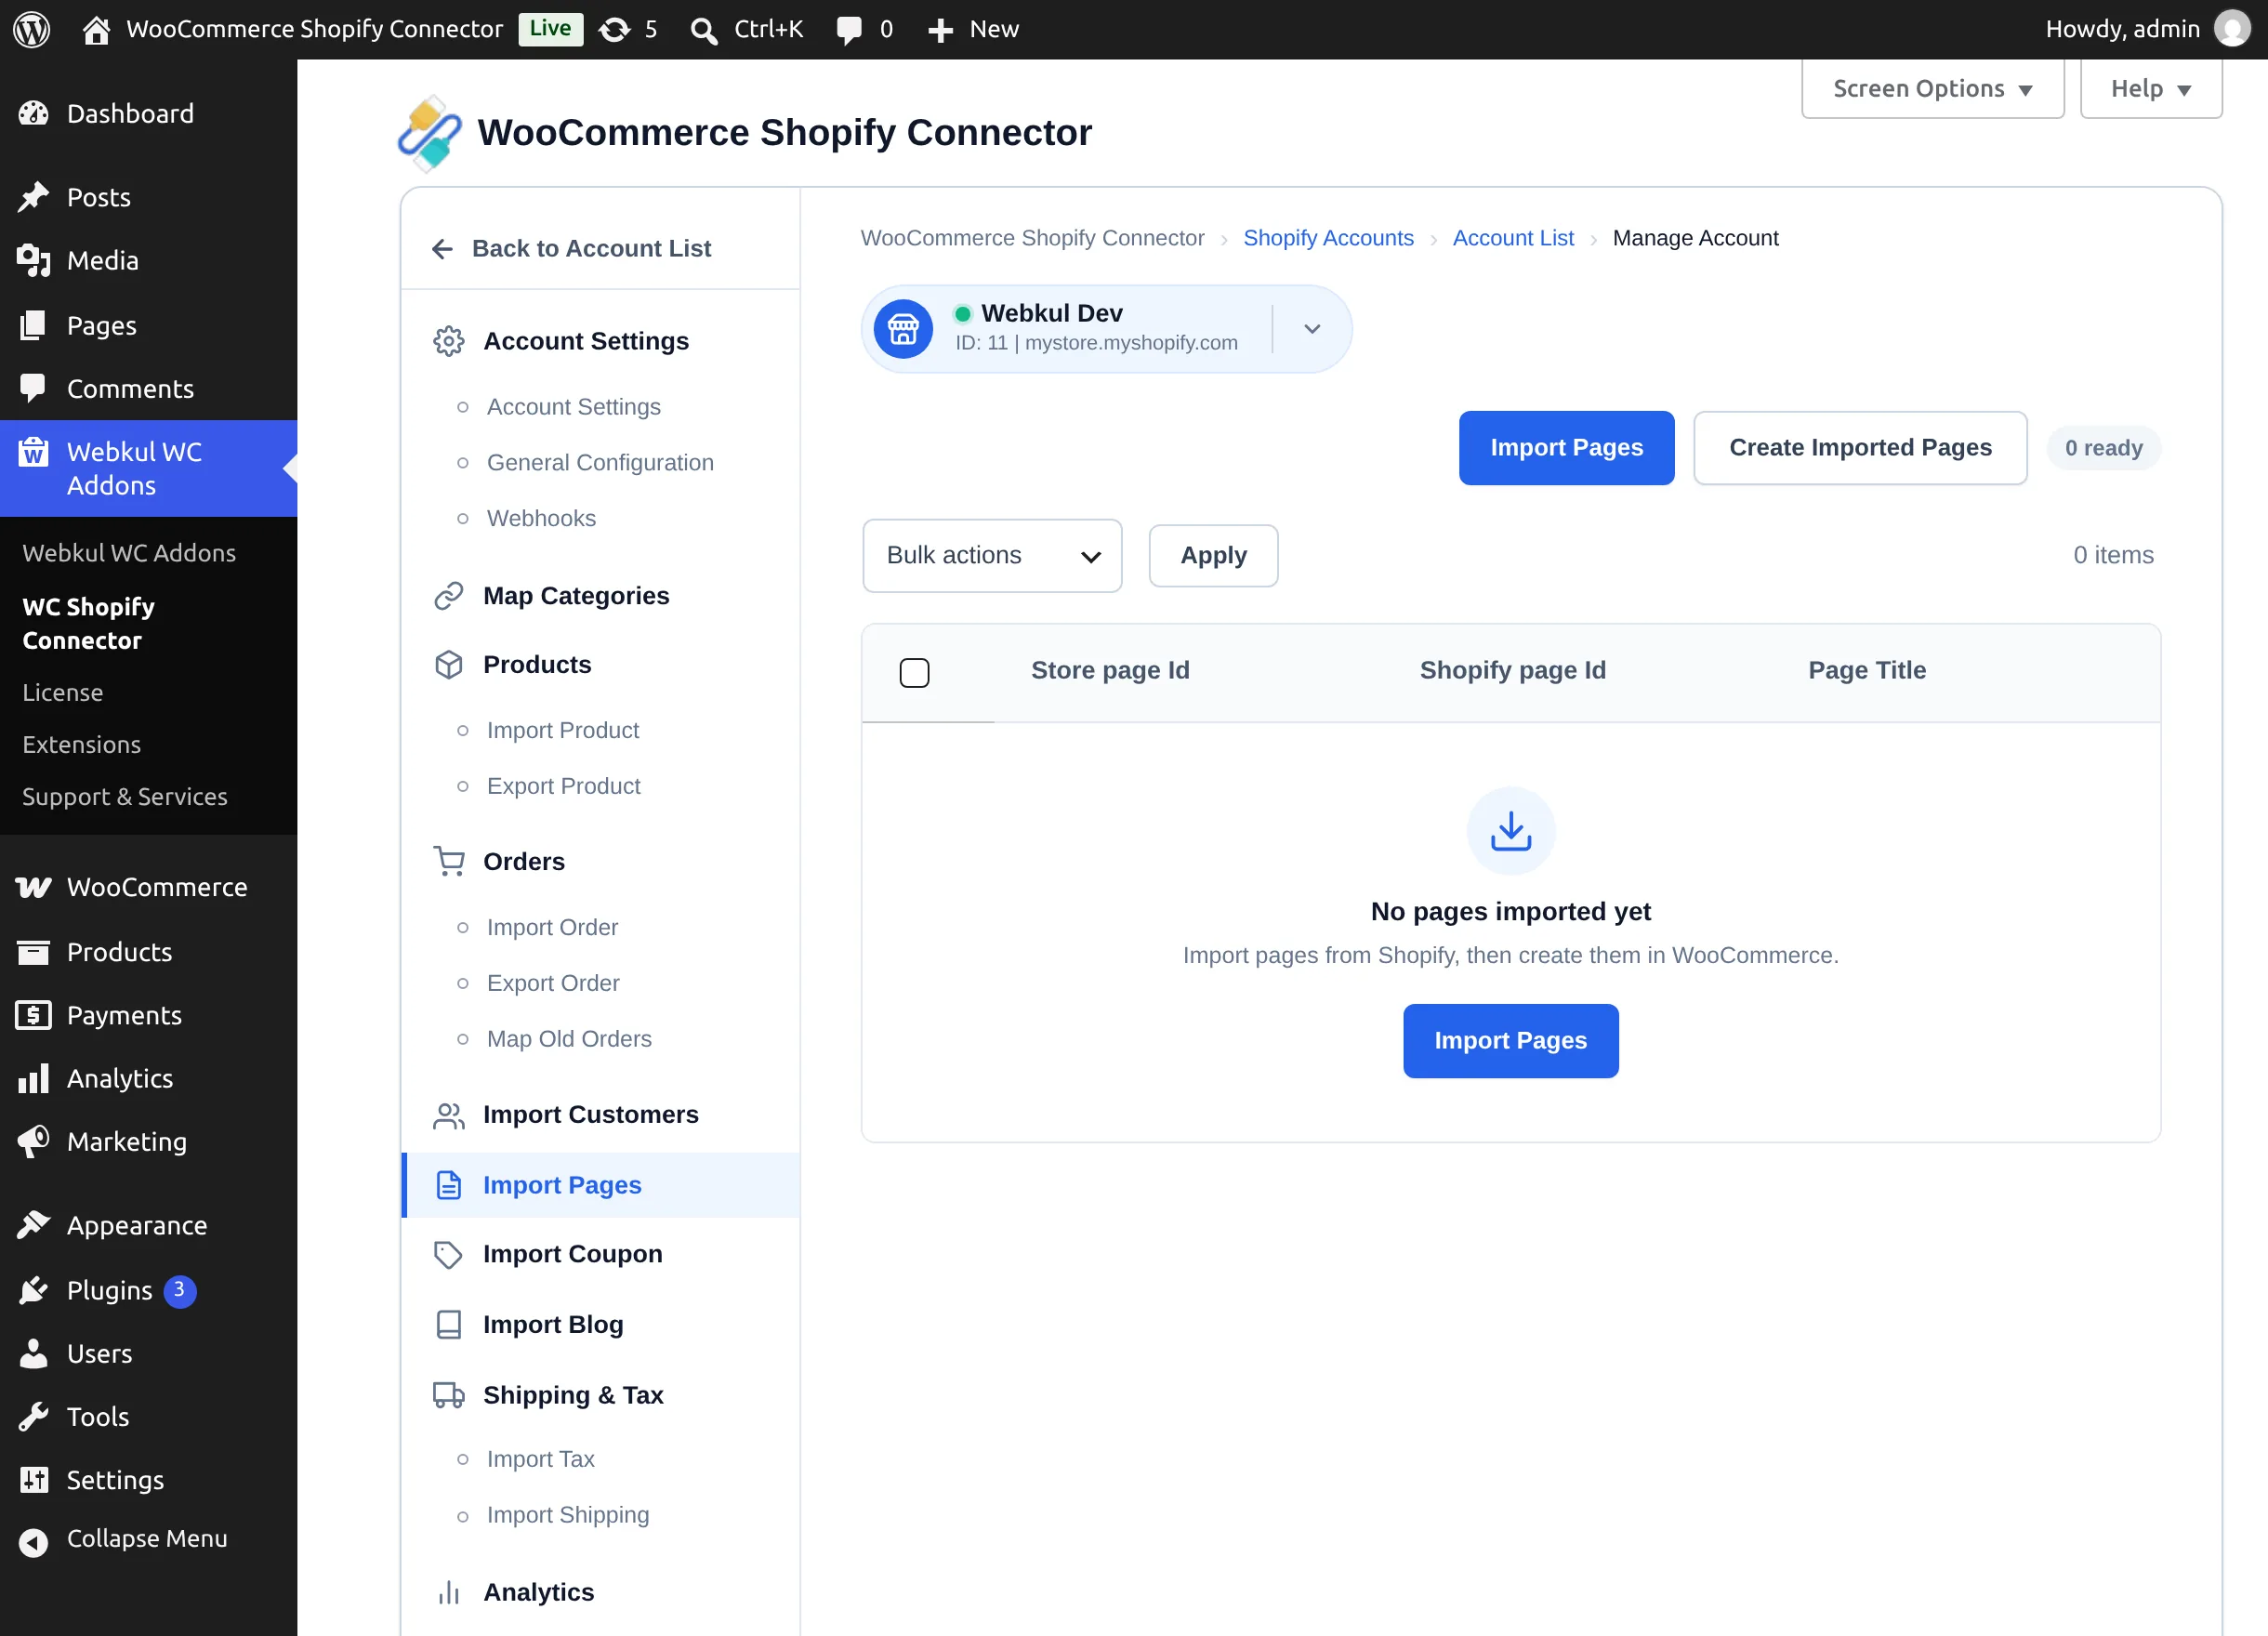
Import Pages stages the store's Shopify pages; Create Imported Pages publishes them as WordPress pages with the same title and content. Use Bulk actions → Update to re-pull page content after it changes on Shopify, or Delete to remove the link.
Import Coupon
Tab: Import Coupon
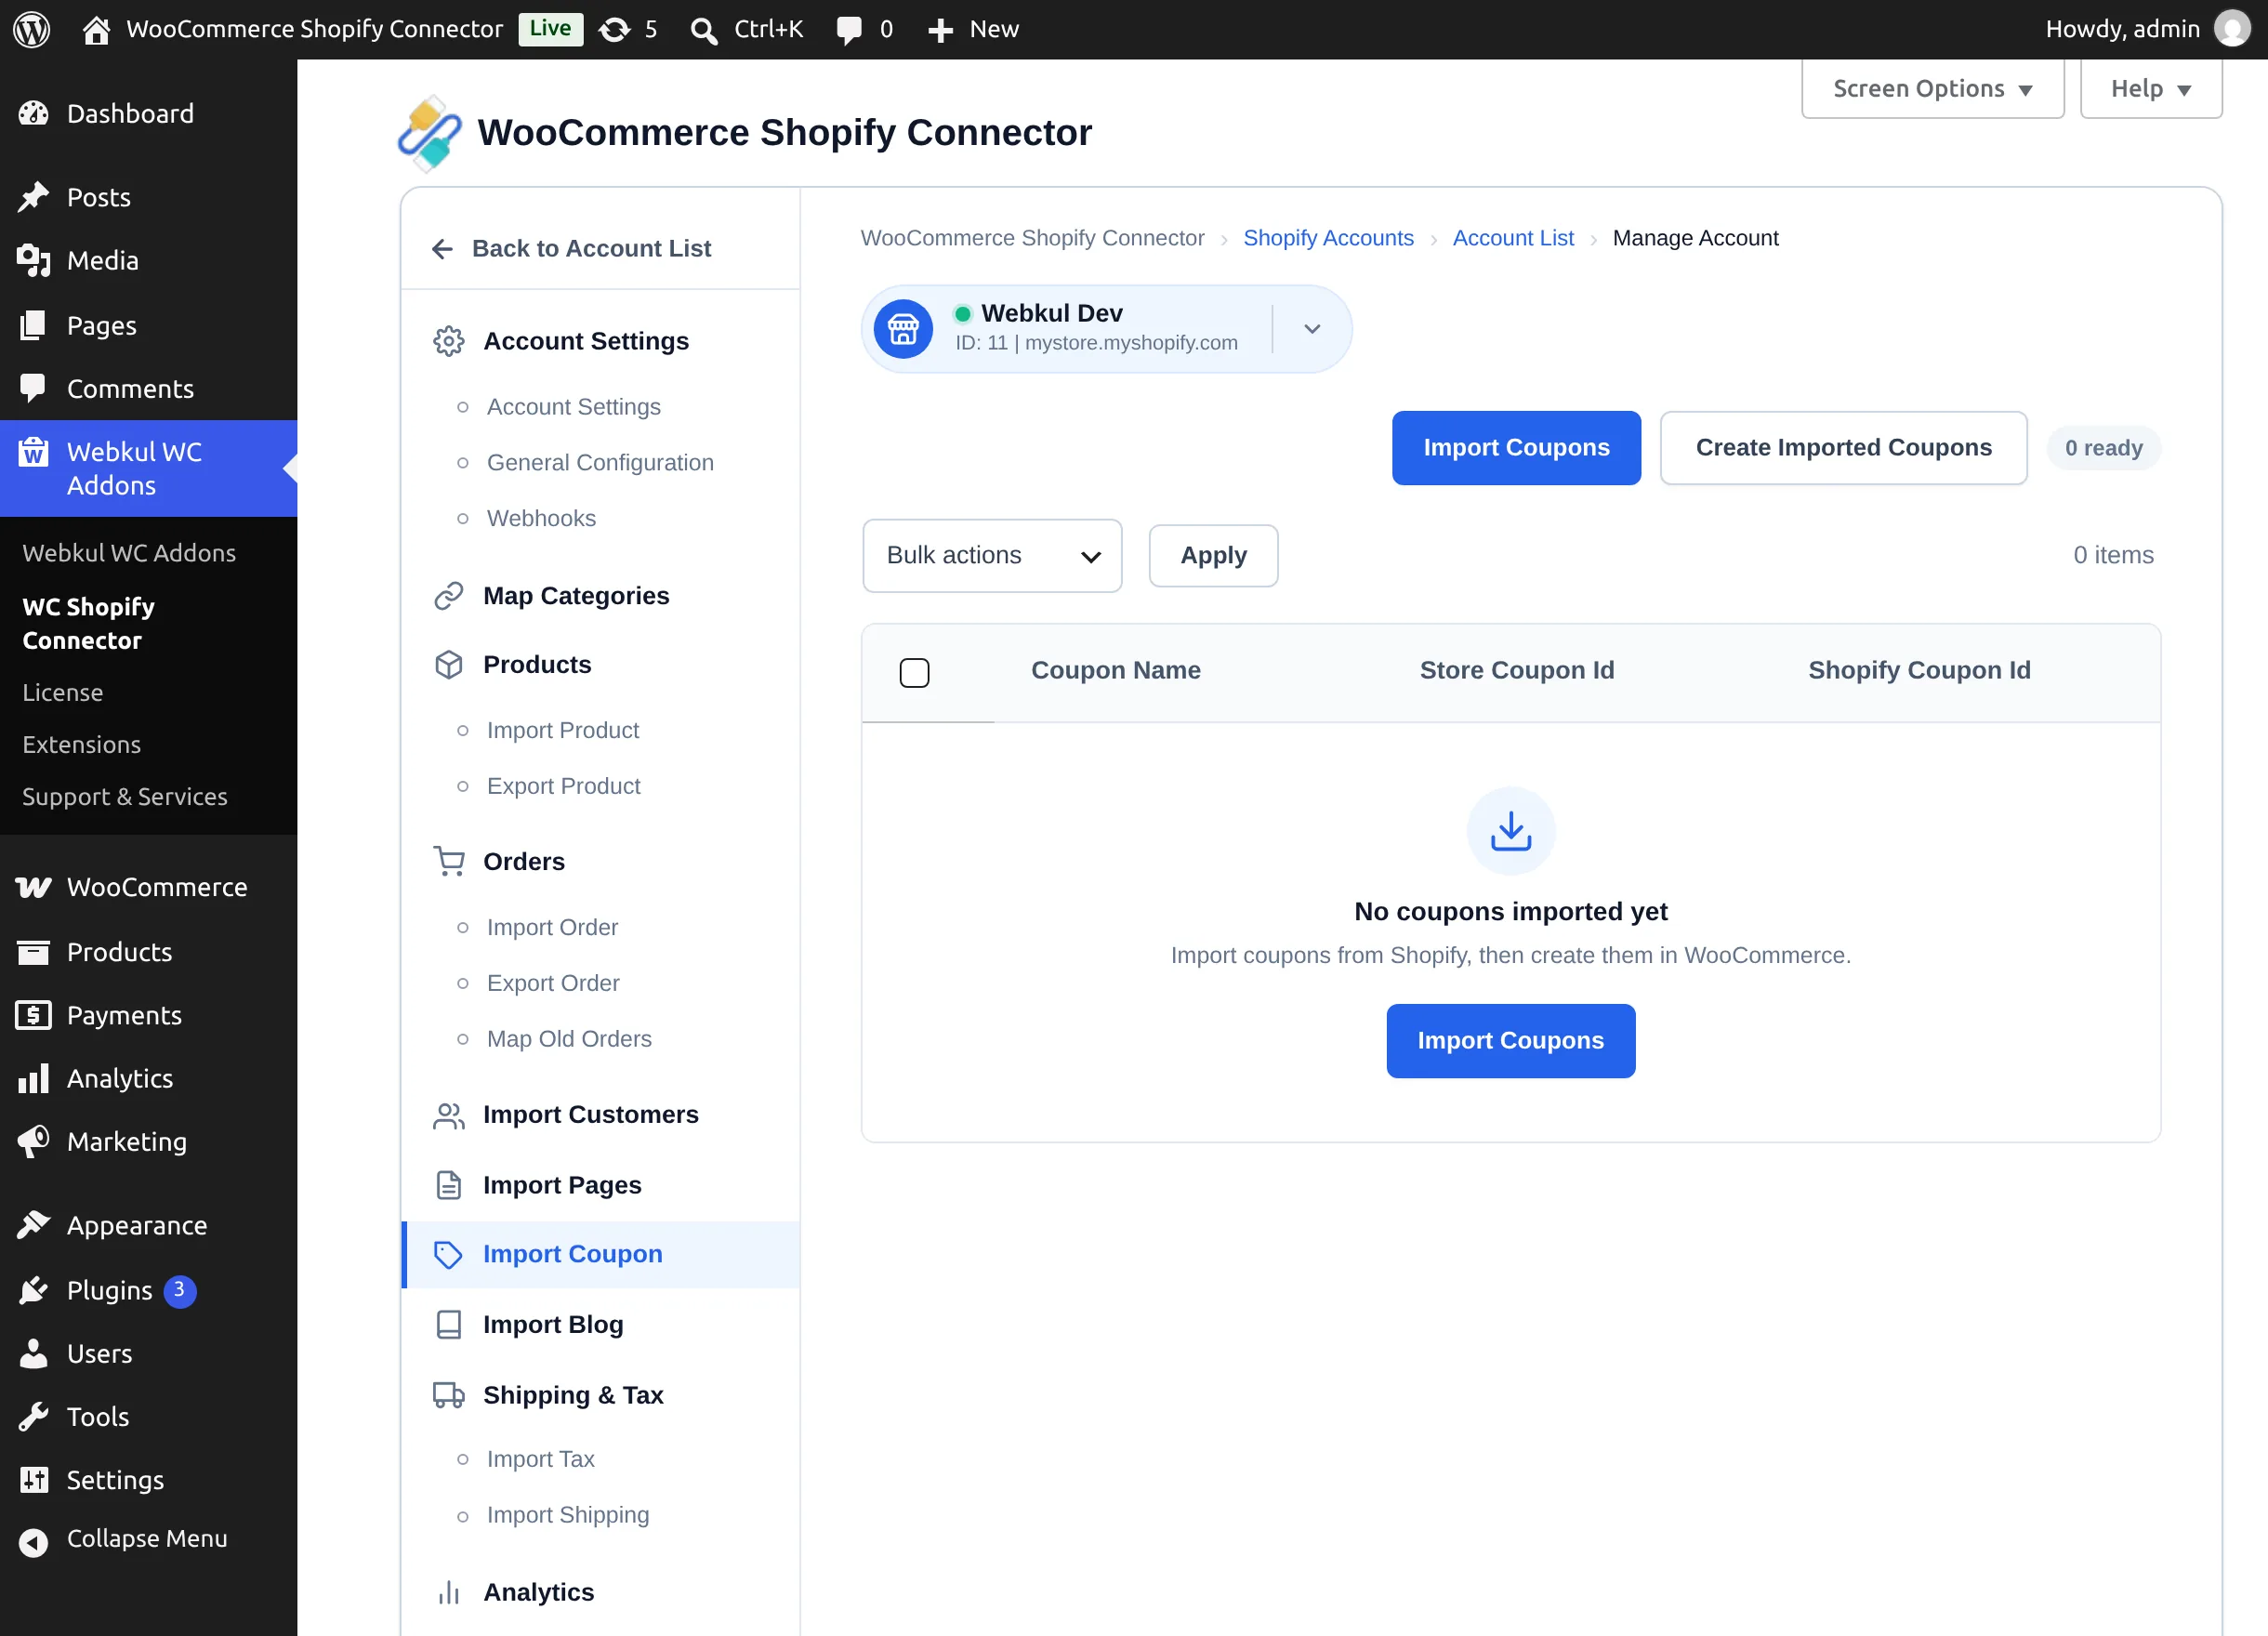
Import Coupons stages Shopify discount codes; Create Imported Coupons creates matching WooCommerce coupons:
| Shopify discount | WooCommerce coupon |
|---|---|
| Percentage discount | Percentage discount type |
| Fixed amount discount | Fixed cart discount type |
| Expiry date | Coupon expiry date |
The View Coupon row action opens the coupon in WooCommerce → Marketing → Coupons. Review each imported coupon's amount and restrictions before relying on it at checkout.
Import Blog
Tab: Import Blog
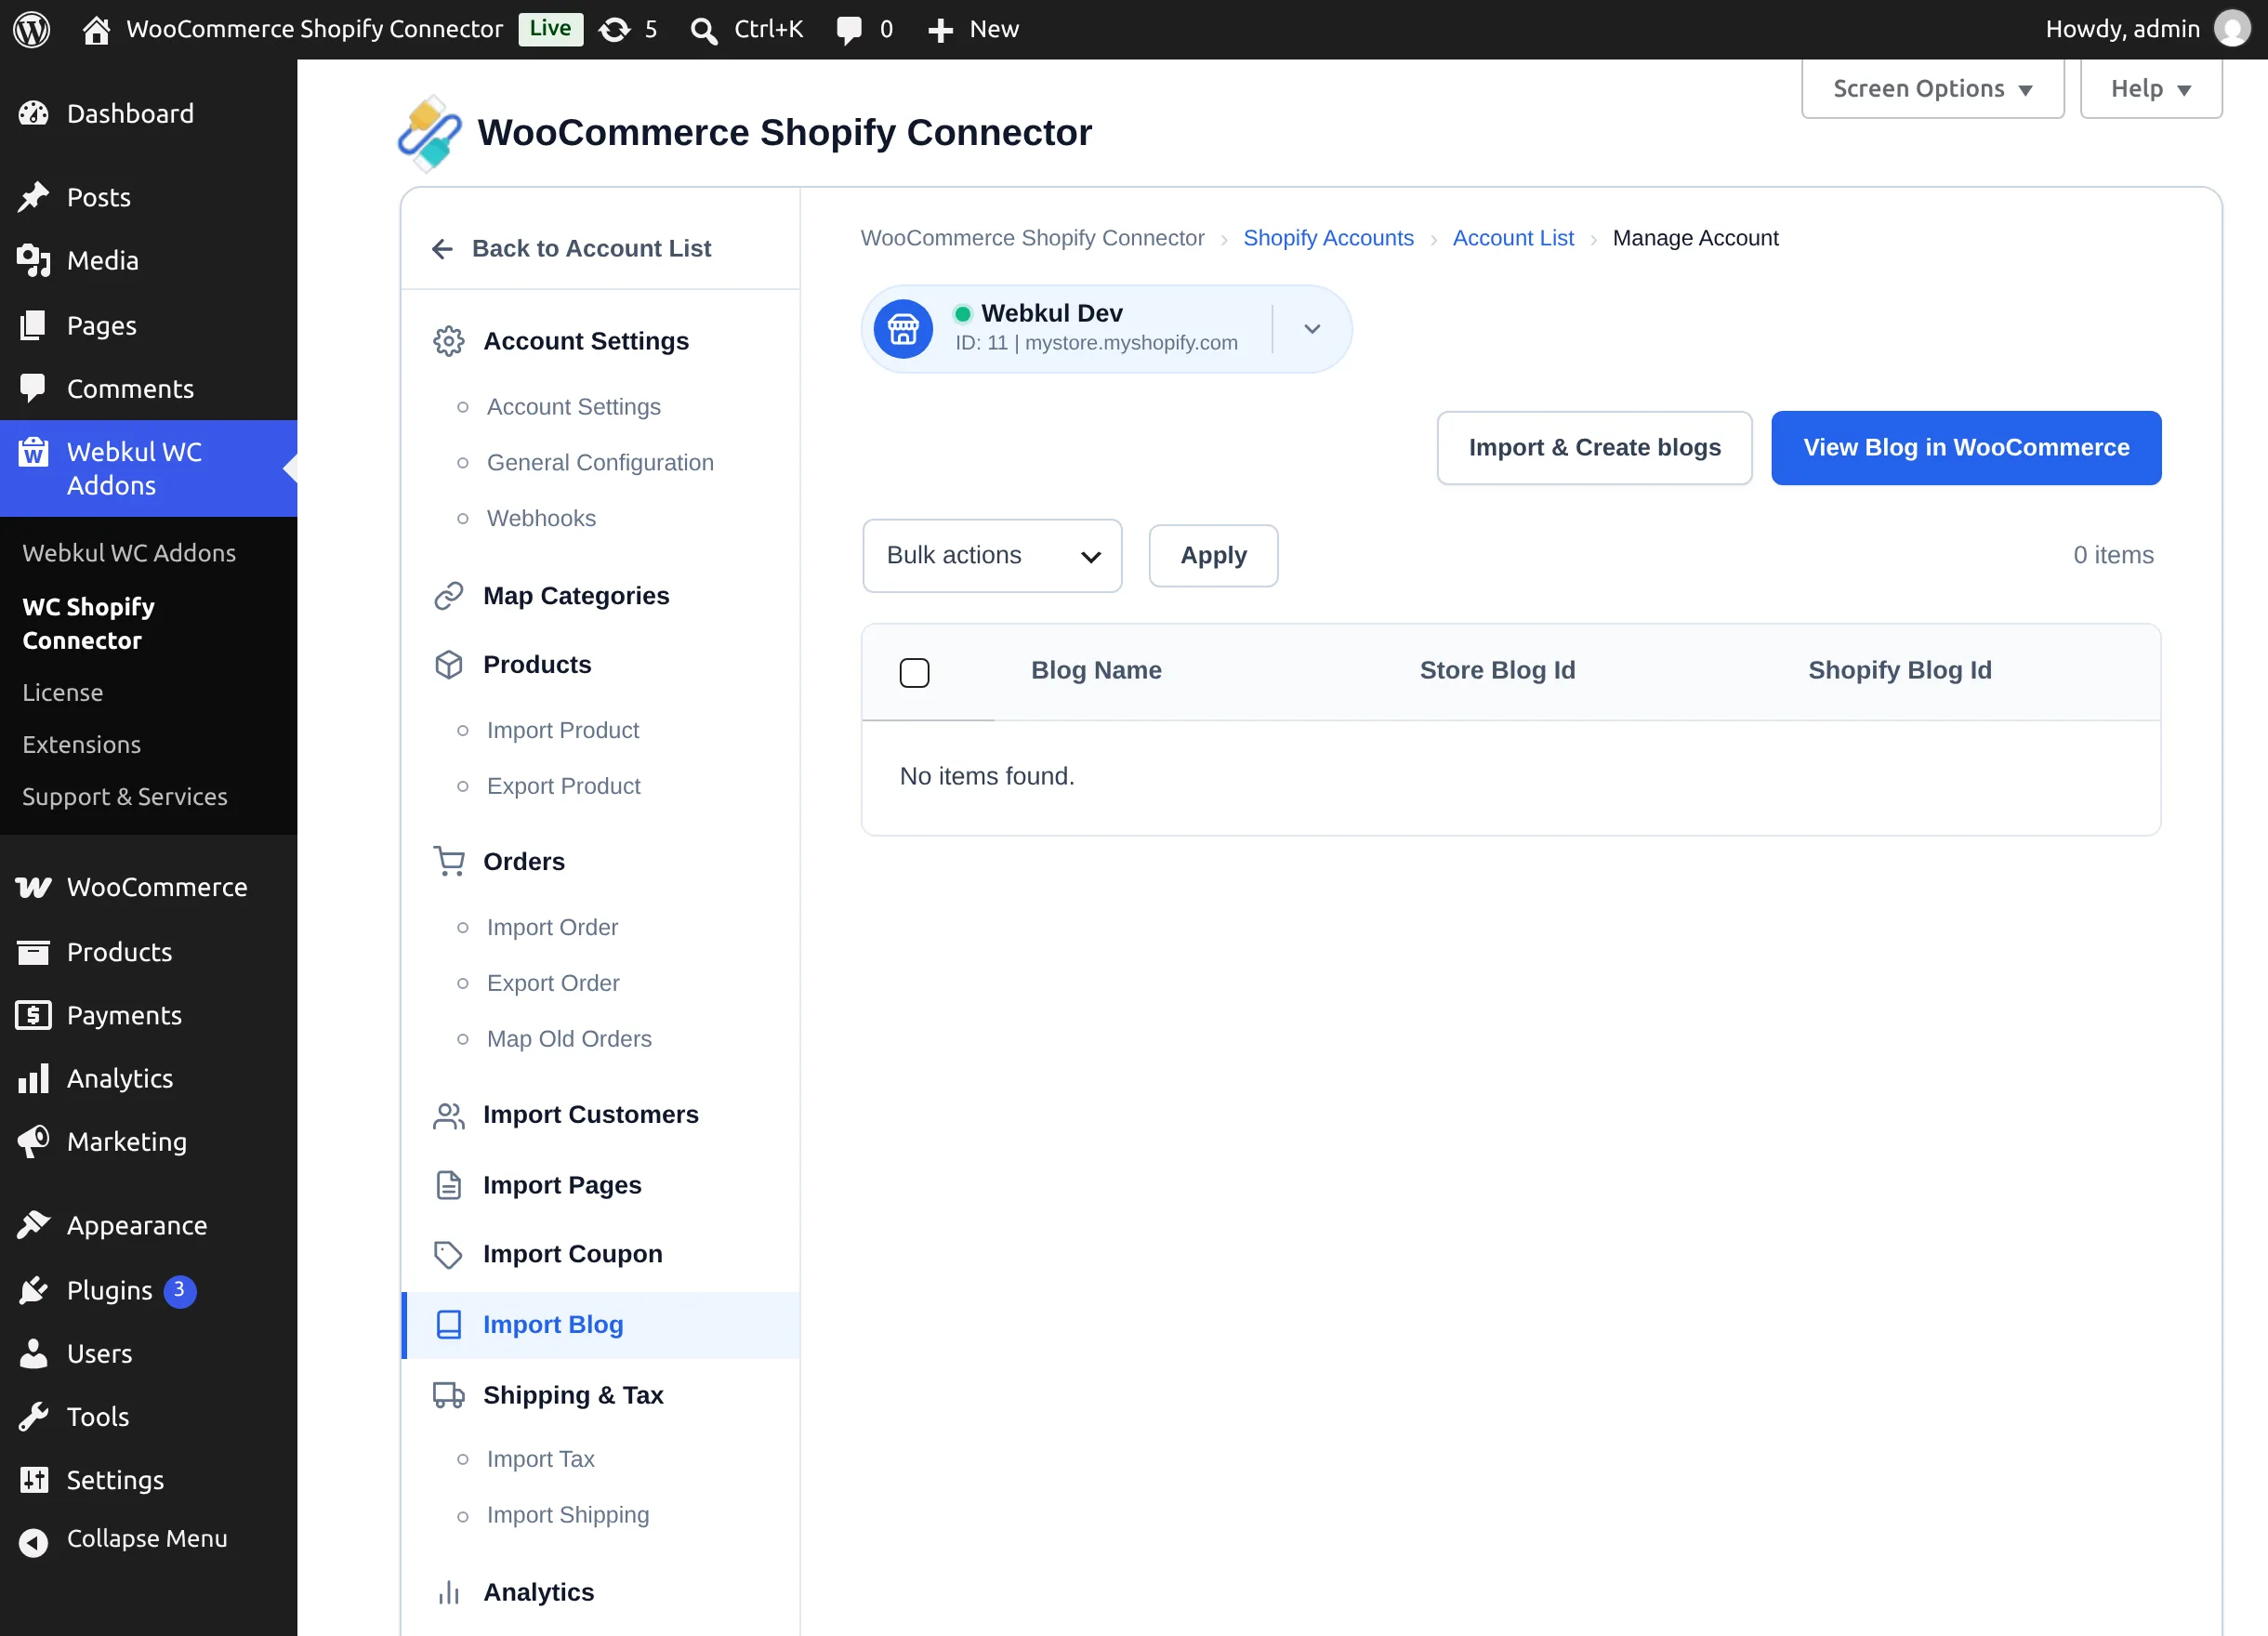
Import & Create blogs is a single step: Shopify blog articles become WordPress posts, including the featured image and tags. Use View Blog in WooCommerce to jump to your posts list, and the per-row View Blog action to open an article.
Next step
Complete the store setup with Shipping & Tax imports.