
Installation
Installing the connector is a normal WordPress plugin installation followed by licence activation. It is done once, by the marketplace administrator.
Before you start
The connector cannot run without these. Install and configure them first.
| Requirement | Minimum | Why |
|---|---|---|
| WordPress | 6.8 | Plugin platform |
| PHP | 7.4 | Plugin platform |
| WooCommerce | 10.0 | Products, orders and order statuses |
| WCFM Marketplace | — | Every vendor screen is a WCFM dashboard page |
| A Shopify store | — | With a Developer Dashboard app or a legacy custom app |
Each vendor also needs their own Shopify store and app credentials. Those are entered by the vendor, not by you — see Setup Wizard.
WCFM Marketplace is not optional. The Shopify Connector menu is registered on the WCFM vendor dashboard. Without WCFM active, vendors have no way to reach any of the connector's screens.
Step 1 — Upload and activate the plugin
- Go to Plugins → Add New → Upload Plugin.
- Choose the
wcfm-marketplace-shopify-connectorzip file and select Install Now. - Select Activate.
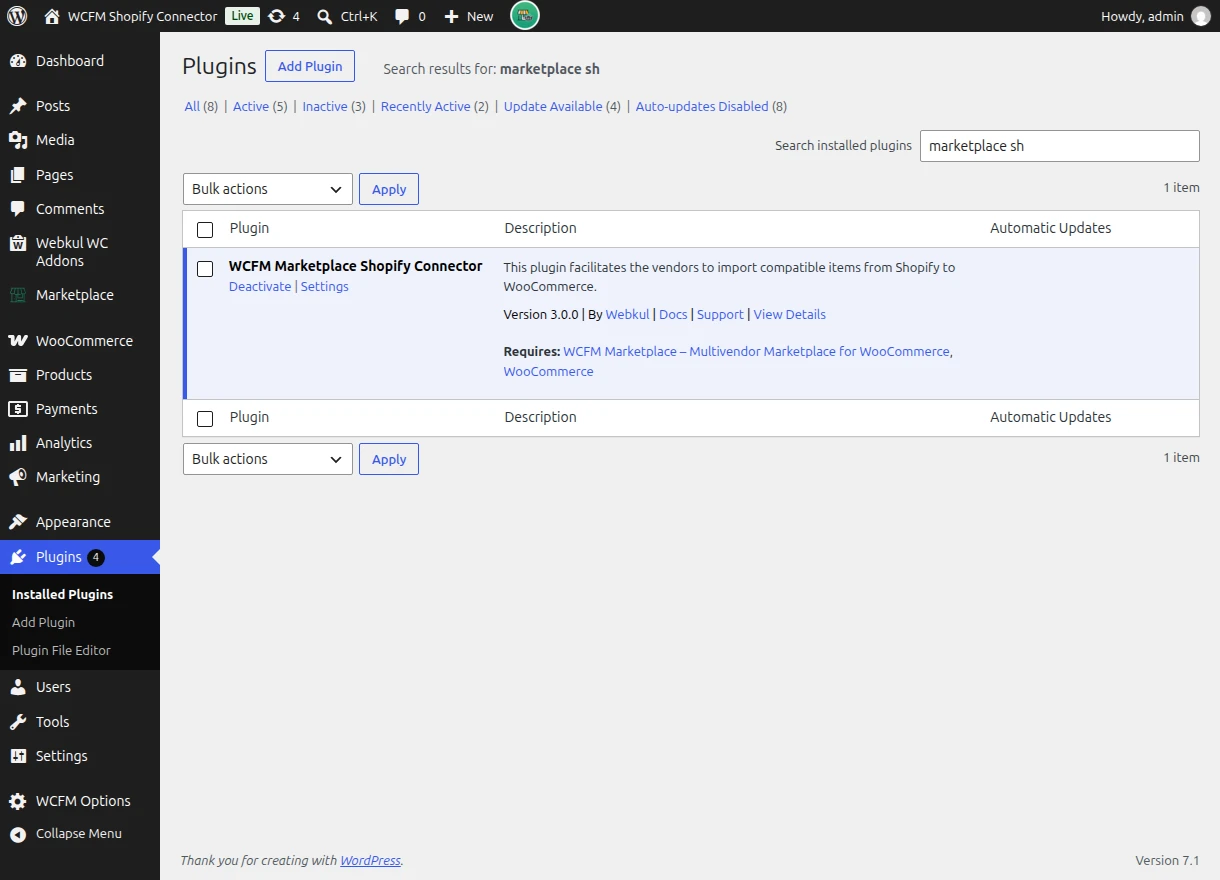
Once active, the plugin appears in your plugins list with a Settings link.
Step 2 — Activate the licence
The connector is a licensed Webkul module. Until the licence is approved you will not receive updates.
- Go to Webkul WC Addons → License.
- Check that WCFM Marketplace Shopify Connector is listed with the version you installed.
- Confirm Status reads Approved.
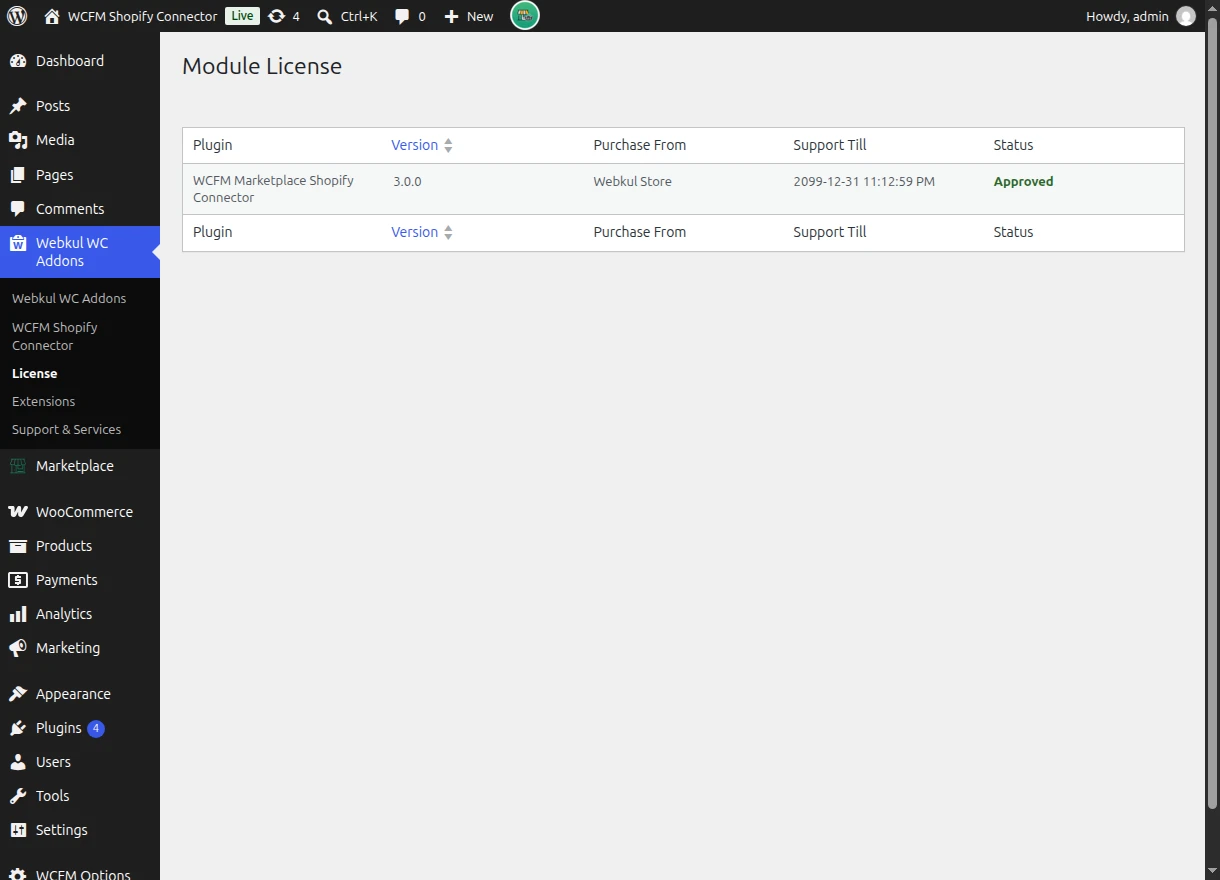
The table shows each Webkul module you have installed, where it was purchased, and how long support runs.
Step 3 — Check the admin screen loads
Go to Webkul WC Addons → WCFM Shopify Connector. You should see the Shopify Account List. It will be empty until a vendor connects a store.
This screen is described in full in Admin Overview.
Step 4 — Hand over to your vendors
There is nothing further for an administrator to configure. Everything else — connecting stores, mapping categories, importing and exporting — is done by each vendor in their own dashboard.
Point your vendors at Setup Wizard to connect their first store.
Uninstalling
Deactivating the plugin removes the vendor menu and stops all synchronisation. Deleting the plugin also removes its licence option. Products and orders already created in WooCommerce are ordinary WooCommerce records and are not removed.