
Setup Wizard
The Setup Wizard is the guided way for a vendor to connect their first Shopify store. It collects the store details, verifies the credentials with Shopify and authorises the connection in four steps.
The wizard opens automatically the first time a vendor visits the Shopify Connector. It can be reopened at any time from Vendor Dashboard → Shopify Connector → Setup Wizard.
What you need before starting
Have these ready from your Shopify admin — the wizard cannot continue without them.
If you are using a Developer Dashboard app (recommended):
- Your myshopify.com store domain
- The app's Client ID and Client Secret, from your Dev Dashboard at
dev.shopify.com - Permission to edit the app's Allowed Redirection URLs
If you are using a legacy custom app:
- Your myshopify.com store domain
- The Admin API access token, which begins with
shpat_
Don't have these yet? Get Shopify API Credentials walks through creating the app in Shopify and copying its keys.
Shopify no longer issues new legacy custom apps. As of 1 January 2026 Shopify has discontinued support for creating them. Create new apps through the Shopify Developer Dashboard instead. Existing legacy apps continue to work.
Step 1 — Welcome
The first screen summarises the four steps. Select Let's Go! to begin, or Skip Setup to go straight to the connector and add an account manually later.
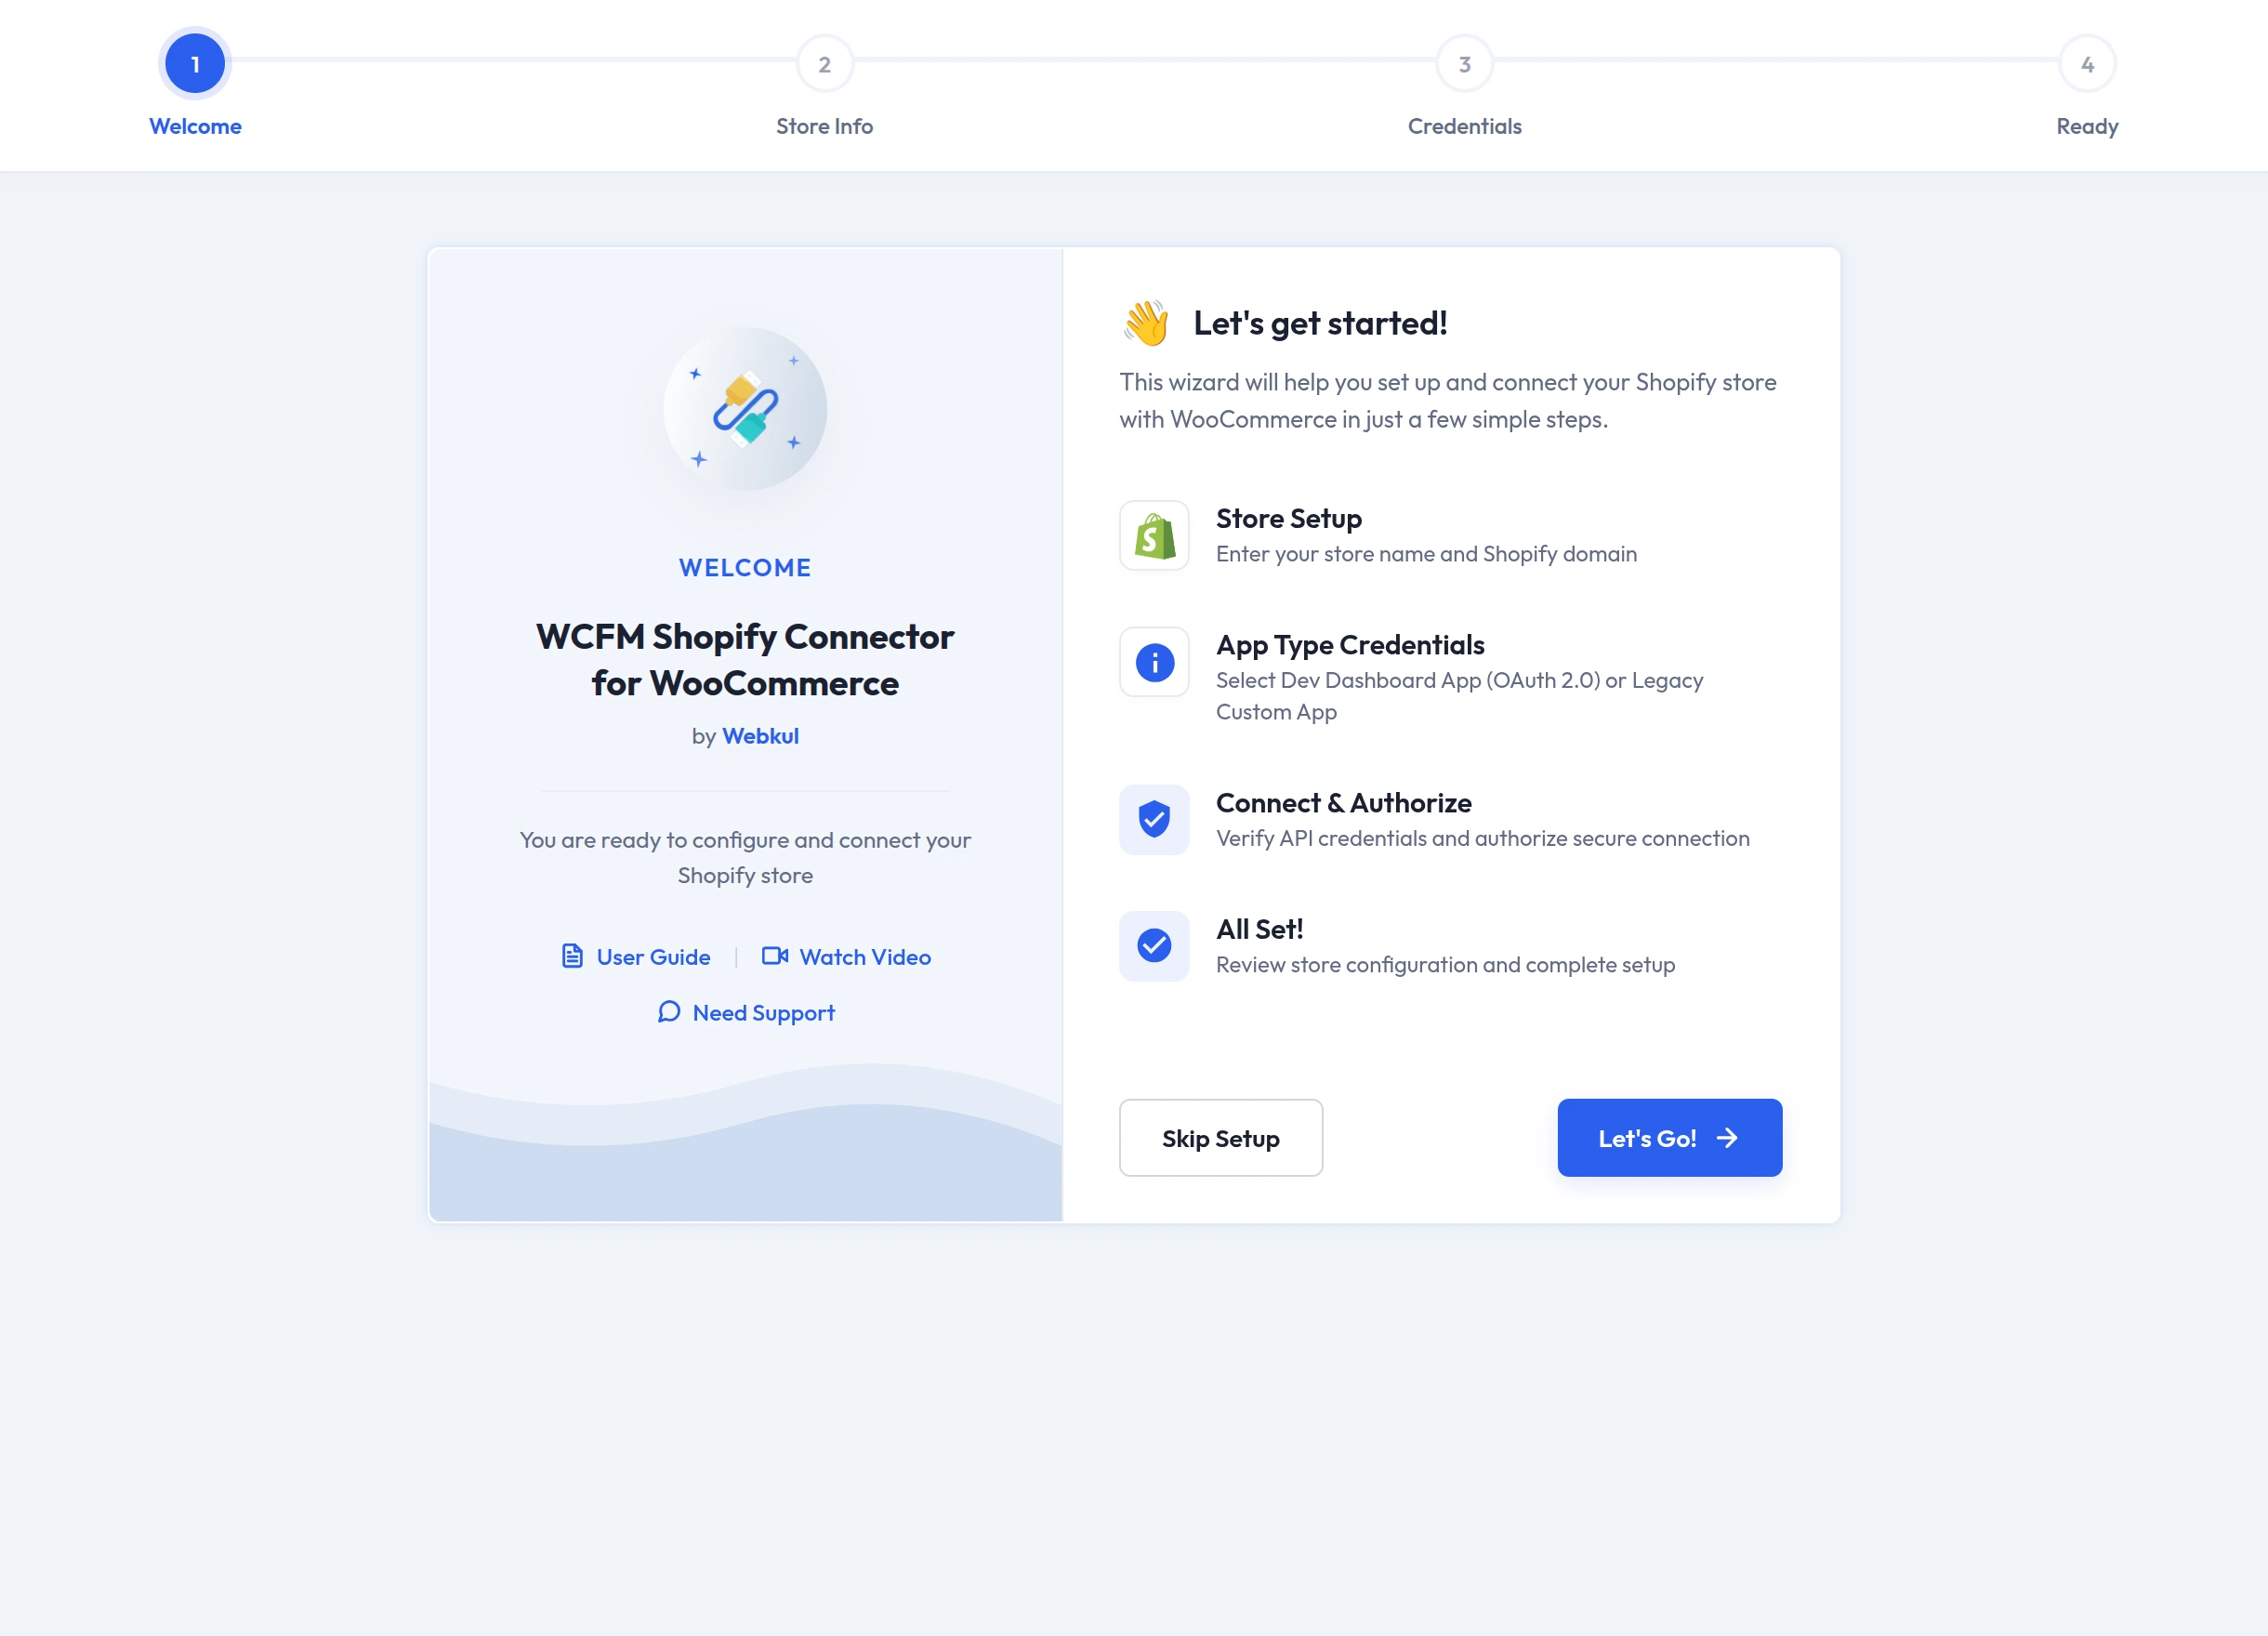
Links to the user guide, a video and support are available on every step.
Step 2 — Store Information
Enter the two details that identify your store.
| Field | What to enter |
|---|---|
| Store Name | A name for this connection. It must match your Shopify store name. |
| Shopify Store Domain | Your complete myshopify.com domain, without https:// |
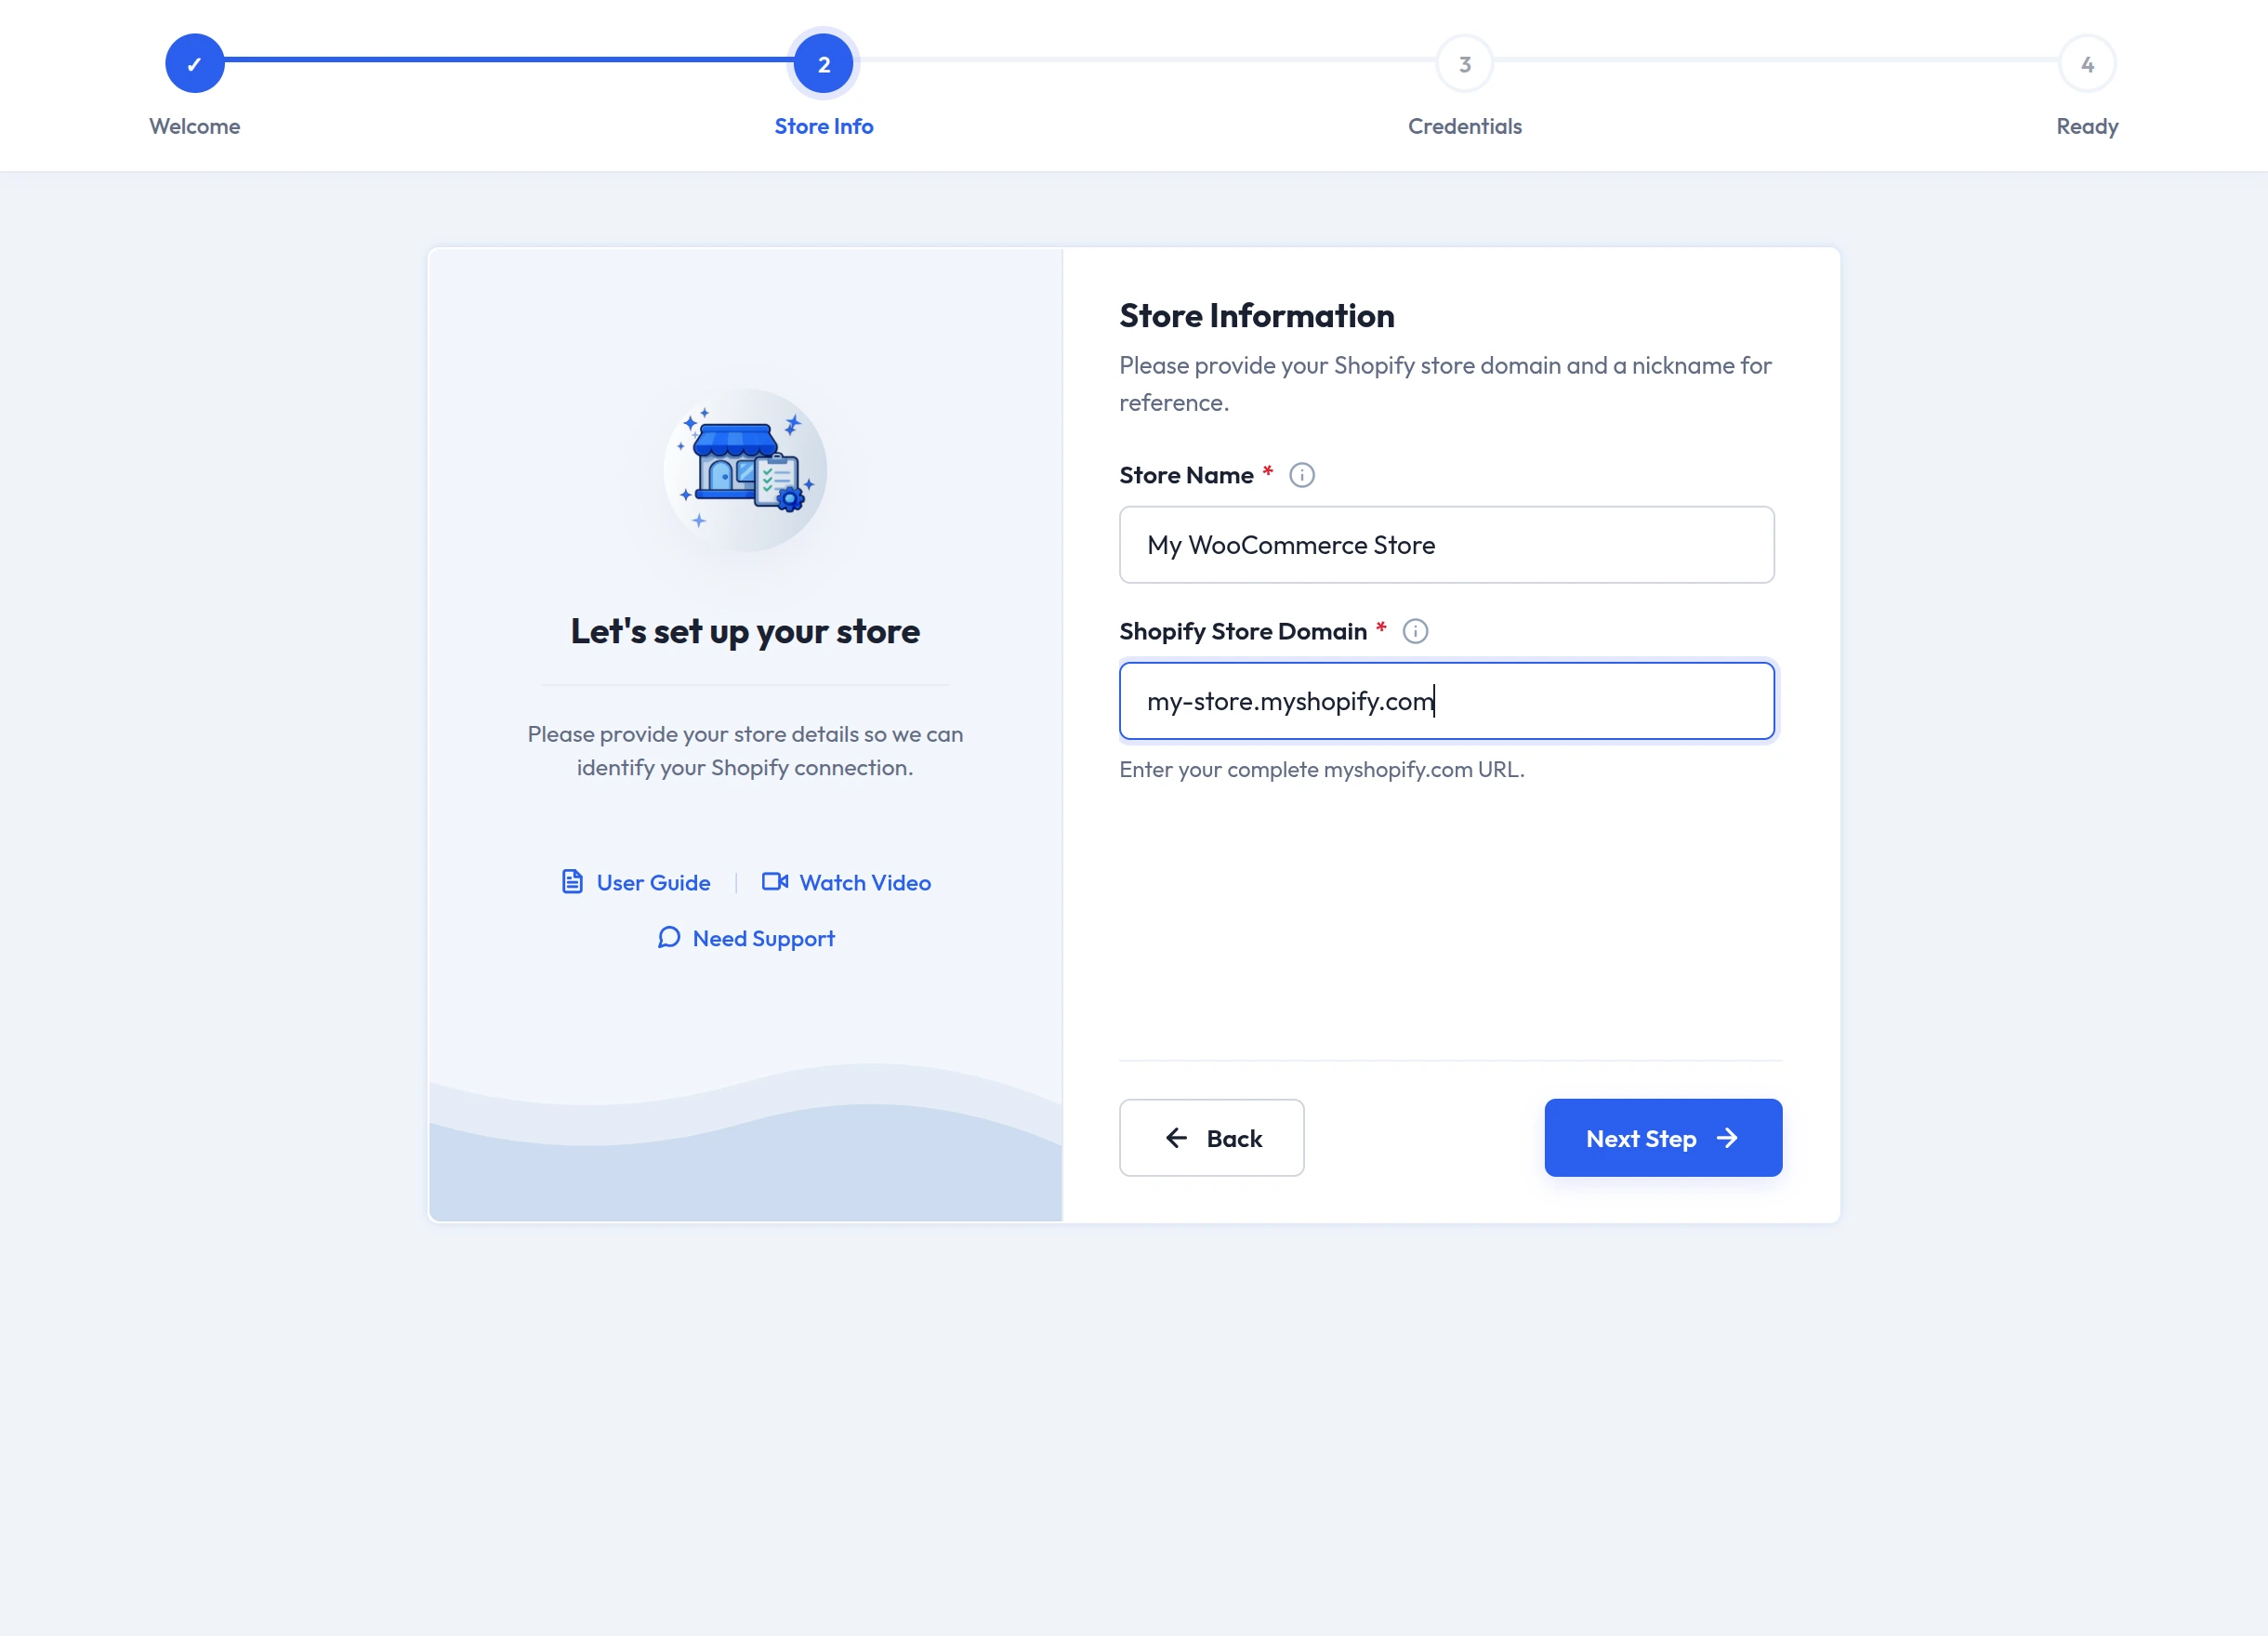
Select Next Step.
The store name must match Shopify. If it does not, the connection is refused with "Added store name does not match with the shopify store name. Please add valid store name."
Step 3 — API Credentials & Authorization
Choose the type of app you are connecting with.
Dev Dashboard App (OAuth)
Enter the Client ID and Client Secret from your Dev Dashboard app.
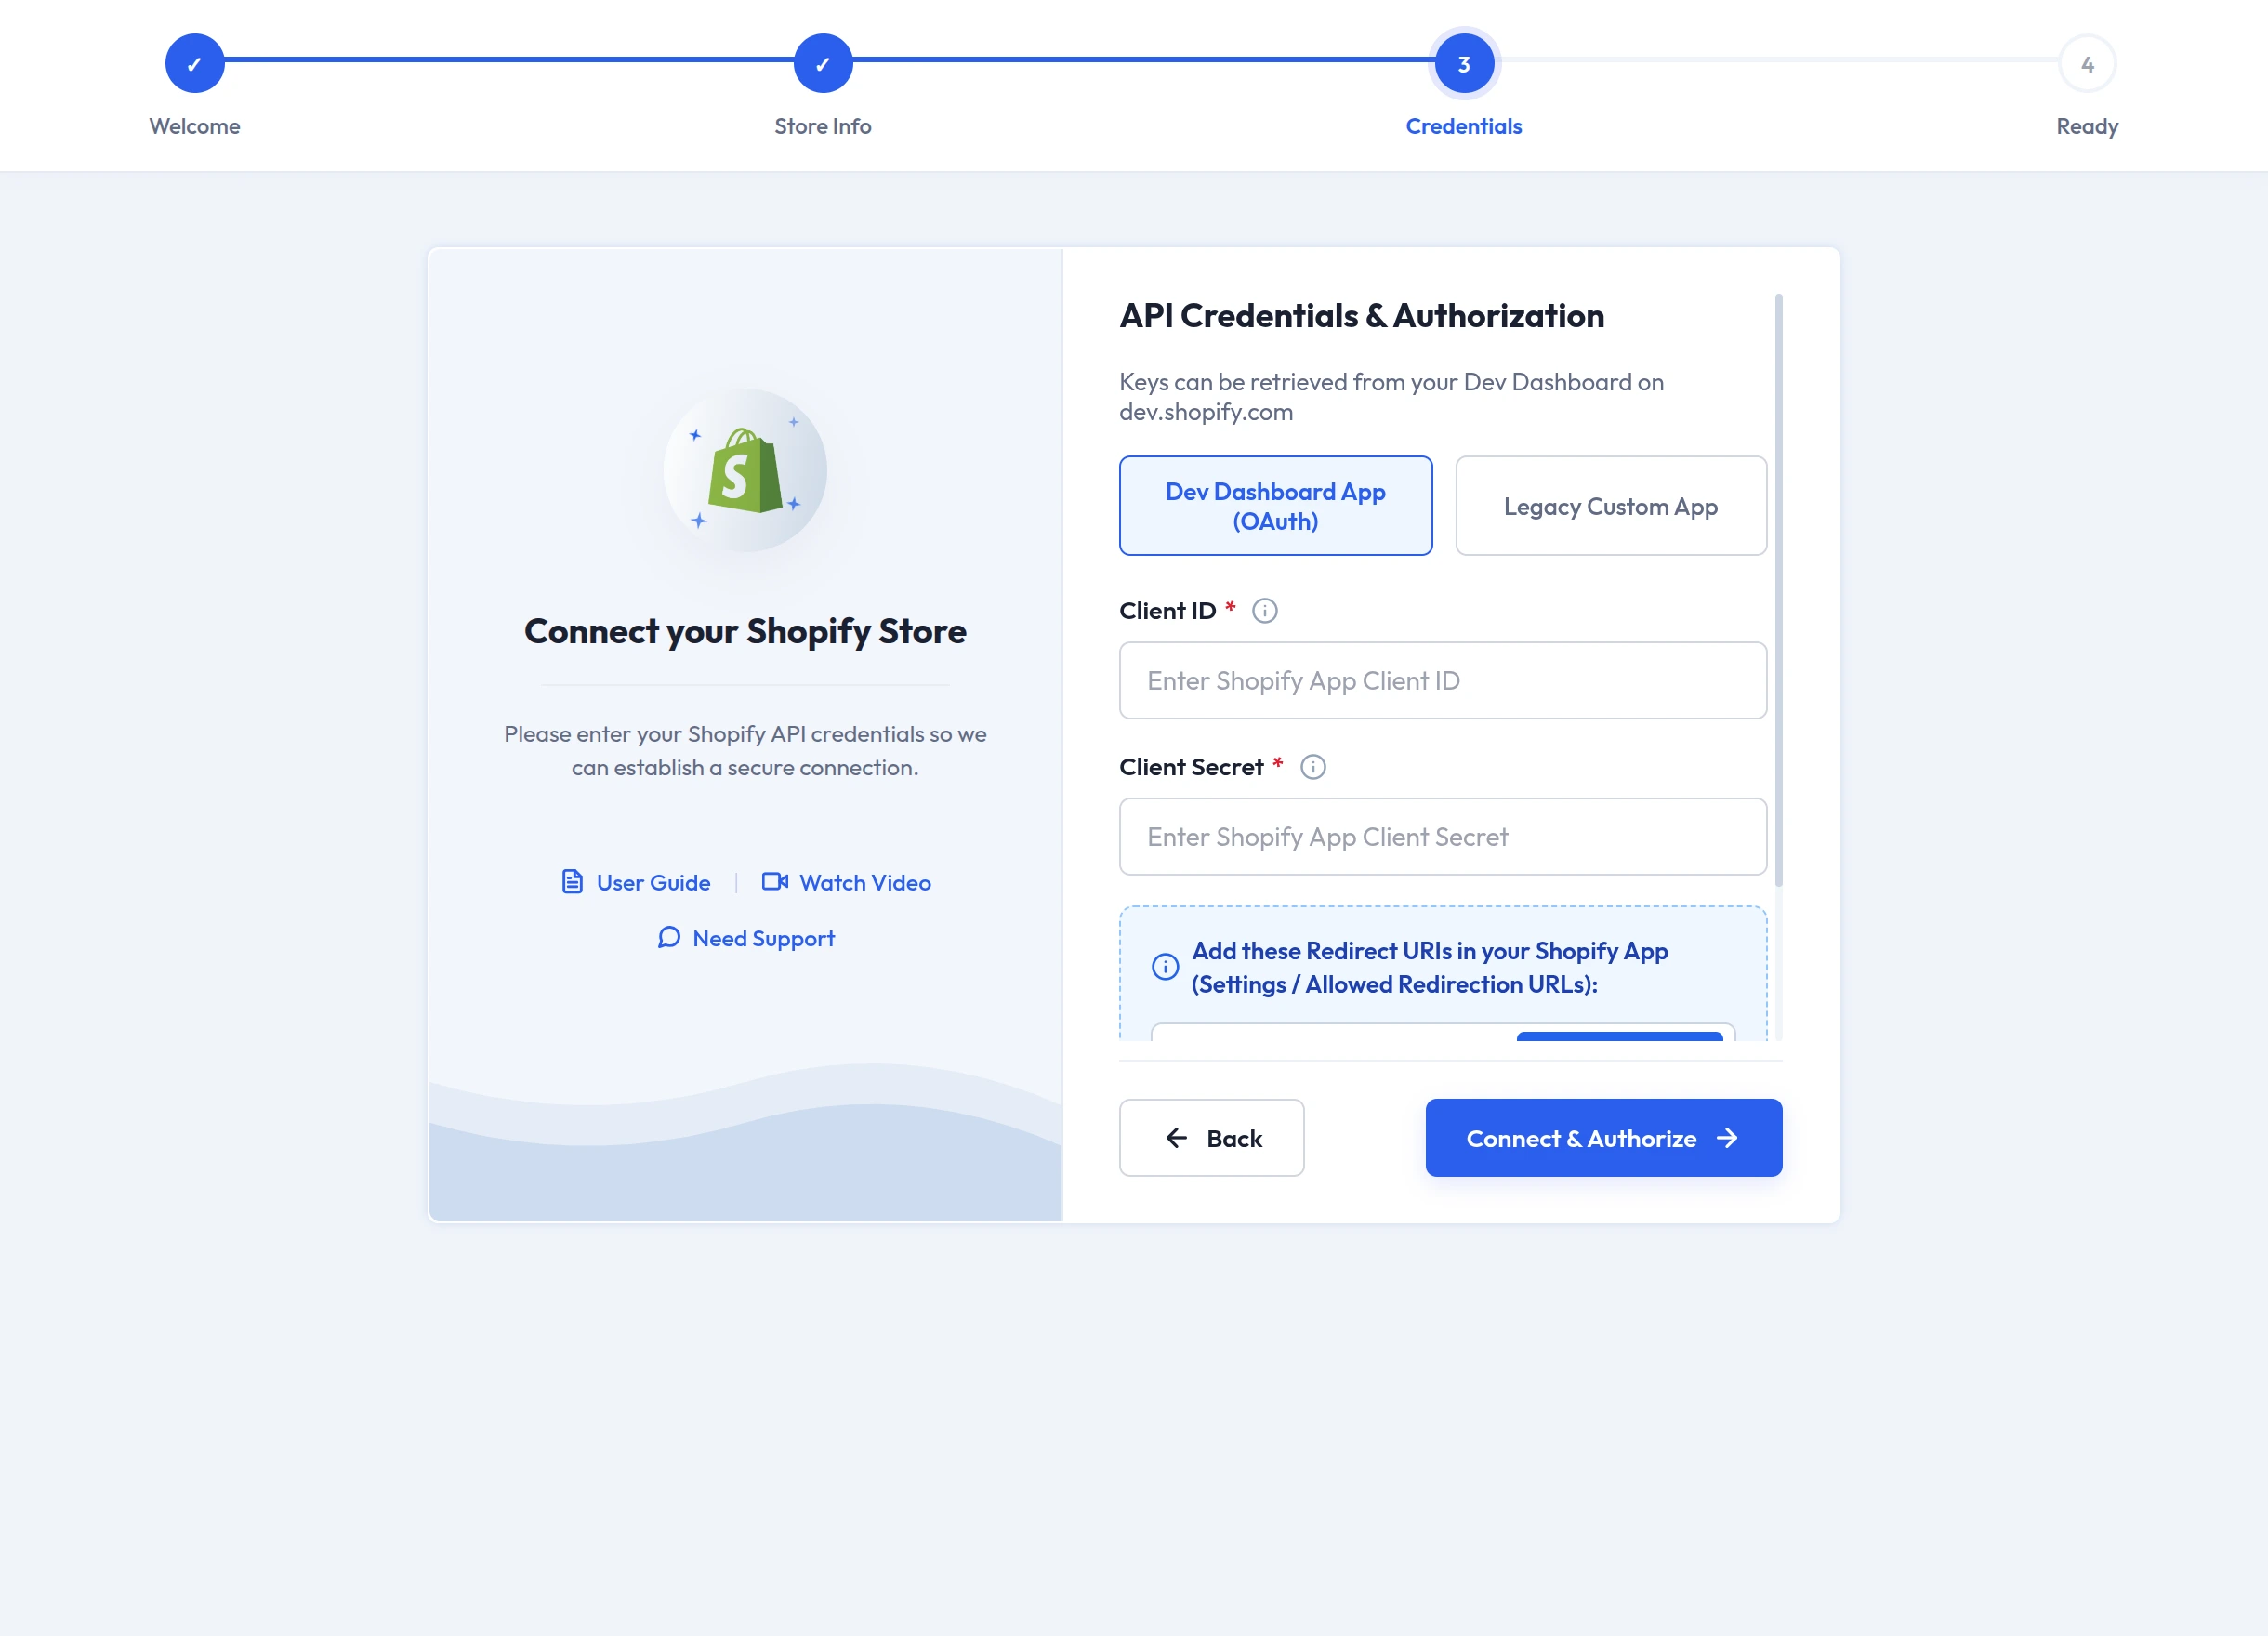
Before authorising, copy the two redirect URIs shown on this step and add them to your Shopify app under Settings → Allowed Redirection URLs. Use Copy Setup URI and Copy Main URI so they are exact. The Main URI is also the value that belongs in the app's App URL field — see Get Shopify API Credentials.
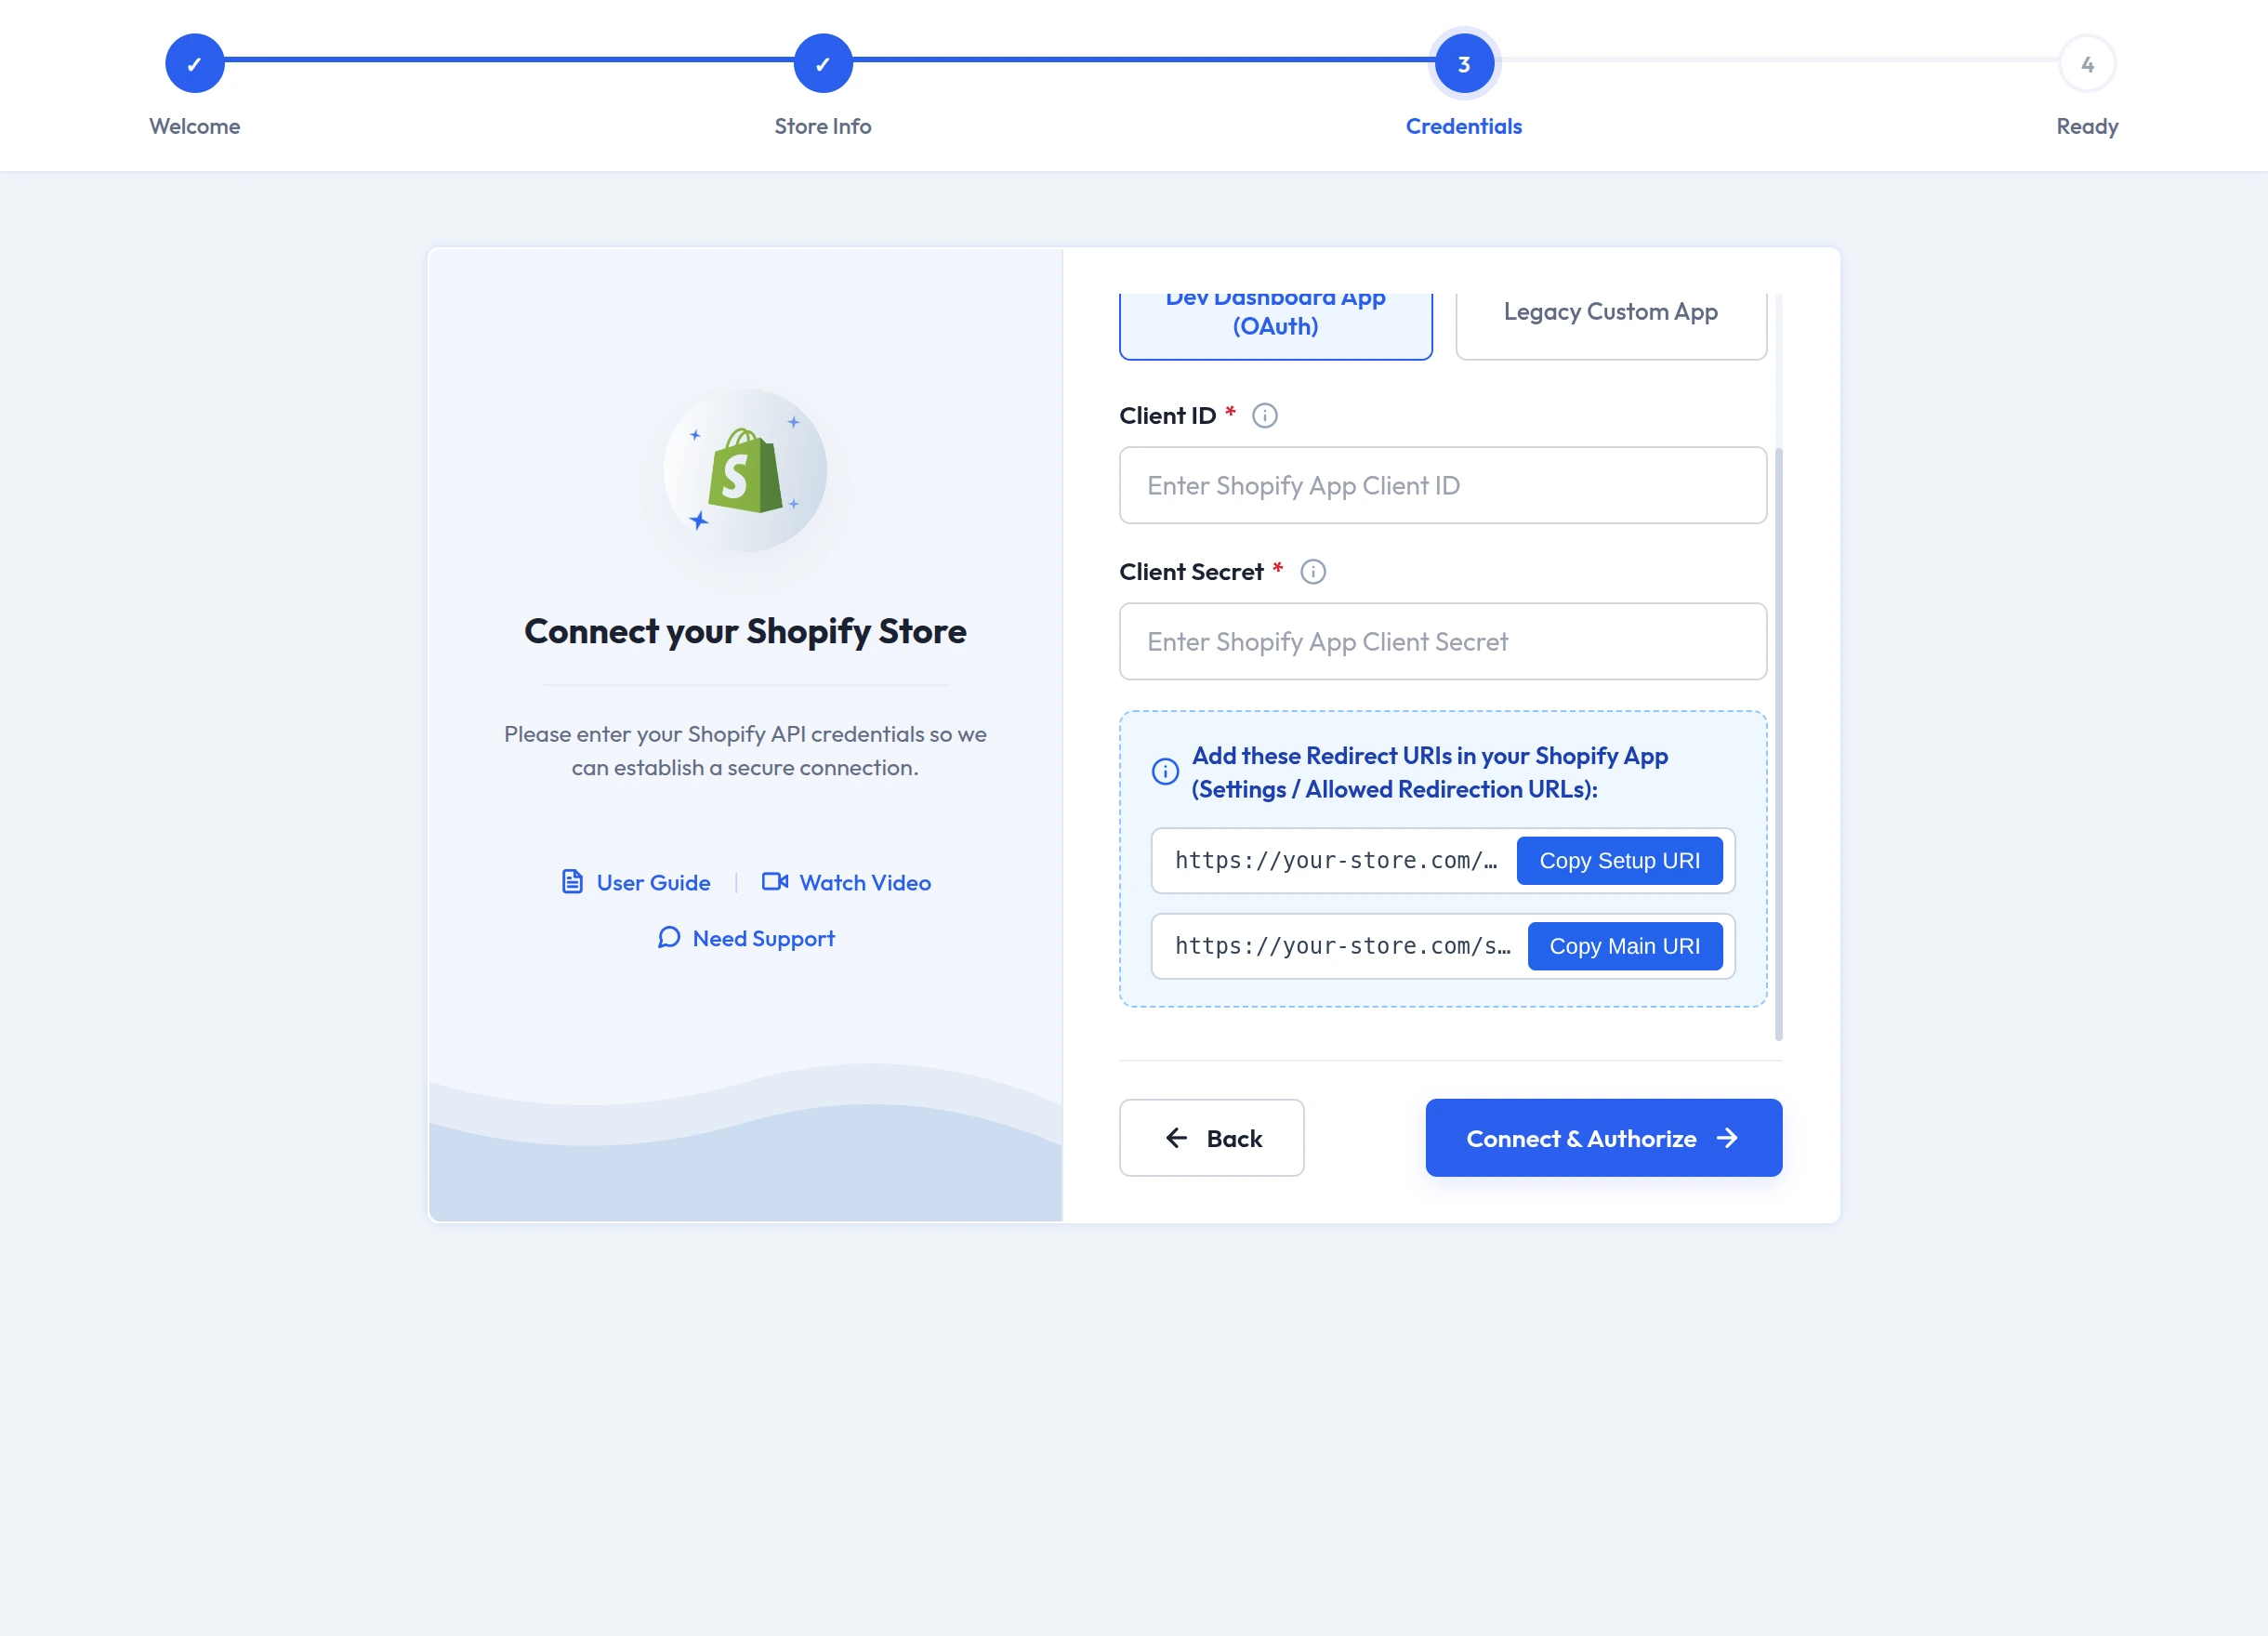
Select Connect & Authorize. You are taken to Shopify to approve the connection, then returned to the wizard.
Legacy Custom App
Enter the Admin API access token from your custom app. It begins with shpat_.
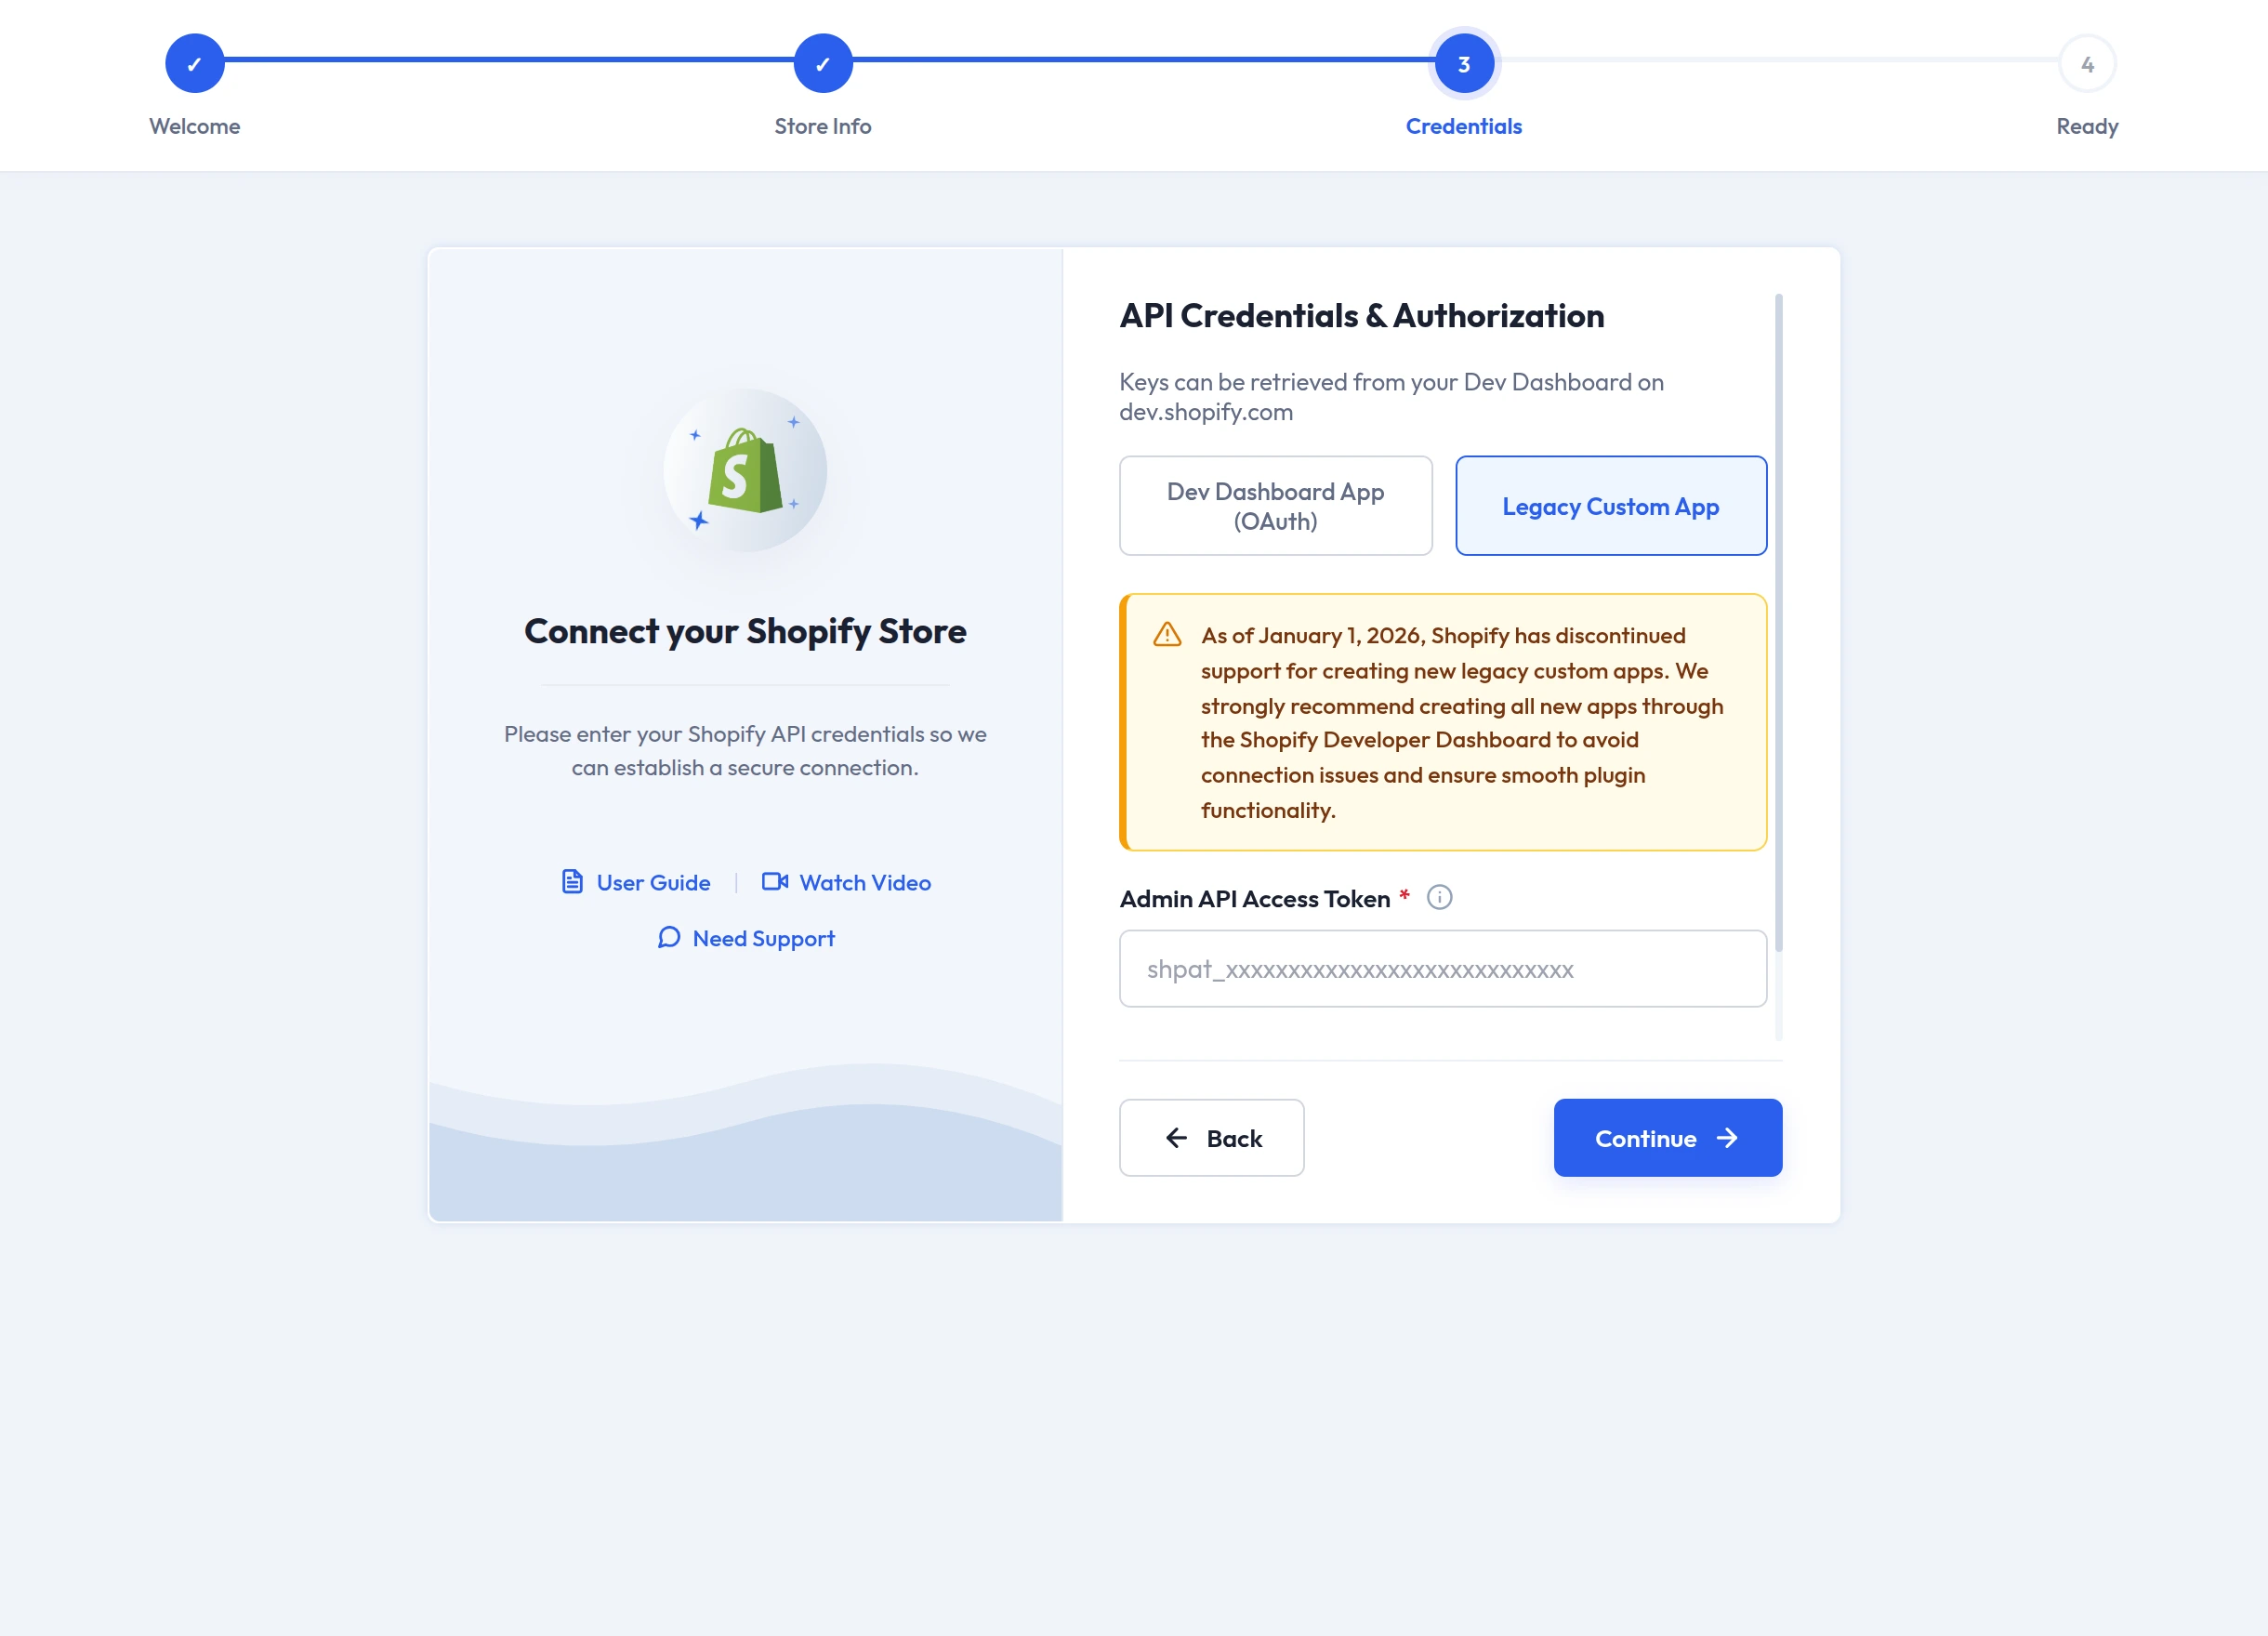
Select Test & Verify Connection, then Continue once the credentials are confirmed.
Step 4 — All Set
The final step confirms the connection and summarises what was set up: your Store Information, the Shopify Account it is linked to, the Authentication method used (OAuth 2.0 or Legacy Custom App), and a Connection Status of Connected.
From here, choose Go to Dashboard to return to the vendor dashboard, or Manage Accounts to open the account you just connected and start configuring it.
If something goes wrong
| Message | What it means | What to do |
|---|---|---|
| Please enter Store Name in Store Information. | Store name left blank | Go back to step 2 and complete it |
| Please provide a valid Store Domain. | Domain missing or malformed | Enter the full myshopify.com domain, without https:// |
| Please enter both Client ID and Client Secret. | One OAuth field blank | Copy both values from your Dev Dashboard app |
| Please provide Admin API Access Token. | Legacy token blank | Paste the shpat_… token |
| OAuth Authentication Failed: Please check your Shopify Client ID, Client Secret, and Store Name. | Credentials rejected | Re-check all three, and that both redirect URIs are whitelisted in the Shopify app |
| Shopify verification failed. Please check your credentials. | Shopify refused the token | Confirm the token is current and has not been revoked |
| Account already exists. This Shopify store is already connected. | Store already linked | Use the existing account instead |
| Account already exists. This Shopify store is already connected to another account. | Store linked elsewhere | Disconnect it there first |
| Connected to Shopify, but reading the store details failed… | Connected, but the app lacks scopes or is unreleased | Grant the required scopes and release the app version, then use Refresh the app details |
| Permission denied. | Not signed in as the owning vendor | Sign in as the vendor who owns the account |
What to do next
- Map Categories — decide where imported products should land
- General Settings — set import and export preferences for this store
- Webhooks — switch on real-time synchronisation