
WooCommerce POS - Admin Configuration & Settings Guide
POS Configurations Performed by the Admin
The POS system provides multiple configuration options that allow the admin to control inventory warnings, order behavior, customer management, payments, appearance, and more. Below is a detailed overview of all available configurations.
POS Cron Configurations
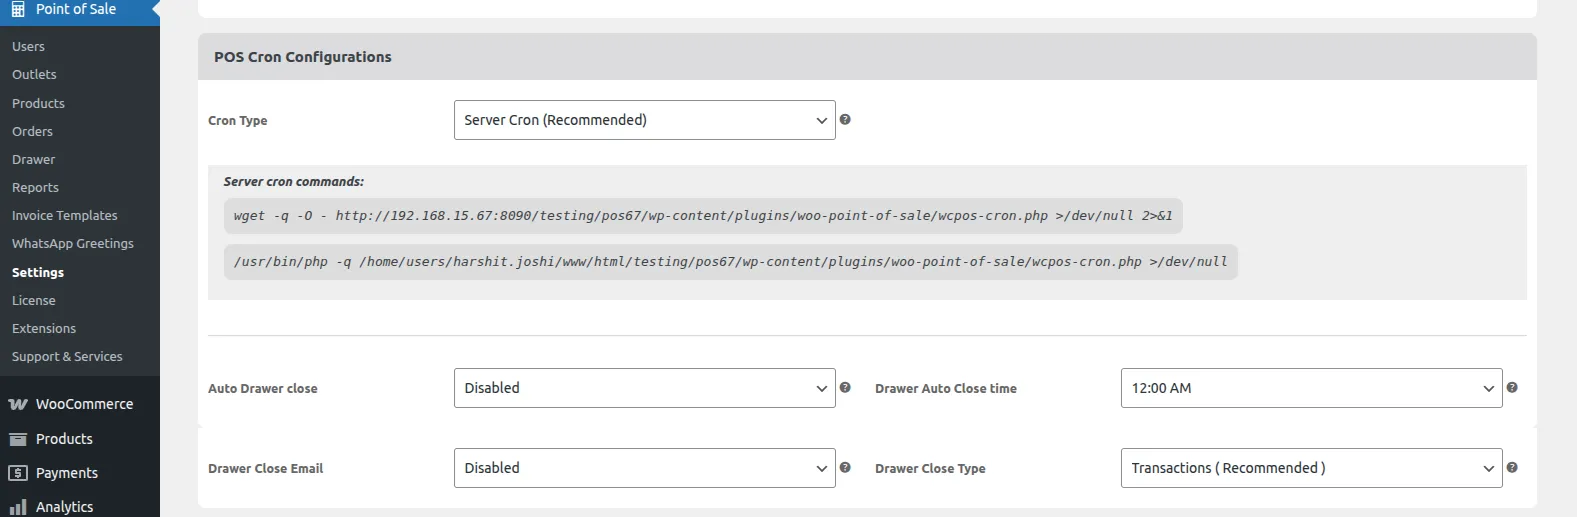
These settings help the admin manage stock warnings and rounding behavior.
Quantity for Low Stock Warning Enter the minimum quantity threshold to trigger low stock alerts.
Amount to Increase After Round-Off Define the amount that will be added after order total round-off.
Auto Drawer Close Enable or disable automatic closing of the POS drawer.
Drawer Auto Close Time Set the time at which the drawer will automatically close (for example, 12:00 AM).
Drawer Close Email Enable or disable email notifications for admins when the drawer is closed.
Drawer Close Type Select the method by which the drawer will be closed (manual or automatic).
Order Configuration
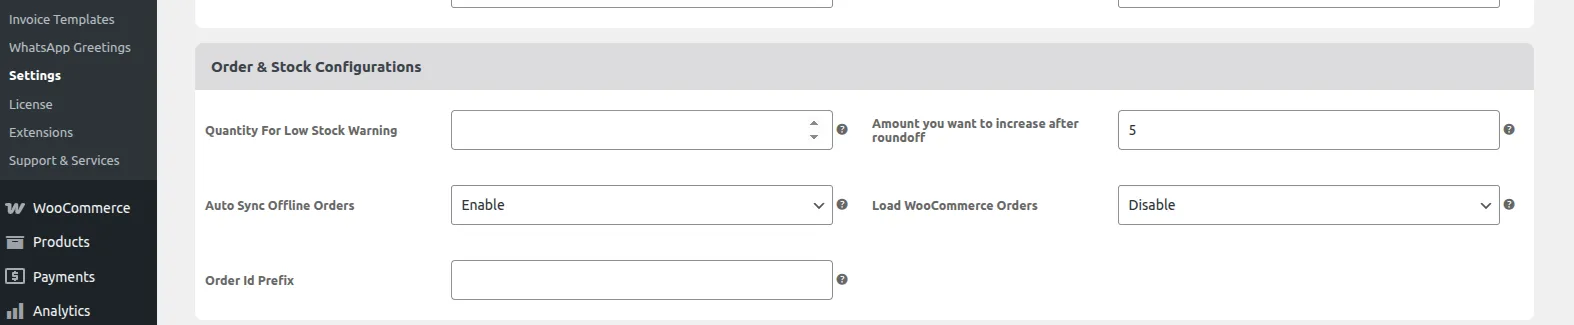
Configure how orders behave and sync between POS and WooCommerce.
Quantity for Low Stock Warning Set the minimum product quantity to trigger low stock warnings.
Amount You Want to Increase After Round-Off Define the amount (for example, 5) that will be added after rounding off the order total.
Auto Sync Offline Orders Enable this option to automatically sync offline POS orders once the internet connection is restored.
Load WooCommerce Orders Enable or disable syncing of WooCommerce orders to POS outlets.
Order ID Prefix Enter a custom prefix to be added before POS order IDs for better identification.
WhatsApp Greetings Settings

Send WhatsApp Message to Client Enable this option to allow sending WhatsApp messages to customers from POS.
Send Order Receipt to Client Enable to send the order receipt to the customer via WhatsApp.
Send Automatic Order Receipt to Client Enable automatic sending of order receipts via WhatsApp after order completion.
Send Message to Multiple Clients Enable to broadcast WhatsApp messages to multiple customers at once.
Barcode Settings
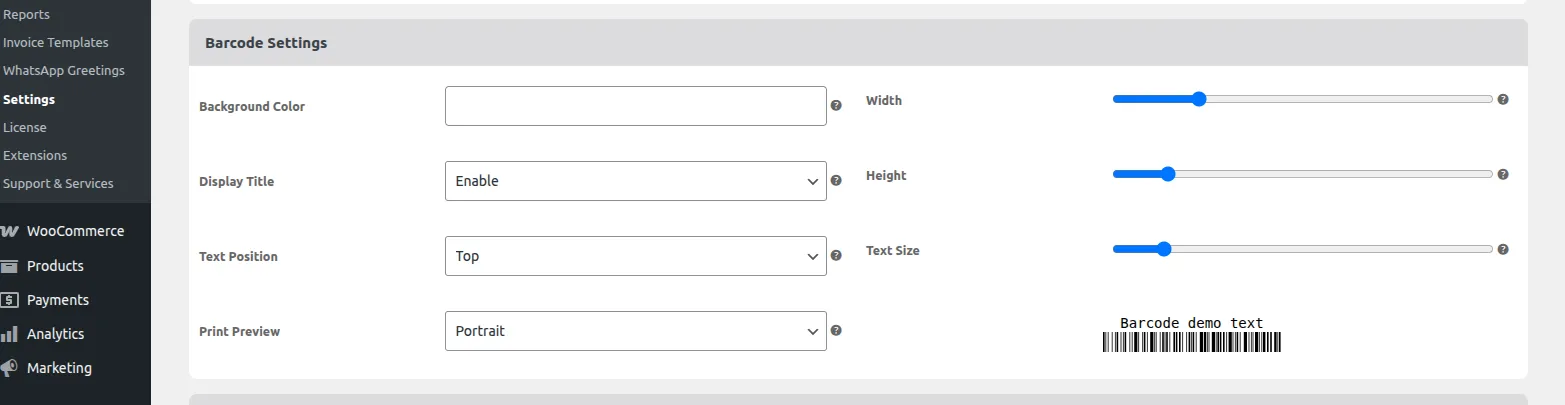
Background Color Set the background color for the barcode label.
Width Define the width of the barcode.
Display Title Enable this option to show the product title on the barcode.
Height Set the height of the barcode.
Text Position Choose the position of the barcode text (for example, Top).
Text Size Define the size of the text displayed with the barcode.
Print Preview Preview the barcode layout before printing.
Customer Details
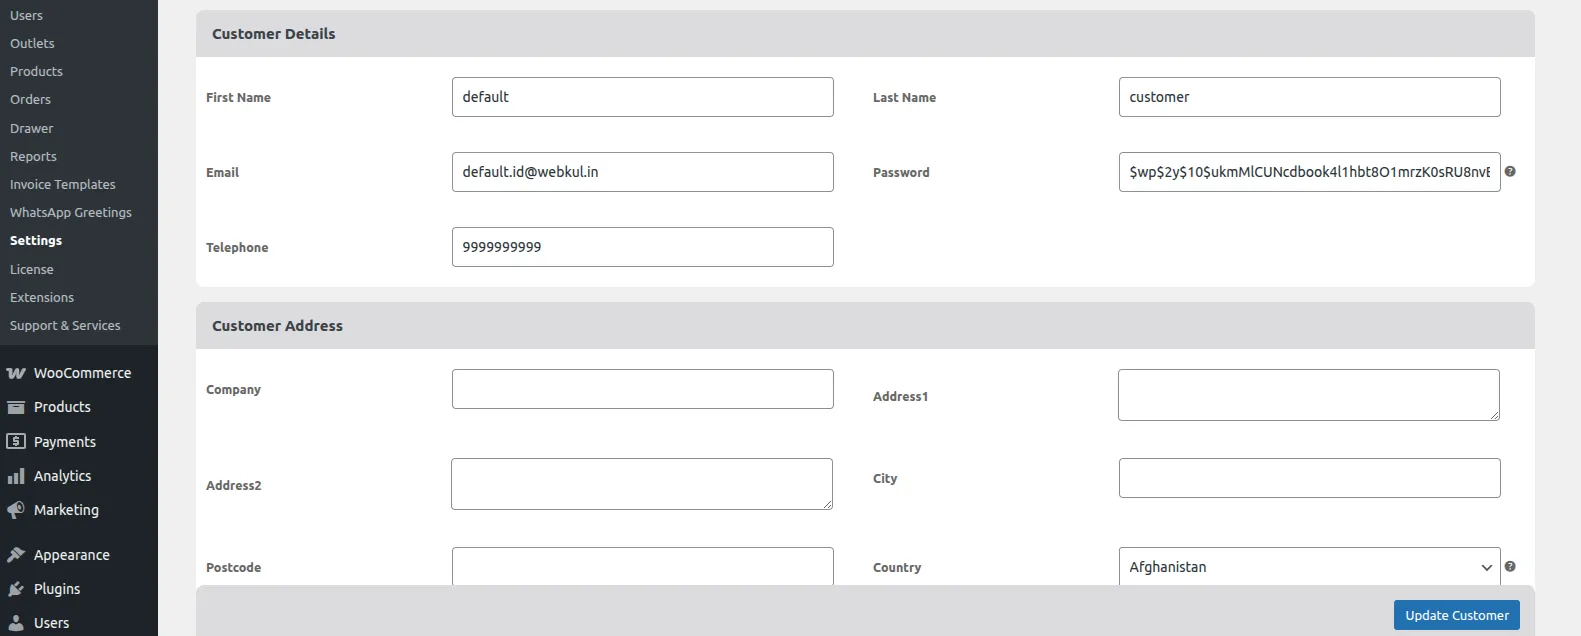
Admins can add or manage customer information in POS. Below are the configurable fields:
First Name Default value:
defaultLast Name Default value:
customerEmail Default value:
[email protected]Password Default value (hashed):
$wp$2y$10$ukmMlCUNcdbook4l1hbt8O1mrzK0sRU8nvBrUCLzTe5i23RHLmD6STelephone Default value:
9999999999
Customer Address
Company Enter the customer's company name (if applicable).
Address1 Primary street address.
Address2 Secondary street address (optional).
City Customer's city.
Postcode Customer's postal code.
Country Customer's country.
Payment Methods

Admins can configure payment methods for record-keeping and checkout purposes.
Click the Add New button to create a payment method.
Admin can Edit or Delete existing payment methods.
Enter the following details:
- Payment Name
- Payment Slug
- Payment Description
Enable or disable payment methods as required.
The added payment method must be selected in the respective outlet to be usable.
Invoice Printer
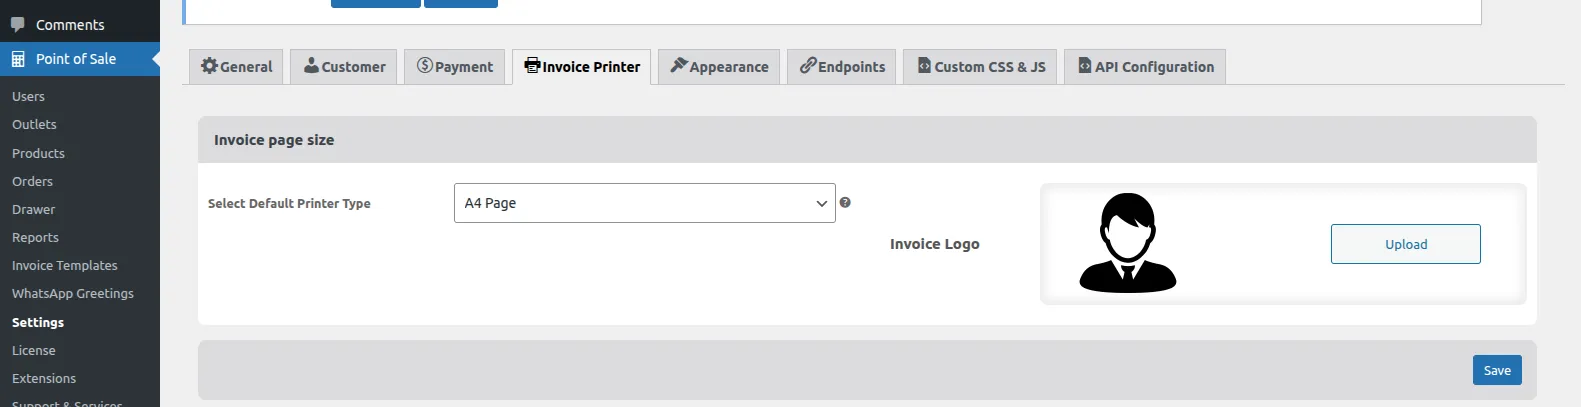
- Admin can configure printer settings.
- Select and set a default printer type for invoice printing.
Appearance Settings
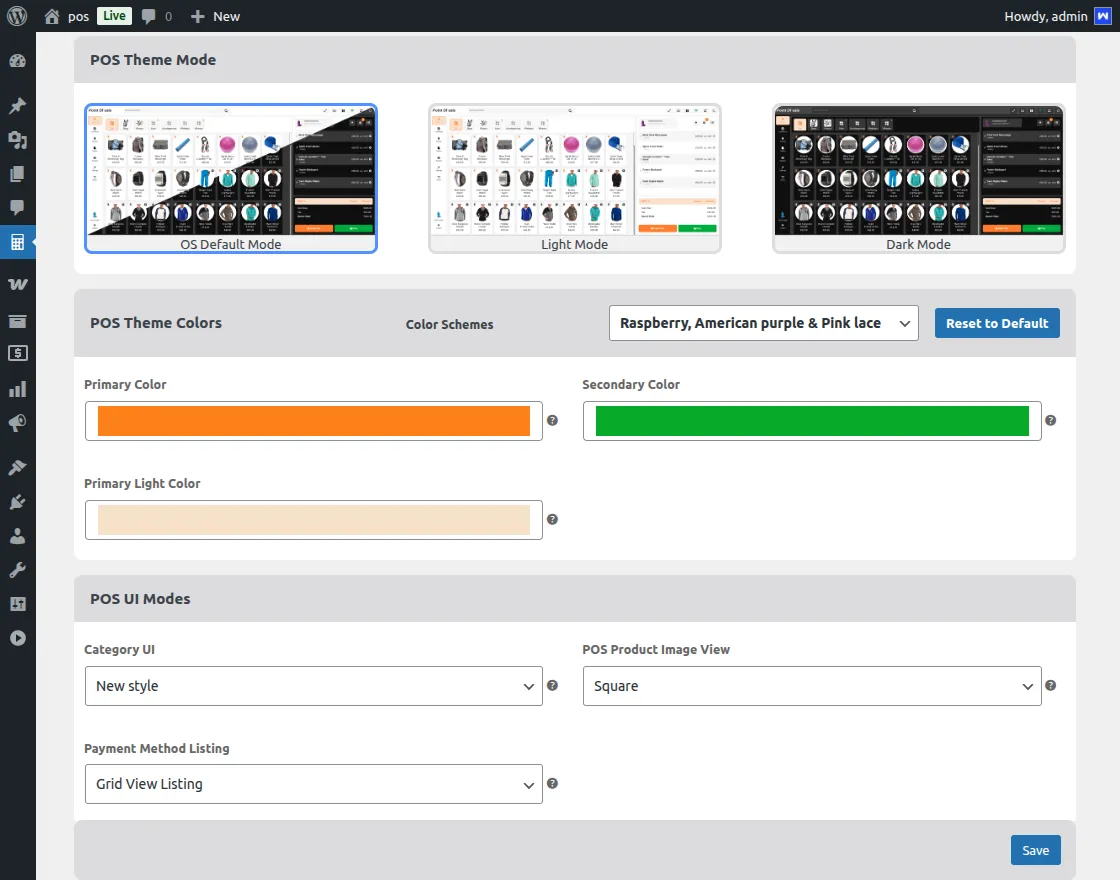
Customize the look and feel of the POS interface.
POS Theme Mode Choose the preferred theme mode.
Color Schemes Select from predefined color schemes or configure colors manually.
Category UI Choose between the Old UI or New UI style.
POS Product Image View Select image style:
- Circle
- Square
- Rounded
Payment Method Listing Views Choose one of the following:
- Grid View
- Grid View with Currency
- Dropdown View
Dark Theme Can be configured directly from the POS panel.
Module Translation
Admins can translate the POS module into different languages.
- Save the translation file in the WordPress
languagesdirectory. - Run the following command:
wp i18n make-json wc_pos-xx_YY.po --no-purge