
WooCommerce POS - Managing Outlets & POS Users Guide
Point Of Sale - Outlet
Administrators can efficiently manage physical store locations through the Outlet management system. To begin, navigate to: WooCommerce Point Of Sale > Outlets
Add New Outlet
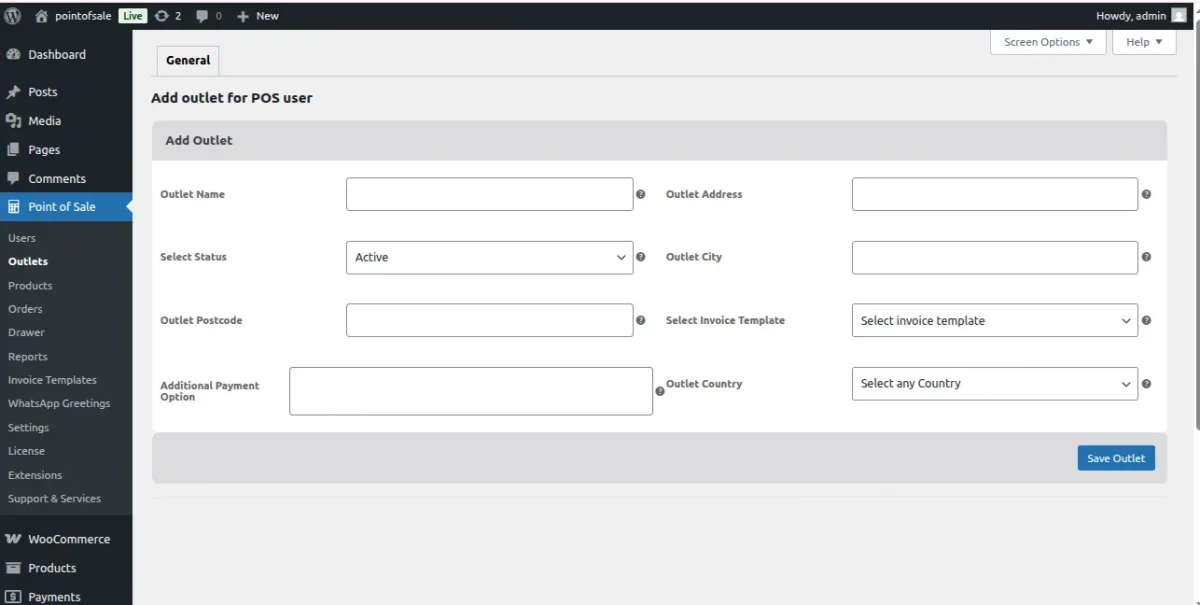
- This action redirects the admin to the Add New Outlet page where outlet details can be configured.
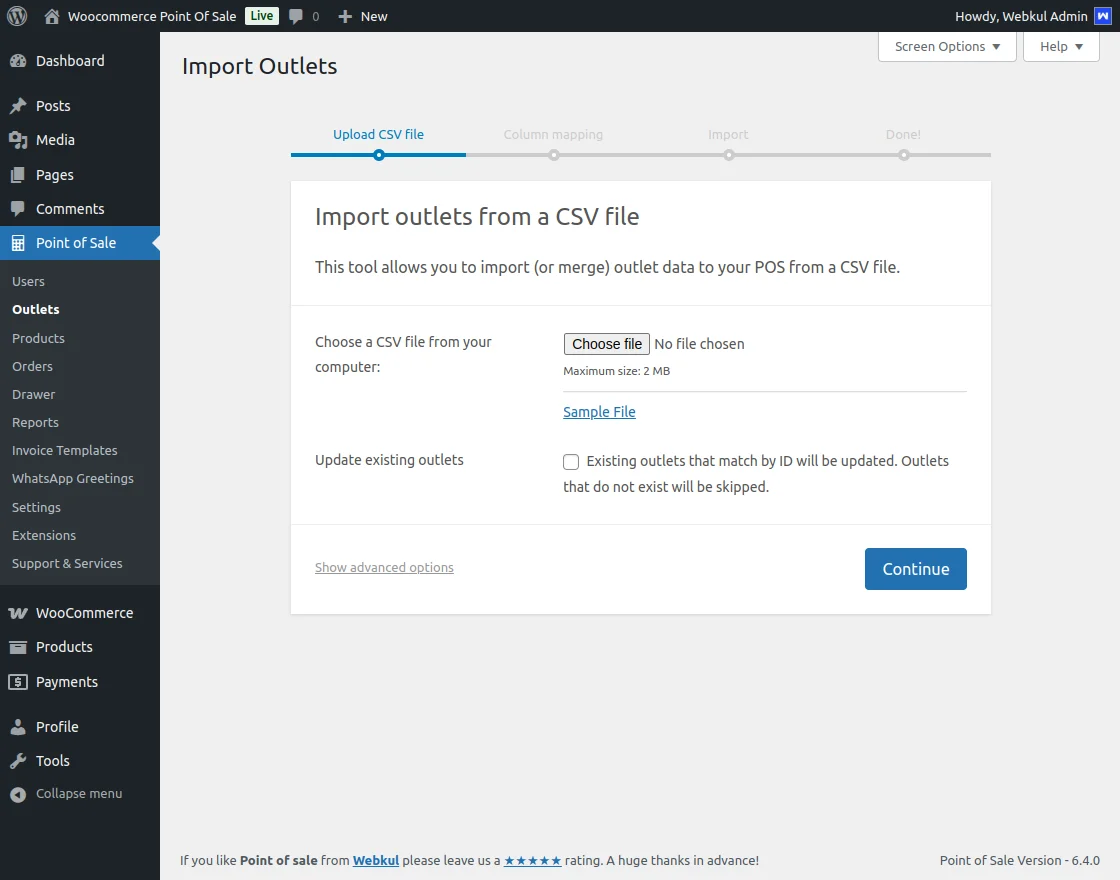
Import Outlets
For bulk setup, admins can use the Import Outlets wizard:
- Choose Sample File: Select a sample file, such as
sample_outlet.csv. - Continue: Click Continue to proceed.
Import Process
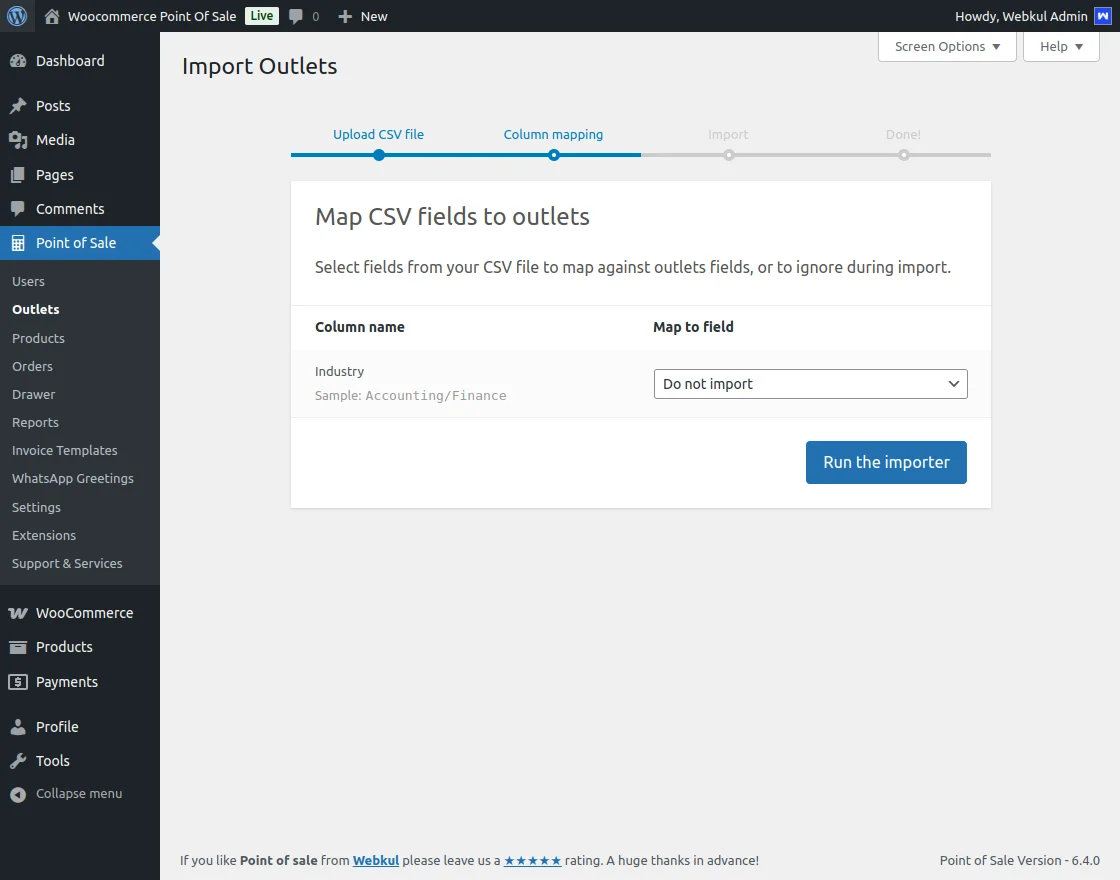
- Column Mapping: Map CSV fields to appropriate Outlet data fields.
- Run Import: Click Run the Importer to execute the import process.
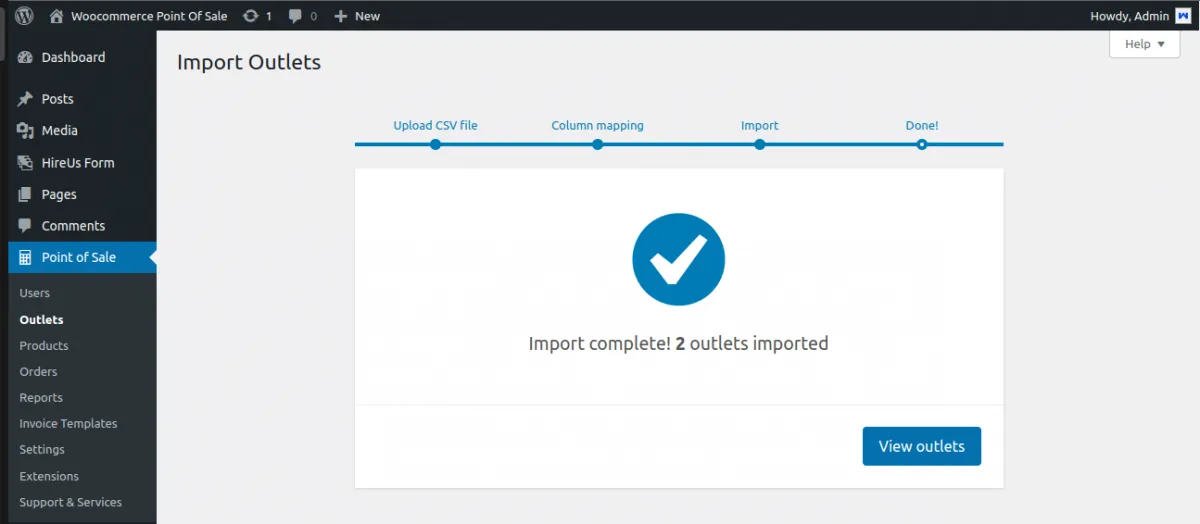
- Completion: Upon successful import, an "Import Complete" message is displayed.
- View Outlets: Click View Outlets to see the comprehensive Outlet list.
Outlet Management Actions
- POS Login: Redirects to the POS agent login page for that specific outlet.
- Outlet Report: View detailed reports for each outlet.
- Bulk Actions: Select multiple outlets to Activate, Deactivate, or Delete them simultaneously.
Editing a POS Outlet
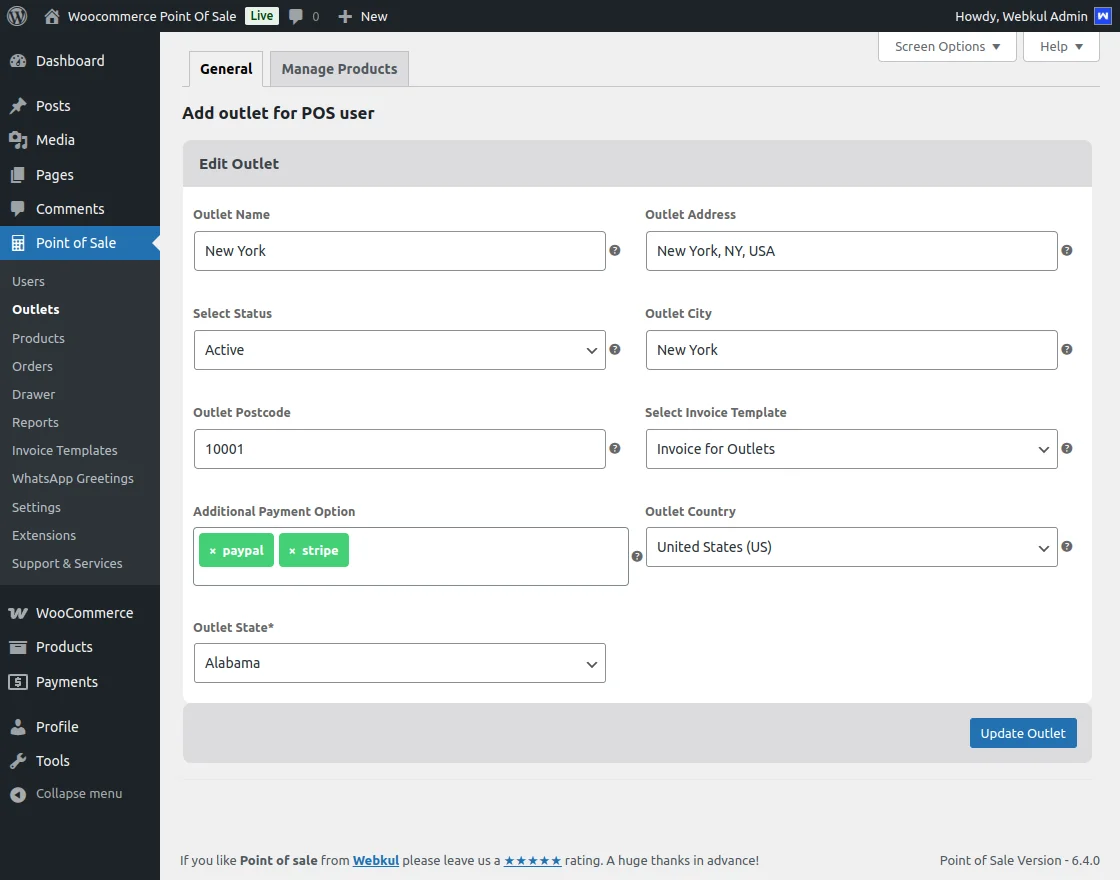
- Click Edit for the specific outlet on the Outlet List page.
- Update outlet details and configure Product Assignments.
Product Assignment
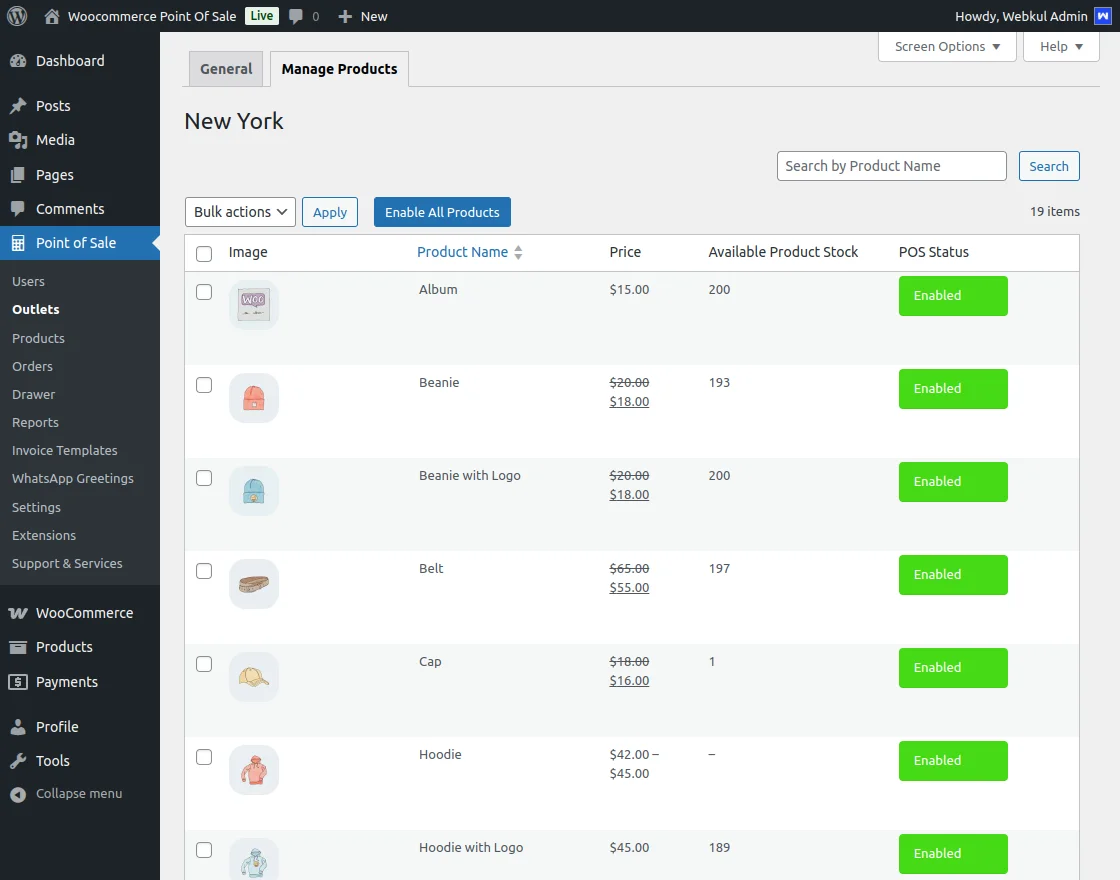 Under the Manage Products tab, administrators can:
- Enable products for the outlet.
- Assign POS stock accordingly.
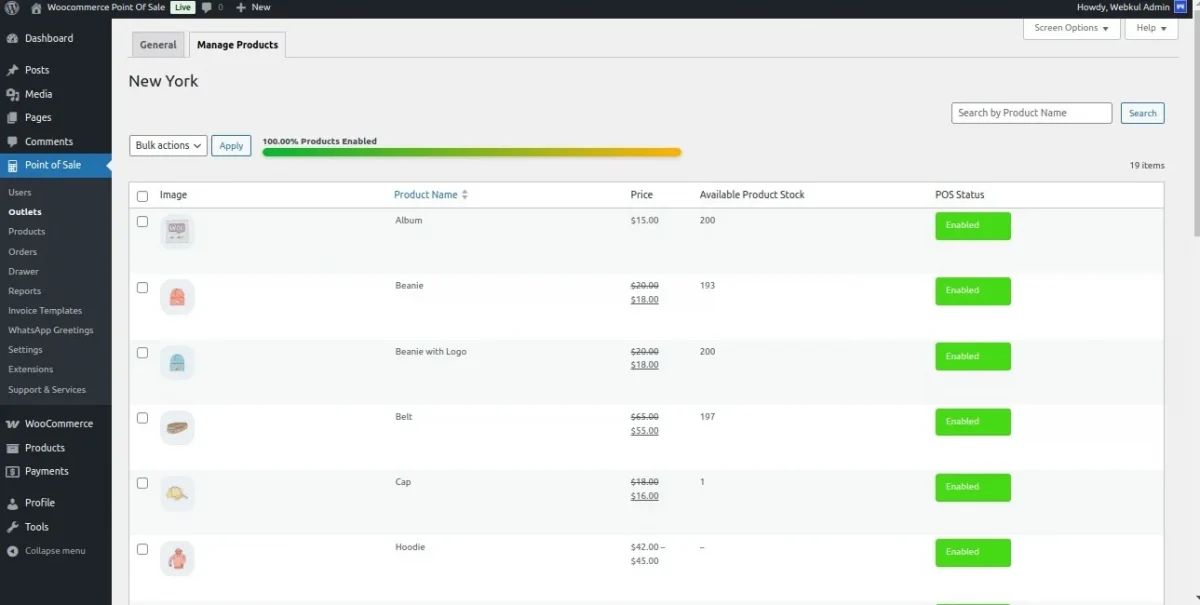
- Use "Enable All Products" to quickly enable all products for an outlet.
Add / Manage POS Users
User management is accessible through: Point Of Sale > Users
Adding a POS User
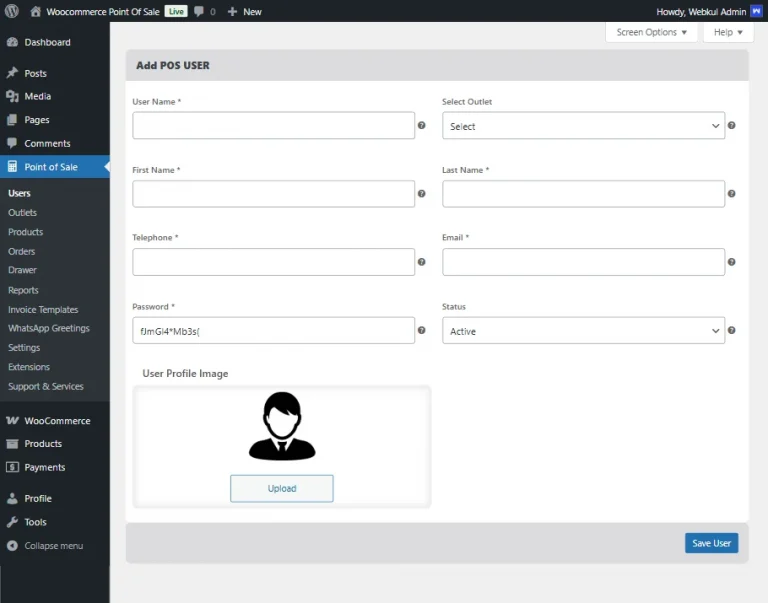
- Click the "Add New" tab under the Users section.
- Navigate to Point Of Sale > Users > Add New to create a new POS User.
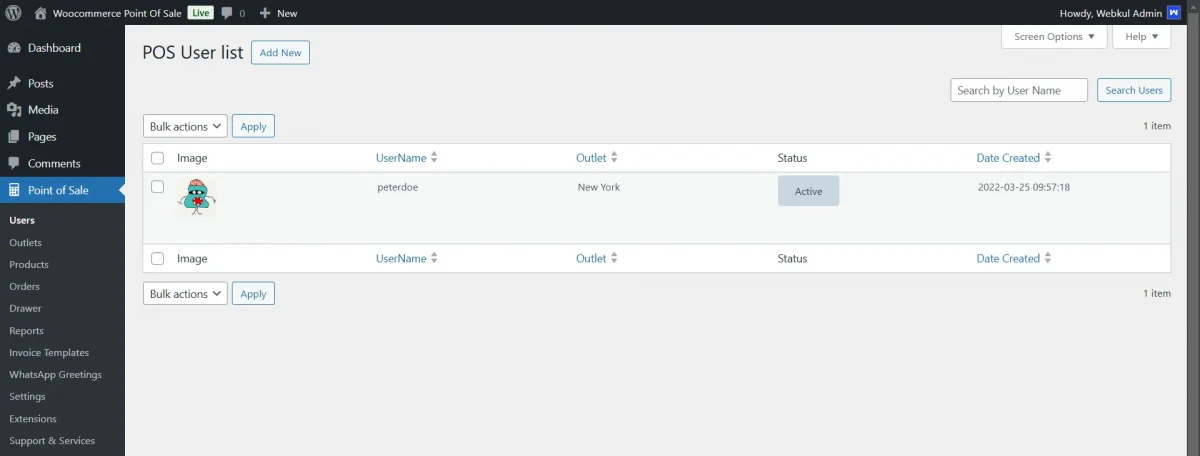
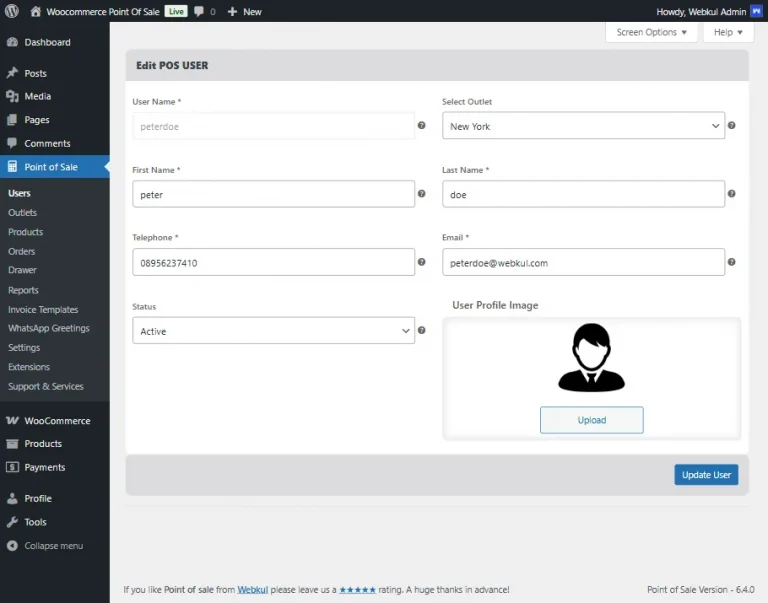
Editing a POS User
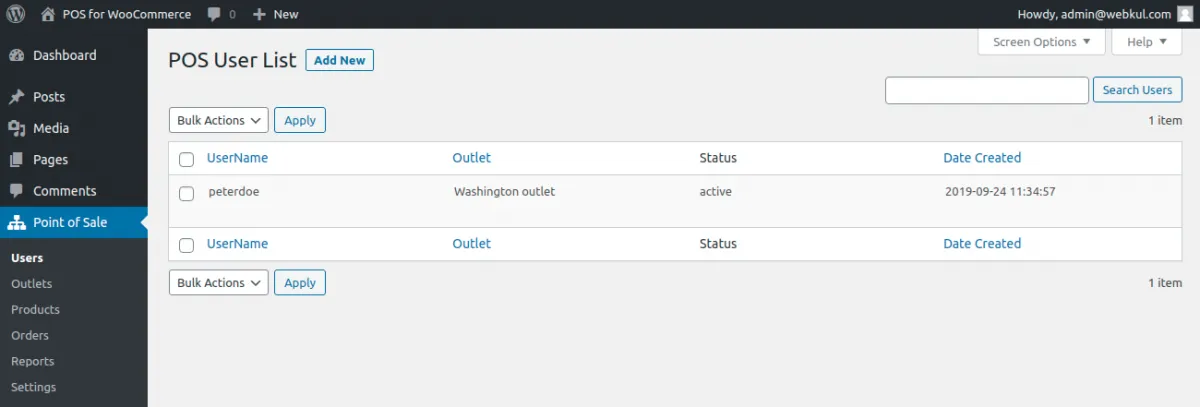
- Click Users to view the list of POS Users.
- Click Edit under a username to modify details.
- Note: Two users can be assigned to the same outlet.
- Admins can select any user as the default customer for POS.
Deleting POS Users
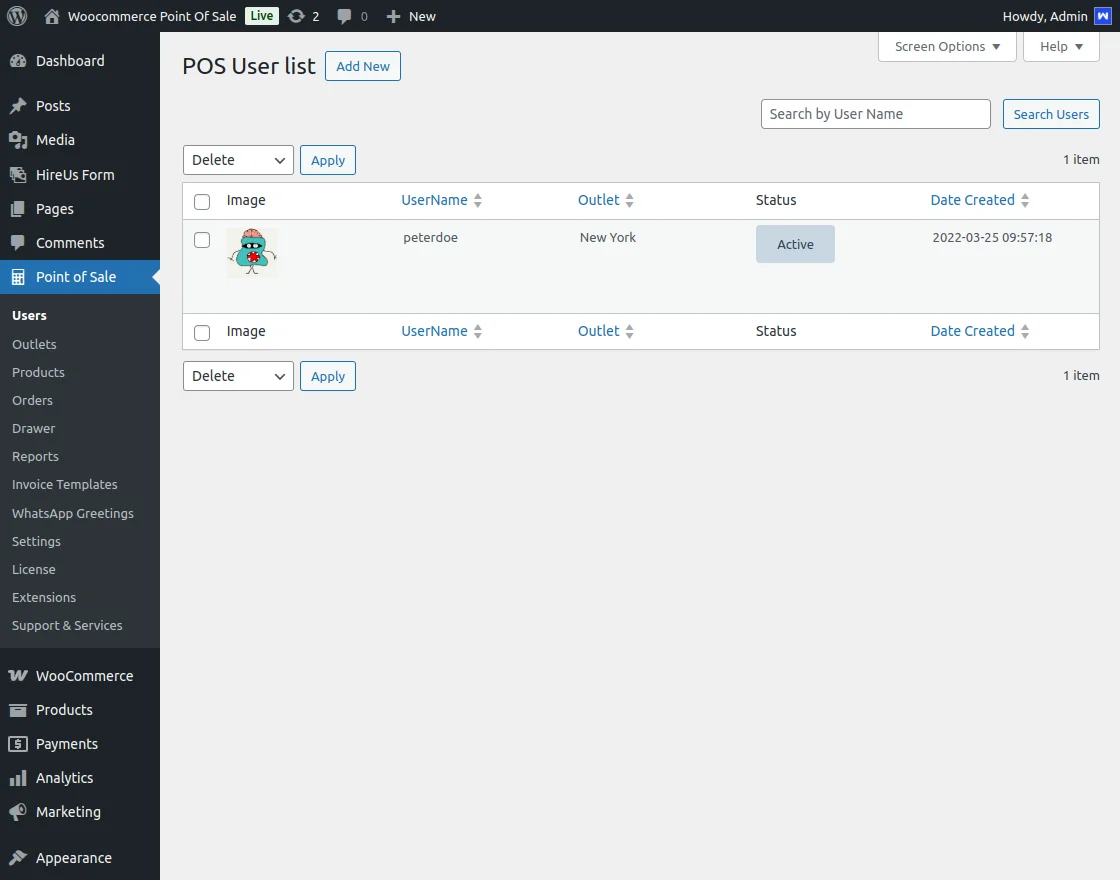
- Use the bulk action functionality to delete multiple users.
Key Features and Capabilities
Outlet and Agent Management
- Admin can create multiple store outlets and assign sales agents.
- Each outlet can have multiple agents assigned.
- Default user credentials are added in the Setup Wizard.
- Admin can assign store agents to manage physical stores.
Sales Agent Functionality
- Sales agents can analyze store reports directly from POS.
- Monitor sales history, held sales, and offline sales.
- Search for customers by name or email.
User Features
- POS users can update their profile image.
- Admin can set any customer as the default customer for POS.
Login and Navigation
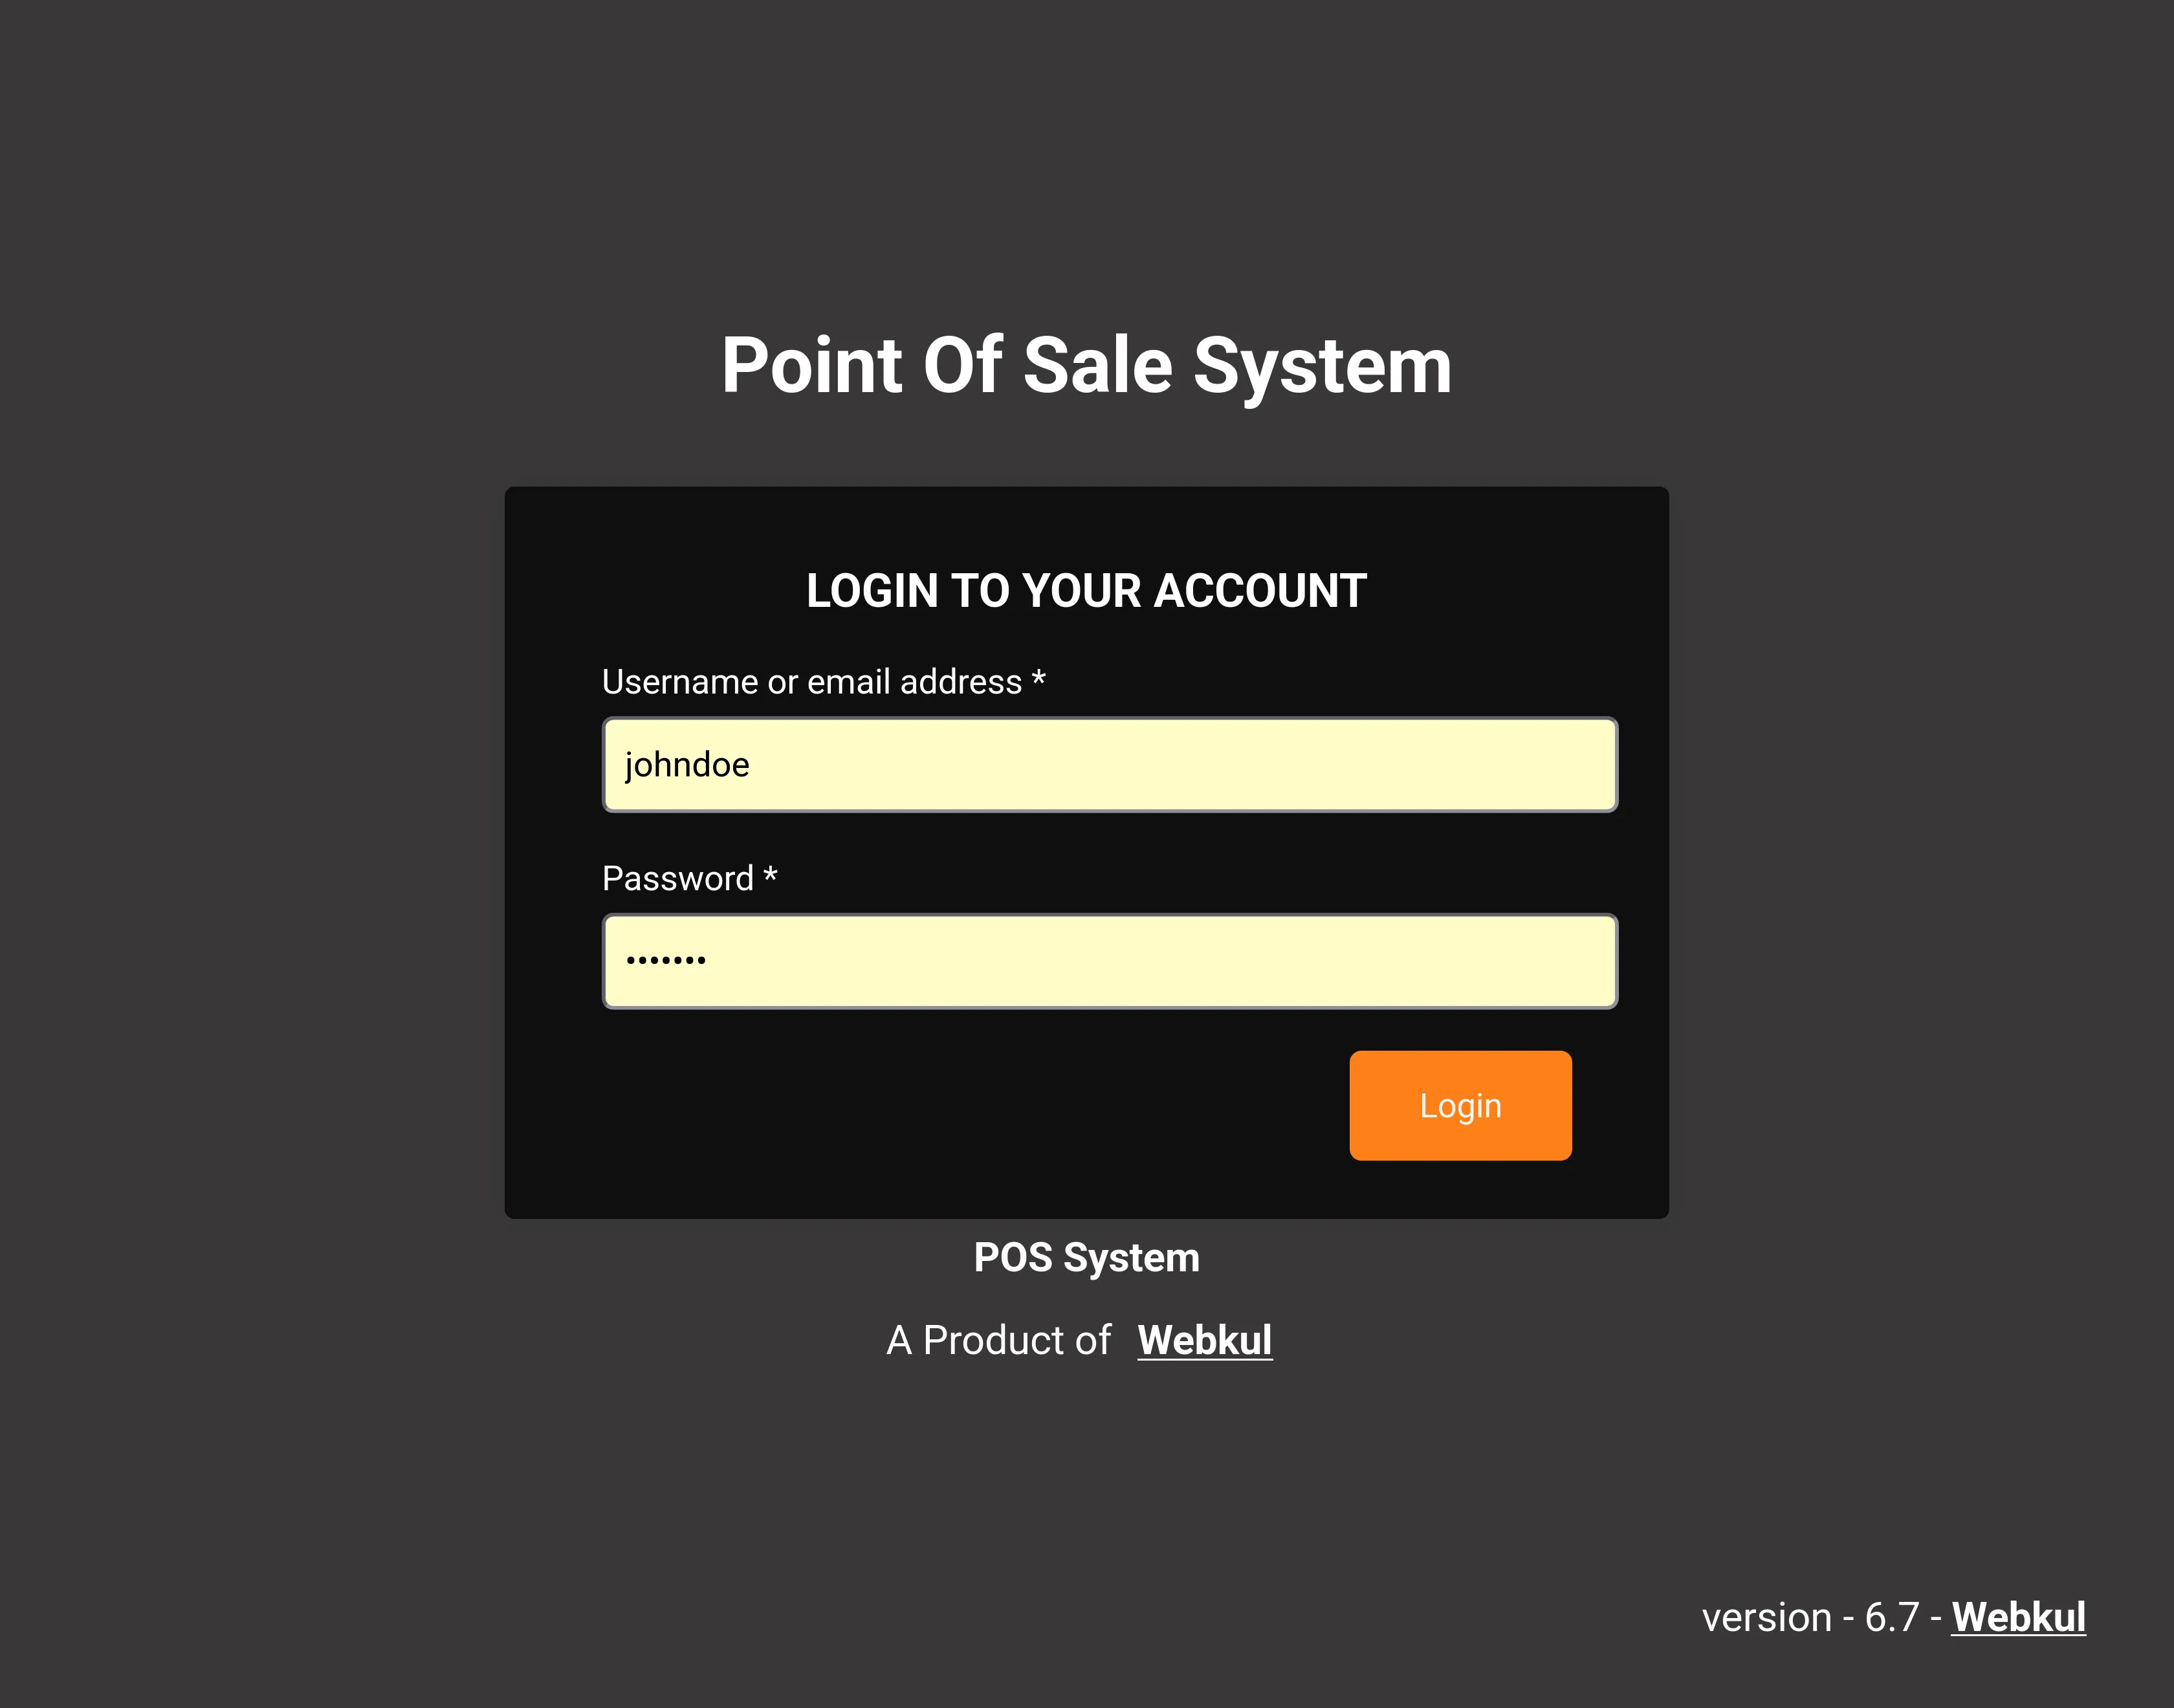
- POS agents enter the opening amount for the cash drawer (this popup can be enabled/disabled by admin).
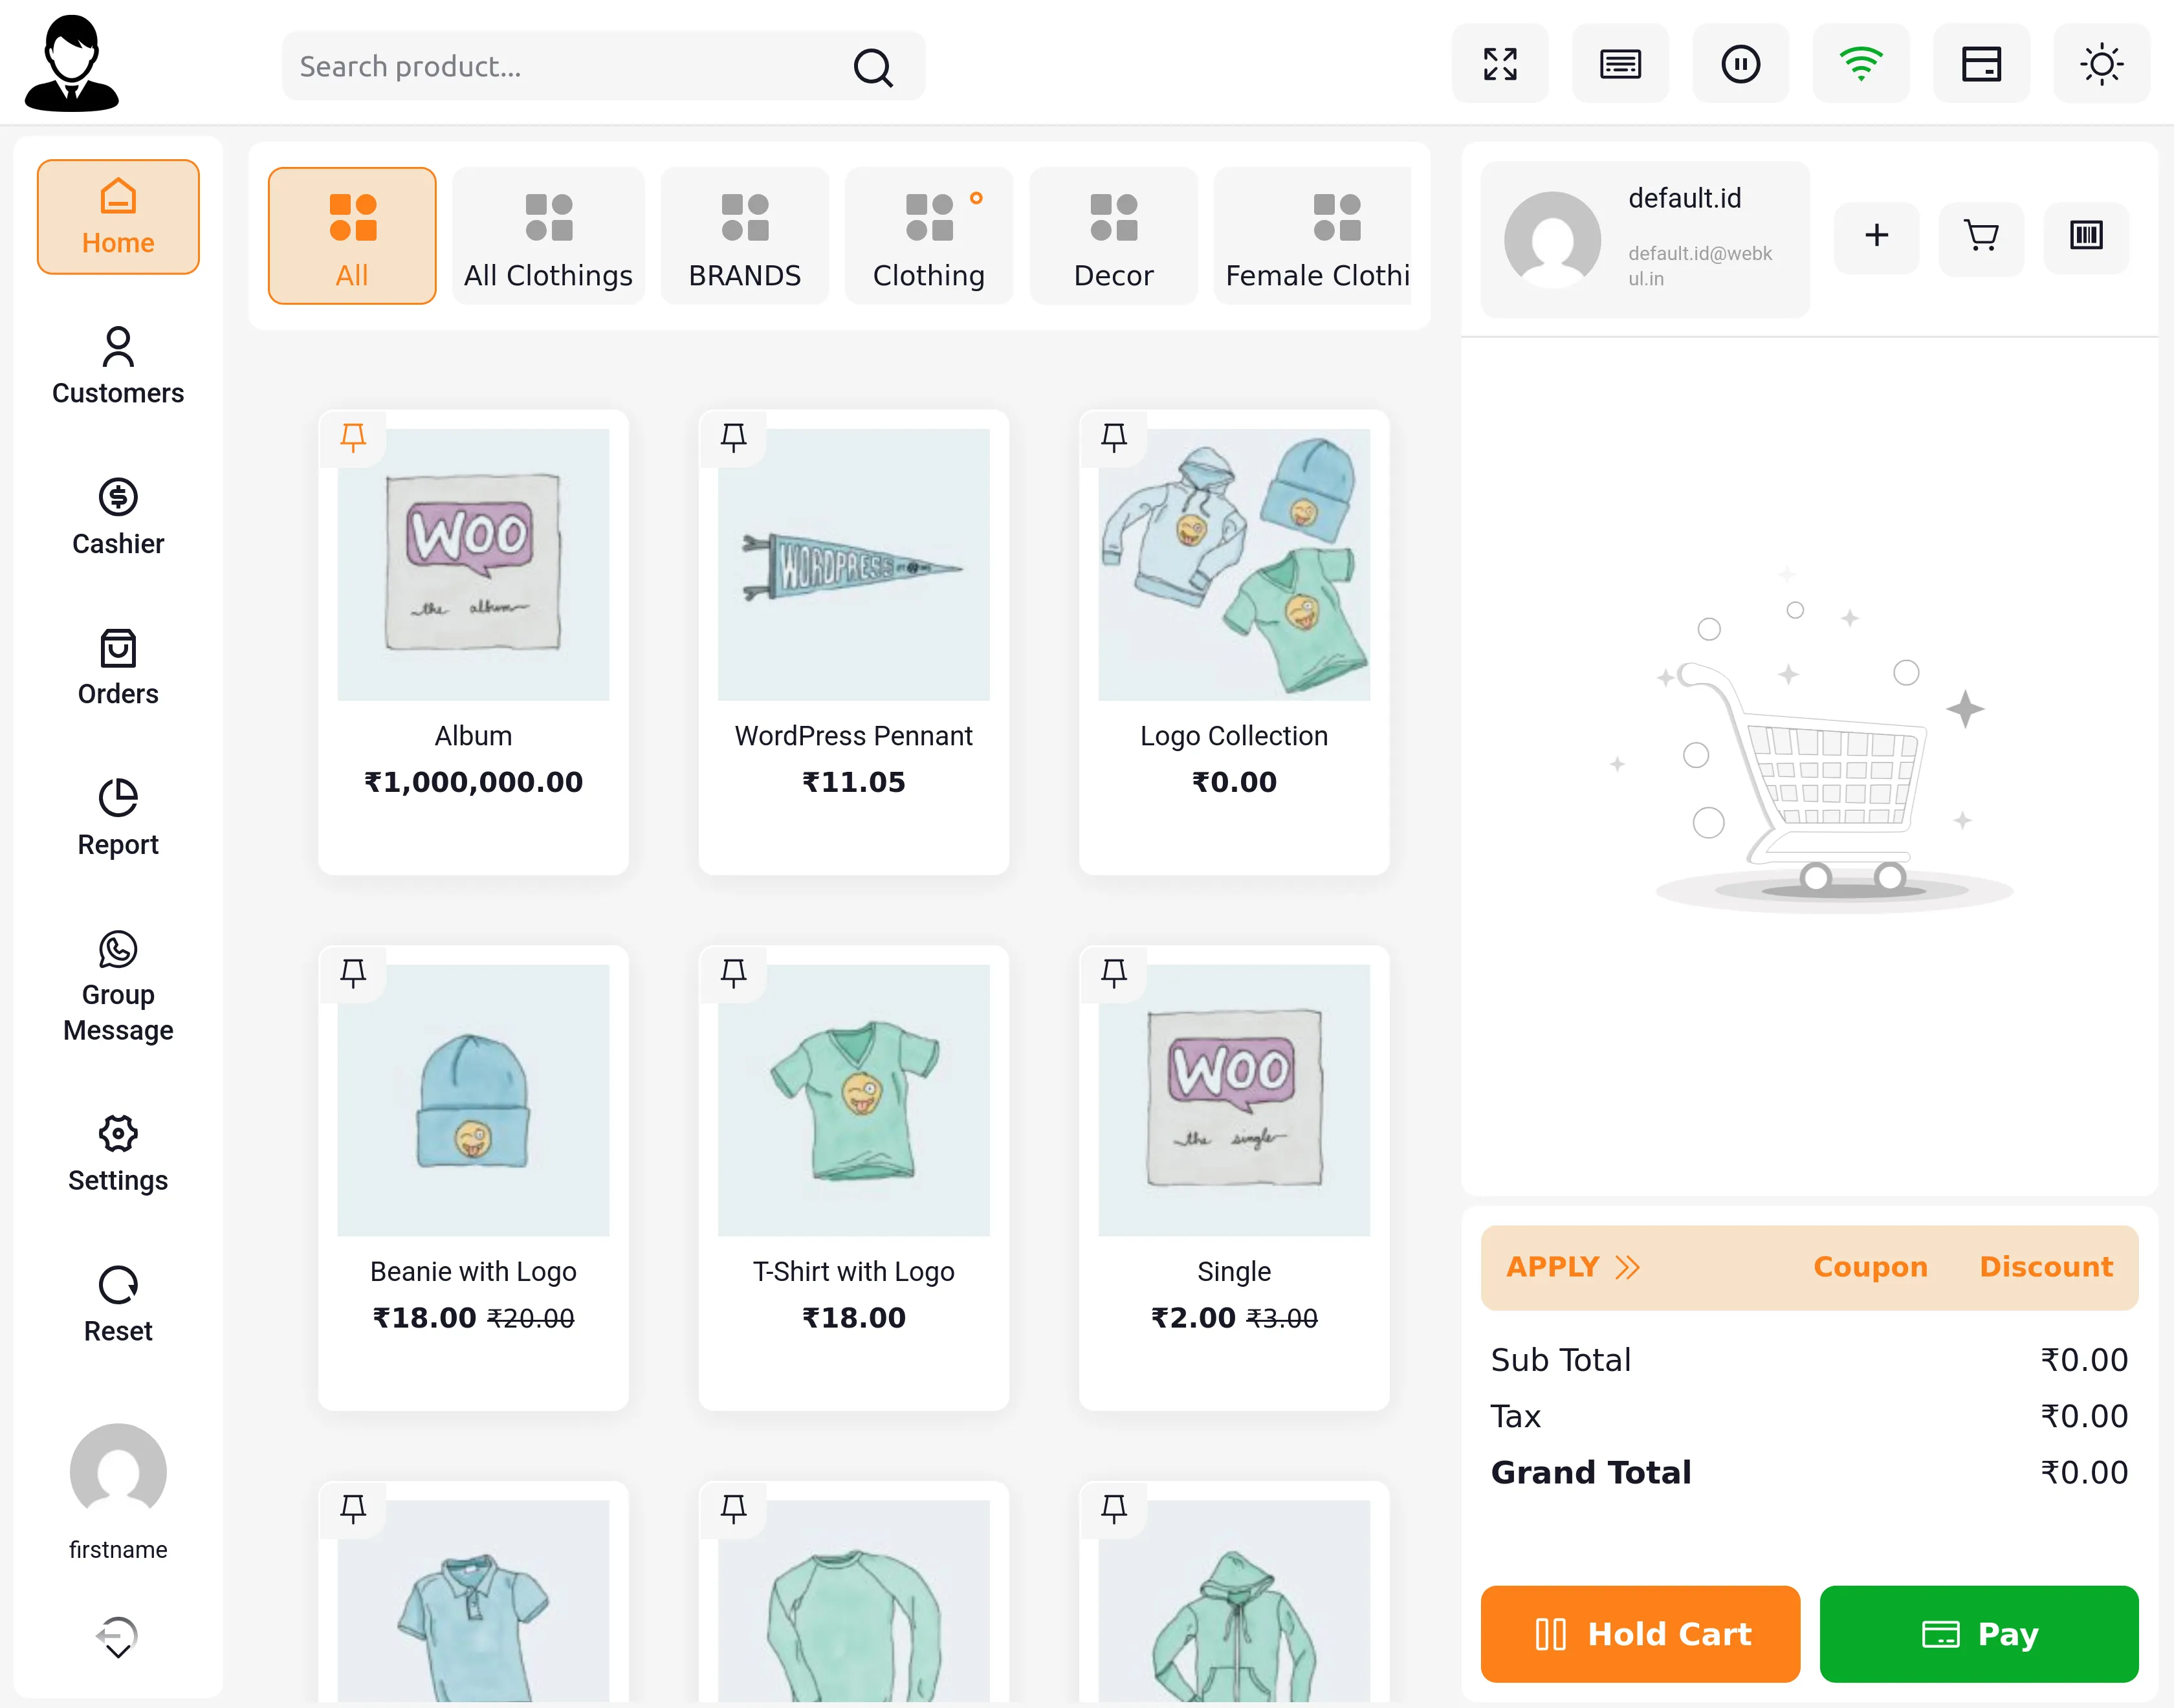
- Left navigation drawer displays menu options:
- Home
- Customer
- Cashier
- Orders
- Report
- Group Message
- Settings
- Reset
- Logout
System Functions
Reset Functionality
The Reset button allows POS users to refresh the POS frontend with the following options:
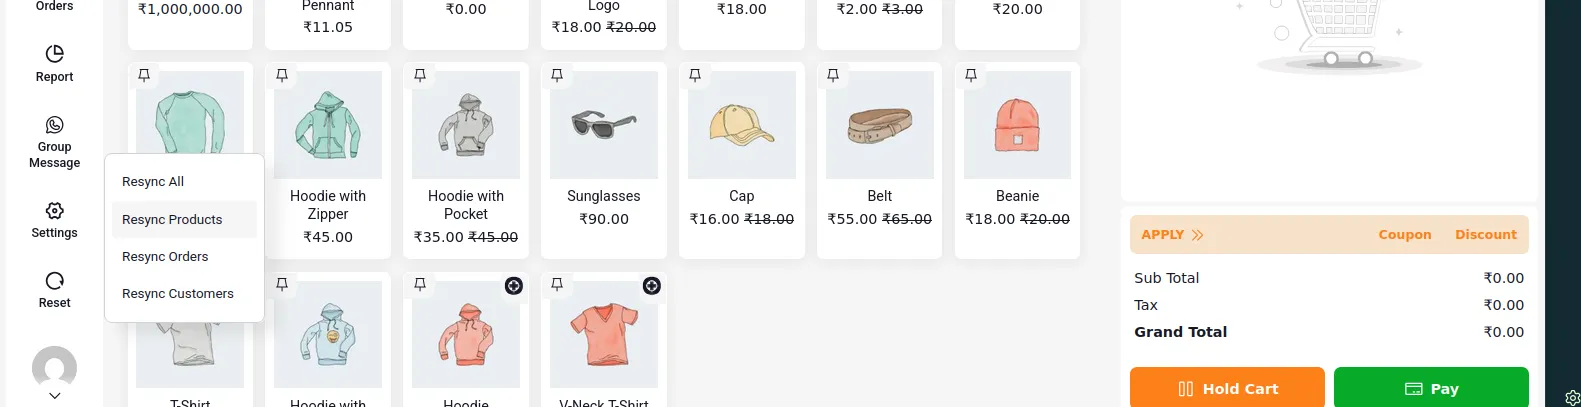
- Resync All: Reset all POS data.
- Resync Products: Reset products only.
- Resync Orders: Reset orders only.
- Resync Customers: Reset customers only.