Google API Setup
To use Google Sheets or Google Drive as an import source, you need Google API credentials. This page walks you through it.
For public sheets
If your Google Sheet is set to "Anyone with the link can view" (public), you can skip this entire page. Just paste the sheet URL in the wizard. The plugin downloads it as public CSV.
This page is for private sheets and Google Drive files.
What You Will Create
| Credential | For | Time |
|---|---|---|
| API Key | Read-only access to public/semi-public data | 5 min |
| OAuth 2.0 Client ID | Full read/write access with user consent | 10 min |
Most users only need the API Key. Create OAuth only if you want:
- Private Google Sheets
- Google Drive files
- Write-back to Google Sheets (export destination)
Part 1 — Create a Google Cloud Project
Step 1
Go to console.cloud.google.com.
Sign in with a Google account.
Step 2
Top-left, click the project dropdown (usually says "Select a project").
Click New Project.
Step 3
Fill in:
- Project name:
WooCommerce Import Export(or any name) - Organization: Leave default
Click Create.
Wait 30 seconds for the project to initialize.
Step 4
Top-left, click the project dropdown again. Pick the new project.
Part 2 — Enable APIs
Enable Sheets API
- Left sidebar → APIs & Services → Library
- Search for Google Sheets API
- Click the result
- Click Enable
- Wait for confirmation
Enable Drive API (If Using Drive)
- Back to APIs & Services → Library
- Search for Google Drive API
- Click → Enable
Part 3 — Create an API Key (Simple — For Public Sheets)
Use this if you only need to read public Google Sheets.
Step 1
Left sidebar → APIs & Services → Credentials.
Step 2
Click + Create Credentials → API Key.
Step 3
A popup appears with your new API key. Copy it.
Click Close.
Step 4 — Restrict the Key (Recommended)
- Click the pencil icon next to the new key
- Under API restrictions, select Restrict key
- Pick Google Sheets API from the dropdown
- Click Save
This prevents someone from stealing your key and using it for other services.
Step 5 — Paste in the Plugin
- WordPress admin →
Webkul WC Addons → Settings → Cloud Storage & API - Under Google APIs → paste the key into Google API Key
- Click Save Changes
Done. Public sheets work now.
Part 4 — Create OAuth 2.0 Client (Advanced — For Private Data)
Use this if you need private Google Sheets or Google Drive.
Step 1 — Configure Consent Screen
- Left sidebar → APIs & Services → OAuth consent screen
- Pick External (unless you have a Google Workspace)
- Click Create
- Fill in:
- App name:
WooCommerce Import Export - User support email: Your email
- Developer contact: Your email
- App name:
- Click Save and Continue
- On the Scopes page, click Add or Remove Scopes
- Add these scopes:
https://www.googleapis.com/auth/spreadsheets(read/write sheets)https://www.googleapis.com/auth/drive.readonly(read drive)
- Click Update then Save and Continue
- On the Test users page, click + Add Users and add your own email
- Click Save and Continue
- Review and click Back to Dashboard
Step 2 — Create OAuth Credentials
- Left sidebar → APIs & Services → Credentials
- Click + Create Credentials → OAuth client ID
- Application type: Web application
- Name:
WooCommerce Plugin - Under Authorized redirect URIs, click + Add URI
- Paste:
https://your-site.com/wp-admin/admin.php?page=wkaie-settings&oauth=callback- Replace
your-site.comwith your actual domain
- Replace
- Click Create
A popup appears with:
- Client ID — copy it
- Client Secret — copy it
Step 3 — Paste in the Plugin
- WordPress admin →
Webkul WC Addons → Settings → Cloud Storage & API - Under Google APIs:
- Paste Client ID in the OAuth Client ID field
- Paste Client Secret in the OAuth Client Secret field
- Click Save Changes
Step 4 — Authorize
- Click Authorize with Google (button appears after saving credentials)
- Google asks you to sign in
- It shows a warning "Google hasn't verified this app" — click Advanced → Go to [App name] (unsafe)
- This is normal for unverified private apps
- Click Continue and grant permissions
- You are redirected back to WordPress
- The plugin now has OAuth access
Publishing the App (Optional)
Your OAuth credentials work for your account only (as "test user") by default. For production:
- APIs & Services → OAuth consent screen
- Click Publish App
- Google reviews apps that request sensitive scopes — the Sheets and Drive scopes are sensitive
- For personal use, skip publishing — keep yourself as a test user
Checking It Works
For API Key
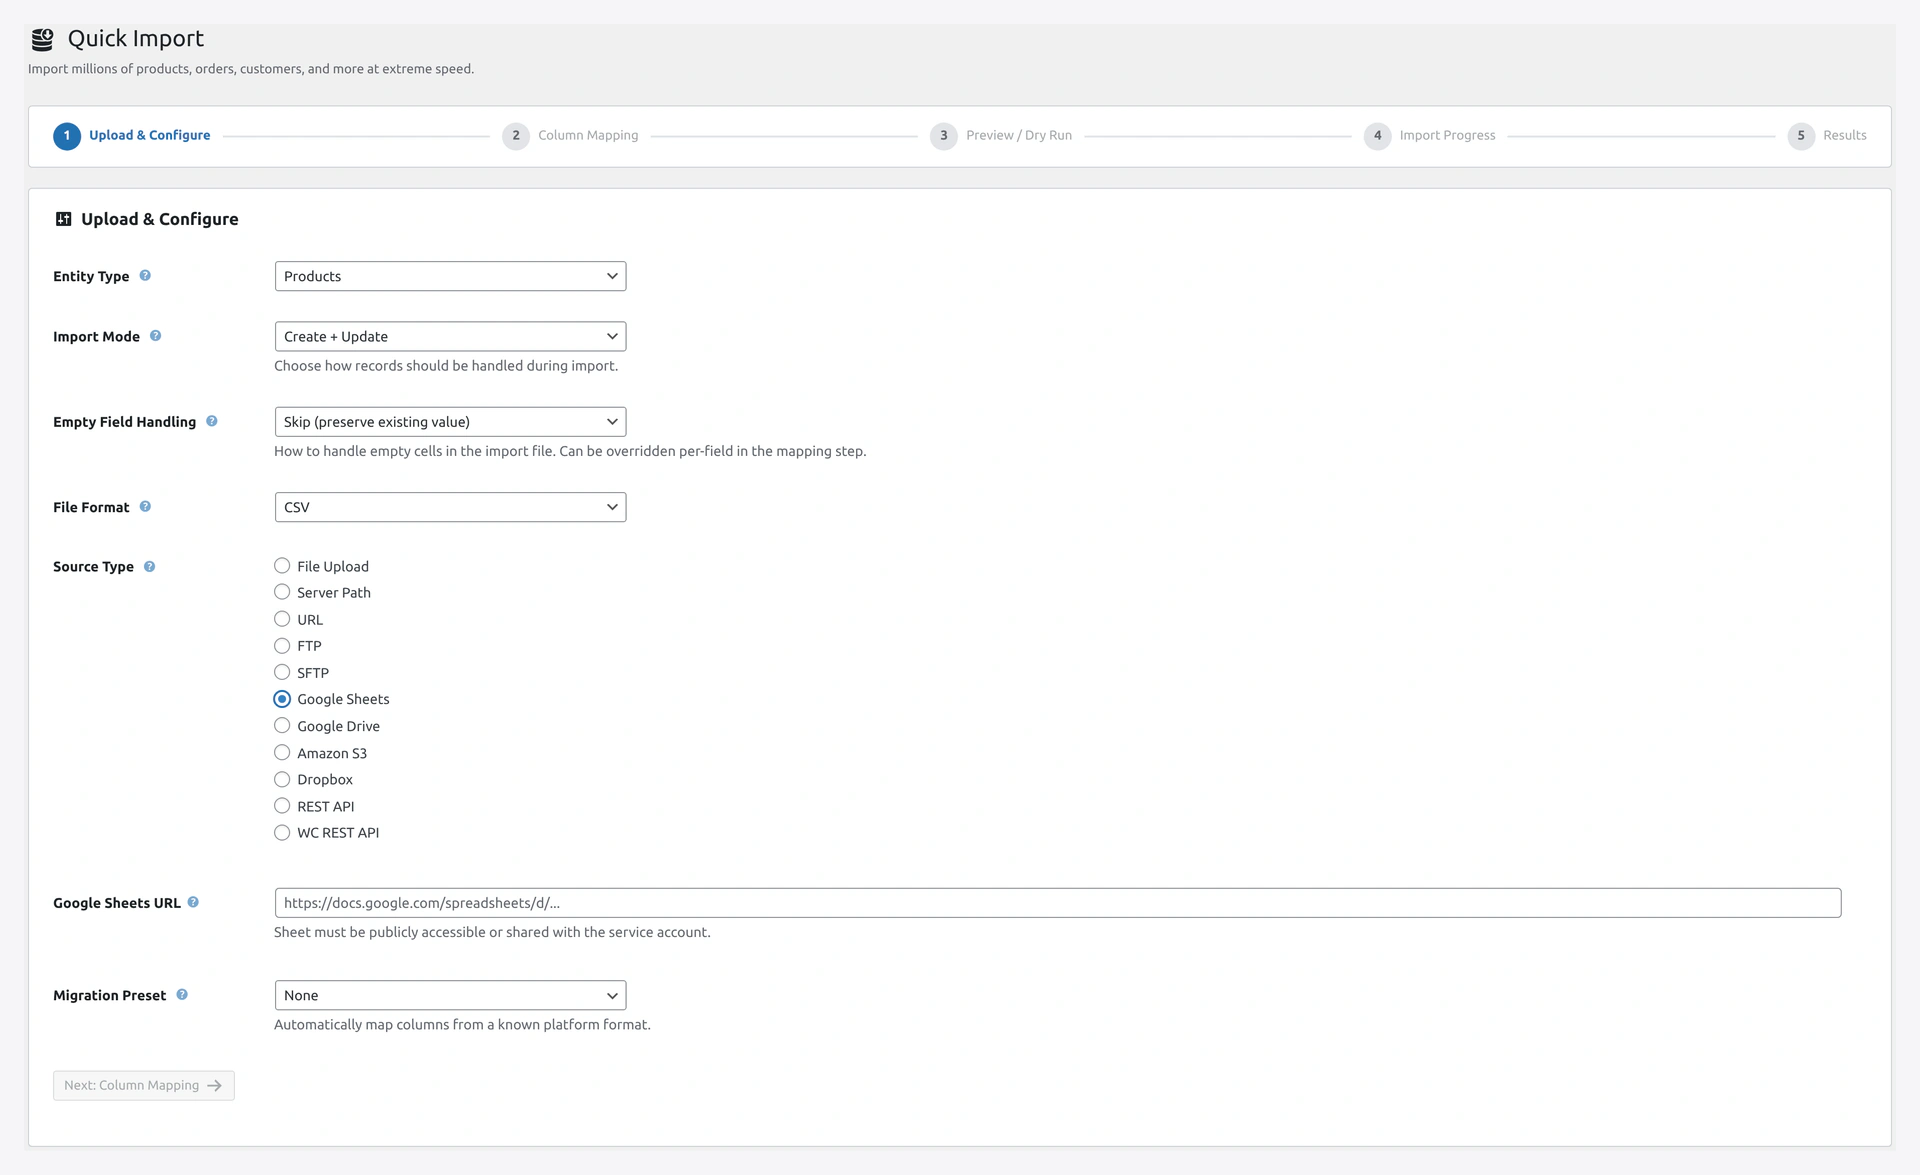 Google Sheets source — paste the sheet URL and the plugin uses your API key to fetch rows.
- Wizard → Step 1 → Source: Google Sheets
- Paste a sheet URL (make sure sharing is on)
- Click Next
- If columns load in Step 2, the API key works
For OAuth
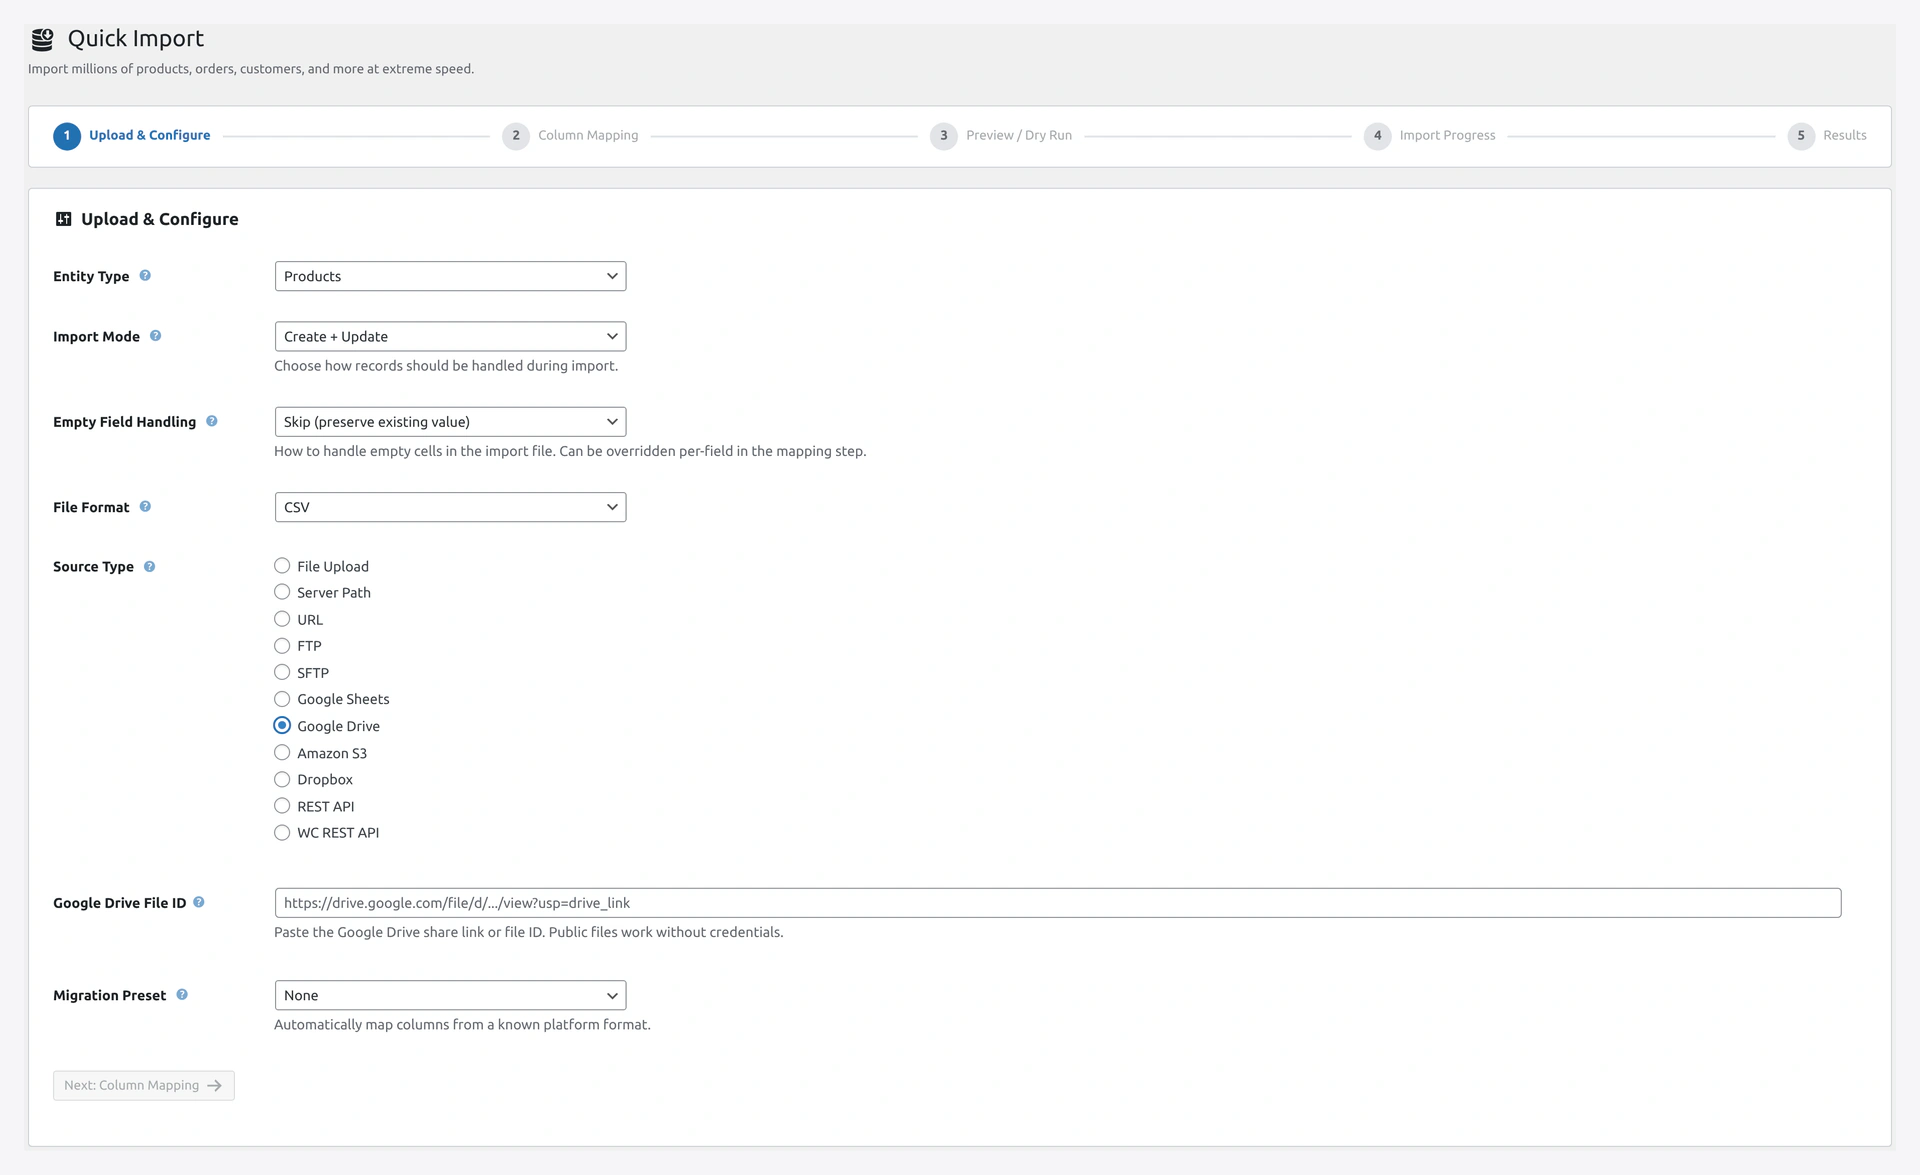 Google Drive source — browse or paste a file ID once OAuth is authorized.
- Settings → Test Google Connection (if button exists)
- Or try importing a private sheet
- If data loads, OAuth works
API Limits
Google APIs have usage quotas:
- Sheets API: 300 requests per minute per project (free)
- Drive API: 1,000 requests per 100 seconds per user
For most stores, this is plenty. For heavy use, request a quota increase in Cloud Console.
Troubleshooting
| Problem | Fix |
|---|---|
| "API not enabled" | You didn't enable Sheets API (step 2). Go back and enable it |
| "Access denied" on public sheet | Sheet is not actually public. Check sharing settings |
| OAuth redirect mismatch | Redirect URI in Google must exactly match the URL in the plugin |
| "App not verified" warning | Normal for test apps. Click "Advanced" to continue |
| Token expired | OAuth tokens expire. Re-authorize in Settings |
| Rate limit errors | Wait 5 minutes. Or request quota increase |
Security Notes
- Never share your Client Secret in public
- The plugin stores credentials encrypted with AES-256
- You can revoke access anytime from myaccount.google.com/permissions
- For compliance, rotate API keys every 6-12 months