Tutorial — Daily Backup to Amazon S3
In this tutorial, you will set up a nightly backup of your WooCommerce data to Amazon S3. Every night at 2 AM, the plugin exports everything to CSV and uploads to your bucket.
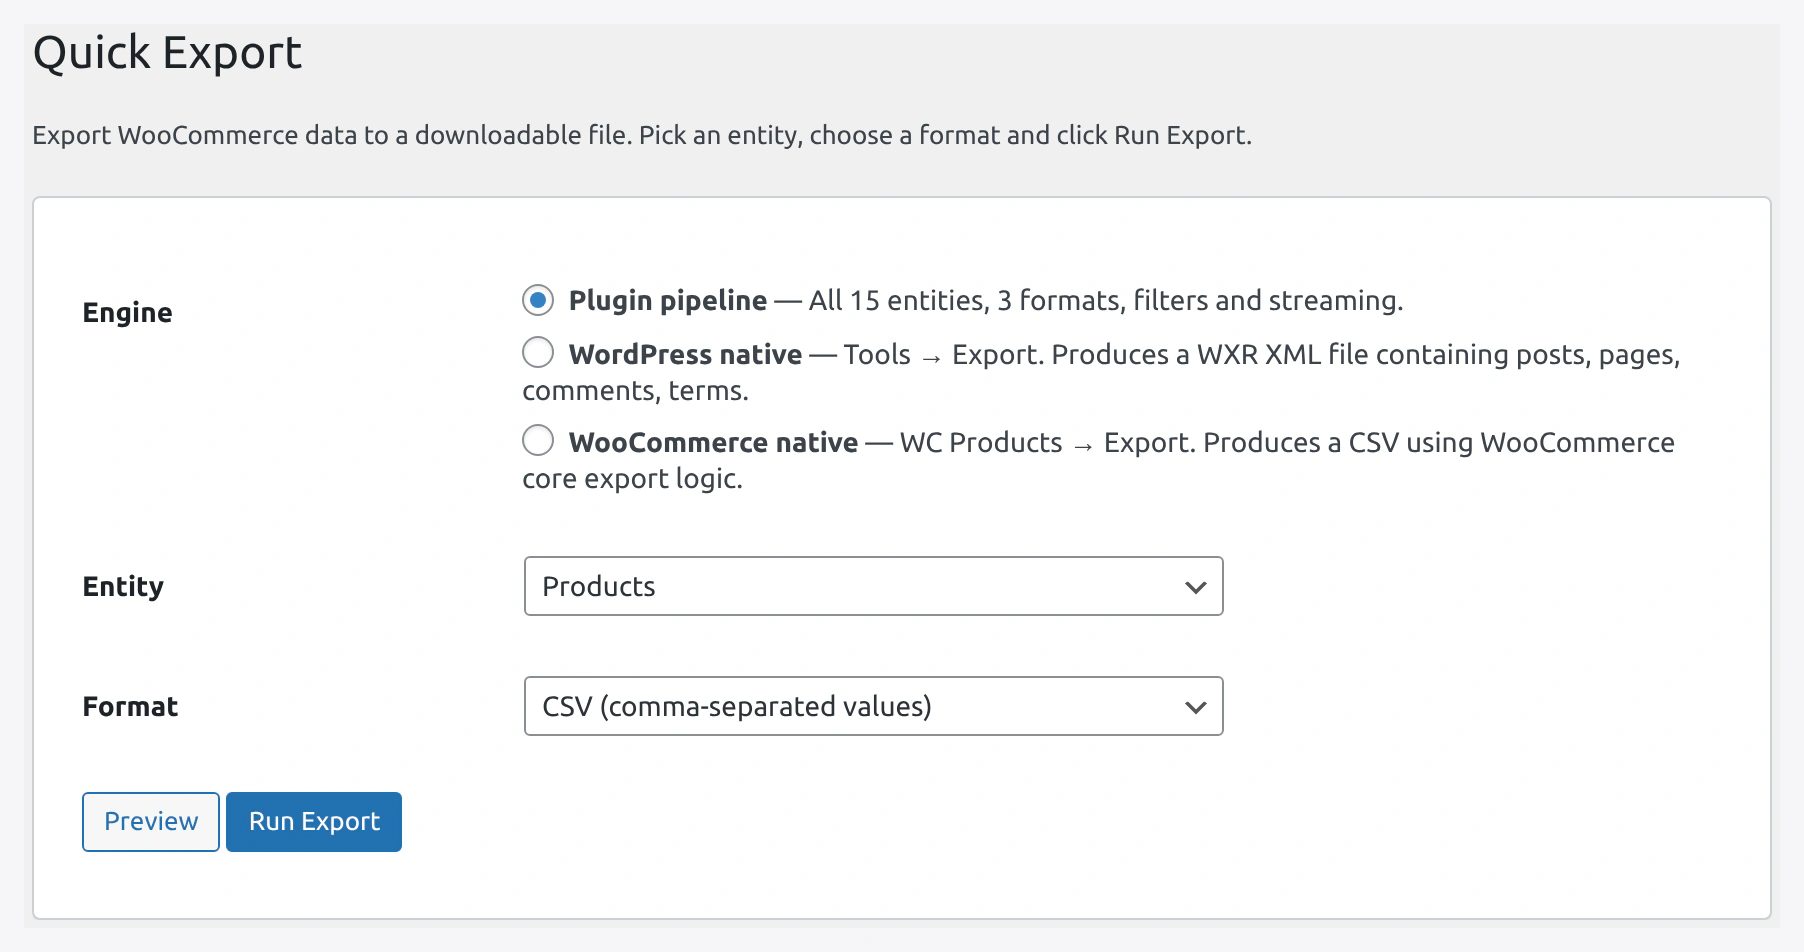 Start from Quick Export to confirm entities and filters before saving the whole thing as a scheduled backup job.
Why This Setup
- Cheap — S3 storage is $0.023/GB/month
- Safe — S3 has 99.999999999% durability (11 nines)
- Automated — Runs on its own, no daily work
- Recoverable — If anything goes wrong, restore from S3
Scenario
- Small store with 1,000 products
- 50 new orders per day
- Want a daily backup of products, orders, customers
Time Required
About 30 minutes for full setup.
Prerequisites
- WordPress + WooCommerce + this plugin
- AWS account with S3 bucket
- Basic cron knowledge
Part 1 — Set Up AWS
Follow Amazon S3 Setup for full details.
Quick version:
- Create bucket
mystore-backupsin AWS - Create IAM user with S3 write permission
- Generate access key and secret key
- Save in Settings → Cloud Storage & API → Amazon S3
Part 2 — Create the Products Backup Job
Step 1 — Open Jobs
WordPress admin → Webkul WC Addons → Jobs → Add New.
Step 2 — Tab 1: Source / Destination
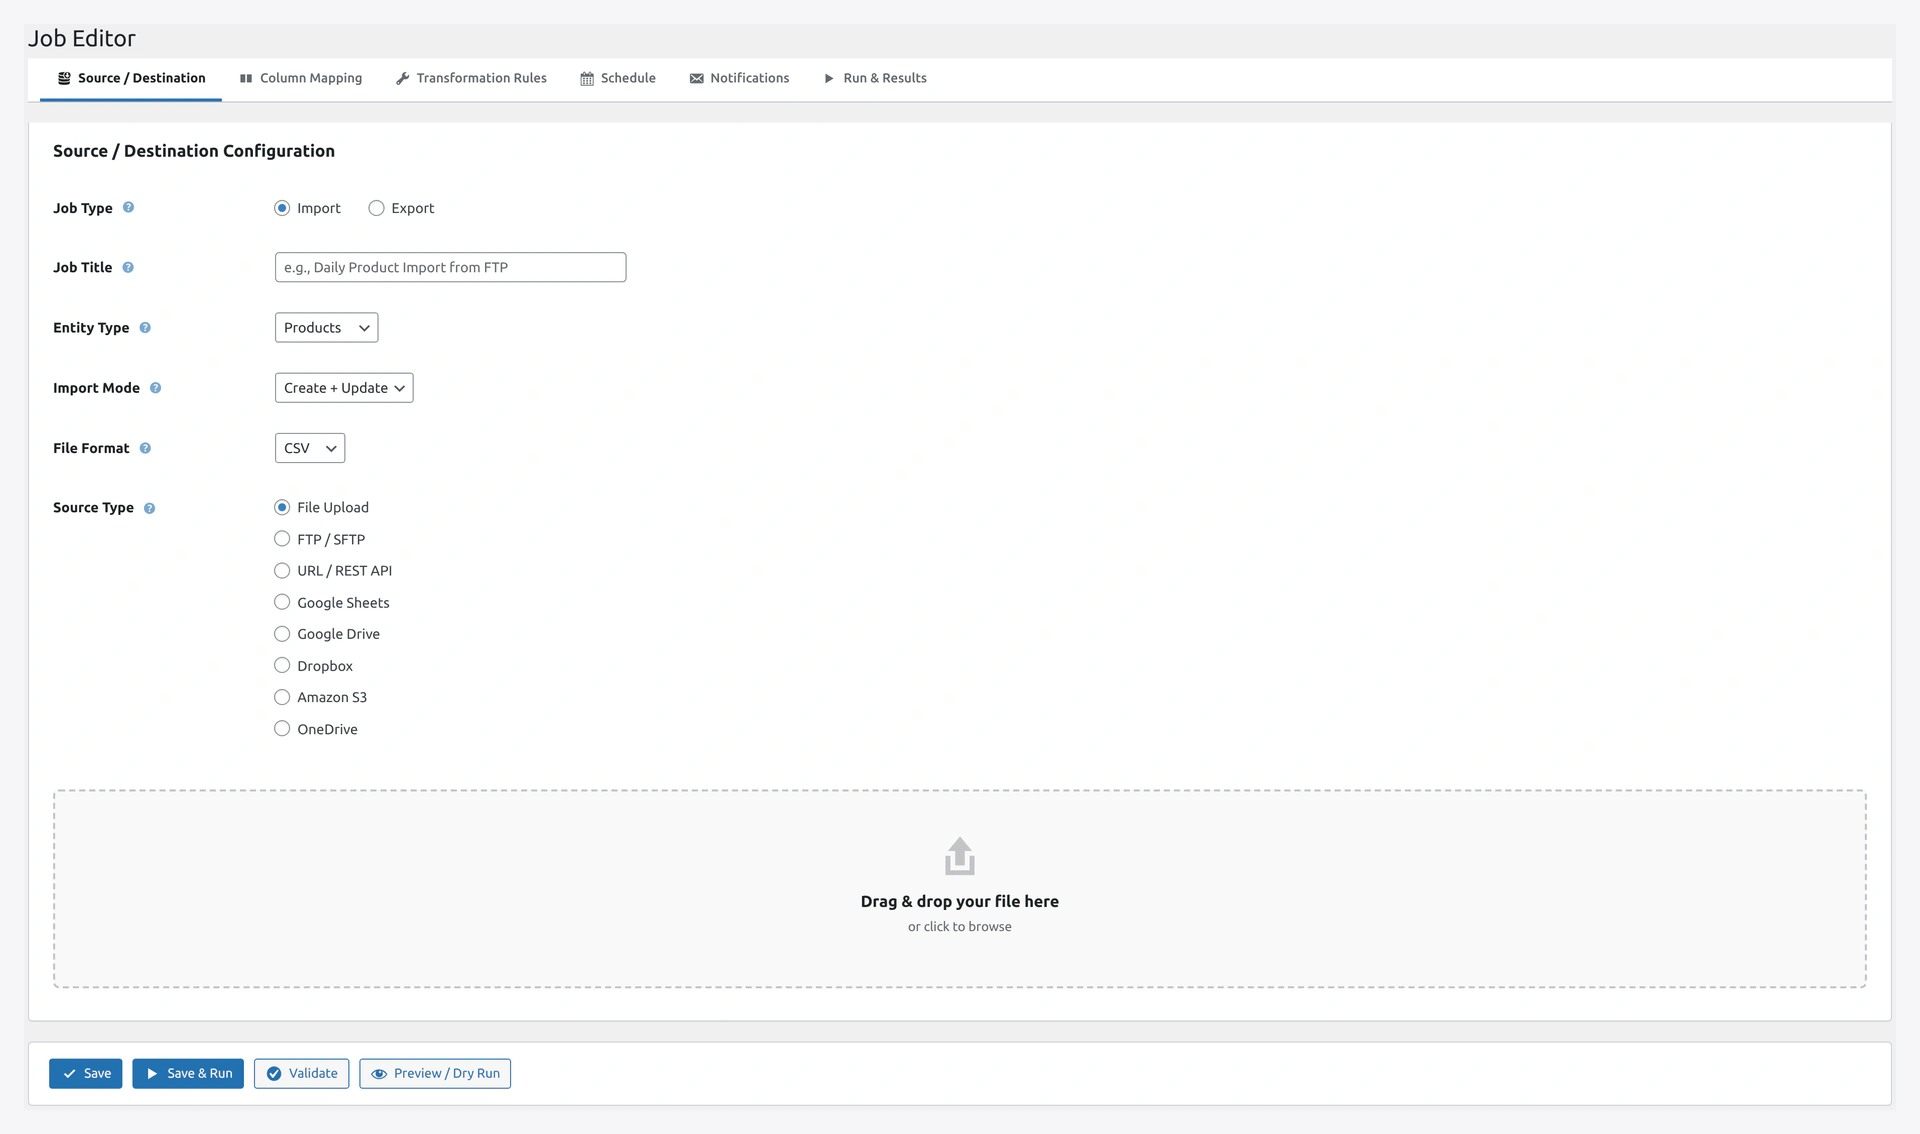 The Job Editor's 6 tabs cover Source/Destination, Column Mapping, Transformations, Schedule, Notifications, and Run & Results.
Fill in:
| Field | Value |
|---|---|
| Job Type | Export |
| Job Title | Nightly Products Backup |
| Entity Type | Products |
| Format | CSV |
| Destination | Amazon S3 |
Step 3 — S3 Destination Config
| Field | Value |
|---|---|
| Bucket | mystore-backups |
| Path Prefix | products/ |
| Filename Pattern | products-{date}.csv |
| Region | us-east-1 (or your region) |
Access key and secret key are auto-filled from Settings. Leave blank to use defaults.
Step 4 — Tab 2: Column Mapping
For a backup, include all columns. Click Select All.
Or pick specific columns if you want a slimmer file.
Step 5 — Skip Tab 3 (Transformations)
No transformations needed for a backup.
Step 6 — Tab 4: Schedule
| Field | Value |
|---|---|
| Schedule | Daily |
| Time | 02:00 (2 AM, low traffic) |
Step 7 — Tab 5: Notifications
| Field | Value |
|---|---|
| Send on Failure | Yes |
| Recipients | [email protected] |
You don't need success notifications — getting an email every day is noise.
Step 8 — Save
Click Save.
Part 3 — Create the Orders Backup Job
Repeat Part 2 but with:
- Job Title: Nightly Orders Backup
- Entity Type: Orders
- Path Prefix:
orders/ - Filename Pattern:
orders-{date}.csv
Schedule: Daily at 2:15 AM (15 minutes after products).
Part 4 — Create the Customers Backup Job
Same again with:
- Job Title: Nightly Customers Backup
- Entity Type: Customers
- Path Prefix:
customers/ - Filename Pattern:
customers-{date}.csv
Schedule: Daily at 2:30 AM.
Part 5 — Set Up Server Cron
WordPress cron fires unreliably on low-traffic sites. Set up real cron.
See Server Cron Setup.
Quick version — add to your server crontab:
*/5 * * * * curl -s https://your-site.com/wp-cron.php > /dev/null 2>&1
Part 6 — Test the Jobs
Step 1 — Run Each Manually
- Jobs page → click Products Backup → click Run Now
- Wait for completion
- Check the History page
- Verify run shows success
Step 2 — Check S3
- AWS Console → S3 → your bucket
- Open the
products/folder - You should see a file like
products-2026-04-14.csv - Download and open it — verify data
Do the same for orders and customers.
Part 7 — Set Up S3 Lifecycle Policy (Save Money)
Old backups do not need to sit in hot S3 storage. Move to cheaper Glacier after 30 days.
Step 1
AWS Console → S3 → your bucket → Management → Lifecycle rules.
Step 2
Click Create lifecycle rule.
Step 3
Fill in:
| Field | Value |
|---|---|
| Rule name | Archive old backups |
| Status | Enabled |
| Scope | Apply to all objects |
Step 4
Actions:
- Transition to Glacier Flexible Retrieval after 30 days
- Delete (expire) after 365 days
Saves about 80% on storage costs for old backups.
Part 8 — Restore From Backup
If you ever need to restore:
Step 1 — Download from S3
AWS Console → S3 → your bucket → products/ → pick the right date → Download.
Or via AWS CLI:
aws s3 cp s3://mystore-backups/products/products-2026-04-10.csv ./
Step 2 — Import Back
- WordPress admin → Quick Import
- Entity: Products
- Mode: Replace (wipe everything, use this backup)
- OR Create + Update (merge the backup into existing data)
- Upload the CSV
- Start Import
Part 9 — Monitoring
Email Alerts on Failure
You already set this up in Part 2 Step 7. Test it:
- Break something (e.g., change the S3 bucket name temporarily)
- Run the job manually
- Check your email for the failure alert
Check History Weekly
Once a week:
- Go to Jobs page
- Check Last Run column for each backup job
- Any "Failed" → investigate
Check S3 Storage
Once a month:
- AWS Console → S3 → your bucket → Metrics
- Check total size
- Confirm lifecycle rules are working
Cost Estimate
For a store with 1,000 products, 50 orders/day:
- Products CSV: ~200 KB × 365 days = 73 MB / year
- Orders CSV: ~10 MB × 365 days = 3.6 GB / year
- Customers CSV: ~100 KB × 365 days = 36 MB / year
Total: ~4 GB / year.
S3 cost:
- Hot storage (first 30 days): ~$0.10/month
- Glacier (after 30 days): ~$0.01/month
- Total: about $2 per year
Cheaper than coffee.
Advanced — Multiple Sites
Using multiple WooCommerce sites? Set up one S3 bucket per site:
mystore1-backupsmystore2-backups
Each site gets its own IAM user scoped to its own bucket.
Or use a single bucket with paths:
store1/products/store2/products/
Troubleshooting
| Problem | Fix |
|---|---|
| Job says success but no file in S3 | Check IAM policy has s3:PutObject. Re-test |
| "Access denied" | IAM policy is wrong or bucket name mismatch |
| Job never runs | Check server cron is firing. See Server Cron Setup |
| File is empty | No records matched. Check if store has products |
| Filename collision | Use {datetime} instead of {date} for more uniqueness |